
My 2000 xj.

Thread Starter
CF Veteran
Joined: Sep 2010
Posts: 4,968
Likes: 0
From: Salt Lake City, UT
Year: 2000
Model: Cherokee
Engine: 4.0L
I got my flat tops machined at advanced4x4 today (45$). great people. they also installed new dana spicer ball joints into my knuckles for 75$ a side(parts/labor) to me that is pretty cheap(knuckles where already off obviously) but most spicer ball joints i found online where 60$ a pair plus shipping. they machined/drilled and did all 4 ball joints by 4pm and i dropped them off at 12 noon. they where great to deal with.


there D44 high steer arms are a good deal too... 75$ an arm with hardwhere... ill be picking these up here shortly. they will also drill and taper the arms (TRE side) for any specific application at no charge.
Last edited by Gorillaxj; May 25, 2011 at 07:45 AM.
Thread Starter
CF Veteran
Joined: Sep 2010
Posts: 4,968
Likes: 0
From: Salt Lake City, UT
Year: 2000
Model: Cherokee
Engine: 4.0L
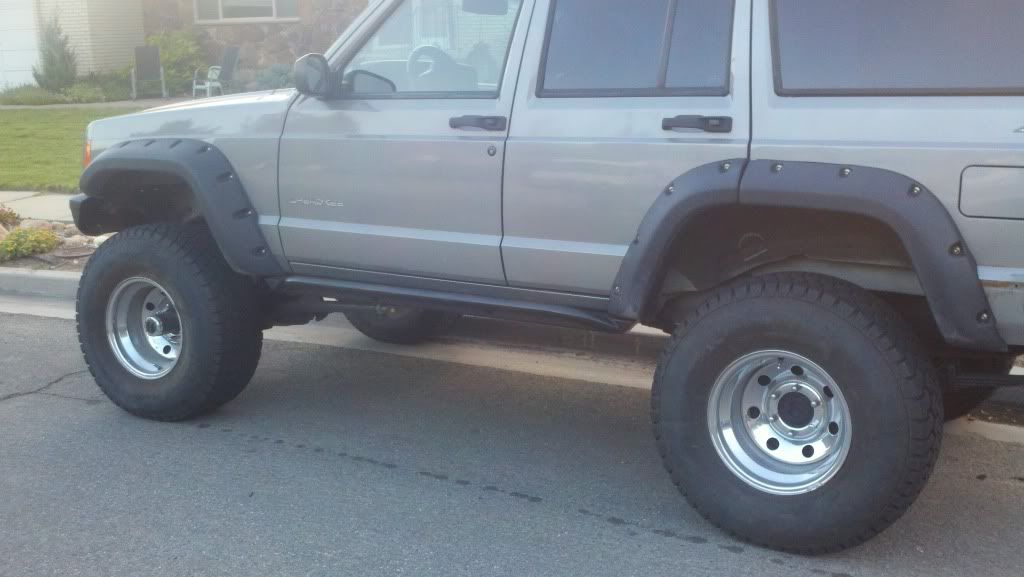
I got some Bw flares to give me more room as the TJ flares didnt give me enough clearence in the front. I also thought they looked ok but on the verge of disapointment...

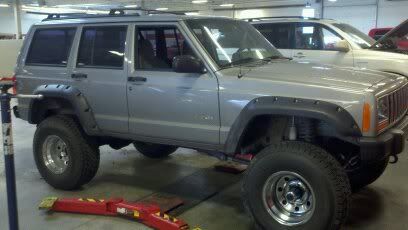
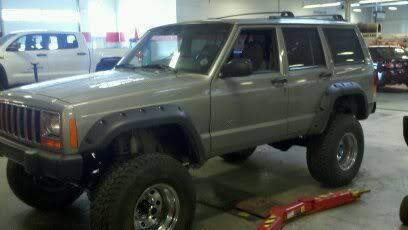
I also installed my flat top knuckles and got a chance to test out my new suspension and 4wheel drive. everything worked without a problem. was a fun day. sadly no pics of mine.
I also installed my flat top knuckles and got a chance to test out my new suspension and 4wheel drive. everything worked without a problem. was a fun day. sadly no pics of mine.

Newbie
Joined: May 2010
Posts: 11
Likes: 0
From: Casper, WY
Year: 2001
Model: Cherokee
Engine: 4.0 straight six
Dude awesome thread I'm stoked I found this as I am in the process of doing the EXACT same axle swap in my jeep and was starting to get a bit skeptical. I bought Ballistics xj/tj front axle upgrade bracket though and am now not sure if they will fit on my waggy 44, gonna have to measure tomorrow. but awesome write up I will definately be refering to this throughout my entire build.
Thread Starter
CF Veteran
Joined: Sep 2010
Posts: 4,968
Likes: 0
From: Salt Lake City, UT
Year: 2000
Model: Cherokee
Engine: 4.0L
Dude awesome thread I'm stoked I found this as I am in the process of doing the EXACT same axle swap in my jeep and was starting to get a bit skeptical. I bought Ballistics xj/tj front axle upgrade bracket though and am now not sure if they will fit on my waggy 44, gonna have to measure tomorrow. but awesome write up I will definately be refering to this throughout my entire build.
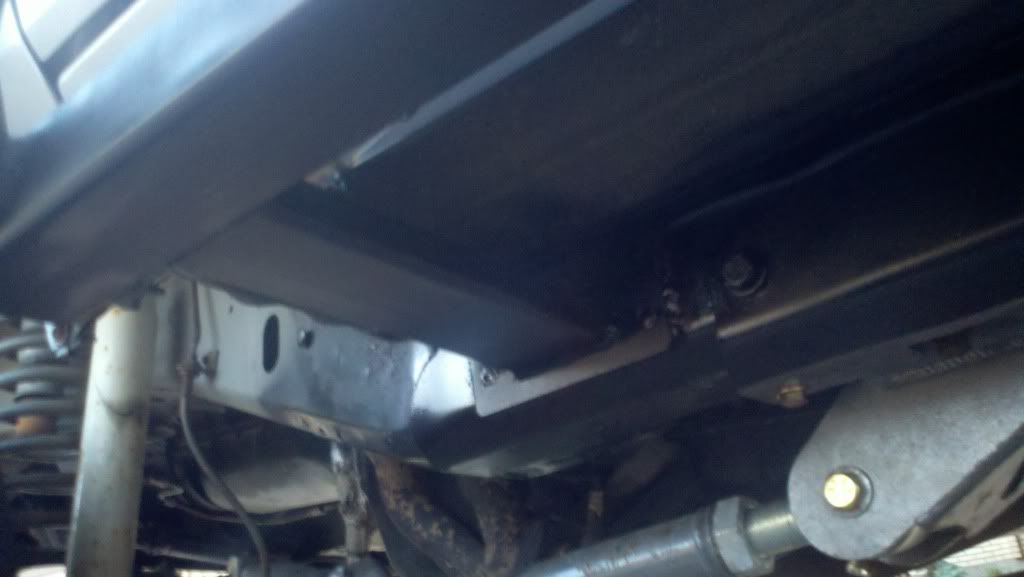
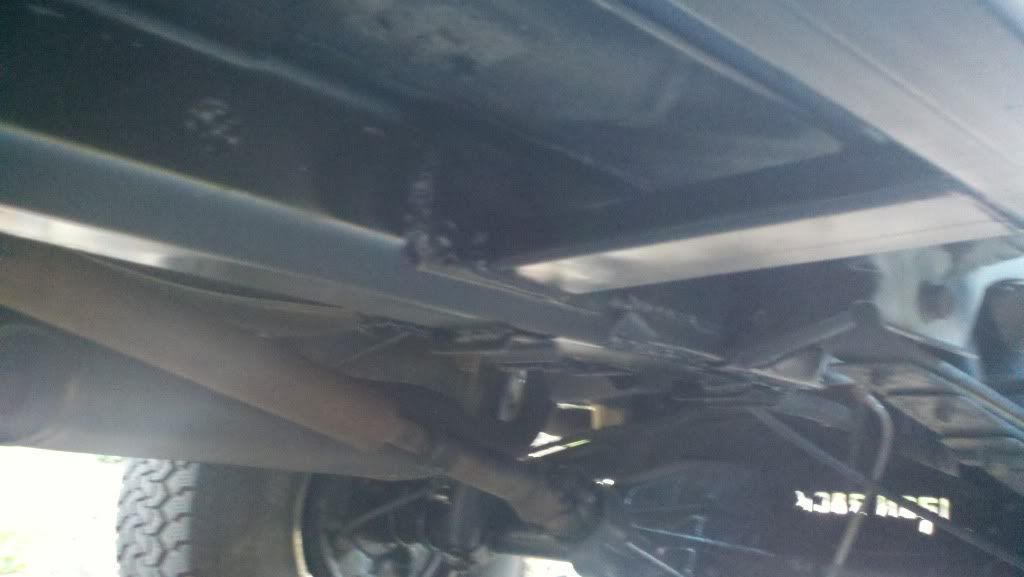
I got my frame stiffeners on, TNT rail stiffeners, found a guy localy who wasn't going to use the set he bought so i snagged them for 80$. no more creeking threw gutters, feels stiffer but could be mental lol. deffinatly nice peice of mind... I got my steering arm and rod ends. the link is being made so hopefully ill have the cross over done soon. some pics of the stiffeners... a huge help cleaning the rails was to get some aircraft stripper (or spray on stripper) and then wipe off the paint and undercoating., very little buffing/sanding needed this way. stitch welded them on, and also drilled 6 7/8" holes obn each rail and plug welded them on.


painted, soon i will undercoat everything once the sliders are welded on.


very happy with how it has come out....
Last edited by Gorillaxj; Jun 24, 2011 at 02:19 PM.
Thread Starter
CF Veteran
Joined: Sep 2010
Posts: 4,968
Likes: 0
From: Salt Lake City, UT
Year: 2000
Model: Cherokee
Engine: 4.0L
I got a package today! JCRoddroad rock sliders! http://www.jcroffroad.com/Merchant2/...egory_Code=XJS
these are VERY beefy! I like them a lot, I had to alter the pinch weld strip on the sliders due to my frame stiffeners changed the spaceing but they worked well with my RC long arms and aren't in the way at all, which i specified to them, (forgot to mention the stiffeners) here are some pics. i used 2 coats metal etching primer, and 3 coat of automotive Rust-Oleumpaint. looks good to me. I also opted to weld them to the frame stiffeners rather then bold to the rails with the "self" tappers they provide. they aren;t going anywhere (i hope
 )
)


I also picked up all my parts for cross over steering so that is going on tomorrow or the next day...
Last edited by Gorillaxj; Jun 28, 2011 at 11:00 PM.
Thread Starter
CF Veteran
Joined: Sep 2010
Posts: 4,968
Likes: 0
From: Salt Lake City, UT
Year: 2000
Model: Cherokee
Engine: 4.0L
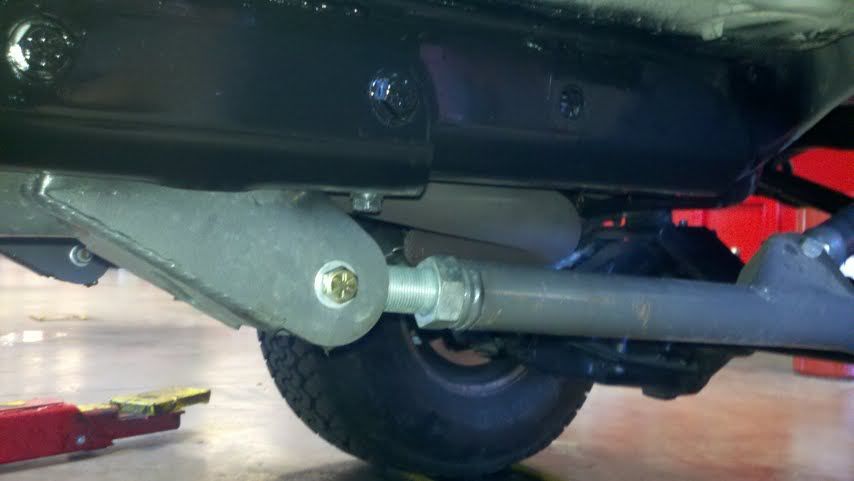
well i got my cross over steering completed. It was WELL worth every penny. I got chevy 1 ton TRE's, a ES2027L and a ES2026R (moog part numbers) about 30$ a TRE, these things are beefy and have tons of angle to them. I had a tube made by a local 4x4 shop for 45$ threded with clamps (thats what they use for more thread contact and better holding) sounds ok to me, I have seen both ways work great. I am glad we put the track bar mount where we did (lucky guess) There is NO longer any bump steer or slop. its nice and tight just how I like it! the steering wheel returns like normal now. I also Have full lock to lock steering again! the steering arm was a steel, they machined it for me, then drilled it for MY aplication and gave me cones/hardwear for 75$. all in all its great! I would highly recomend anyone to do this setup over the inverted T style steering. as always some pics...


and this wraps up everything for the moab trip this weekend! can't wait to really test it all out...
and this wraps up everything for the moab trip this weekend! can't wait to really test it all out...
Last edited by Gorillaxj; Jun 30, 2011 at 11:58 PM.
Thread Starter
CF Veteran
Joined: Sep 2010
Posts: 4,968
Likes: 0
From: Salt Lake City, UT
Year: 2000
Model: Cherokee
Engine: 4.0L
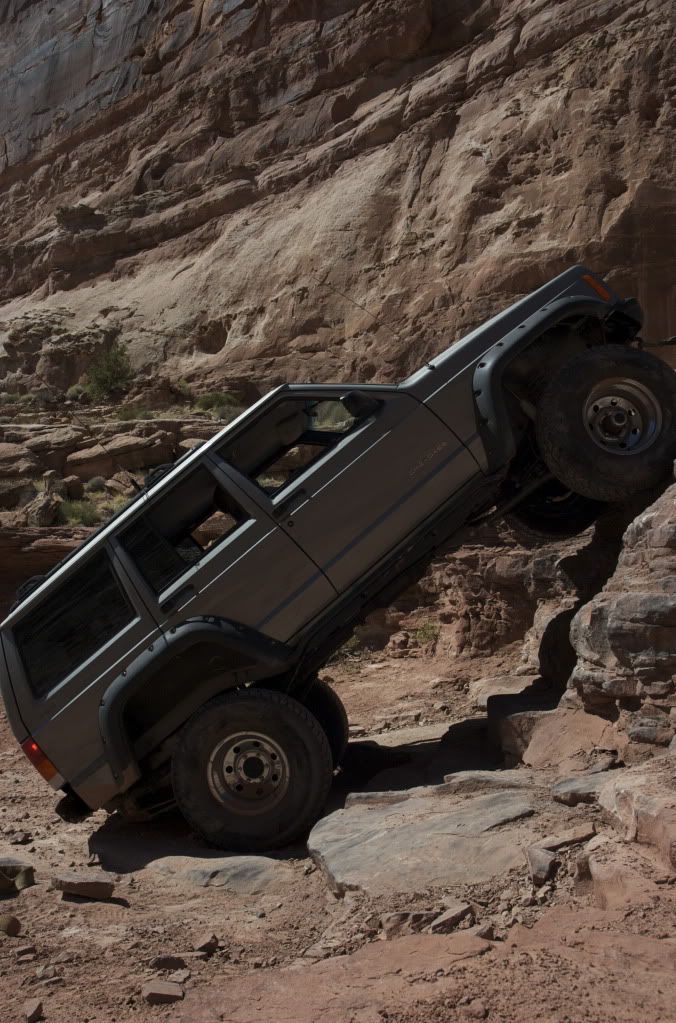
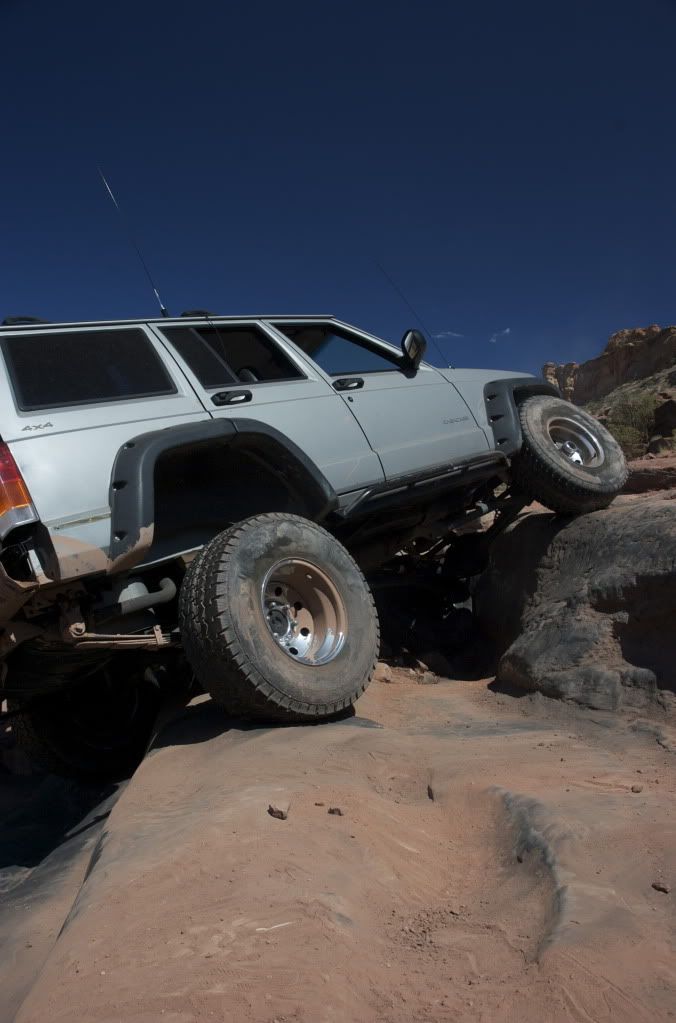
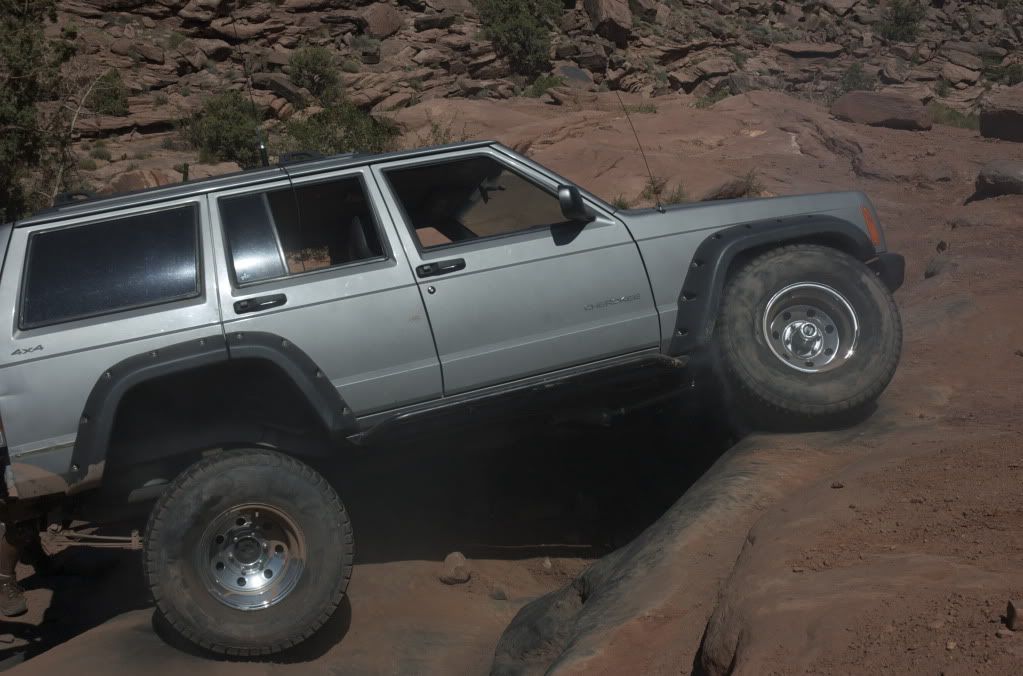
So i finally got the chance to really push my vehicle off road. I went to moab last weekend and ran pritchett canyon (rated at 8), and played around in area BFE (ran green day and minor threat) I only had to take 1 strap and it was on rockpile which was expected. it all worked out great! not even a click or pop from my locker just grabbed, it always felt super stable and never really got tippy. here are some of the pics my buddy emailed to me. hopefully i can get the rest, i really want the pics from axle hill, and chewy... but ill post them if i get them.
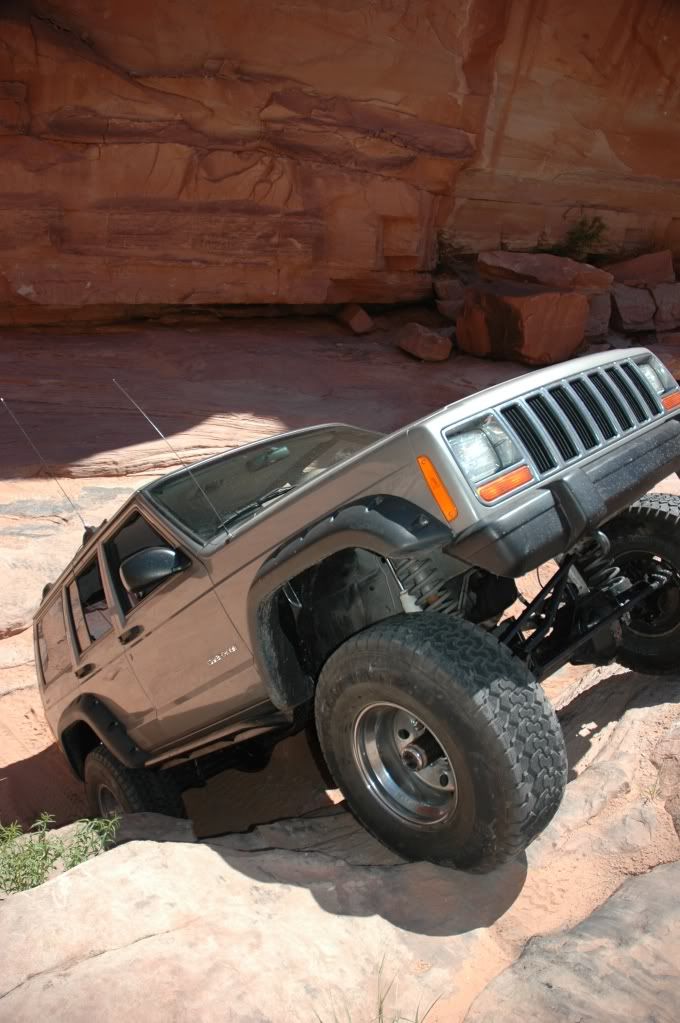

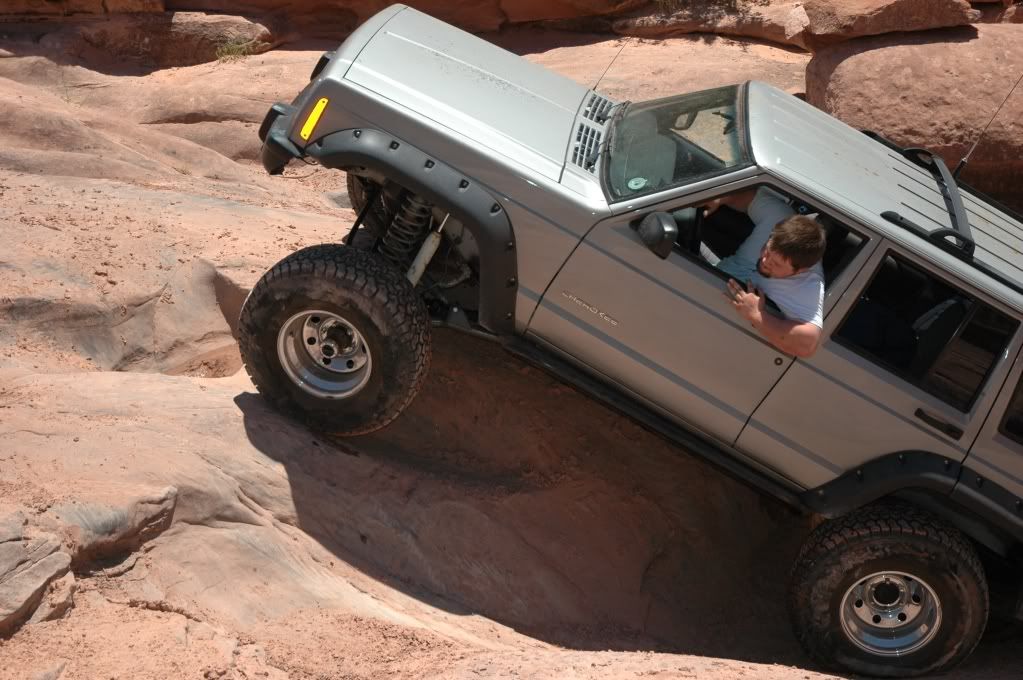
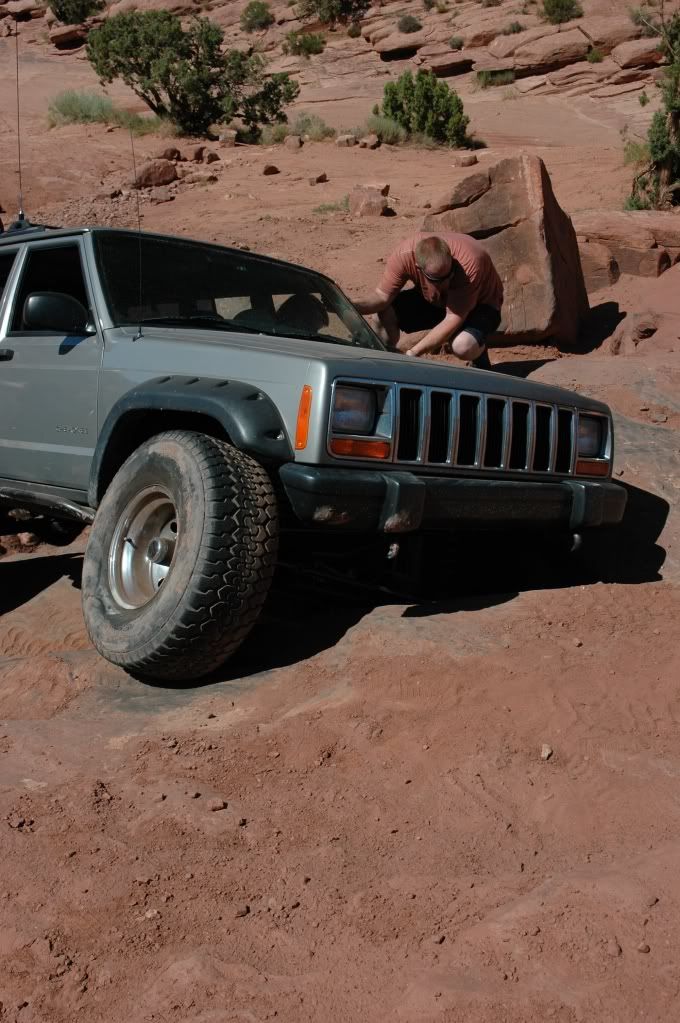
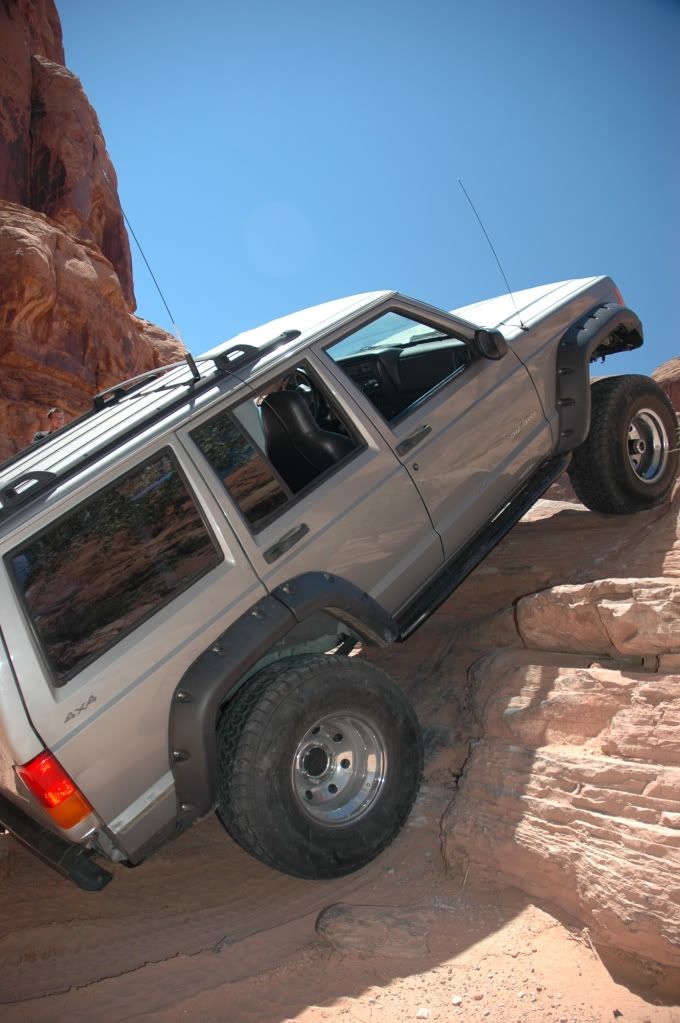
all in all no complaints, eveything worked as planed.
all in all no complaints, eveything worked as planed.
Last edited by Gorillaxj; Jul 8, 2011 at 07:53 AM.


Thread Starter
CF Veteran
Joined: Sep 2010
Posts: 4,968
Likes: 0
From: Salt Lake City, UT
Year: 2000
Model: Cherokee
Engine: 4.0L