
My 2000 xj.

Thread Starter
CF Veteran
Joined: Sep 2010
Posts: 4,968
Likes: 0
From: Salt Lake City, UT
Year: 2000
Model: Cherokee
Engine: 4.0L
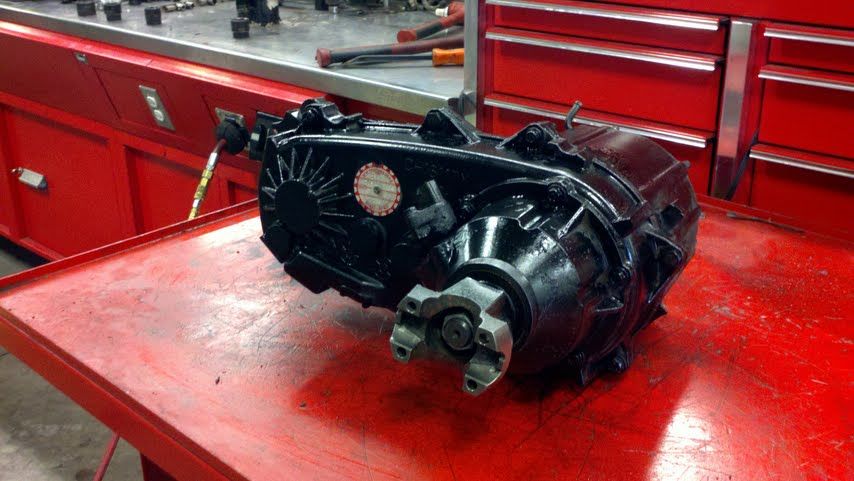
Well I got my 231 T/case rebuilt today. Teraflex SYE, and 2low kit. seams to be working great. excited to put it in...

Last edited by Gorillaxj; Dec 8, 2011 at 08:04 PM.

Thread Starter
CF Veteran
Joined: Sep 2010
Posts: 4,968
Likes: 0
From: Salt Lake City, UT
Year: 2000
Model: Cherokee
Engine: 4.0L
I put my T/case in today, all went well. I ended up not clocking the case as once I lined it up I realized the 231 is a LOT smaller then the 242. the 242 hung down about 1-1.5" lower then the 231 in stock position. With how it sits now if I ran a skid flat with the cross member I would have about 1/2-3/4" clearance before it would touch. with my current skid and the 242 it had 1/4" before it would hit AFTER I dropped the skid 3/4"....
So I will probably just have a plate made that is 3/4"-1" thick and get longer grade 8 bolts to raise the t/case and run a flat skid that way if I need more clearance. I am surprised at how much just the 231 case gave me.


2 Low feels fun. excited to try it out on the trail....
So I will probably just have a plate made that is 3/4"-1" thick and get longer grade 8 bolts to raise the t/case and run a flat skid that way if I need more clearance. I am surprised at how much just the 231 case gave me.
2 Low feels fun. excited to try it out on the trail....
Last edited by Gorillaxj; Dec 12, 2011 at 09:36 PM.
Thread Starter
CF Veteran
Joined: Sep 2010
Posts: 4,968
Likes: 0
From: Salt Lake City, UT
Year: 2000
Model: Cherokee
Engine: 4.0L
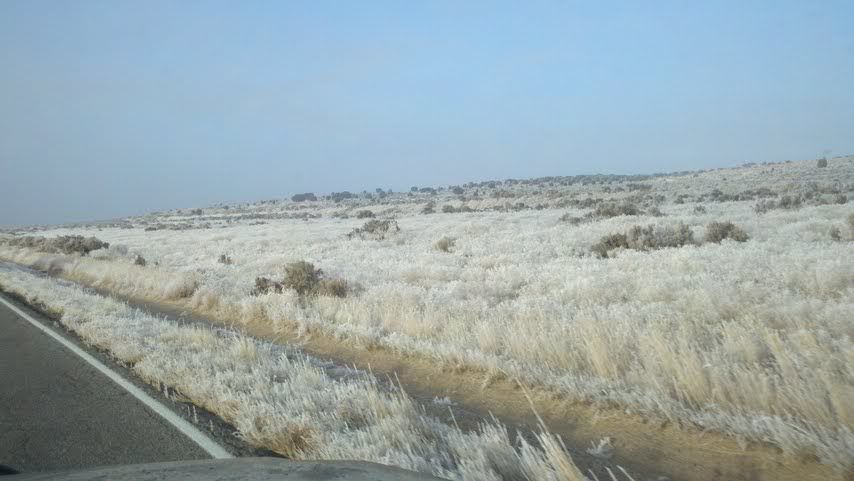
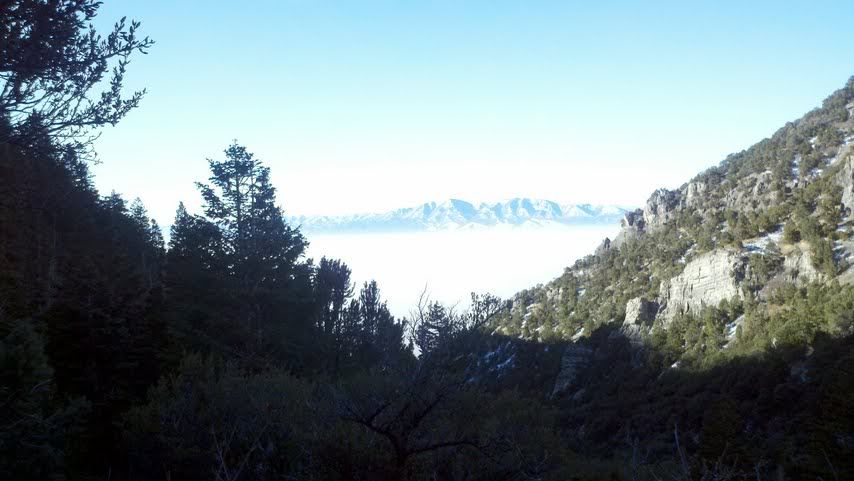
Well I got out and gave a little beating today. pretty smooth laid back day. Just running old mine roads. Went and explored an old ghost town called "Jacob City" way up about 9000-10000 ft above sea level. Only carnage that happened was my CB antenna Snapped off, and a buddy's T/case blew the Super low gears in his T/case. over all a great day with great views and good people.
Transfer case works very well. 2 LOW is amazing for turning... It made it a lot easier and more enjoyable.


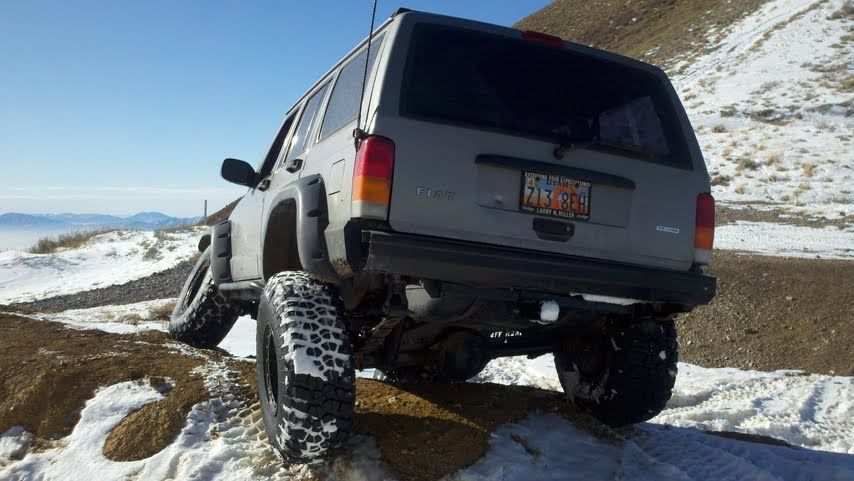

Transfer case works very well. 2 LOW is amazing for turning... It made it a lot easier and more enjoyable.
Last edited by Gorillaxj; Dec 19, 2011 at 01:28 PM.
Thread Starter
CF Veteran
Joined: Sep 2010
Posts: 4,968
Likes: 0
From: Salt Lake City, UT
Year: 2000
Model: Cherokee
Engine: 4.0L
HAHA, no trader! I like it a lot, I am VERY glad I have it. It made turning like I was in 2wd on the pavement... made it very enjoyable, and just shifted to 4 low when I hit snow or came up on something I needed 4wd for.
The Durango Steering box helped out too. I could tell it was easy to turn the wheel, but close to full clock it would still start to lock up and be tough to turn. I think hydraulic assist is still needed, I bet It would still be hard to turn on slick rock like it was before, at least when in 4low..
The Durango Steering box helped out too. I could tell it was easy to turn the wheel, but close to full clock it would still start to lock up and be tough to turn. I think hydraulic assist is still needed, I bet It would still be hard to turn on slick rock like it was before, at least when in 4low..
Thread Starter
CF Veteran
Joined: Sep 2010
Posts: 4,968
Likes: 0
From: Salt Lake City, UT
Year: 2000
Model: Cherokee
Engine: 4.0L
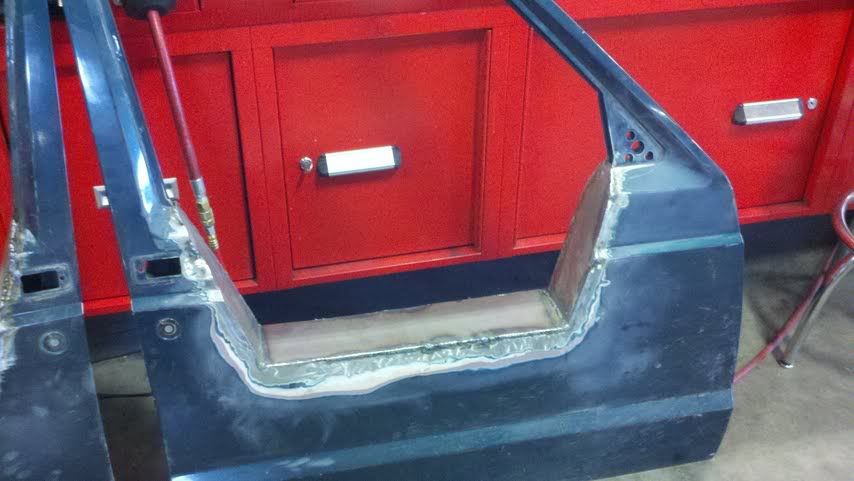
Well working on christmas eve sucks... but no one comes in so its a day for me to do my own sh%t! lol got my other half door plated and welded in. so they are both to the same stage now, I am happy with how they are coming out...
drivers
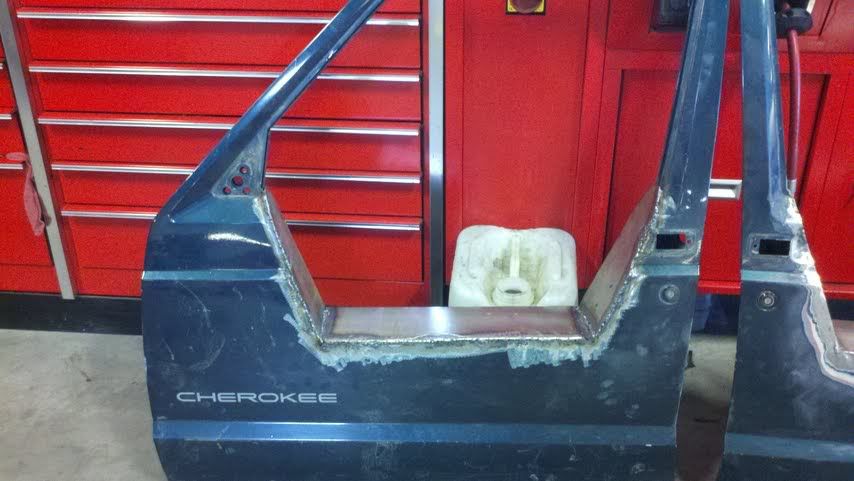
passengers
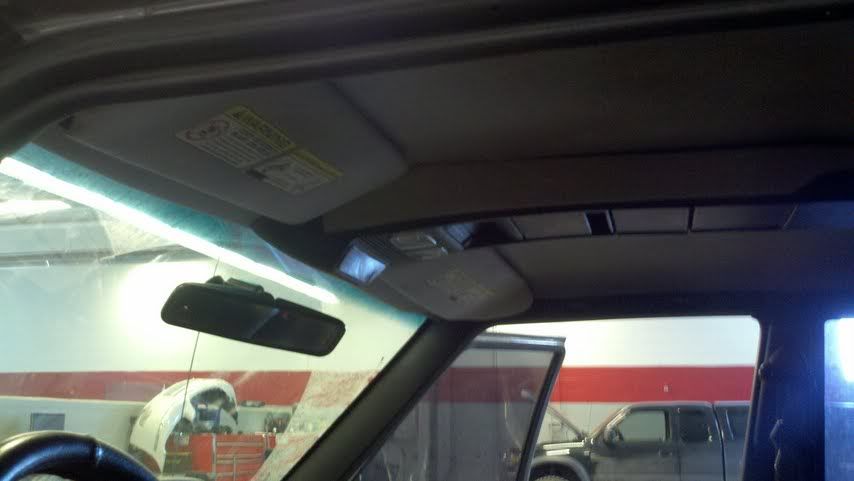
I also snagged an overhead console from a 99 at the JY with computers and wiring for 18.99. wanted one of these for a while now. Also go this in today.... I like it!


Thread Starter
CF Veteran
Joined: Sep 2010
Posts: 4,968
Likes: 0
From: Salt Lake City, UT
Year: 2000
Model: Cherokee
Engine: 4.0L
well progress is slow but happening...
Got my spare tire mount parts in
Mounting plates for the floor.

3/8th" plate for wheel mount.

some gussets for bracing.

The back bumper that is going on. *bought it as a skin and mounts, added the hitch, and will be adding D-ring tabs once They Get here...


Got my spare tire mount parts in
Mounting plates for the floor.
3/8th" plate for wheel mount.
some gussets for bracing.
The back bumper that is going on. *bought it as a skin and mounts, added the hitch, and will be adding D-ring tabs once They Get here...
Thread Starter
CF Veteran
Joined: Sep 2010
Posts: 4,968
Likes: 0
From: Salt Lake City, UT
Year: 2000
Model: Cherokee
Engine: 4.0L
Well I finally got my rear bumper done, welded in the D-rings with some help from a buddy's. I like how slim and tucked up and in, but the tabs stick out to help keep my gate away from rocks. Just left the hitch in place and cut the hitch mount off to leave it in as a rear tie in cross member.


