Jeep Grand Cherokee 1999-2004: How to Replace Transmission Shift Solenoids
Your shift solenoid has likely gone bad, especially if you have been thrown a P code indicated as such with an OBD-II scanning tool.
This article applies to the Jeep Grand Cherokee WJ (1999-2004).
If your jeep has started shifting hard or not shifting into the proper gears, you could have a bad transmission at worst, or hopefully, it's just the solenoid that has gone bad. The automatic shift solenoid is the most likely culprit and fortunately, it is not nearly as expensive to replace as an entire transmission. If you have thrown some "P" codes, get them scanned at a local auto parts store if you don't have your own OBD-II scanning tool. This should pinpoint your problem. If it's just the solenoid that has gone bad, you are in luck. This part can be replaced on your own, even if you have limited mechanical skills. This job isn't too difficult to do on your own, but it is a bit complex and will take considerable time. If it is something you want to tackle, follow these instructions and you'll be extremely happy with the amount of money that you'll save from taking it to a pro. If you are at all squeamish about such an undertaking, make sure you shop around and get a professional you can trust to avoid paying for additional work that you may not need.

Materials Needed
- T25 Torx bit with ratchet
- 0-250 in/lb torque wrench
- Oil catch pan
- Transmission filter kit
- Replacement transmission fluid with funnel
- Plenty of shop rags
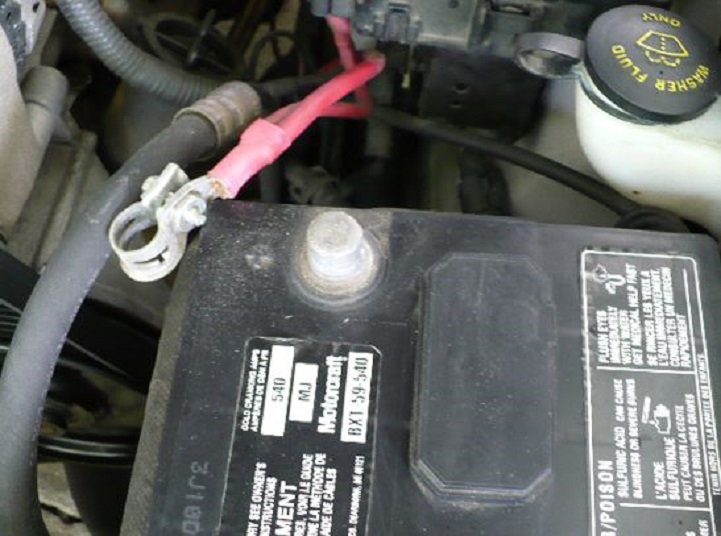
Step 1 – Disconnect your battery
Disconnect your battery by removing the negative (black) battery terminal. This will keep your electronic components safe, as well as erase the trouble codes that you have likely been getting.
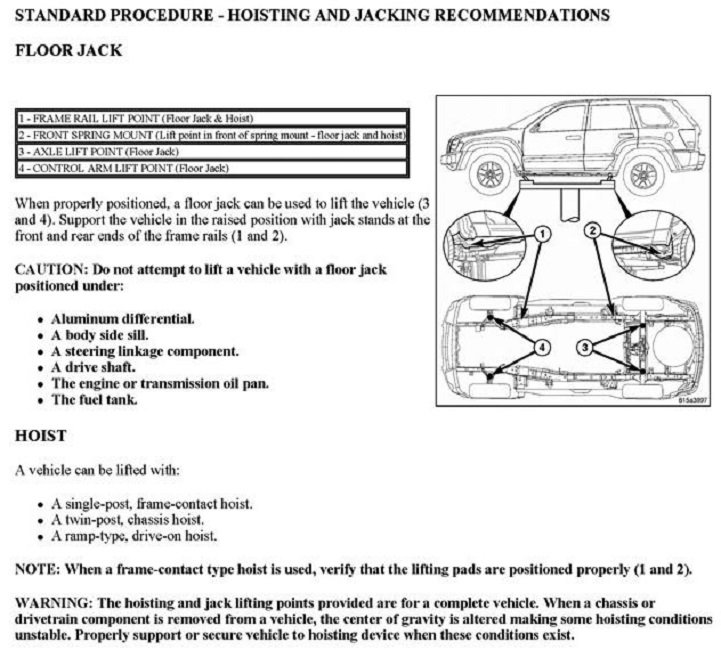
Step 2 – Jack up your Jeep and place on jack stands
Use a hydraulic floor jack to lift the front end. Place on jack stands in the approved locations only. Never work under any vehicle that is secured only with a floor jack.
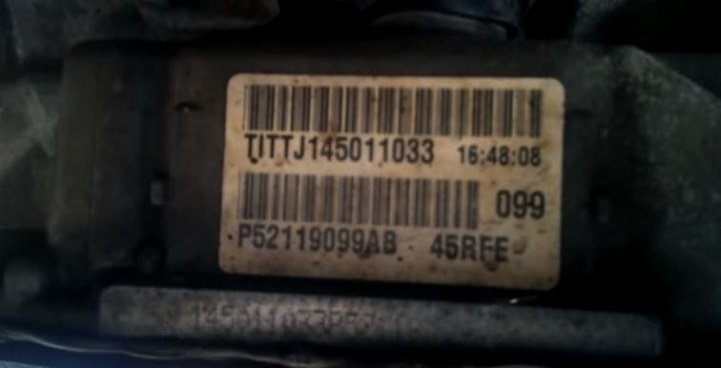
Step 3 – Make sure you know your transmission model
Before you replace the solenoid packs, make sure you know the correct model of transmission on your Jeep. On the side of the transmission case, you should find a bar code with the transmission type printed on it. If you do not match the correct transmission type with the replacement solenoid, it will not fit correctly.
Step 4 – Prepare to remove the transmission pan
There are about 14 to 15 8mm bolts attached to the transmission fluid drain pan under your Jeep. Consider using some WD-40 or PB Blaster on each bolt to get them lubed up nicely before taking them off. A regular 8mm socket will work, but an extender may make them a bit easier to work with. Be sure to have a catch basin in location first and remove the rear of the pan first. The old fluid will start pouring when you remove the rear bolts and you want to make sure you catch the fluid, as it is very slick. Once the fluid has drained, you may want to run a magnet through it to check for metal debris and ensure that you don't have any major transmission issues looming. While the fluid is still draining, now is a good time to use a putty knife to scrape off the old gasket residue from the lip of the pan.
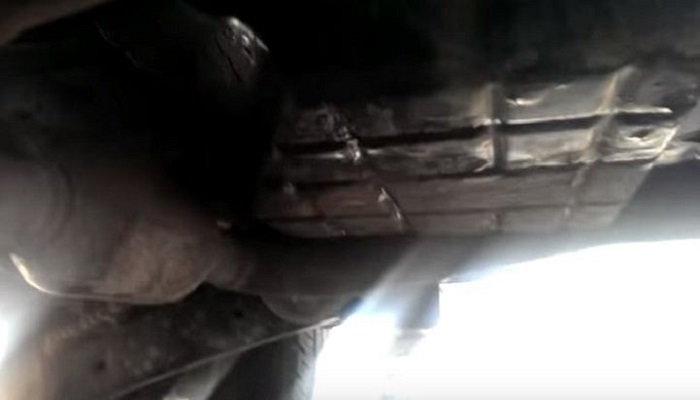
Figure 4. Drop the transmission fluid pan and make sure you catch all the old fluid in your container. 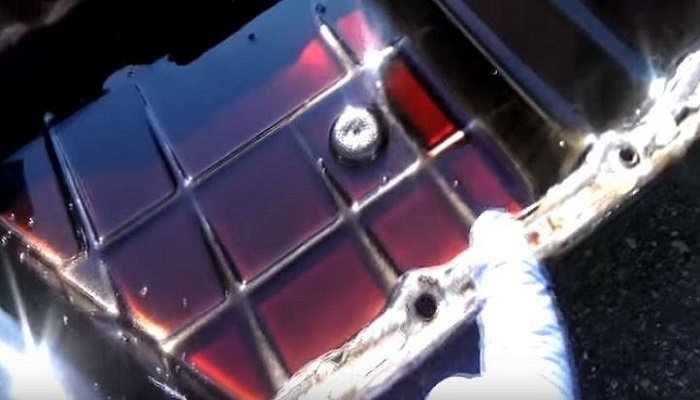
Figure 5. Use a putty knife to remove the old gasket residue so the new gasket will make a good seal and avoid any leaks. 
Figure 6. Check the condition of your old fluid to determine the condition of your transmission.
Step 5 – Remove internal automatic transmission cartridge and filter
The internal transmission cartridge is mounted using only a single Torx 25 bit. This is the only special tool that is needed for this job. Remove the bolt and the cartridge; it simply pulls right out, but be careful because it is filled with fluid as well and is pretty messy if you tilt it while removing it. There is also the large round filter that can be removed, but it may be on there very tight. The filter may not need replaced, but it can't hurt since you are already there at this point.
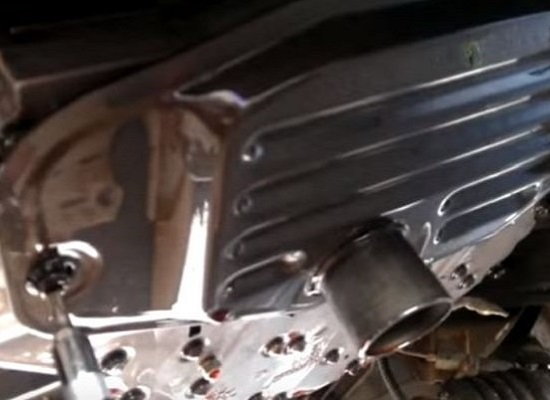
Figure 7. A single 25mm Torx bit is needed to remove the cartridge. Be careful as it is filled with ATF. 
Figure 8. Dump the old fluid from the cartridge. Your cartridge can likely be reused. 
Figure 9. If you can remove the ATF filter, now is a good time to replace it since you already have access to it.
Step 6 – Disconnect the wiring harness for the solenoid
The solenoid is mounted on the transmission valve body, and the wiring harness plug from the solenoid seats just above the transmission label shown in Step 10. There is a retaining clip that you need to pop down first and then you may need to use a small flat head screwdriver to press up on the harness to disengage it.

Step 7 – Remove the transmission valve body
There are about six 8mm bolts that mount the transmission valve body to the bottom of the transmission. These need to be removed; although it's not going to fall right out, it does require some wiggling and it should come right off. Be careful as this has considerable weight to it, so be sure to have control of it while you are wiggling it to get it out.
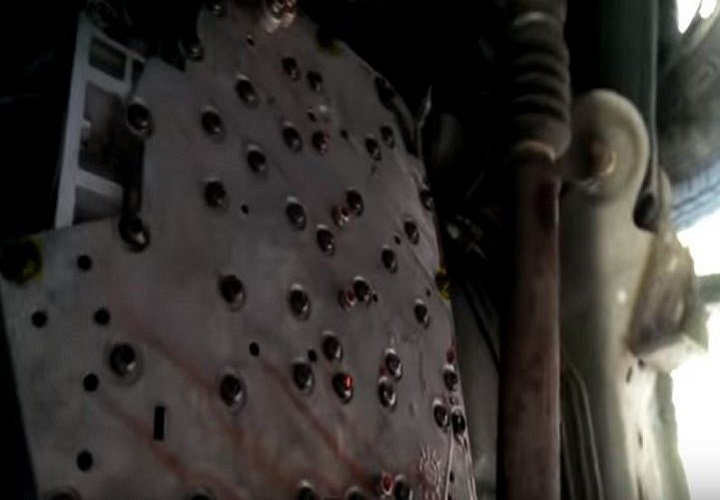
Figure 11. Remove the six 8mm bolts to drop the valve body. 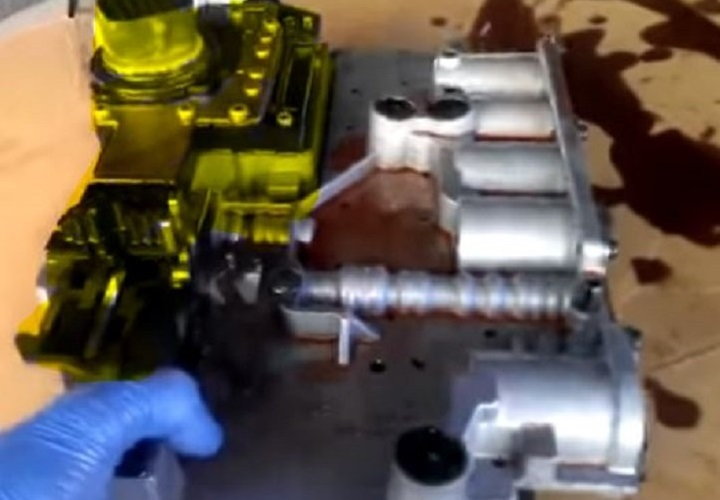
Figure 12. The solenoid is mounted on the valve body with several T25 Torx bits.
Step 8 – Remove solenoid and early range sensor plate
Flip the valve body over to get access to about 15 T25 Torx bits that mount the solenoid onto the body. Remove all of the bits to get the solenoid off. There is an early range sensor plate held on by two shoulder screws (T25 also) that needs to come off, as well.
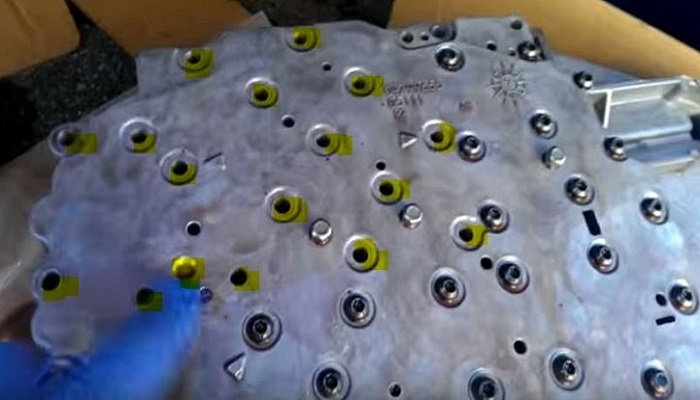
Figure 13. All of these T25 bits need removed to get that solenoid off of the valve body. 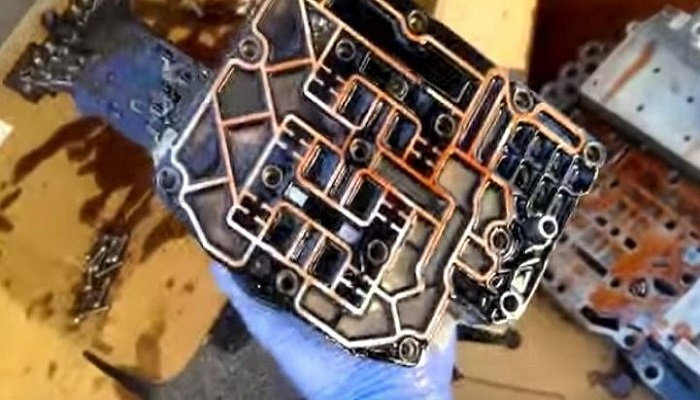
Figure 14. Once the T25 bolts are removed, flip the valve body back over and the solenoid lifts right out. 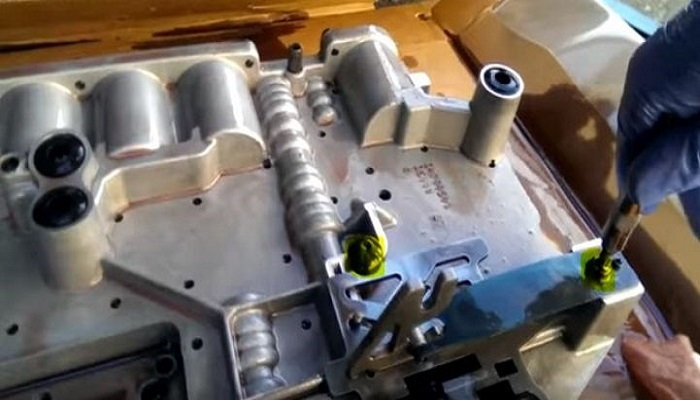
Figure 15. Replace the early range sensor plate. Once the solenoid is removed, this plate is held on with two T25 shoulder bolts that needs to be removed. 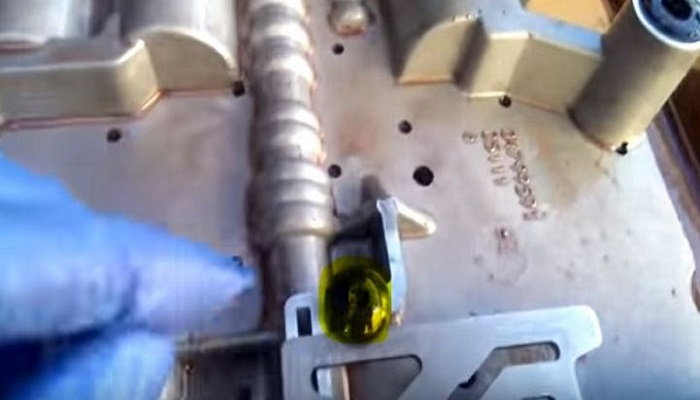
Figure 16. When the new plate is installed, be sure to torque the larger T25 to 40 lb/inch.
Step 9 – Install new solenoid
Your new solenoid should plug right in. All the T25 bolts should line up exactly with the holes on the valve body. This is why getting the correct transmission model number is critical. When re-mounting the new solenoid and carefully flipping over the valve body, install the two T25 bolts next to the arrows first. All of the T25 bolts need to be torqued to 50 lbs/inch.
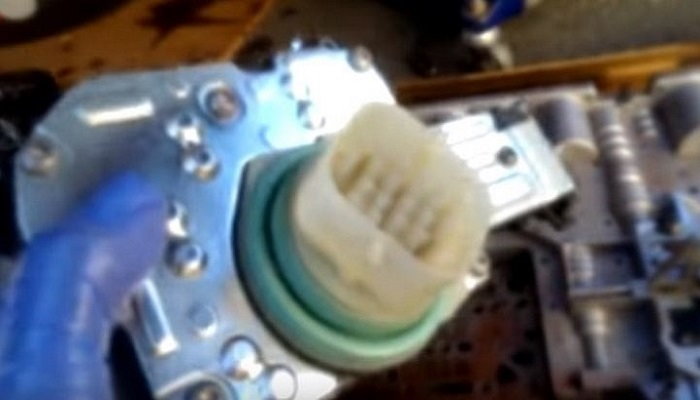
Figure 17. New solenoid should plug right in place. 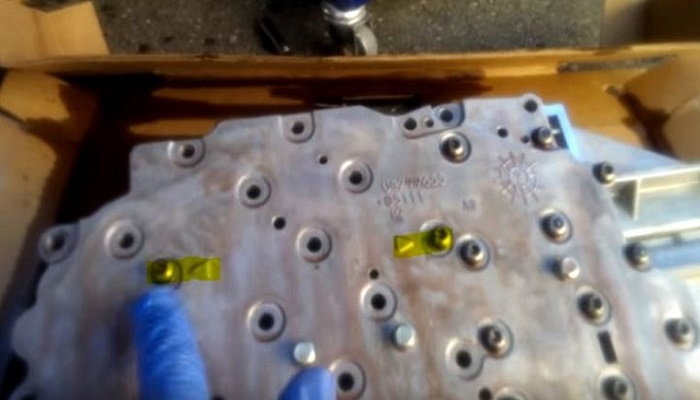
Figure 18. Install the two T25 bolts indicted by the arrows first. Torque all of the bolts to 50 lbs/inch.
Step 10 – Remount valve body
Before you reinstall the valve body, make sure that you have a clean surface for mounting. There will be old gasket material that needs cleaned off of the mounting point for the valve body. Use your putty knife to get all the old material off the mounting surface. Install the new valve body gasket and prepare the valve body for re-installation. There is a latch on the bottom of the transmission that fits into the U-shaped shift indicator lever on the valve body. Make sure that the valve body is in the park position, so it slides in easily. Once it is in place, reinstall the six mounting bolts and they must be torqued to 105 lb/inch.
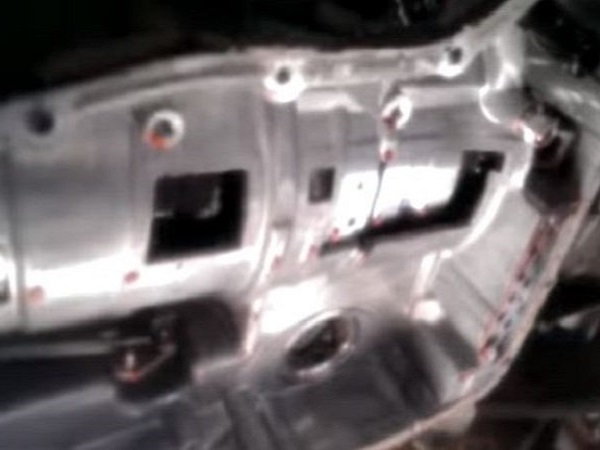
Figure 19. Clean the mounting surface before reseating the valve body. 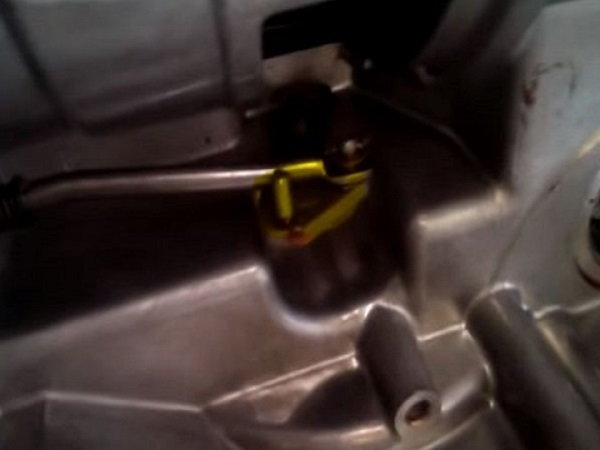
Figure 20. This latch needs to marry up to the latch seat on the valve body. 
Figure 21. The valve body latch seat must be in the park position to marry up to the transmission latch.
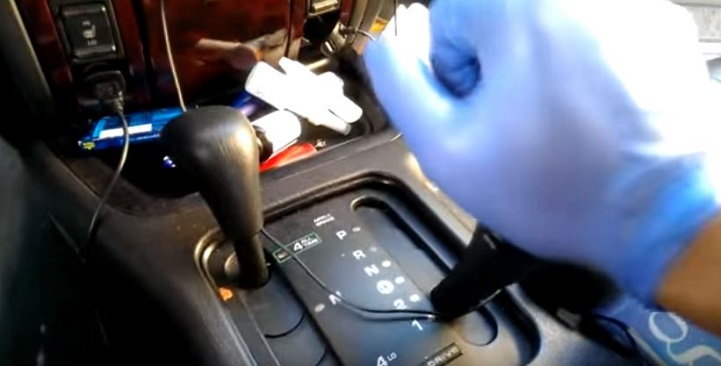
Step 11 – Test your shifter
After you have mounted the valve body and before you start buttoning everything back up, test your gear shift first. Do not start your engine, but turn the key to the on position. Shift through all the gears to make sure you can feel the plate hit every gear and they click into place as normal. Its much better to make sure this is correct and not have to tear everything apart again.
Step 12 – Put it all back together
Once you are satisfied that the valve body is in correctly, you can start putting the rest of her back in order.
- Replace the internal cartridge and tighten that single T25 Torx bit. It doesn't have to be torqued, just snug.
- Install the new gasket on the transmission fluid pan. Insert some of the bolts first to make sure the gasket is in place correctly.
- Plug the solenoid wiring harness back in and make sure to press up on the latch until it locks in place.
- Re-fill your Jeep with the correct automatic transmission fluid, anywhere from 5-8 quarts.
- Let the Jeep sit for several minutes and then shift through the gears to work it all in before starting.
- If you don't have an OBD-II scanning tool to clear any P-codes, take it to an auto parts store and they can do it for you, making sure that you corrected the problem.
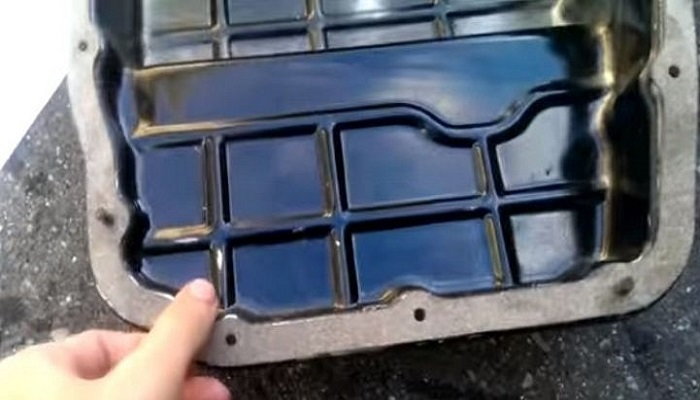
Figure 23. Insert a few bolts into the mounting holes to make sure you get the gasket lined up correctly. 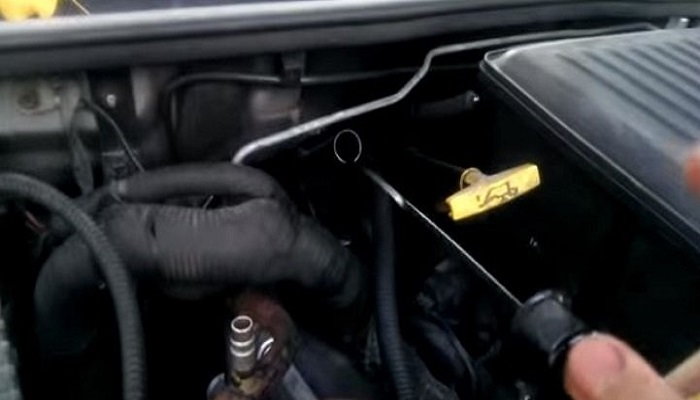
Figure 24. Refill your automatic transmission fluid to the proper level.
Featured Video: Jeep Grand Cherokee How to Replace Shift Solenoid
Related Discussions
- How to Test Transmission Solenoids - CherokeeForum.com
- 1993 ZJ Limited Transmission Issue - CherokeeForum.com
- Transmission Control Solenoid, Where Is It? - CherokeeForum.com
- Transmission Solenoid - CherokeeForum.com
- Where is the #1 Transmission Solenoid - CherokeeForum.com

