Jeep Grand Cherokee 1999-2004: How to Replace Serpentine Belt
Is the serpentine belt on your Jeep Grand Cherokee cracked and worn, or did it just decide to break off and fly away? We'll show you the correct way to replace it and get your Jeep running smoothly once again.
This article applies to the Jeep Grand Cherokee WJ (1999-2004).
The serpentine belt is routed around all of the pulleys of the front of the engine. These pulleys are related to crucial accessories that are powered by the rotation of the belt. For most vehicles, these accessories include air conditioning, power steering, the alternator and the water pump. If the serpentine belt slips, shreds, or otherwise, these components ceases to function. While not having A/C or power steering may be annoying, not having a functioning water pump means an overheating motor that will shut off once it gets too hot; also, and a non-op alternator means that even when the motor cools down, it won't start. Replacing the serpentine belt should be considered routine maintenance and done every 60,000 miles or 100,000 kilometers. If you're due for a belt replacement, don't put it off, so let's get this done quickly and easily.

Materials Needed
- 15mm socket with extension
- Ratchet
- 15mm wrench
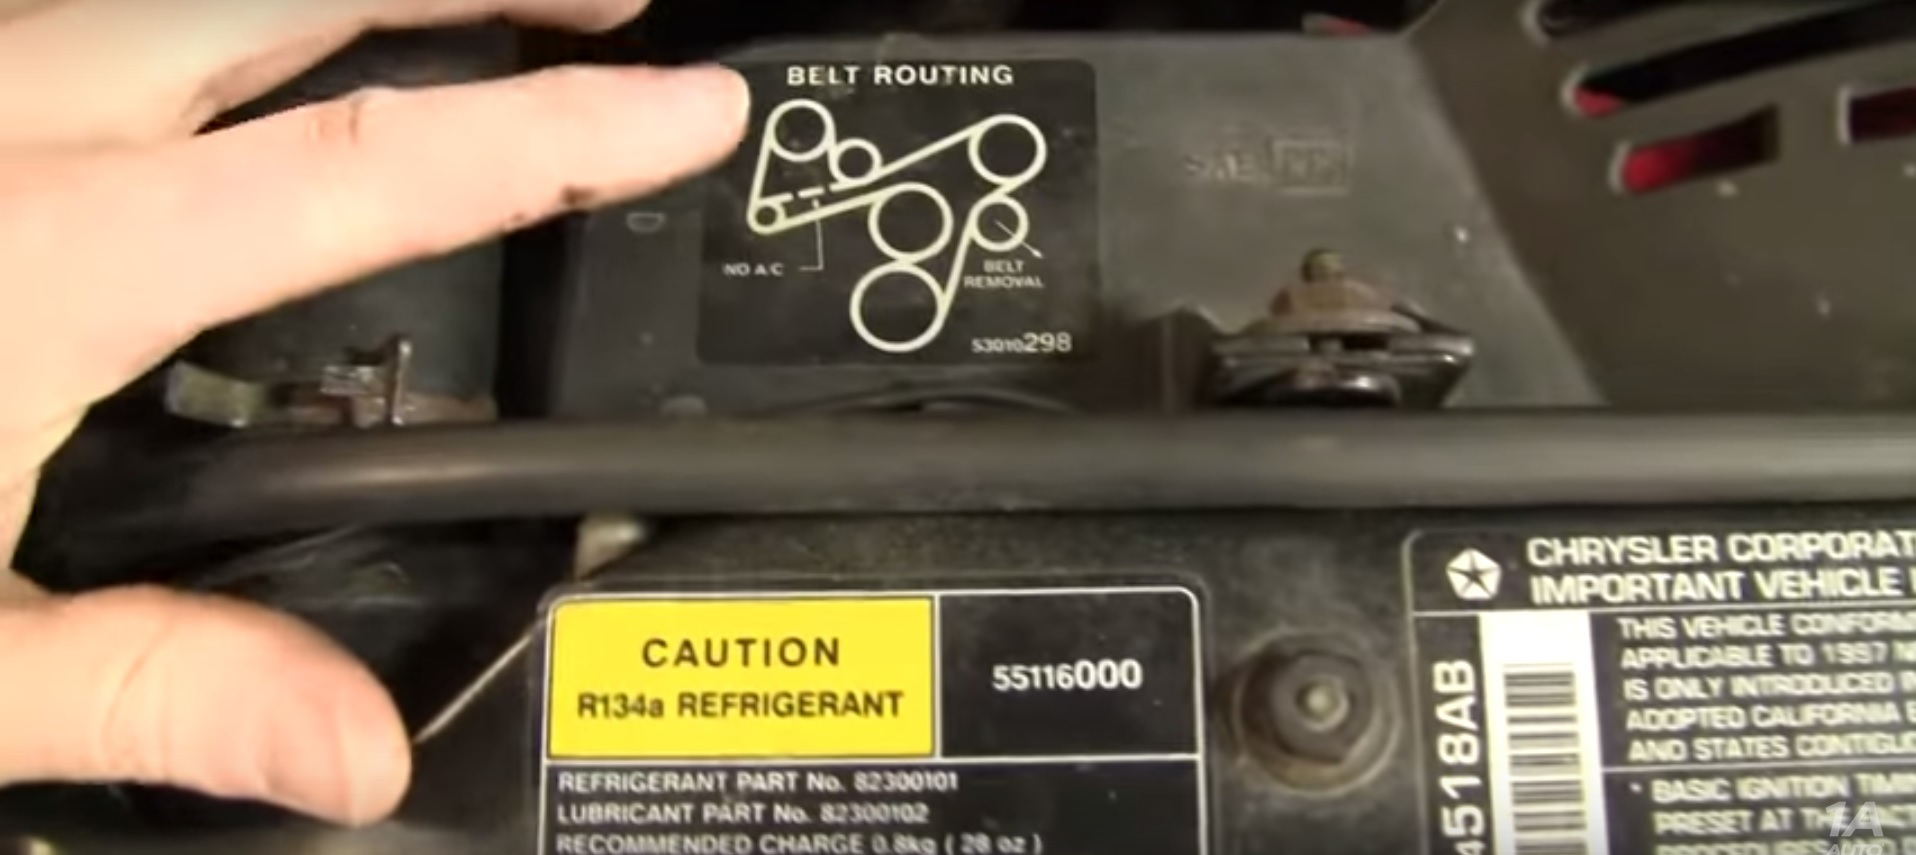
Step 1 – Locate belt routing diagram
Before you begin, take note of the belt routing diagram located on a sticker on top of the radiator shroud. It is critically important that you route the belt properly to ensure that all of your accessories function properly upon installation. If the sticker is missing, you can easily find the diagram for your particular model with a simple Internet search. If your belt is still on, take a good look at it before removing to get an idea of what all the different pulleys are used for and how the belt is routed.
Step 2 – Remove serpentine belt
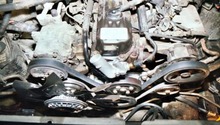
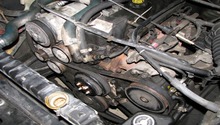
If your serpentine belt hasn't come completely off, you'll first need to remove the old belt. First remove the sensor wire seen in Figure 2 by unplugging it. Remove the pulley bolt on the power steering pump pulley with a 15mm wrench as shown in Figure 3. Use a ratchet with an extension and 15mm socket to loosen the belt tensioner nut, which will in turn loosen the belt. Once the belt is loose enough, pull it off the power steering pump pulley. Removing the belt can be a bit of a pain, as reaching the crankshaft can be tough. Once loose, rotate the fan by hand while pulling up on the belt to get it completely out.
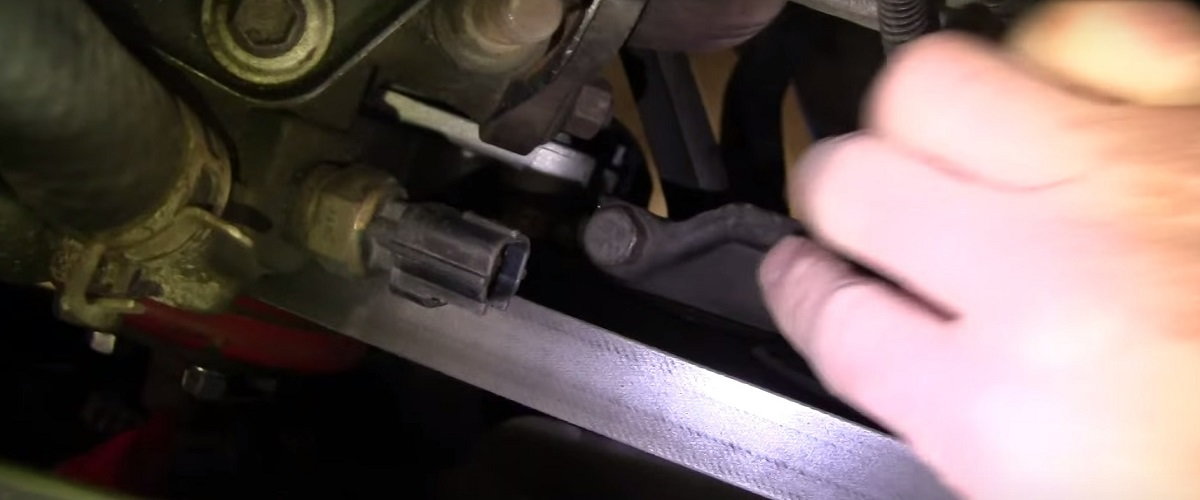
Figure 2. Unplug the sensor wire. 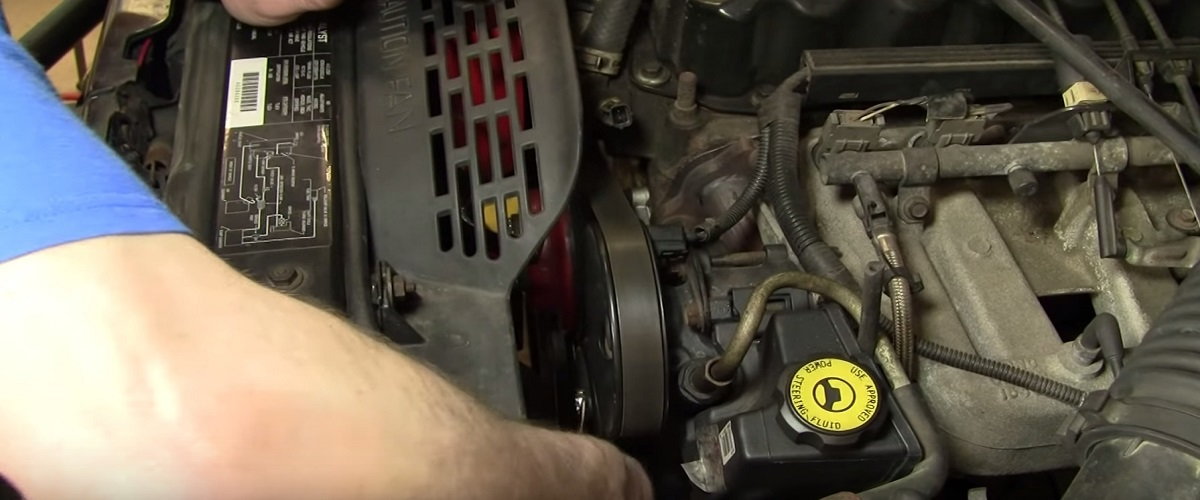
Figure 3. Remove the 15mm bolt in the power steering pump pulley. 
Figure 4. Loosen the belt tensioner bolt. 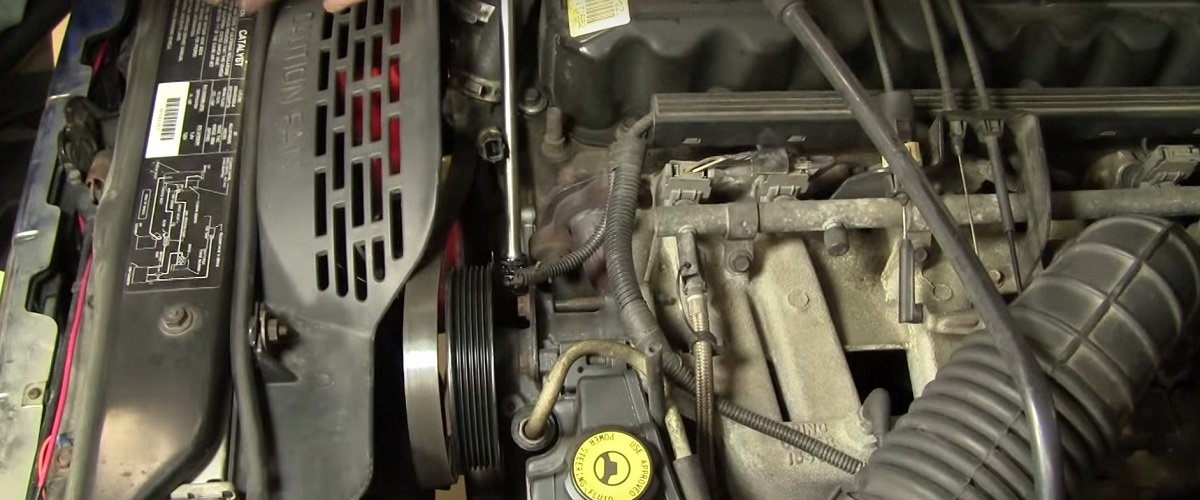
Figure 5. Pull the belt off power steering pump pulley and remove it.
Step 3 – Install new serpentine belt
When installing the new belt, you will want to first loop it around the crankshaft, as this is the most difficult part of the job. Use your hands to make a loop with the belt and feed it down in until you can get the loop around the crankshaft pulley, rotating the fan to help slide it down. Wrap the belt around the power steering pulley, then the other pulleys as specified in your belt routing diagram. If necessary, you can loosen the belt tensioner more to give yourself more room to get it on. Once you have the belt installed, double check your diagram to ensure that it is properly routed. Use your ratchet with extension and 15mm socket to re-tighten the belt tensioner bolt. Reinstall the pulley bolt. Continue tightening the tensioner and keep your thumb on the belt to keep note of the tension until you have around 1/4" of play in the belt. Plug the sensor wire back in.
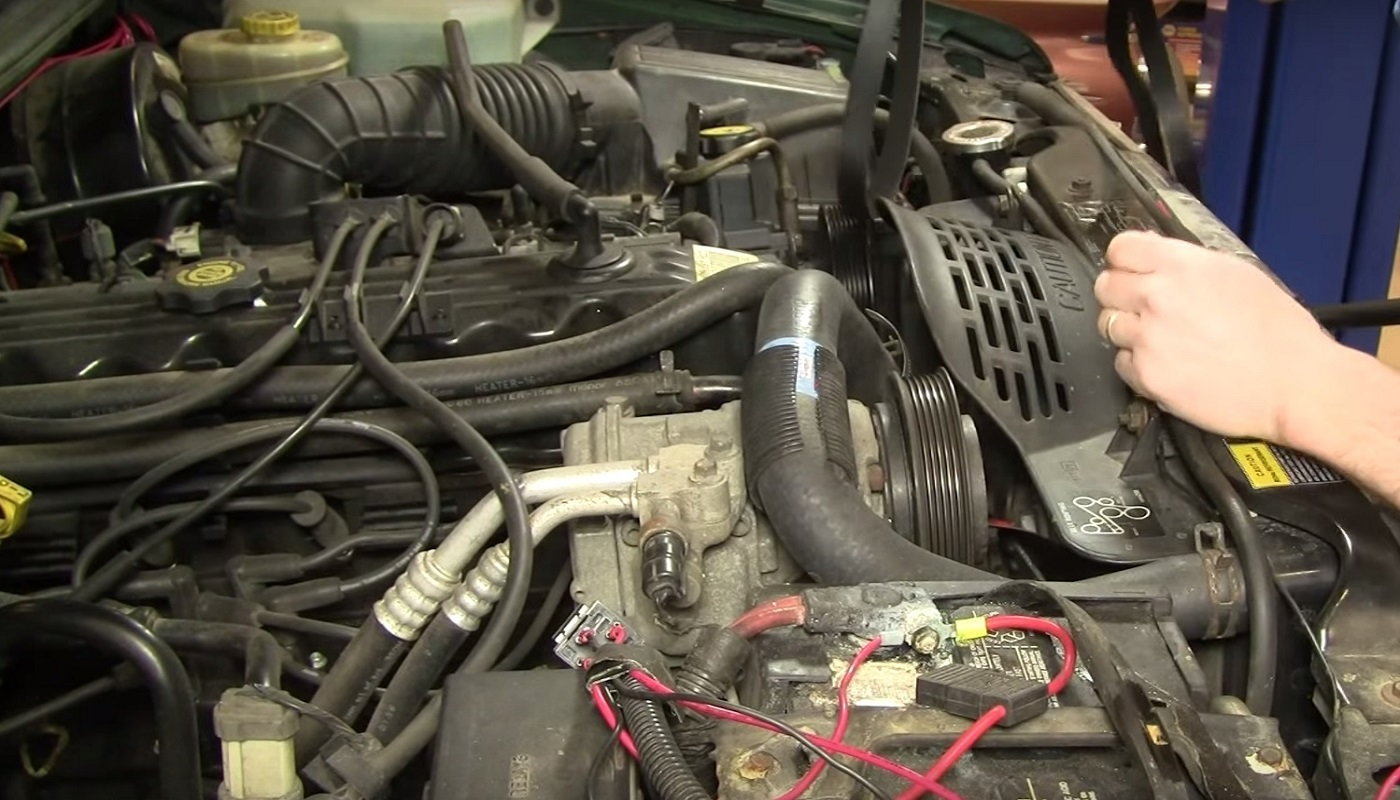
Figure 6. Form a loop on the belt and feed it down into the front of the engine. 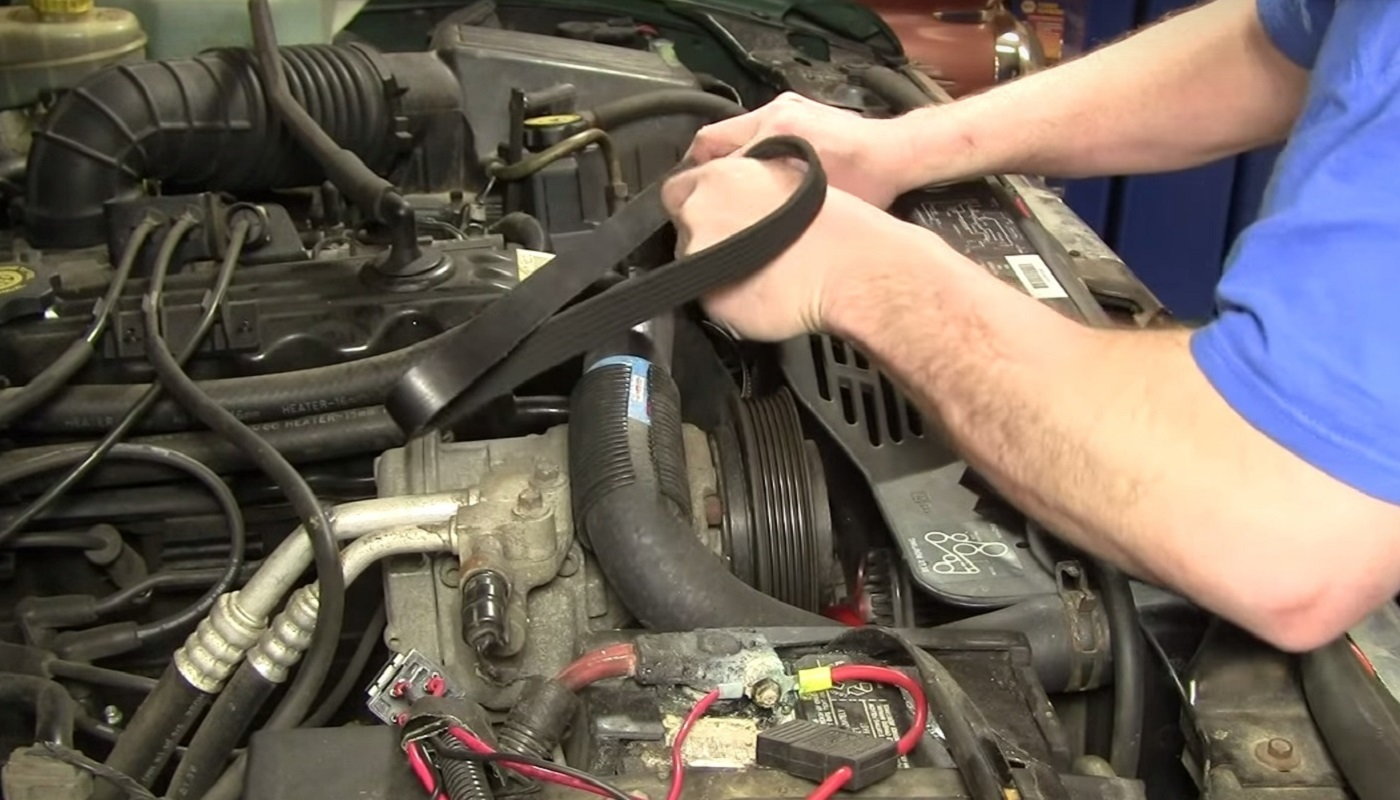
Figure 7. Loop the belt around the pulleys in the manner displayed in your belt loop diagram. 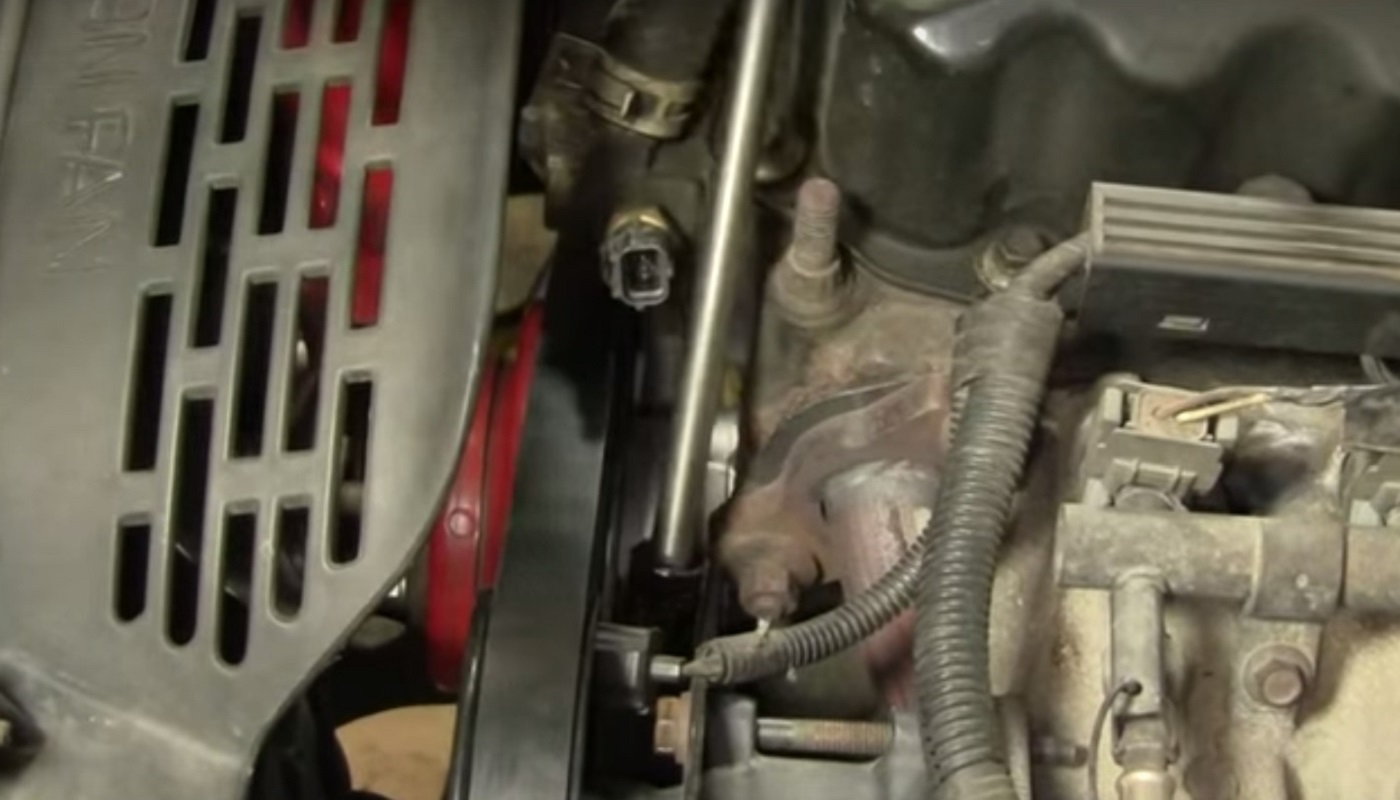
Figure 8. Adjust the tension until you have around 1/4" of play in the belt.
Featured Video: How to Replace Serpentine Belt
Related Discussions
- Belt Squeal - CherokeeForum.com
- Help with Serpentine Belt, Pulleys and Tensioner - CherokeeForum.com
- Which Serpentine Belt to Buy - CherokeeForum.com