Jeep Cherokee 1984-2001: How to Replace Serpentine Belt
Engine accessories are driven off of the engine via a serpentine belt. This often overlooked belt is not only necessary for normal vehicle operation, but can make the vehicle unsafe to drive if it fails.
This article applies to the XJ Jeep Cherokee (1984-2001).
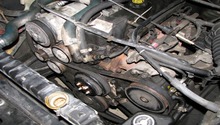
The serpentine belt is responsible for transmitting engine power to the various engine accessories. The power steering pump, water pump, alternator, air-conditioning compressor, and engine fan are all operated by the serpentine belt. While serpentine belts are quite robust and generally last many miles, it is recommended that they are changed at regular service intervals to ensure proper vehicle operation. More often than not, belts begin to weather as well as crack, and are susceptible to break. While older vehicles that utilized multiple belts could continue to operate if a belt broke, a broken serpentine belt can leave your XJ Cherokee sitting on the side of the road. A broken serpentine belt will allow the engine to quickly overheat, eliminate power-assisted steering, and cause the vehicle to use the battery as a backup source of power. Do yourself a favor by replacing that worn serpentine belt before it breaks and leaves you stranded.

Materials Needed
- 13mm or 15mm wrench/socket
- 3/8" drive ratchet and extension
- New serpentine belt
Step 1 – Belt routing orientation
The first step towards changing your serpentine belt is to familiarize yourself with the correct routing of the belt. A belt diagram is typically placed in the engine bay, near the fan; however, these diagrams can peel off or wear away as the vehicle ages. If your car does not have a belt diagram available, it is recommended that you draw a diagram of the belt routing to ensure correct installation of the new belt.

Pro Tip
Belt diagrams often have a part number listed to show the correct belt for the vehicle. This information should also be available in your owner's manual.
Step 2 – Loosen belt tension
XJ Cherokee models do not have a spring loaded belt tensioner, but instead use manual belt adjustment at the power steering pump to adjust belt tension.
- For early XJ models, it is best to remove the airbox assembly for easier access to the power steering tensioner bolts (refer to article How to Make and Install Cold Air Intake for airbox removal). With the airbox removed, loosen the (2) power steering pump bracket bolts from the backside of the pump with a 13mm wrench. Next, loosen the belt tensioning bolt just below the pump pulley to relieve belt tension. The belt should now be ready for removal.
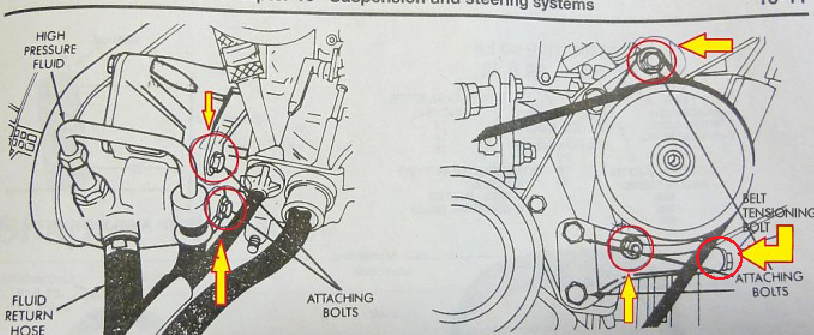
- Later XJ models have a simpler belt adjustment procedure requiring only the the idler pulley and belt adjusting bolt be loosened for removal. With a 15mm wrench, loosen the idler pulley "tensioner bolt," but do not remove it. Next, loosen the adjuster bolt with a 15mm socket, ratchet and extension. Loosen the bolt until there is slack in the belt and slide it off of the power steering pump pulley.
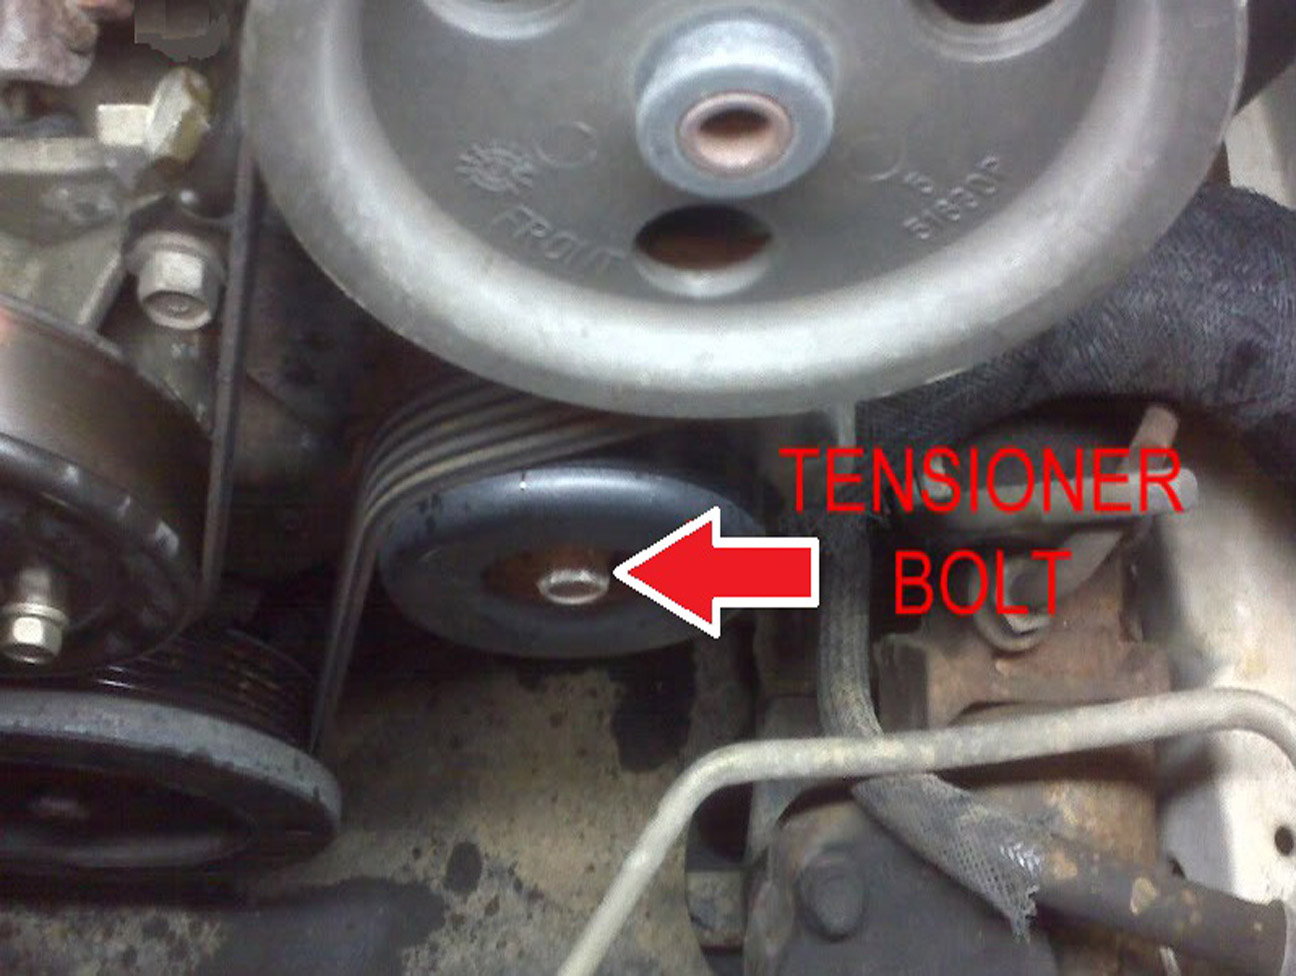
Figure 3. Idler pulley bolt to be loosened. 
Figure 4. Loosen adjuster bolt for belt removal.
Pro Tip
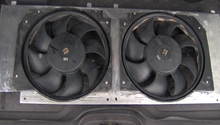
Additional space can be achieved by removing the electric fan as well.
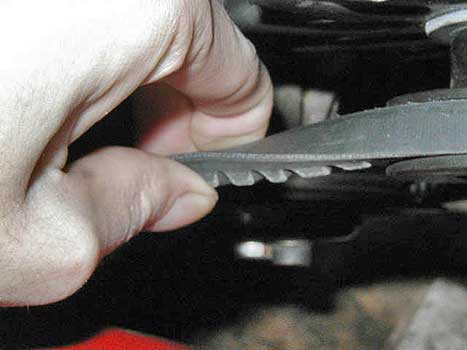
Step 3 – Remove and replace belt
- With the belt tension relieved, it is only a matter of sliding the old belt off of the pulleys and replacing it with a new belt. The belt must be slid over the mechanical fan for removal. Some individuals opt to remove the fan shroud for additional room; however, it is not necessary for belt replacement.
- After placing the new belt over the fan, it is best to position the belt around the crank pulley first and work your way around the other pulleys from there. The last areas the belt should be fitted to is the power steering pump pulley or idler pulley. Use the belt routing diagram from Step 1 to ensure the belt is routed correctly.
- With the belt in place, tighten the adjusting bolt to achieve proper belt tension. Rule of thumb is to have 1/2" of deflection. Additionally, twisting the belt at its longest section can also determine the tension. The belt should turn approximately 90 degrees with the correct tension set.
- Tighten the power steering pump bolts to approximately 20 ft/lbs for early Cherokees, and the idler pulley to 42 ft/lbs on later models.
Pro Tip
A belt will stretch after the initial break in period and may need to be re-tightened. Belt squeaking is an indication that the belt tension is too loose.
Step 4 – Inspect belt operation
With the belt in place and properly aligned on all pulleys, proceed to start the vehicle. With the engine idling, inspect the belt to make sure it is running true. If the belt looks to be partially off of a pulley, shut the engine off and re-position the belt as outlined above.

Featured Video: Easiest Way to Replace Serpentine Belt
Related Discussions
- Serpentine Belt How-to - CherokeeForum.com
- Serpentine Belt Help - CherokeeForum.com
- Drive Belt 1990 XJ - CherokeeForum.com