Jeep Cherokee 1984-2001: How to Install Electric Fan
Electric fans use power from the battery, which reduces the load on your Jeep Cherokee's engine and thus giving you more power as well as better MPG.
This article applies to the Jeep Cherokee XJ (1984-2001).
Engine-driven cooling fans started to get phased out of automotive manufacturing in the 1990's with the advancements in electric fans. Electric fans offer many advantages over there counterparts, such as increased fuel economy, engine horsepower, and savings in space/weight. Electric fans are not limited by the speed of the engine's rotation. By increasing current flow to the fan, air flow increases through the radiator as the fan speed increases. This is especially helpful when the engine is at idle on a hot summer day. Electric fans can be wired to automatically come on at a certain temperature with a thermostatic switch, or they can even be manually controlled. Cherokee owners that encounter deep water while off road find manual control useful so it doesn't result in fan damage.

Materials Needed
- Socket set (8mm-19mm)
- Ratchets with various extensions
- Flat head screwdriver
- Pliers
- Angle grinder
- Liquid Teflon tape
- Electrical tape
- Soldering iron
- Rosin core solder
- Heat shrink tubing
- Properly sized serpentine belt
- Electric fan(s)
- Mounting and wiring kit
- Toggle switch
There are many variations to wiring an electric fan, depending on the fans manufacturer and how it will be controlled.
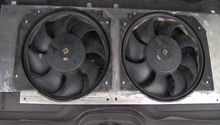
Electric fan installation kits can be found at Jegs, and other aftermarket providers that include the needed relays, wiring, switches, and fuses. Common fan sizes used on the Cherokees are 14" to 16". When choosing a fan, make sure there will be an adequate amount of clearance between the radiator and fan pulley. You will want the fan and shroud combination to be less than 2.75" in depth to avoid any clearance issues if you choose not to modify the A/C bracket.
Another option is to remove the fan pulley; although, this requires modification to the A/C bracket. You will have to cut the pulley and pulley shaft flush from the bracket, then add a idler pulley from a 1996 or earlier XJ.
How to install your single or dual fan setup with a temperature sensor and/or manual control will be covered in this how-to.
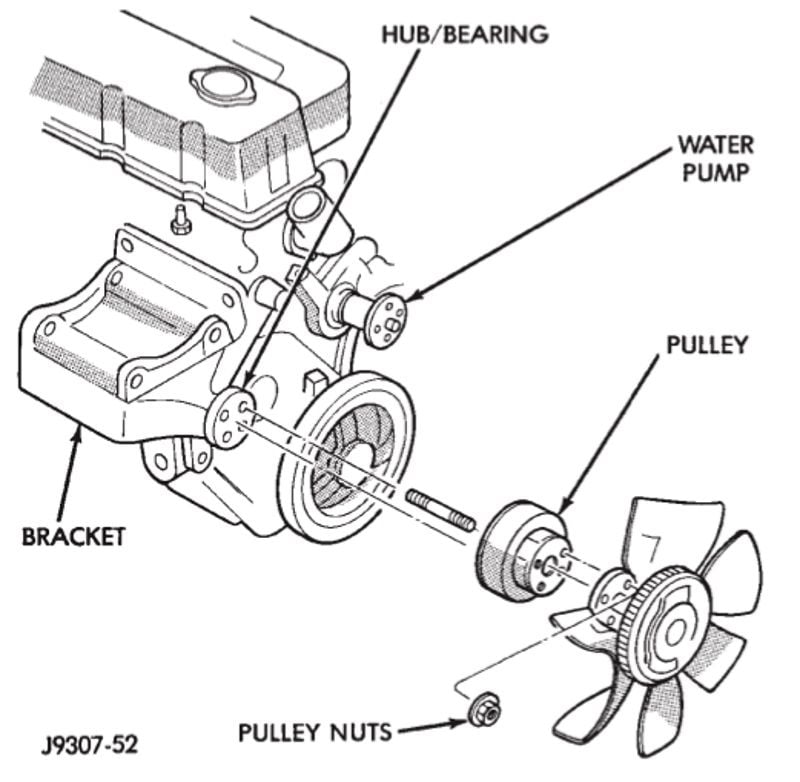
Step 1 – Remove the engine-driven fan
Remove the two bolts at the top of the fan shroud. There are two fan shroud styles. The earlier Cherokees use a thinner shroud.
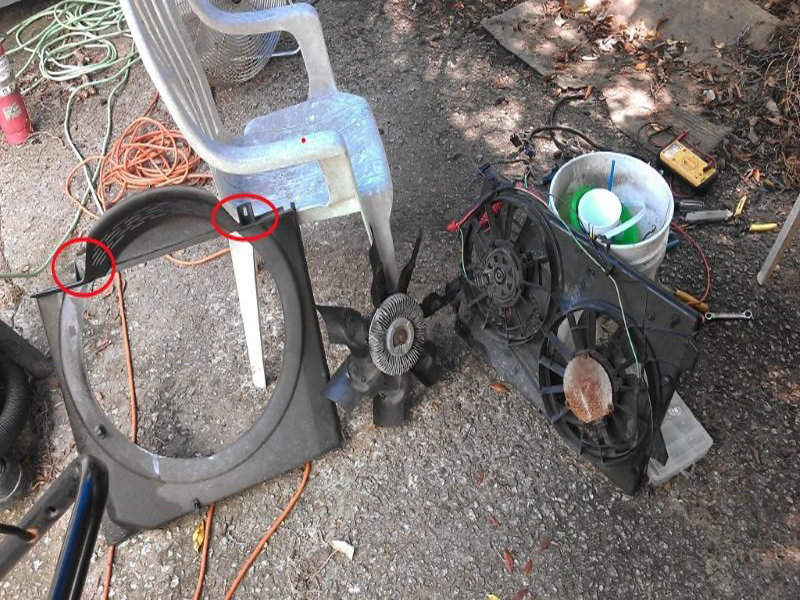
Figure 1. The red circles indicate the locations of the two bolts found at the top of the shroud on this later model design. 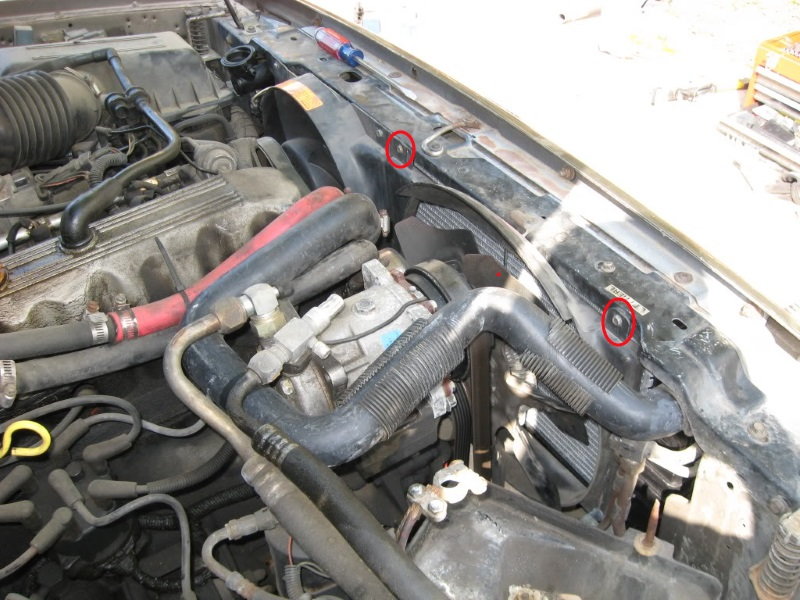
Figure 2. The fan shroud bolt locations found on older model Cherokees
Now remove the four nuts from the studs holding the fan to the fan pulley. Once these are removed, the fan and shroud assembly can be lifted up and out of the engine bay.
Step 2 – Modify the A/C bracket and install the new belt
If you decide not to remove the fan pulley, remove the studs from the pulley and replace them with bolts. Tighten the two nuts onto one stud and turn the inner nut counterclockwise. The outer nut will keep the inner nut from turning, which makes the stud turn.
For those choosing to modify there A/C bracket, you'll need an angle grinder or similar tool to cut the pulley snout flush. The timing cover stud and alternator bracket get in the way of the belt as well. Grind the timing cover stud smooth and cut a notch into the alternator bracket large enough for the belt to pass through.
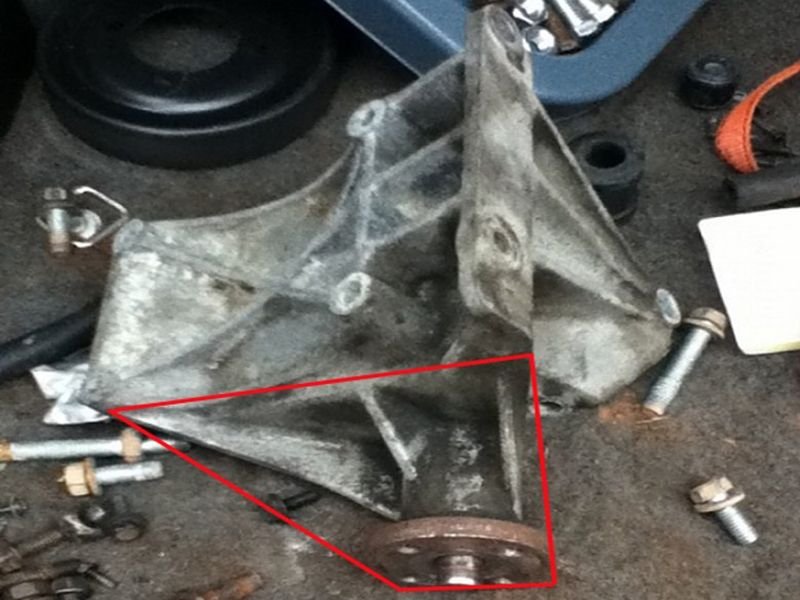
Figure 4. Everything inside of the red lines will need to be removed. 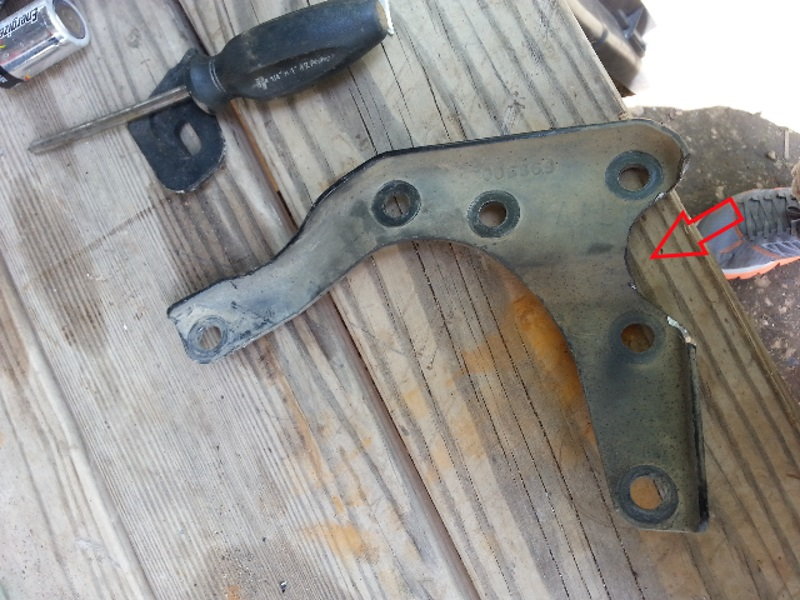
Figure 5. You can see where the alternator bracket was cut to make clearance for the belt. 
Figure 6. The red circle indicates the timing cover stud.
Now install the idler pulley onto the A/C bracket.
With the pulley installed, use a string and route it around the pulleys. Measure the string to determine the proper size belt to install.
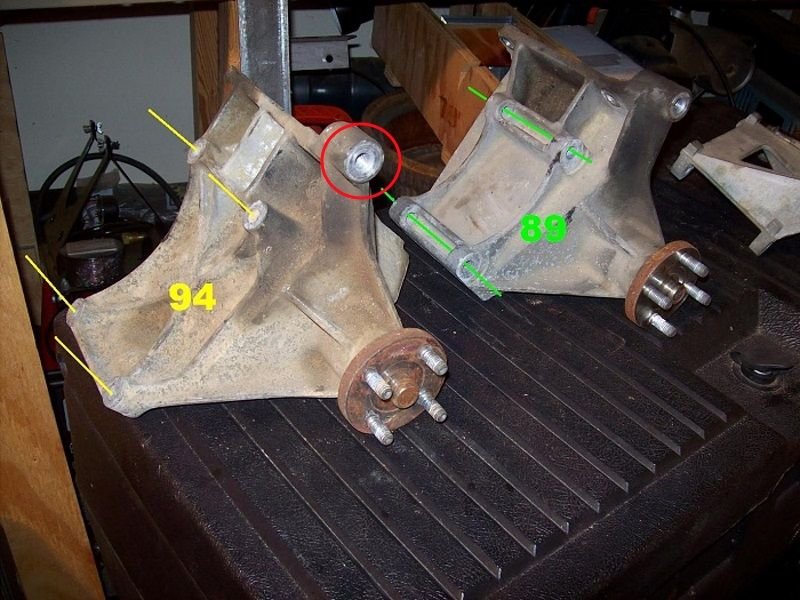
Cherokees have two different styles of alternator bracket depending on the year model. Earlier years used a bracket with adjustment bolts above and below the power steering pump. Later year models use adjustment bolts below and at the passenger's side of the pump. Loosening these bolts will allow the pump to pivot, removing tension from the belt.
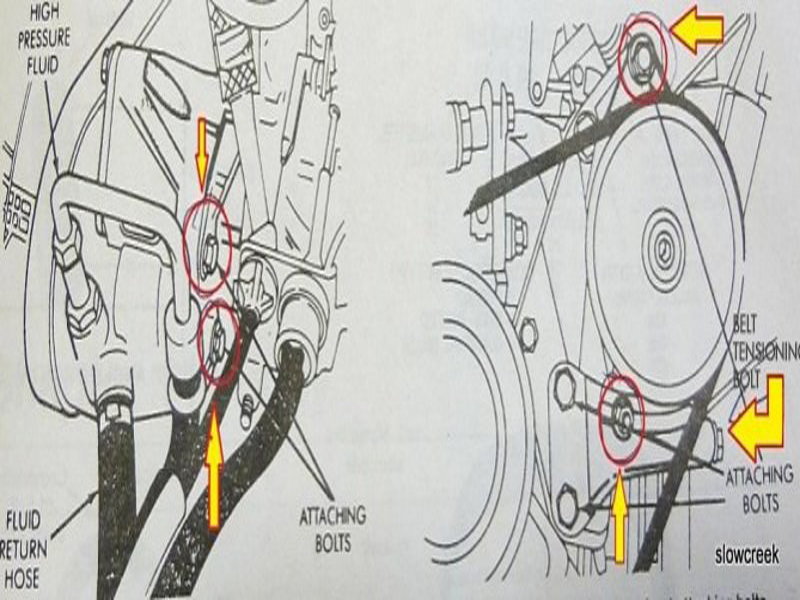
Figure 8. The alternator bracket on earlier model Cherokees. 
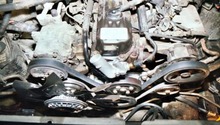
Figure 9. How the new serpentine belt will be routed.
Featured Video: How to Remove Belt
Step 3 – Mount the electric fan
You will want to test fit the electric fan(s) by zip tying it to the radiator. With the fans mounted, you can place the shroud around the fan to check the fitment. Trim the shroud as needed. Rubber stripping can be used to make a good seal between the radiator and shroud. This will maximize air flow through the radiator.
A mounting kit can be purchased from Jegs and similar aftermarket suppliers. These kits come in many different styles.
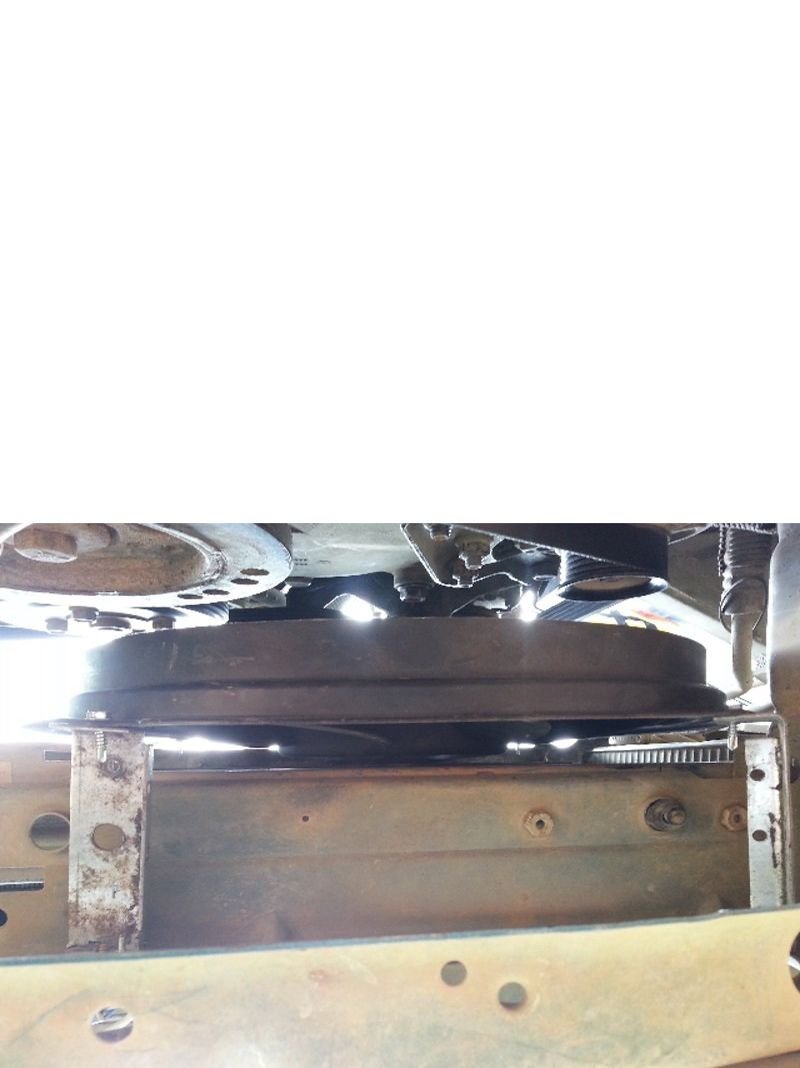
Figure 10. Fabricated electric fan mounts viewed from the bottom. 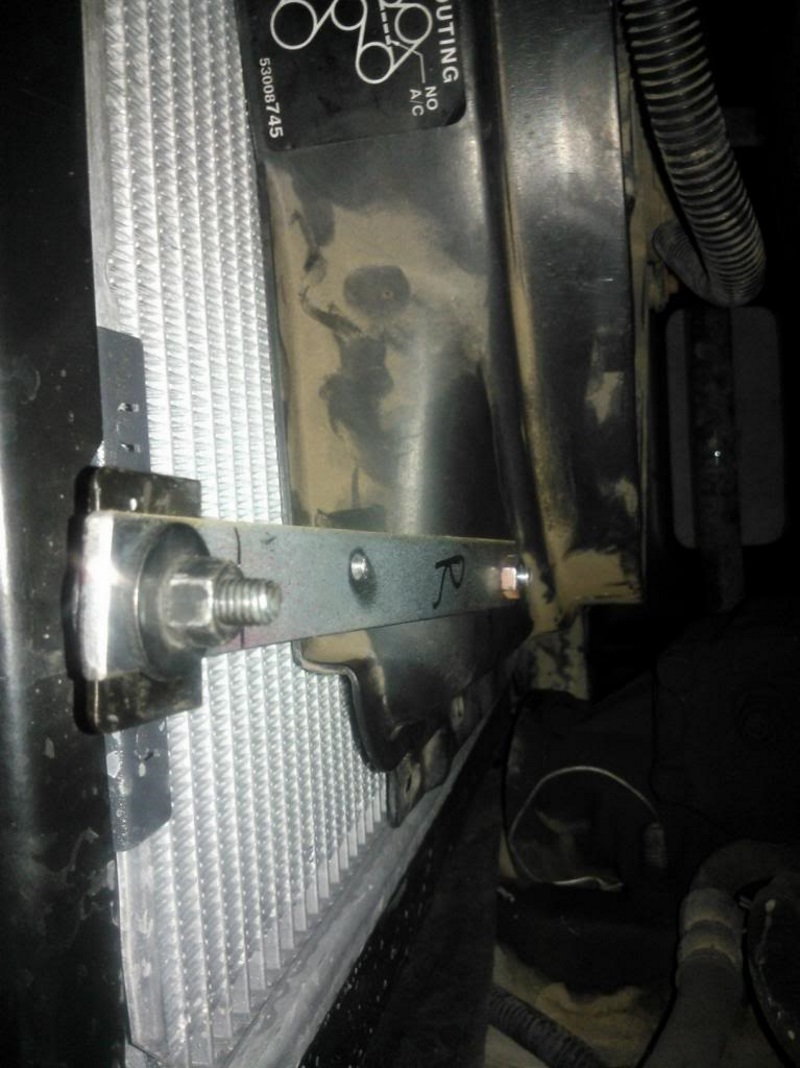
Figure 11. A fabricated upper electrical fan mount.
Pro Tip
A piece of rubber between the areas where metal is contacting will reduce vibration and noise.
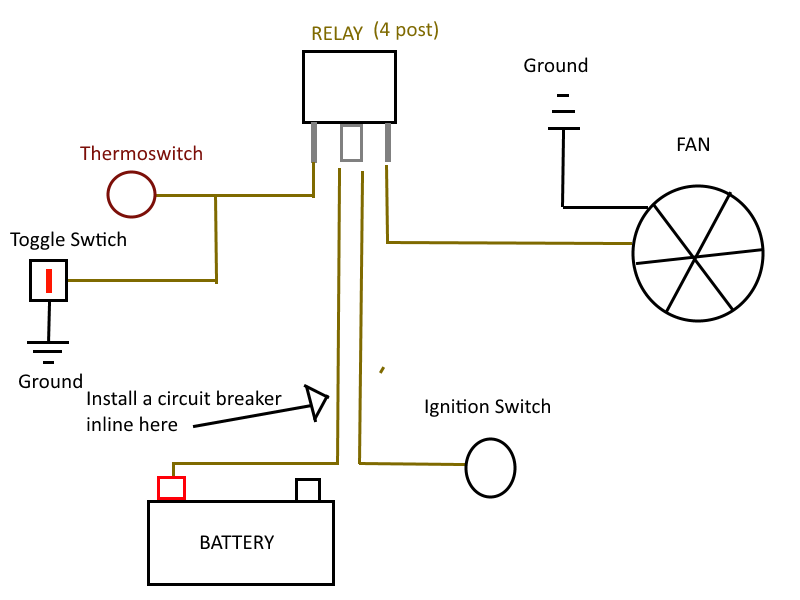
Step 4 – Wire the electric fan
Two common ways to control electric fans are manually with a switch and automatically with a temperature sensor. Earlier model Cherokees did not come with a coolant temperature sensor mounted on the thermostat housing. If you're one of these owners, you can swap your thermostat housing to the newer style or drill and tap a hole into your existing thermostat housing. Use liquid Teflon sealer around the threads of the sensor plug where it meets the thermostat housing.
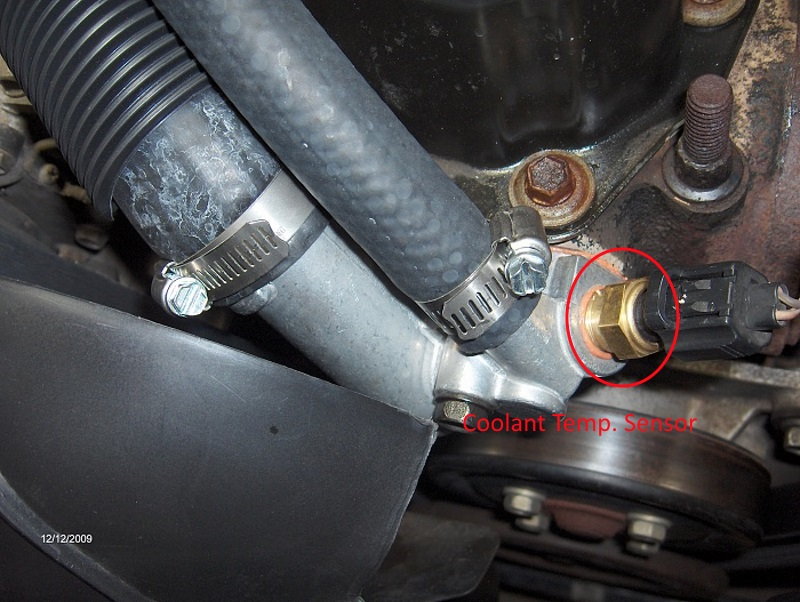
Figure 12. The later model thermostat housing. 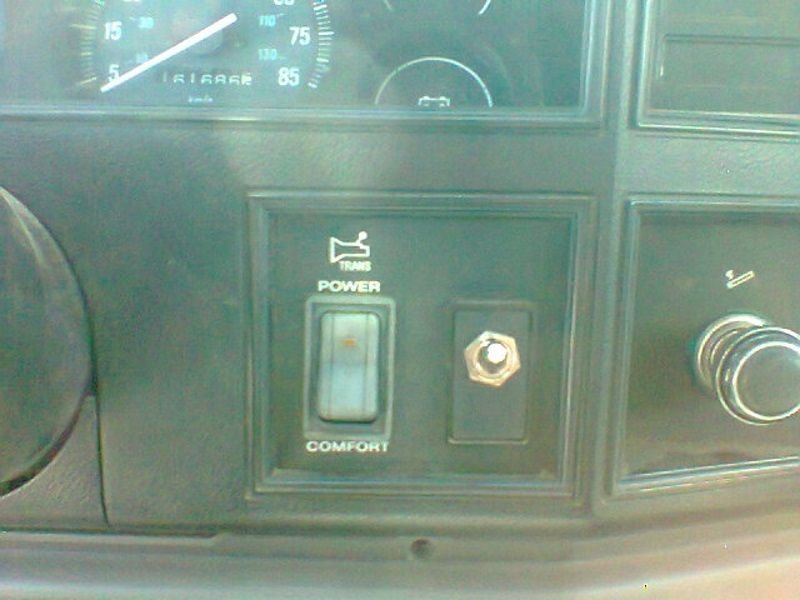
Figure 13. A toggle switch mounted on the dashboard.
By making a small hole in a rubber plug on the firewall, wires can be easily routed into the cabin.

By splicing a toggle switch wire into the wire for the thermostatic sensor, you'll have automatic and manual control over your fan(s). Connect the other wire on the toggle switch to a good ground (either a clean area on the chassis or the negative battery post).
Related Discussions
- Electric Fan Conversion - CherokeeForum.com
- Electric Fan Conversion Questions - CherokeeForum.com
- How to Convert to Electric Fan - CherokeeForum.com