When you click on links to various merchants on this site and make a purchase, this can result in this site earning a commission. Affiliate programs and affiliations include, but are not limited to, the eBay Partner Network.
I recently upgraded the battery cables in my '98 XJ and want to share some details of the project, in case it may be helpful to others. I leveraged several posts from this site to help me, but I found it hard to find all of the details what parts I would need, what modifications had to be made, etc., so here's an attempt to tie some of that together.
First, the goal of the project was to upgrade the factory wiring with larger, finer strand cables, replace the inline fuse to the alternator, and dress up the engine bay a little. Most of the process was very straight forward, but there were a few modifications that had to be made, most notably:
1) adding a second stud to the PDC to allow for a mega fuse to replace the inline fuse to the alternator
2) removing the plastic connector on the starter and rewiring the power/solenoid feed wire
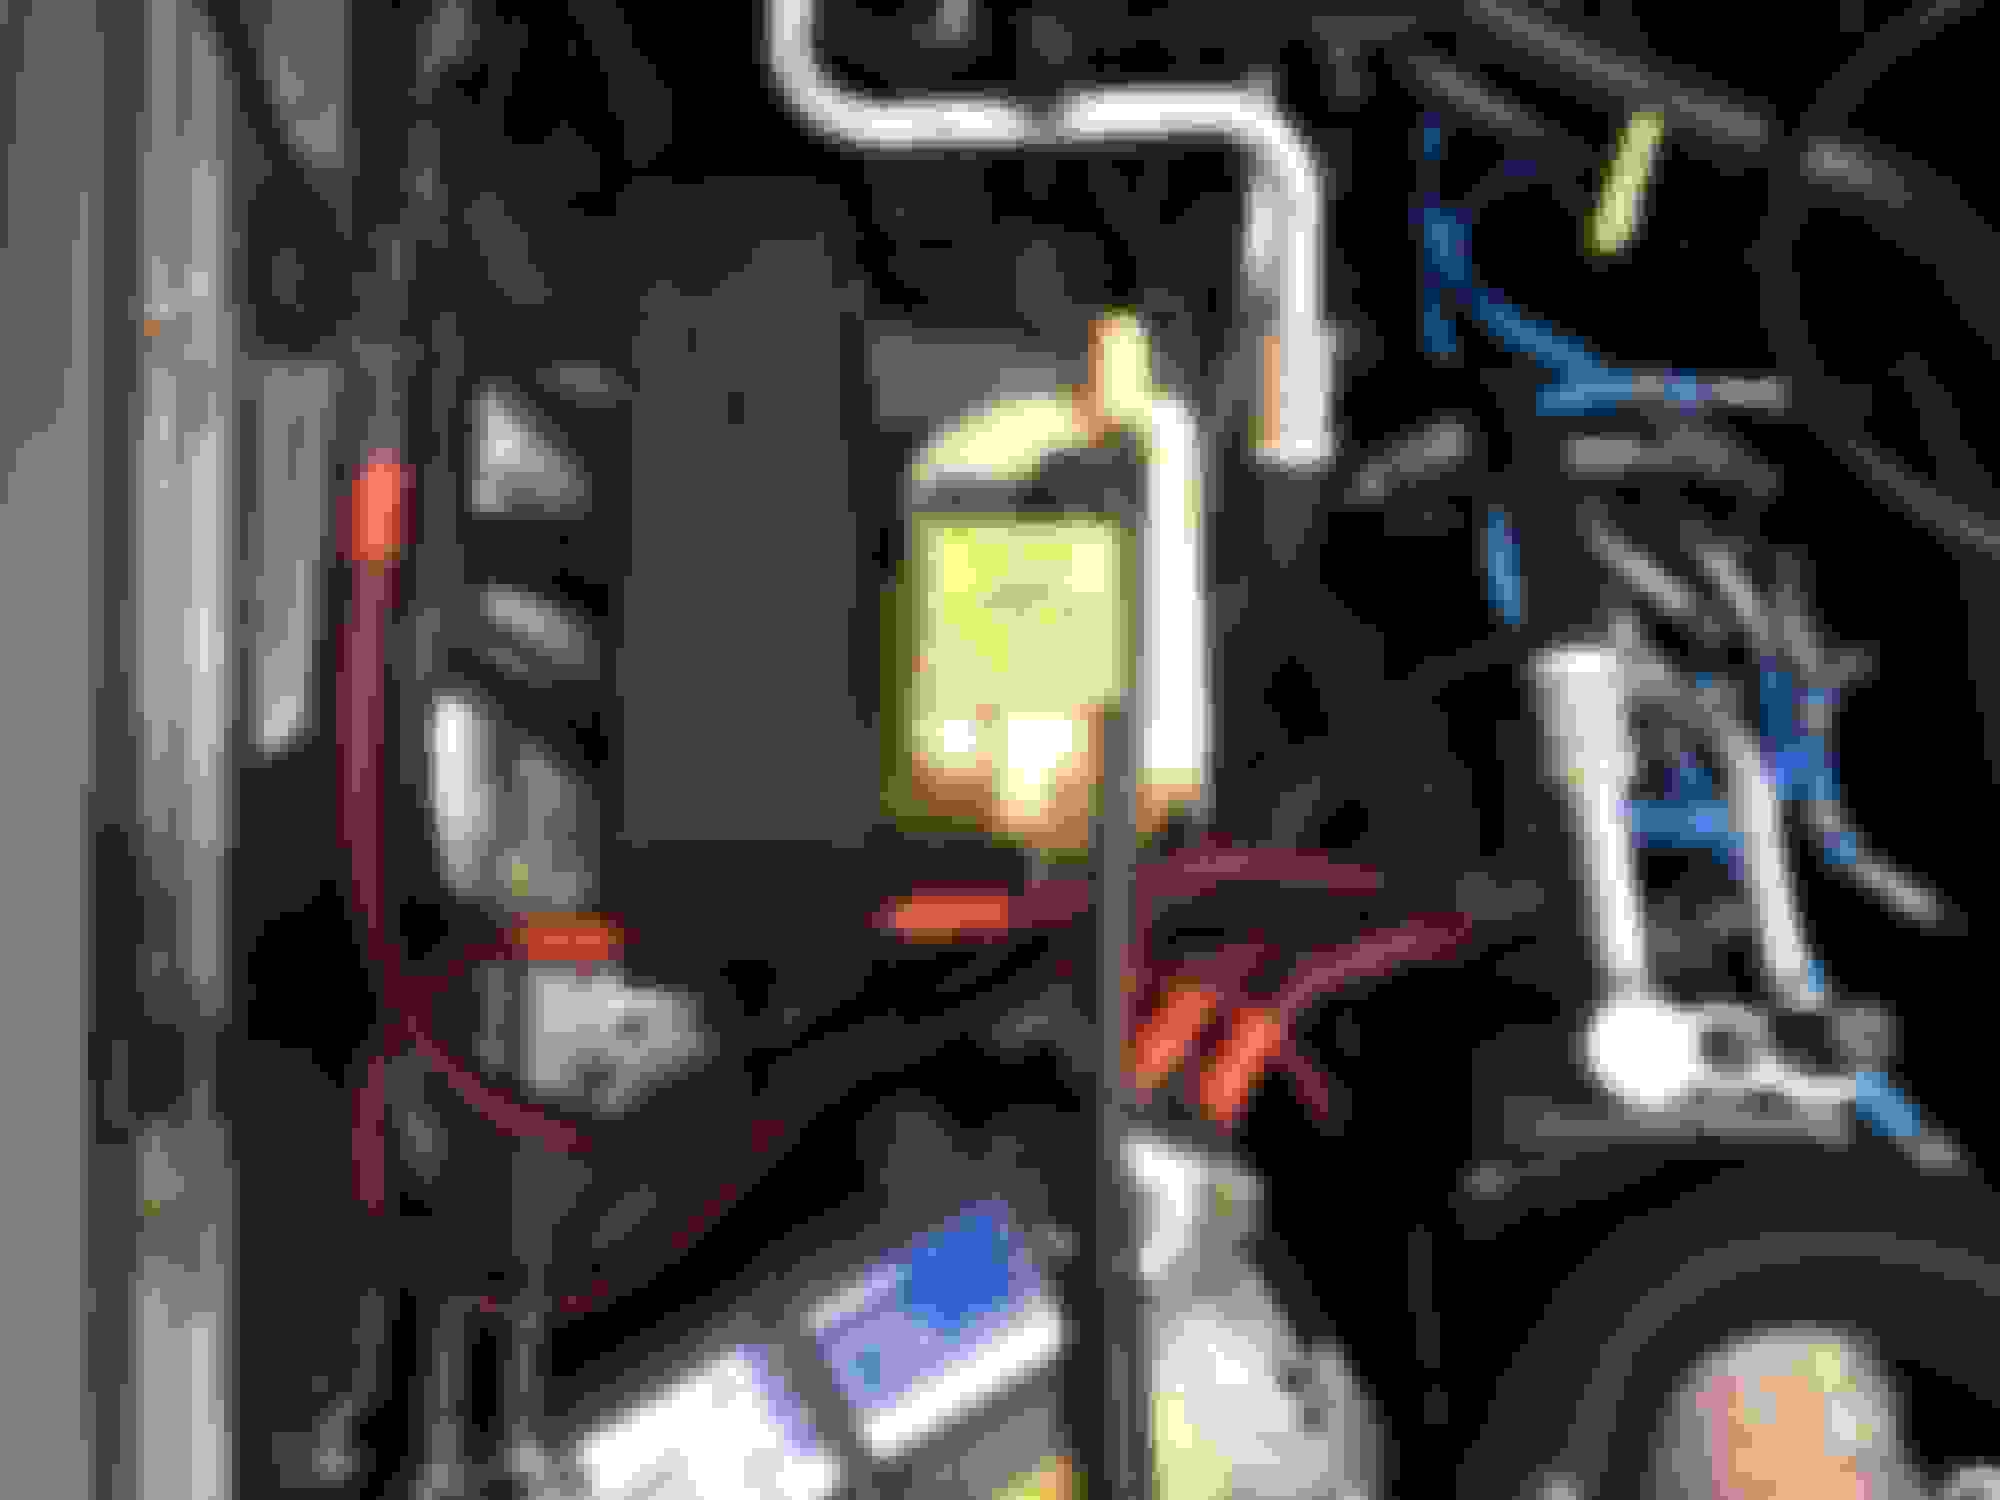
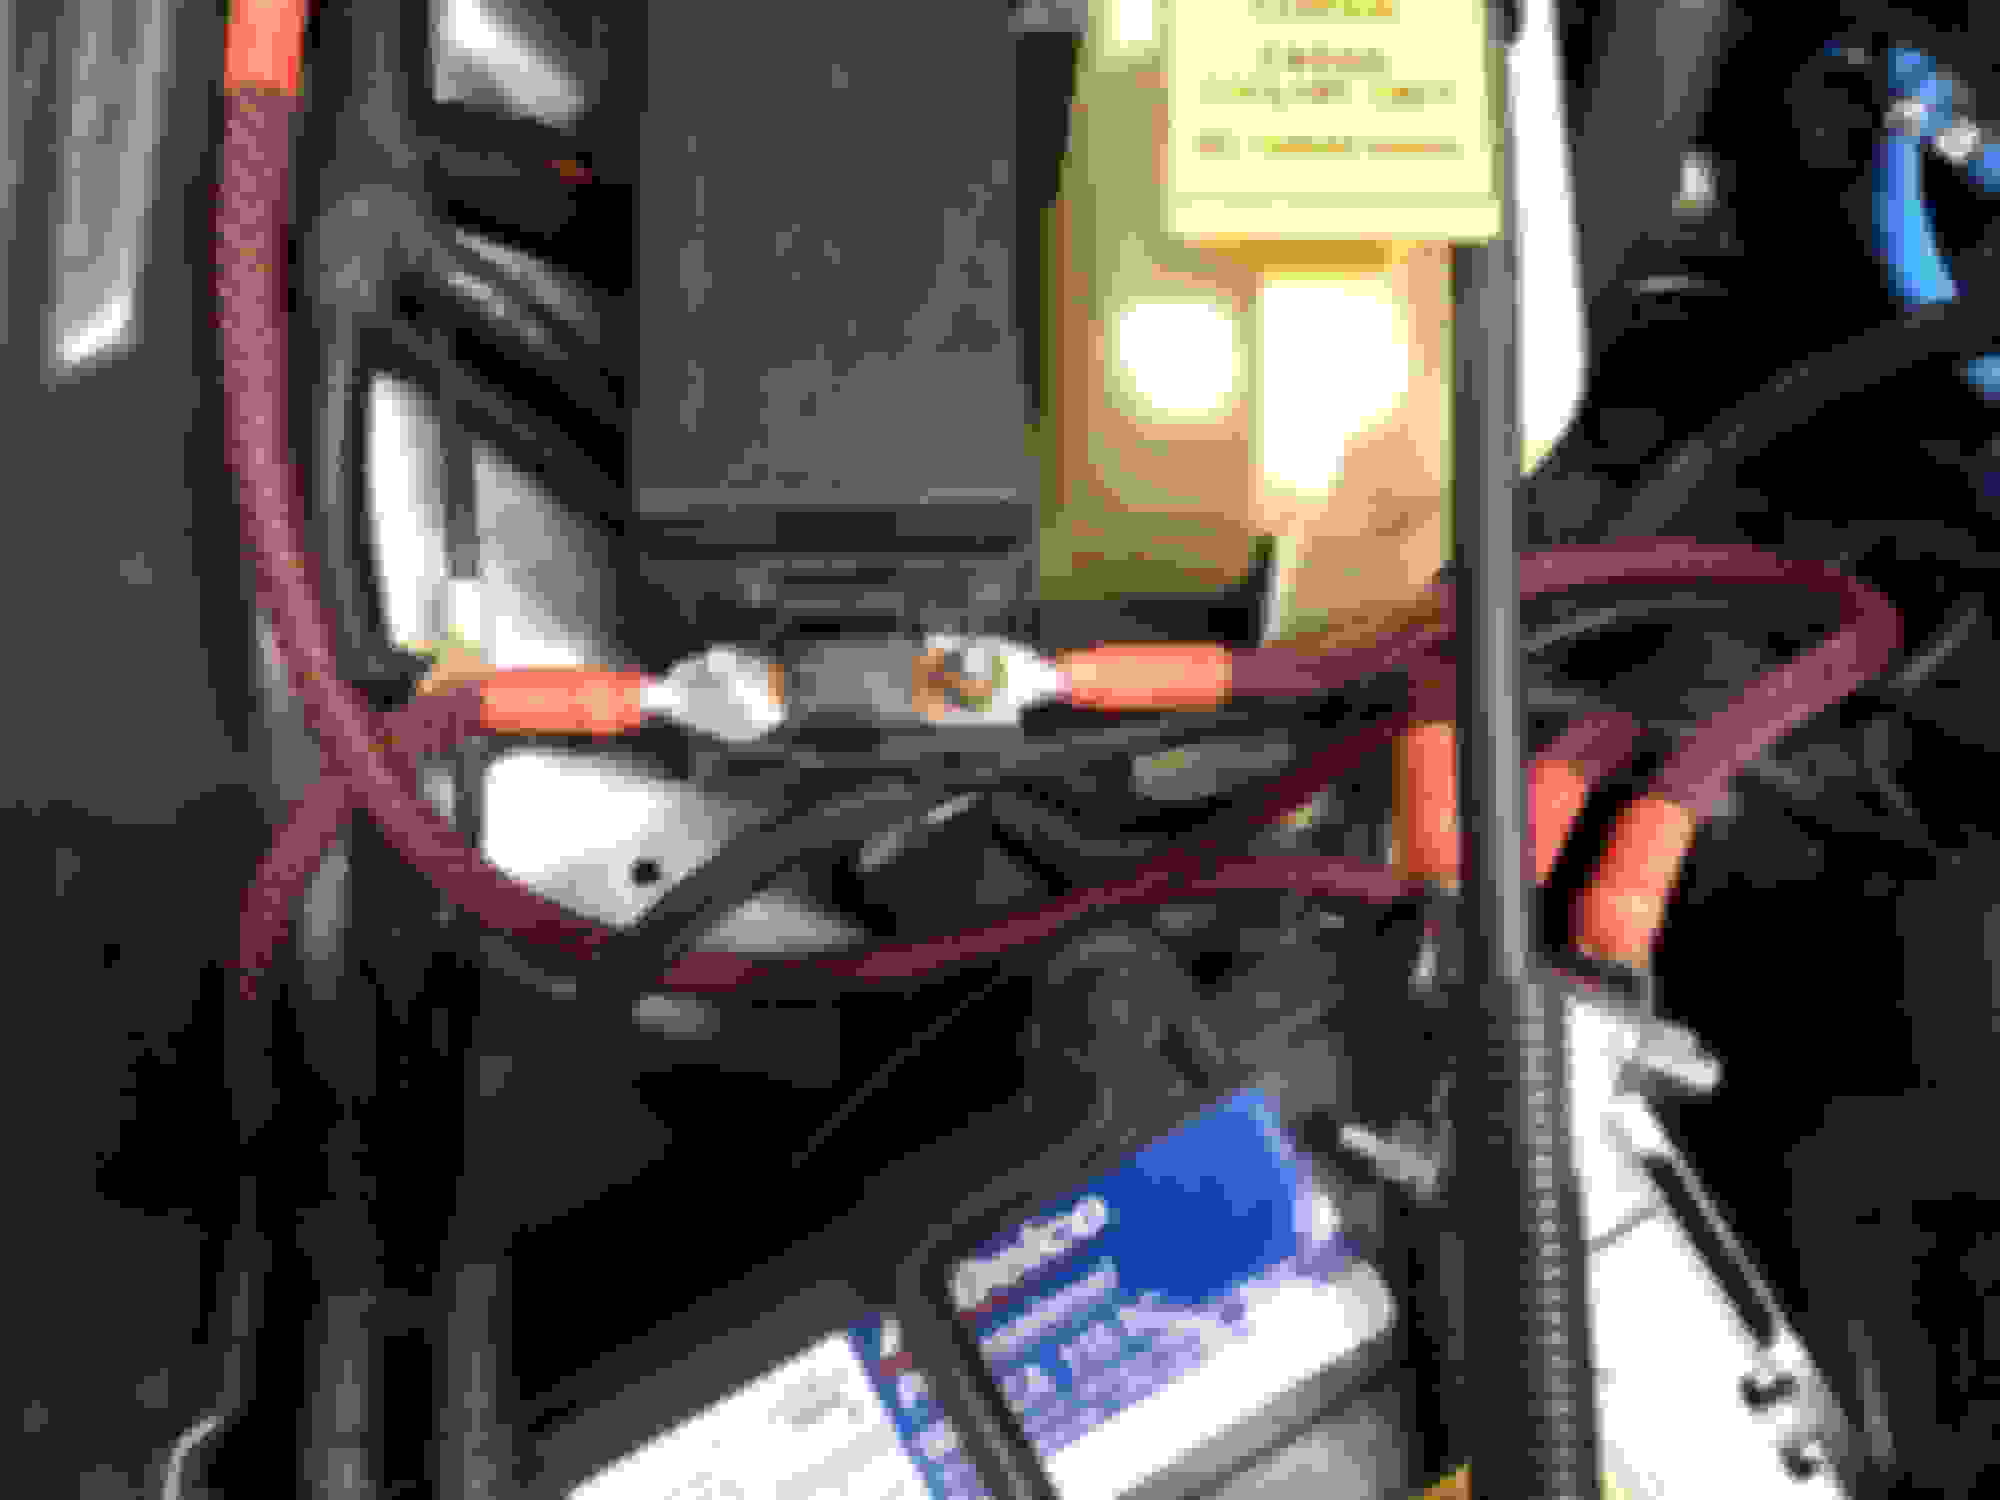
I have the 117amp stock alternator and could've used 4ga wiring, but I decided to go with 2ga, in case I wanted to upgrade the alternator down the road. To make installing the new (and future) cables easier, I replaced the stock battery terminals with military spec versions. The nice part about these is that there is a separate bolt to add accessories to that allow for easy access to add cables, while not having to loosen the terminal from the battery. I also decided to use a braided flex coating to dress up the wiring.
Most of the cables were straight forward to make and just consisted of removing the old cable and cutting a new one of similar length, crimping on lug terminals, covering in the braided flex coating, and adding heat shrink to finish. All the ground cables were easy, but the starter and alternator cables required a small amount of additional work:
1) starter cable - I had to remove the plastic housing that connected the power and solenoid wires to the starter, so that I could run new wires directly to the starter. The plastic housing was molded around the two wires, so I had to cut the wires and simply unscrew the plastic housing. This allowed me to connect each wire separately directly to the starter. Beside making the new, 2ga battery to starter cable, I needed to add a ring terminal to the solenoid wire to connect it to the starter.
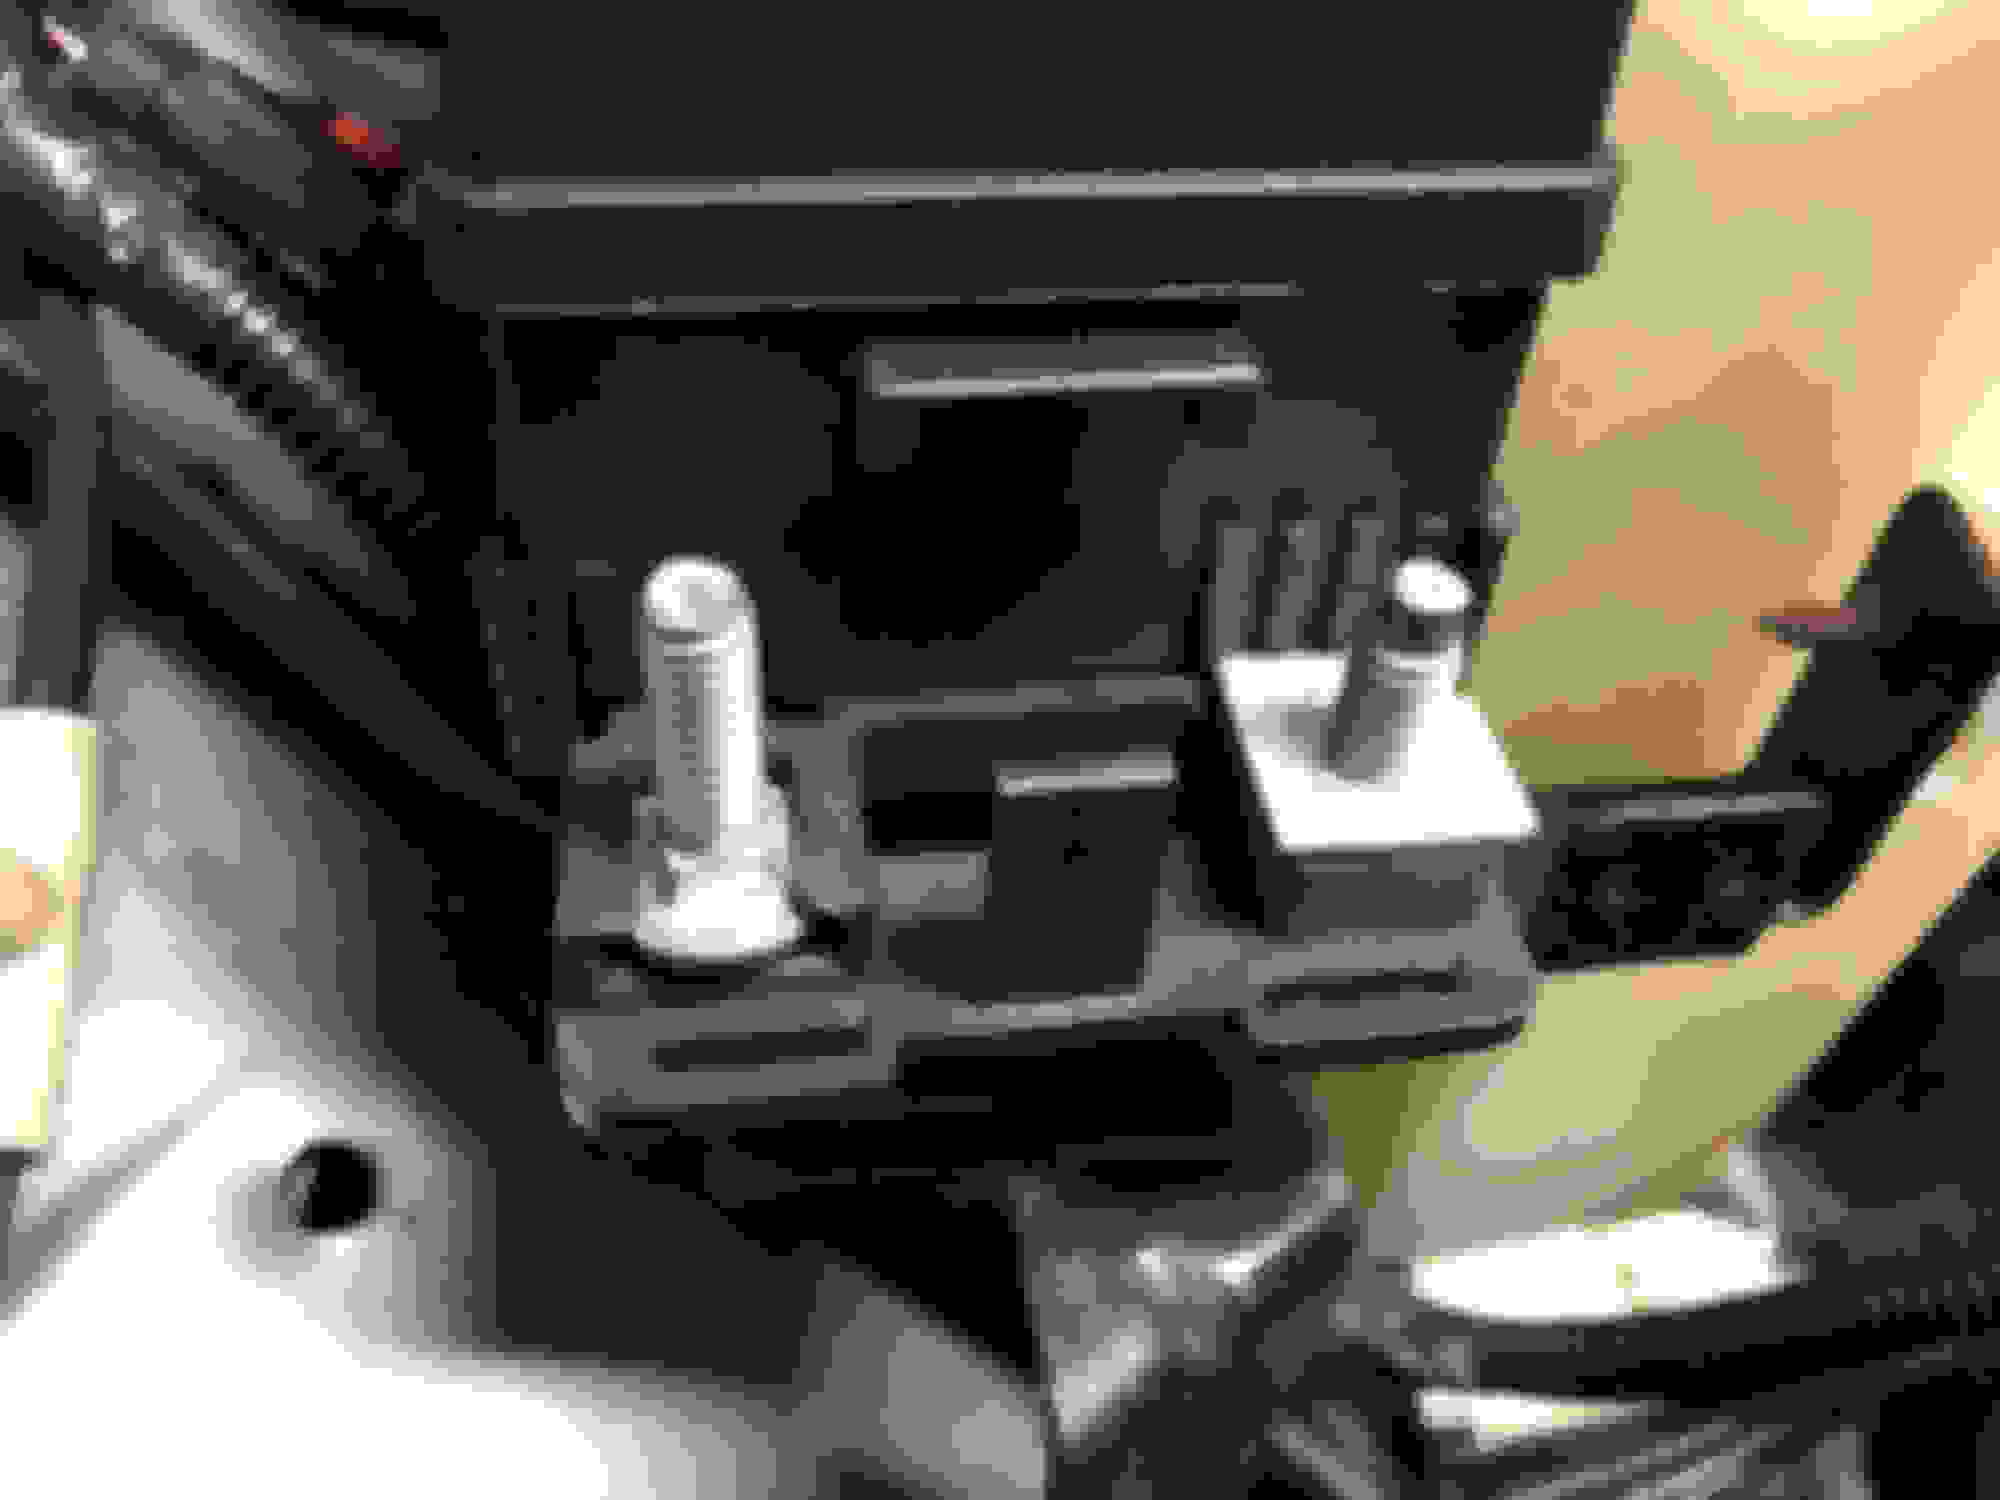
2) alternator cable - I wanted to remove the inline fuse, add a second terminal to the PDC, and install a mega fuse. I've seen people make their own second terminal several ways, but, to keep things simple, I purchased a 5/16" carriage bolt from Lowe's and ground the sides/top of the bolt to a roughly square shape, so that it would fit snugly into the blank terminal slot. Additionally, I had to grind the lug that attached to the alternator, because the standard lug wouldn't fit in the housing around the positive terminal.
Here is a list of the specific parts I used to complete the project (total $136):
1) 2 ga flexible welding wire - 10' of both red/black (
Cable length and lug connection detail. The openings of both lugs for the engine head to firewall cable had to be drilled out slightly to fit the posts. Also, the alternator lug had to be modified to fit the alternator, as shown above.
Let me know if you have any questions, and I hope this was useful.
Thanks,
Danny
Last edited by BroncoMan; Apr 2, 2019 at 09:25 AM.
Also want to thank Danny.
My install has begun. LOL.
Ralph77 / texastaz38: It's great to see that this thread has been helpful to people. Keep us posted on the results.
tech: I've not noticed any differences in starting or anything, but it allowed me to install a new amplifier and stereo system with no worries about getting higher amperage to the system.
Ralph77 / texastaz38: It's great to see that this thread has been helpful to people. Keep us posted on the results.
I bought the heat shrink and braid cover stuff that you did. Thank you for supplying links.
I ended with the starter to battery cable being 28 1/2". But my Jeep is an '00. Routed very close to the original.
I also used a 5/16" 90 degree lug at the starter. My Jeep does not have that set up that you show in the illustration.
Just bolt it on and go. That solenoid wire is its own connector so......
I don't know why angled lugs can't be found locally. At least not in my area. I bought mine from here.
It is cool too cause if you only want one you can buy just one. Not like this other site where you had to buy a minimum of 5.
At the moment I am thinking of going with a 5/16" 90 degree on the fender side of the PDC coming off the alternator with a 1/4" 45 degree one.
5/16" straight on the other side to the battery. I was going to use a 90 degree one here too, not wanting to trim the cover, but it won't lie flat.
A 5/16" 45 degree for the engine block ground and a straight 3/8" ones everywhere else.
But that could change as I get into it.
So the positive side is done. Shot of the alternator to PDC cable. 1/4" 45 degree lug to a 5/16" 90 degree. About 24 1/2" in length
Shot of the finished product. I zip tied up all the old cables for the time being. Want to make sure everything works as it should. Which it seems too. Hey the Jeep started. LOL. Plus I don't really know what to do to get them out. I did not want to unwrap and rewrap the new cables in the harness. So am thinking of just cutting them flush with the loom and tape off the ends for good measure. Out of sight out of mind. MLOL.
Thank you.
Going to wait till the weekend to deal with the negative cables.
Put the new battery I have in at that point.
Going to roll for awhile with it and then at some point get that alternator in the shot above in.
That is a stock alternator that I had rebuilt and got the amps upped.
My guy said just under 155 amps. At that time I will use the 175 amp mega fuse I already bought.
This project has been in the works for almost a year now. LOL.
Did you have any trouble getting that nut off the block for the ground?
I keep on thinking of the noise, you know the "tink", when you snap a bolt.
Also how did you handle getting rid of your old cables?
I had no problem with the block ground at all, and I just tossed my old cables, as they were very worn.
Good luck with the rest of the project this weekend.