
Noob weld cart build.

Thread Starter
CF Veteran
Joined: Dec 2012
Posts: 4,169
Likes: 6
From: York, PA
Year: 1998
Model: Cherokee
Engine: 4.0
Hey Guys!
So, I know this isn�t really an XJ-specific project but it still seemed to fit the guidelines for the Fab section. I wouldn't even be starting this project if it wasn't for my XJ in the first place, so here we go! I recently purchased my first MIG setup, and now I�m working on my very first project�a multi-purpose welding cart!
A little background, the whole reason I purchased this welder is to fix the rust on my XJ. I also plan on doing 2x6 rocker sliders since my rockers are rusted out. I welded in shop class in high school about 8 years ago and figured this will be great practice for me to get up to speed before I actually start welding on the Jeep.
So I�ve had a lot of ideas about how to do this thing, and so far here is the current culmination of features:
So, also keep in mind that I will be basically building this thing with only the welder, an angle grinder, and a drill. I don't even have a damn workbench! I also have very little as far as a plan goes and I�m basically winging it as I go. I started working on this yesterday, now for the goodies..
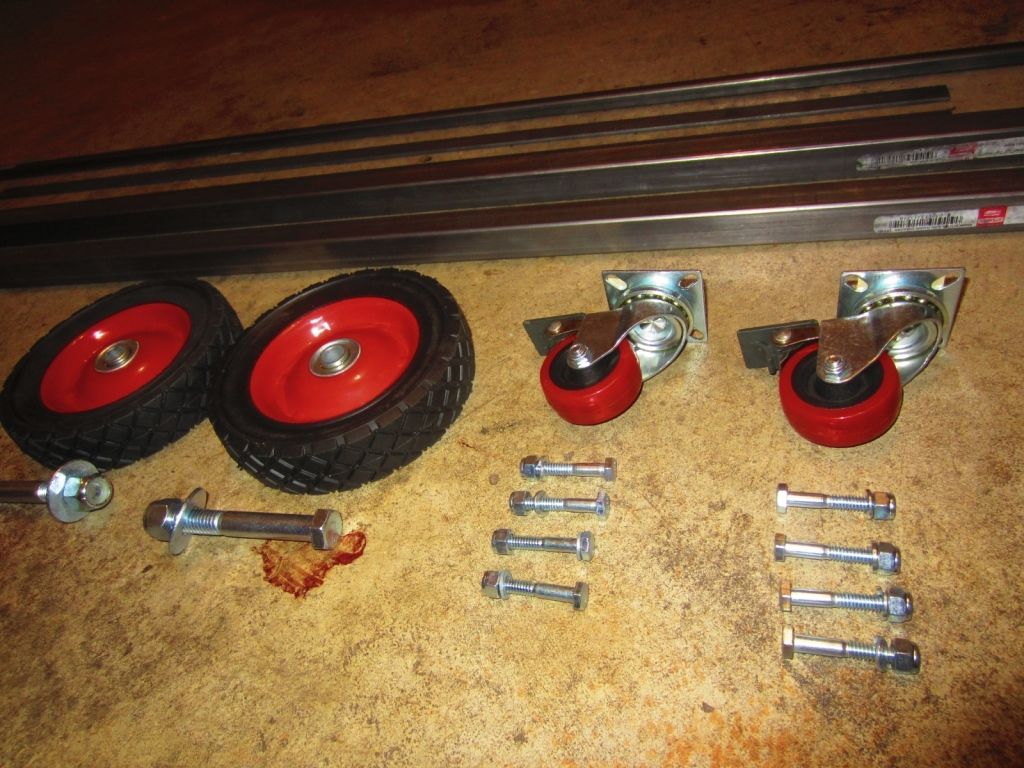
Here�s what I�m starting with after a trip to Tractor Supply�This is enough to begin the base of the cart. 1x1 steel, some flat iron, and I forget the size of the smaller bar that I�m going to use as a cross-grate type deal for support.
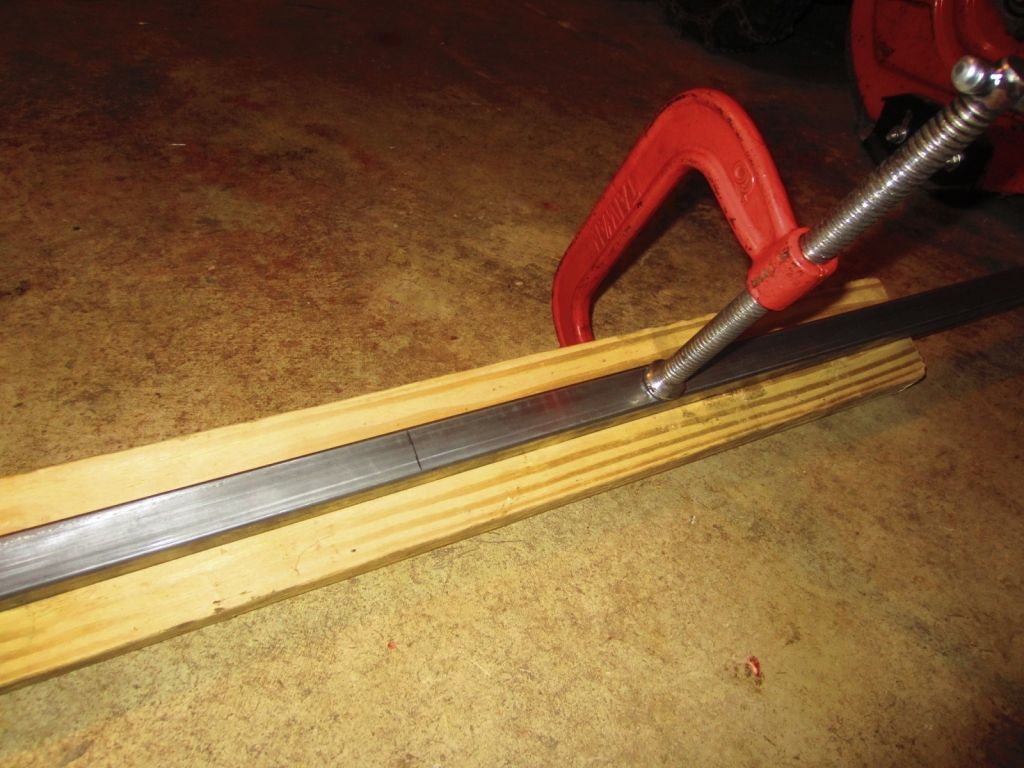
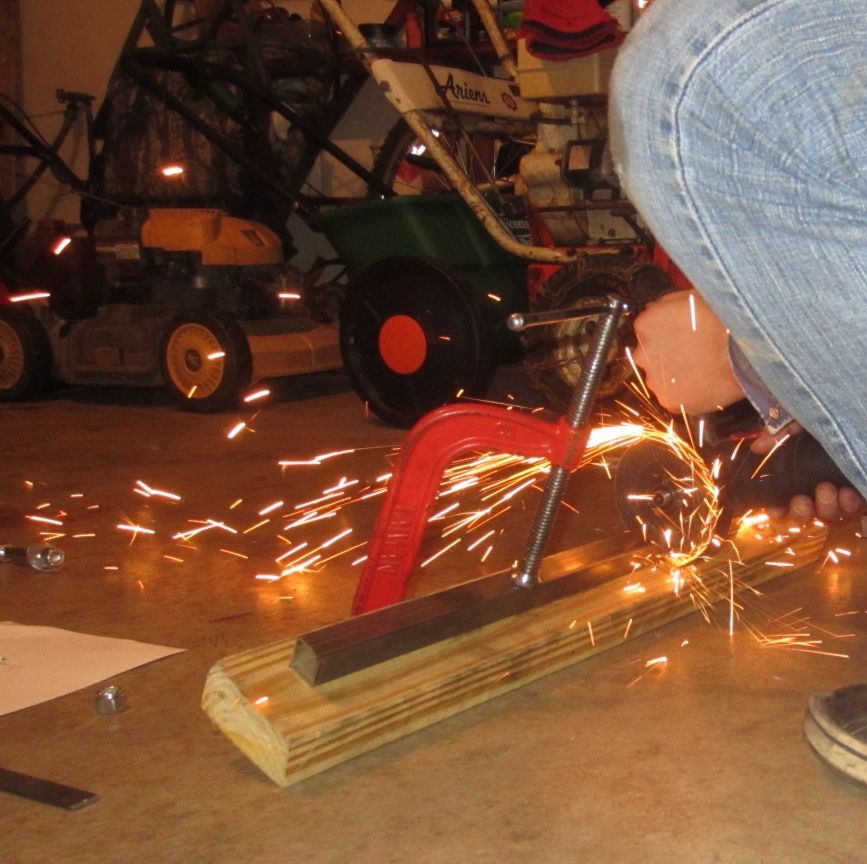
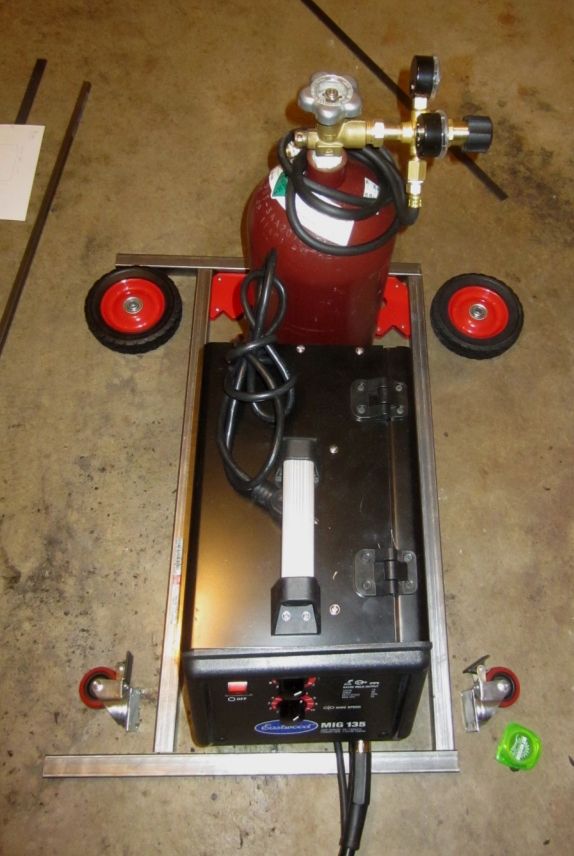
After some measuring and comparing to the box the welder came in, and mocking up some stuff on the garage floor with the welder itself, I came up with 28�x14.5� for the base. Getting ready for the first cut! My workbench is merely a 2x4 and a C-clamp
First cut!
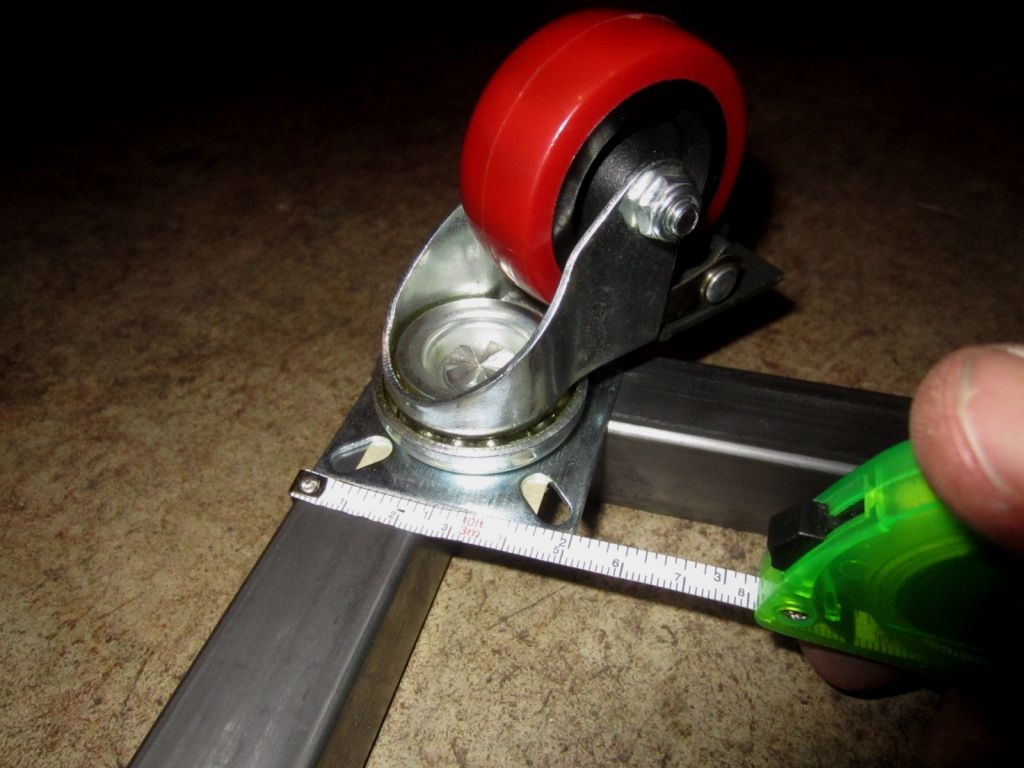
I started playing around with the various pieces I have to get a feel of how I�m going to attach the wheels while keeping it level as possible. I haven�t decided yet if I�m going to run the rear wheels right through the 1x1, or weld a sleeve onto the bottom of it yet. Either seems like it would work OK at this point. The rear and front wheels both have 3� from the �axle� or part that connects to the cart, and the point of contact with the floor.
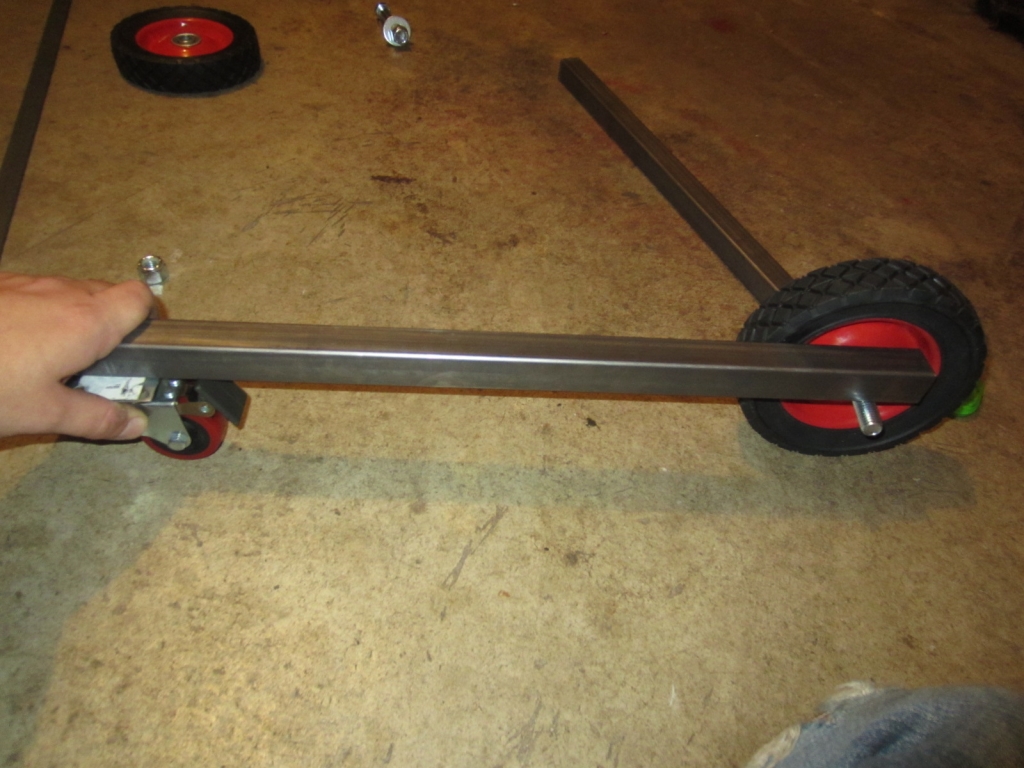
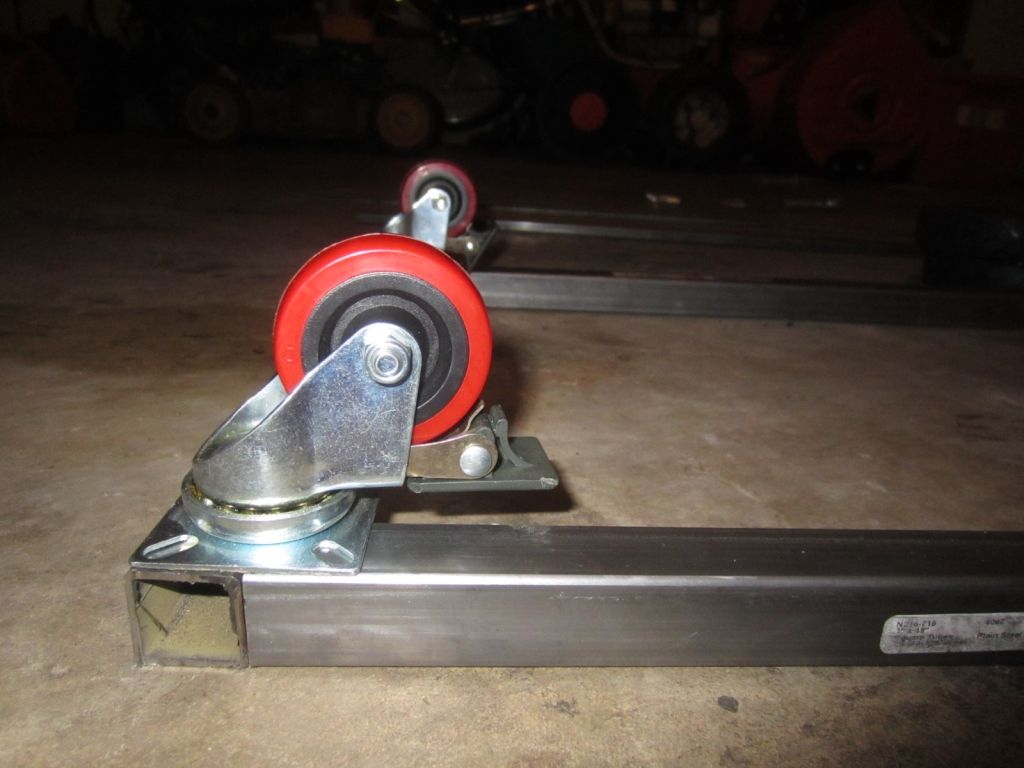
The front wheels are 2x2�, so I will end up welding a 1� corner piece on the inside of the frame to support the wheels.
More mock-up�
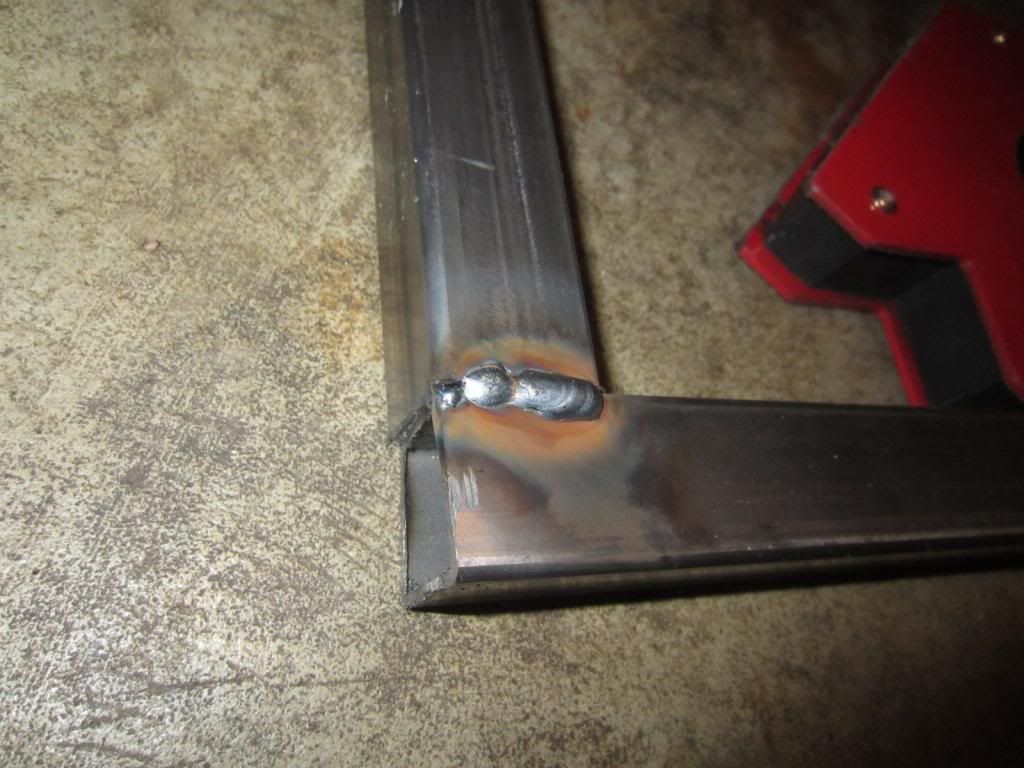
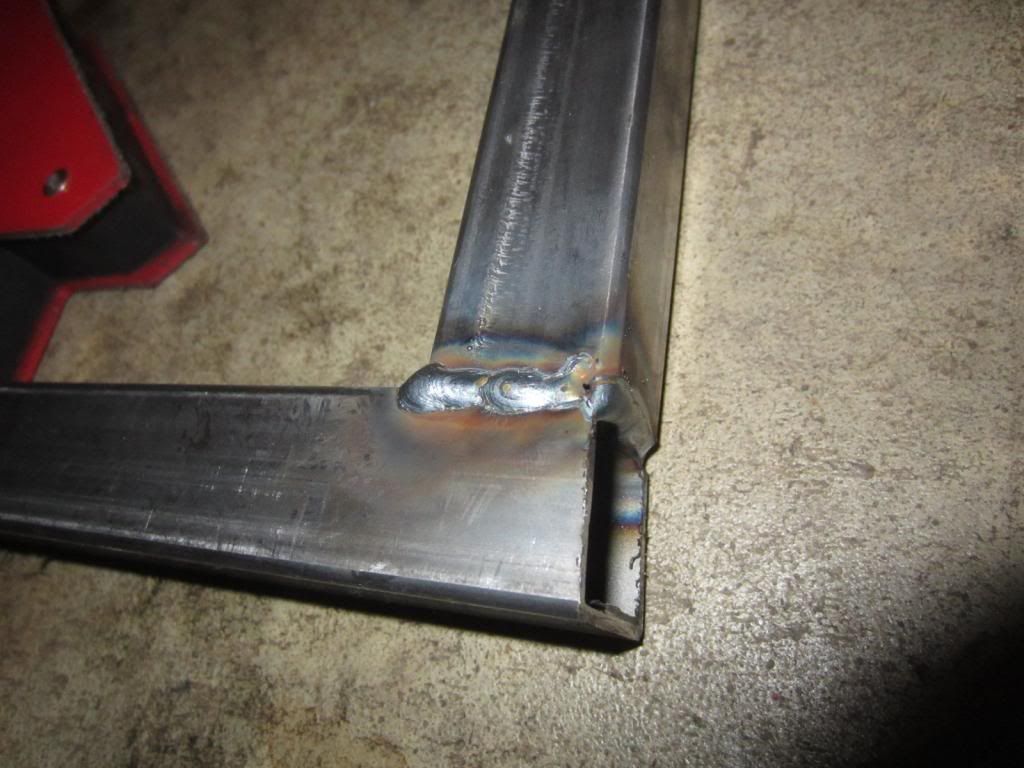
Now that the cuts are done and mockup complete, time for the fun part�start welding it together!

Overall, I don�t think I did *too* bad for having a shaky hand. I have a few more to do yet but so far it is very sturdy with these welds. I used the chart on the inside of the welder and it seems to be quite accurate. Arc voltage set at �F�, wire speed at 5.5. Critiques, tips, etc. welcome.

That�s all for now, I�ll be back on this later today!
So, I know this isn�t really an XJ-specific project but it still seemed to fit the guidelines for the Fab section. I wouldn't even be starting this project if it wasn't for my XJ in the first place, so here we go! I recently purchased my first MIG setup, and now I�m working on my very first project�a multi-purpose welding cart!
A little background, the whole reason I purchased this welder is to fix the rust on my XJ. I also plan on doing 2x6 rocker sliders since my rockers are rusted out. I welded in shop class in high school about 8 years ago and figured this will be great practice for me to get up to speed before I actually start welding on the Jeep.
So I�ve had a lot of ideas about how to do this thing, and so far here is the current culmination of features:
- Red and Rustoleum Hammered finish
- Fire extinguisher mount
- Dual duplex power outlet panel on the front + dedicated outlet on the rear for welder (Logistics of that to be figured out yet)
- Diamond plate outlet covers w/ red outlets for visibility
- Mounts for other tools such as angle grinder, drill, etc.
- Possibly a drawer for misc. storage
- Ball-bearing pushmower wheels and locking front swivel wheels
So, also keep in mind that I will be basically building this thing with only the welder, an angle grinder, and a drill.
I don't even have a damn workbench! I also have very little as far as a plan goes and I�m basically winging it as I go. I started working on this yesterday, now for the goodies..Here�s what I�m starting with after a trip to Tractor Supply�This is enough to begin the base of the cart. 1x1 steel, some flat iron, and I forget the size of the smaller bar that I�m going to use as a cross-grate type deal for support.
After some measuring and comparing to the box the welder came in, and mocking up some stuff on the garage floor with the welder itself, I came up with 28�x14.5� for the base. Getting ready for the first cut! My workbench is merely a 2x4 and a C-clamp
First cut!
I started playing around with the various pieces I have to get a feel of how I�m going to attach the wheels while keeping it level as possible. I haven�t decided yet if I�m going to run the rear wheels right through the 1x1, or weld a sleeve onto the bottom of it yet. Either seems like it would work OK at this point. The rear and front wheels both have 3� from the �axle� or part that connects to the cart, and the point of contact with the floor.
The front wheels are 2x2�, so I will end up welding a 1� corner piece on the inside of the frame to support the wheels.
More mock-up�
Now that the cuts are done and mockup complete, time for the fun part�start welding it together!
Overall, I don�t think I did *too* bad for having a shaky hand. I have a few more to do yet but so far it is very sturdy with these welds. I used the chart on the inside of the welder and it seems to be quite accurate. Arc voltage set at �F�, wire speed at 5.5. Critiques, tips, etc. welcome.
That�s all for now, I�ll be back on this later today!
Herp Derp Jerp

Joined: Nov 2011
Posts: 18,251
Likes: 17
From: Parham, ON
Year: 1999
Model: Cherokee
Engine: 4.0L OBD-II
Cool. That one end with the wonky angle cut threw me off in the pics. Looks like fun! The cart seems very tight for just the welder and gas, where did you plan on putting a receptacle exactly?

CF Veteran
Joined: Jul 2011
Posts: 4,521
Likes: 1
From: JOCO
Year: 1999
Engine: 4.0 Inline 6
CF Veteran
Joined: Sep 2011
Posts: 10,447
Likes: 0
From: Frederick, MD
Year: 1989
Model: Cherokee
Engine: 4.0
I'd play around with the settings a little more, I'd also try slowing down a little or don't start your bead until you get a good puddle started.
Otherwise they look just like mine when I first started. Keep up the good work!
Otherwise they look just like mine when I first started. Keep up the good work!
Thread Starter
CF Veteran
Joined: Dec 2012
Posts: 4,169
Likes: 6
From: York, PA
Year: 1998
Model: Cherokee
Engine: 4.0
Thanks for the compliments, everyone! 
LOL, it's hard to get a straight cut with nothing but an angle grinder and a 2x4. I've given myself some breathing room for tidying up the edges..should've done that before welding it I guess!  As for the outlets, I plan on putting them on the front of the cart, like this...
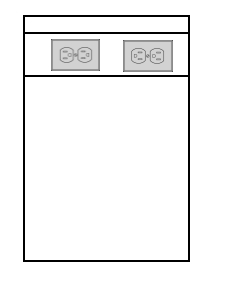
Excuse the poor drawing. The white space above the outlet panel I put there as a placeholder for a handle.
Oh, definitely. I will cross that bridge when I get to it. I originally was going to work from the top down, but decided to start at the bottom and work my way upwards. I'll need to figure out the handle situation also.
Thanks! I'll take heed to these tips. I hadn't started a puddle first, kind of went right into a bead. Do they look too hot to you, or maybe slow the wire speed a little? They seem to have penetrated well but it's hard to tell for a noob like me. 
Excuse the poor drawing. The white space above the outlet panel I put there as a placeholder for a handle.
Trending Topics
CF Veteran
Joined: Sep 2011
Posts: 10,447
Likes: 0
From: Frederick, MD
Year: 1989
Model: Cherokee
Engine: 4.0
Starting the puddle is key. I like to start the puddle then go side to side. Some people prefer making circles. Try both and see what you like.
CF Veteran
Joined: Jul 2011
Posts: 4,521
Likes: 1
From: JOCO
Year: 1999
Engine: 4.0 Inline 6
I do the same. start a good puddle then move side to side and walk the puddle and try to keep the same size the whole time.
CF Veteran
Joined: Jul 2011
Posts: 4,521
Likes: 1
From: JOCO
Year: 1999
Engine: 4.0 Inline 6
::CF Administrator::


Joined: Feb 2011
Posts: 14,479
Likes: 805
From: Blunt, South Dakota
Year: 97
Model: Cherokee (XJ)
Engine: 4.6 stroker

Thread Starter
CF Veteran
Joined: Dec 2012
Posts: 4,169
Likes: 6
From: York, PA
Year: 1998
Model: Cherokee
Engine: 4.0
Thanks for the tips everyone, definitely helps me. I know I'll have gravity against me trying to weld 2x6 rockers in on a non-lifted Jeep, underneath!

CF Veteran
Joined: Jul 2011
Posts: 4,521
Likes: 1
From: JOCO
Year: 1999
Engine: 4.0 Inline 6
Little e-whips are good too, kinda depends on what position you're welding in, keep playing with it, you'll get it...run some practice beads on any scrap material you have, and weld in flat, horizontal, vertical and overhead positions, you can't always move pieces around when working on some projects, and gravity can be a *****, LOL...Perfect makes practice...