
Project CHIOBA

Thread Starter
CF Veteran
Joined: Dec 2012
Posts: 4,169
Likes: 6
From: York, PA
Year: 1998
Model: Cherokee
Engine: 4.0
Copied from thread in my sig
Hey everyone!
So after some reading I decided to go with the SuperBrighLED's for my '98 XJ Sport. A very easy and incredible upgrade (although pricey) I highly recommend it. Please note this is a pic intensive thread and all of my pics are hosted on my own web server so it might be a little slow.
I'm sure this is for the '97 model years and up although the dome lights should work great for anything. One thing, my Sport has the push-button map lights. I have not replaced those yet due to the price (about $76 shipped) but will be doing soon.

Supplies:
The LEDs I ordered:
x2 1156-PCB-xWHP9: White 9HP-LED 1156 PCB Lamp (floors) $19.95 each
x2 UPCB-xWHP30: Universal LED Kit - 30 SMD LED PCB UPCB-CWHP30: Cool White (Front and rear dome lights) $16.99 each
Cargo Light
This was a little tricky. Here is the original lamp which features click button switch.

The other side has the light bulb that snaps into metal clips on either end of the bulb. Unfortunately I didn't snap a picture of the other side before I modded it, but go pop yours out and you'll know what I mean (they come out of the headliner easily). I tried to cut these off but my tin snips are beat, so I just used needle nose pliers to bend the tabs inward to make it as flush with the plastic frame as possible.
Then, you'll want to mount the LED board over top of them and run the wires through...

I used hot glue to glue it into place, I hope it holds. If you do some heavy offroading you may want to get creative and find another way to mount them. Now before you solder, make sure that you test that you have the right leads for the light on the assembly by plugging it in. You can see I marked them on mine so I'm sure you can juts use this to go off of and you'll be fine. Try to solder them the best you can--I had trouble with the solder sticking to the metal bracket, perhaps I had the wrong stuff.
And the front side of the cargo light:


Front Dome Light
The front dome light is similar to the rear except the original bulb has two hoops on either end of it that connect to the metal brackets. Luckily, these brackets can hold the LED panel pretty well on their own. You can wedge it between them and adjust it for the proper angle and again I used hot glue here to make sure it was a solid fit. You just have to solder them on carefully, same as the rear. Using my pic you should be able to match up positive and negative without a problem.
Here's the front without the lens cover--also I want to make note that now would be a good time to clean your lenses good. You'd be surprised at how dirty they get!

And behind

Floor area
These were really easy. No mod really necessary as they screw right into the factory mount. The only thing was mounting the LED panel...I just used clear packaging tape to wrap it around a wire hanging from the dash but now have ziptied it since the image.

That's really all there is to it! I'm really happy with the purchase. Hope this helps someone who might be trying to decide which LEDs to go with because there are so many out there now.
Hey everyone!
So after some reading I decided to go with the SuperBrighLED's for my '98 XJ Sport. A very easy and incredible upgrade (although pricey) I highly recommend it. Please note this is a pic intensive thread and all of my pics are hosted on my own web server so it might be a little slow.
I'm sure this is for the '97 model years and up although the dome lights should work great for anything. One thing, my Sport has the push-button map lights. I have not replaced those yet due to the price (about $76 shipped) but will be doing soon.
Supplies:
- Scissors
- Needle nose pliers or small tin snips
- Soldering iron and solder
- Hot glue gun
- Packaging tape or possibly wire ties (to fasten floor well units)
The LEDs I ordered:
x2 1156-PCB-xWHP9: White 9HP-LED 1156 PCB Lamp (floors) $19.95 each
x2 UPCB-xWHP30: Universal LED Kit - 30 SMD LED PCB UPCB-CWHP30: Cool White (Front and rear dome lights) $16.99 each
Cargo Light
This was a little tricky. Here is the original lamp which features click button switch.
The other side has the light bulb that snaps into metal clips on either end of the bulb. Unfortunately I didn't snap a picture of the other side before I modded it, but go pop yours out and you'll know what I mean (they come out of the headliner easily). I tried to cut these off but my tin snips are beat, so I just used needle nose pliers to bend the tabs inward to make it as flush with the plastic frame as possible.
Then, you'll want to mount the LED board over top of them and run the wires through...
I used hot glue to glue it into place, I hope it holds. If you do some heavy offroading you may want to get creative and find another way to mount them. Now before you solder, make sure that you test that you have the right leads for the light on the assembly by plugging it in. You can see I marked them on mine so I'm sure you can juts use this to go off of and you'll be fine. Try to solder them the best you can--I had trouble with the solder sticking to the metal bracket, perhaps I had the wrong stuff.
And the front side of the cargo light:
Front Dome Light
The front dome light is similar to the rear except the original bulb has two hoops on either end of it that connect to the metal brackets. Luckily, these brackets can hold the LED panel pretty well on their own. You can wedge it between them and adjust it for the proper angle and again I used hot glue here to make sure it was a solid fit. You just have to solder them on carefully, same as the rear. Using my pic you should be able to match up positive and negative without a problem.
Here's the front without the lens cover--also I want to make note that now would be a good time to clean your lenses good. You'd be surprised at how dirty they get!
And behind
Floor area
These were really easy. No mod really necessary as they screw right into the factory mount. The only thing was mounting the LED panel...I just used clear packaging tape to wrap it around a wire hanging from the dash but now have ziptied it since the image.
That's really all there is to it! I'm really happy with the purchase. Hope this helps someone who might be trying to decide which LEDs to go with because there are so many out there now.
Thread Starter
CF Veteran
Joined: Dec 2012
Posts: 4,169
Likes: 6
From: York, PA
Year: 1998
Model: Cherokee
Engine: 4.0
http://www.jeepforum.com/forum/f11/z...-truth-607435/
Oh lol, well there's really not much to it. Remove 3 10mm bolts from the tail light housing, plug & play! Here's the thread that sparked the inspiration.
https://www.cherokeeforum.com/f67/up...lights-183964/
Thread Starter
CF Veteran
Joined: Dec 2012
Posts: 4,169
Likes: 6
From: York, PA
Year: 1998
Model: Cherokee
Engine: 4.0
Senior Member
Joined: Jul 2011
Posts: 675
Likes: 0
From: Red Lion, PA
Year: 1991
Model: Cherokee(XJ)
Engine: 4.0
New White 3156 3157 CREE Q5 7W Projector LED Reverse Backup Light Bulbs | eBay
8 bucks for two shipped, can't beat it!
8 bucks for two shipped, can't beat it!
Thread Starter
CF Veteran
Joined: Dec 2012
Posts: 4,169
Likes: 6
From: York, PA
Year: 1998
Model: Cherokee
Engine: 4.0
After toiling away in the garage for about 10 hours straight Friday night into Saturday morning, I got all of my Bushwacker flares on and some more rust fixed & protected, and the interior somewhat back together. I was trying hard to be ready for the snow storm on Saturday afternoon. A lot of this time was spent re-engineering my custom shift linkage for the 242, version 3. Since I had the handle assembly out I decided to do it right this time and drill an extra hole in the shifter. The new design works fantastic in all 5 positions and I'm quite happy with it--although another revision will be coming with some thicker steel and more refined cuts and only one hole drilled.

After all that and going wild with the Chassis Saver, I finally got to have a lot of fun over the weekend!


I also strapped my spare in the rear and left the backseat out for now.

Here's how the rust repairs turned out with a coat of Chassis Saver. let me just say this stuff is amazing, and holds up very well (it's a little dirty in this pic!). I wouldn't have any convictions about using it on the interior alone--but I wish to have that finished texture/look of the bedliner...considering waiting on warmer temps for that one!

While playing today, I managed to kiss a tree with my rear fender flare already. I can see why these things are not good for woodsy trails!
 Got hung up on a log and had to do a lot of maneuvering to try and get over it in the snow. If I only had a locker...lol. My GF made a good point though--it protected the rest of the Jeep. I wish I had a pic of the tree--it took a sizable chunk out of the bark on the tree! They are definitely strong.
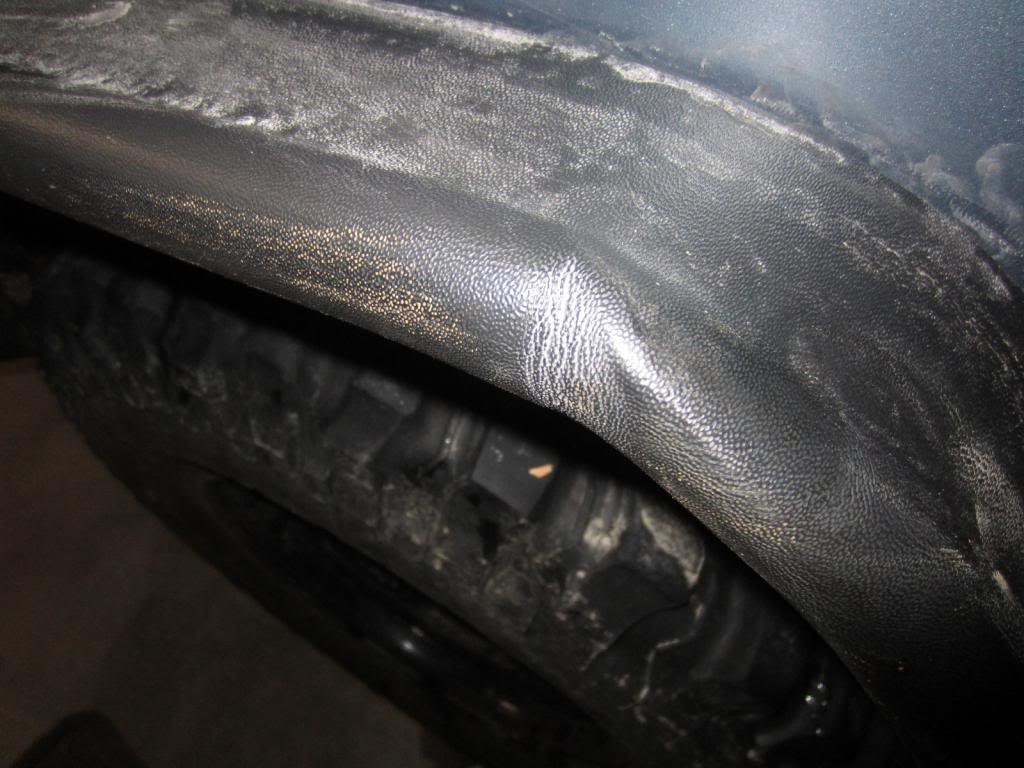
I'm thrilled with how it looks and performs now. The big limitation now is that I need to bumpstop on all 4 corners if I'm going to stay stock for a while...but I think lift time is coming very soon. I also have some other ideas floating around about keeping the NP242 around a while. I really enjoy the full-time feature here in Central PA, and I think it adds a new versatility to the XJ's ability.
Last edited by PocketsEmpty; Dec 15, 2013 at 11:54 PM.
No, I don't lick fish.


Joined: Mar 2011
Posts: 11,169
Likes: 26
From: Northern Kentucky
Year: 1999
Model: Cherokee (XJ)
Engine: 4.0
Very cool... I like that chasis saver. So you're stock height on 31's right? I was thinking about trimming enough to do that but wasn't sure how well everything would work.
Thread Starter
CF Veteran
Joined: Dec 2012
Posts: 4,169
Likes: 6
From: York, PA
Year: 1998
Model: Cherokee
Engine: 4.0
Also you'll notice in the picture that the Chassis Saver is mostly only in the spots that needed it--but I'm going to do the whole rockers in it to get me through winter, and probably more of the floor inside too. Might look pretty cool to have silver rockers for the time being
No, I don't lick fish.
Joined: Mar 2011
Posts: 11,169
Likes: 26
From: Northern Kentucky
Year: 1999
Model: Cherokee (XJ)
Engine: 4.0
Good to know... 31's and stock height it is!!!
Speaking from someone who's jeep suffers from a saggy rear, I'd say leave the front as is. I think it sits good as is.
Speaking from someone who's jeep suffers from a saggy rear, I'd say leave the front as is. I think it sits good as is.
Thread Starter
CF Veteran
Joined: Dec 2012
Posts: 4,169
Likes: 6
From: York, PA
Year: 1998
Model: Cherokee
Engine: 4.0
Mine has butt sag too, but it doesn't seem as noticeable since the flares and bigger tires. I really do like how it sits, but I want to go bigger. Probably 33's on 3" lift, nice & bumpstopped. Low cog