
Project black sky


Thread Starter
Honorary Moderator
Joined: Mar 2010
Posts: 8,135
Likes: 16
From: Gilbert AZ/Las Cruces NM
Year: 1996
Model: Cherokee
Engine: 4.0 upgraded
Thanks man!
hahaha no it is were a red bull spilt from the damn early model cup holders!! and then i tried to clean it up with a bit of water bahaha. I get my interior steam cleaned about every 6 months and it is detailed detailed every couple of weeks. I a have nearly perfect interior(besides where i drilled holes for my switches...)
And thank you for the compliment man!
And thank you for the compliment man!
Thread Starter
Honorary Moderator
Joined: Mar 2010
Posts: 8,135
Likes: 16
From: Gilbert AZ/Las Cruces NM
Year: 1996
Model: Cherokee
Engine: 4.0 upgraded
Alright so just a little update. I am going to call tomorrow and price out steel so that i can do the "weld in rocker" mod. I think it is time to get more body protection haha.
I am also going start sanding a little bit going with more flat black. I am going to do the doors first. Then move my way back. May look funny for a little but i think the end result will be nice.
Also, I am going to order new front coil springs as soon as i get the chance. Might go with a true 6.5" 150 lb spring rate or a 4.5" 180 lb spring rate (since i added m bumper) and throw a 2" spacer on top. I know i am not going over 6.5" so thats why i am thinking the heavier spring rate with a spacer.
Thread Starter
Honorary Moderator
Joined: Mar 2010
Posts: 8,135
Likes: 16
From: Gilbert AZ/Las Cruces NM
Year: 1996
Model: Cherokee
Engine: 4.0 upgraded
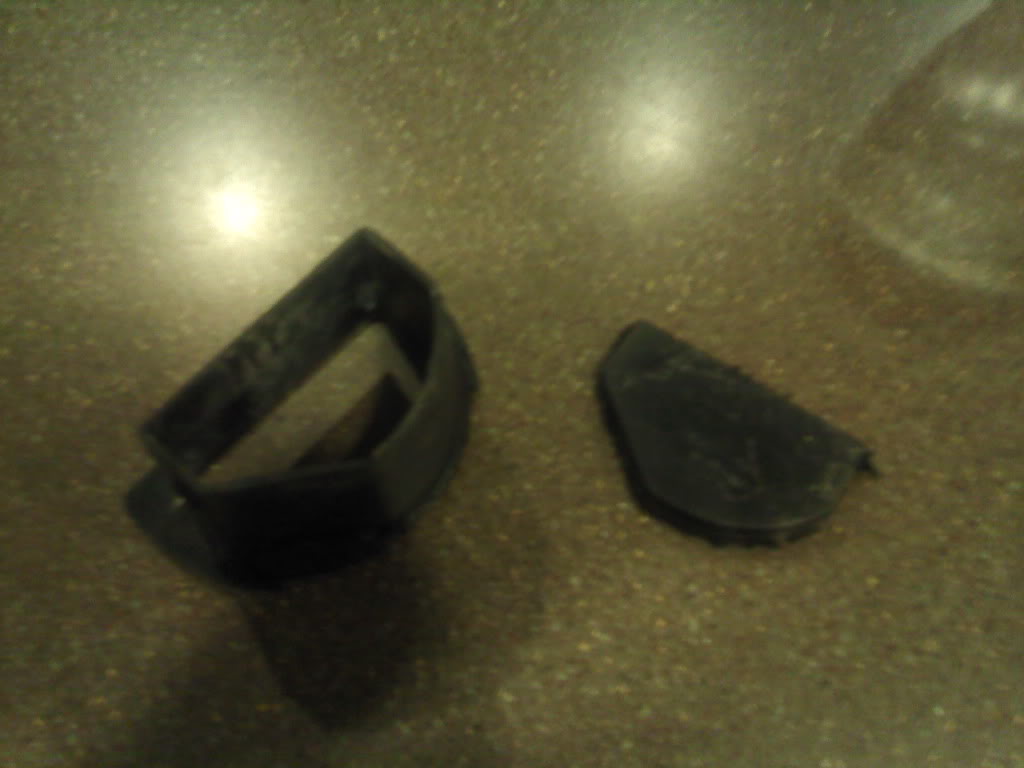
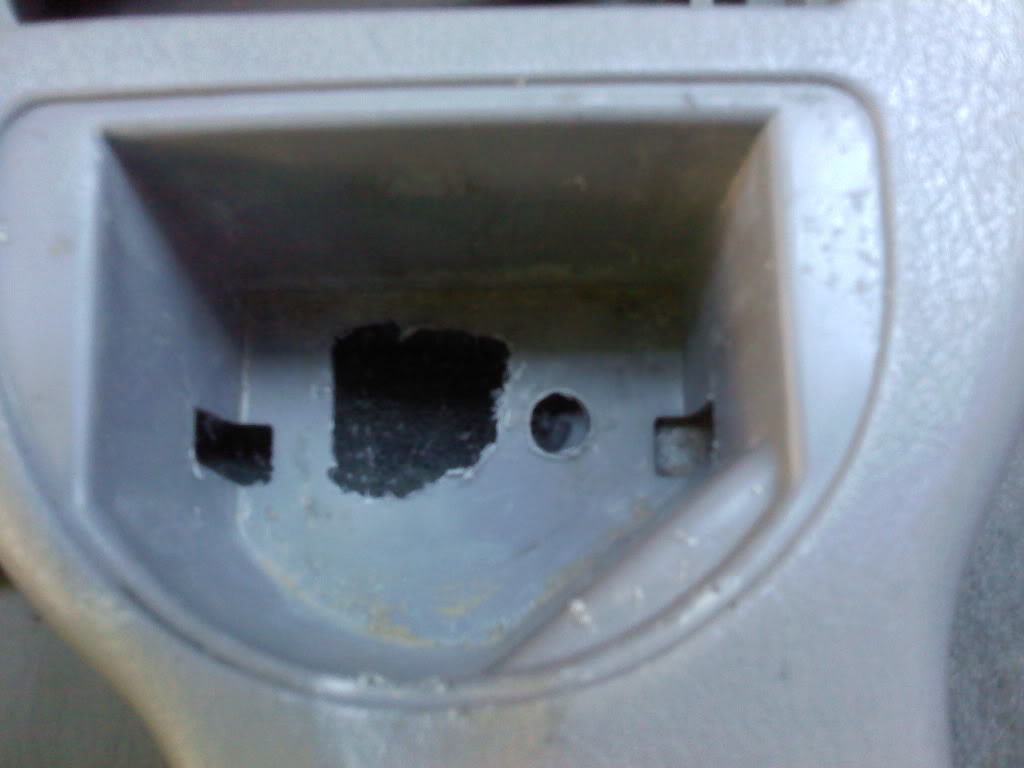
Alright so since I switched to the 00 center consul in my 96 jeep I was shown that you can turn your ashtray into a switch center. I really like the idea but I am all about cheap and home-grown ingenuity. I had some ABS plastic laying around from when I did my air box and I got to thinking....
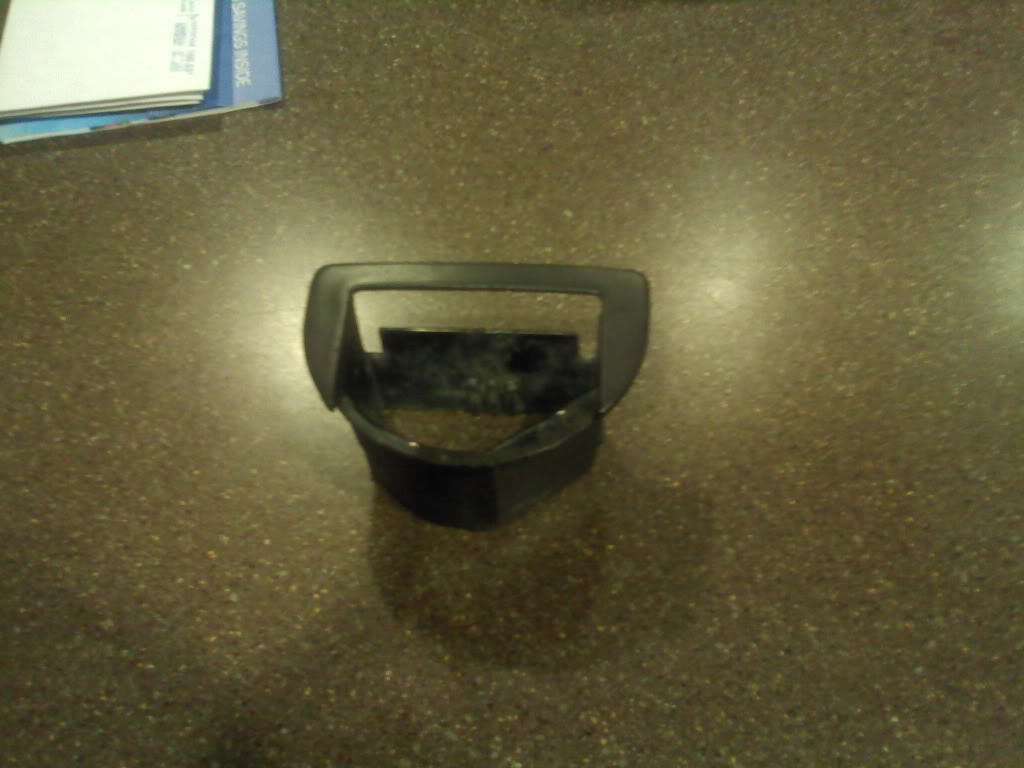
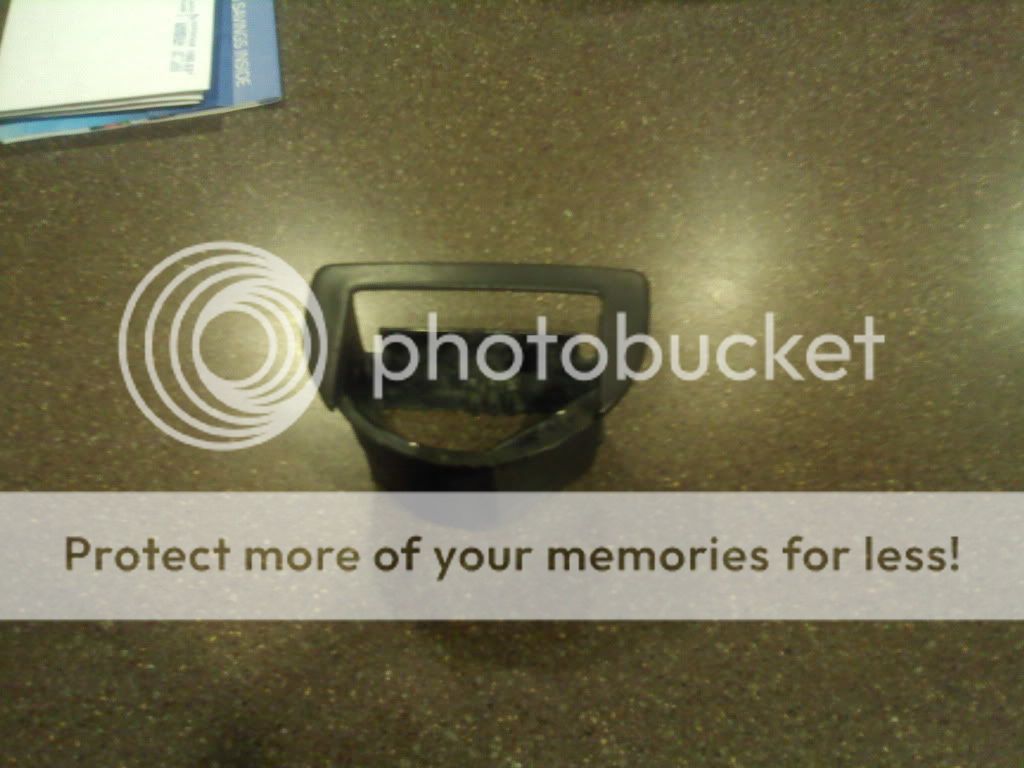
First I took the ash tray out (mine had no lid) and cut the bottom off so I could feed wires thru with no issues.
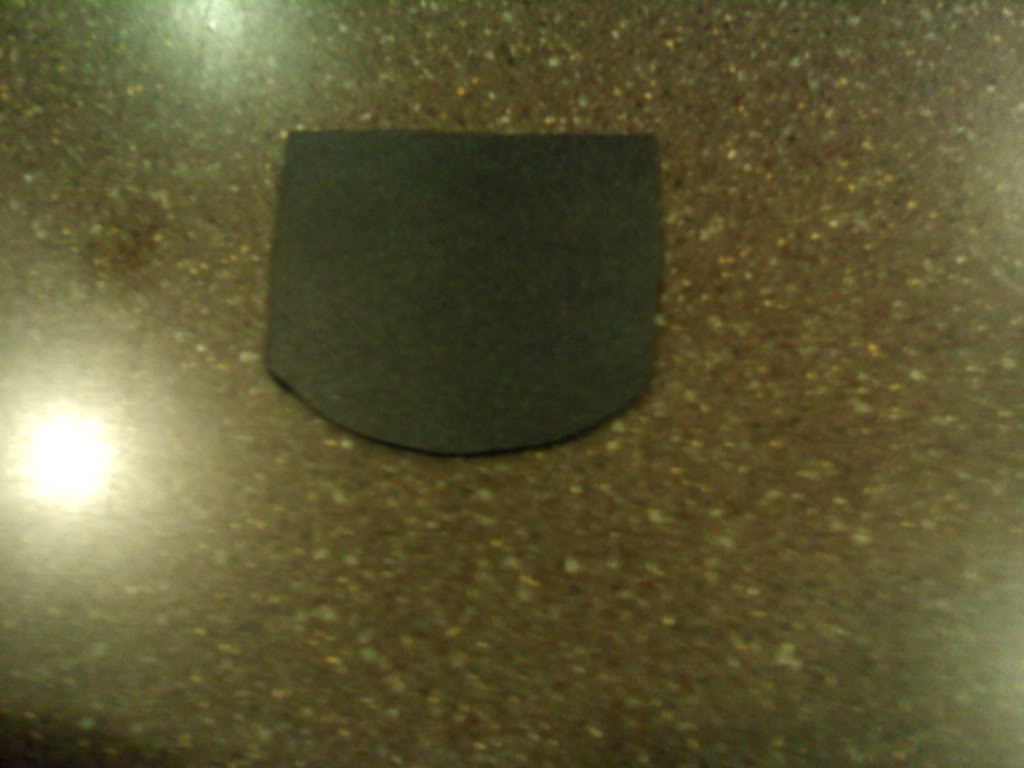
Then I made a template that would slide into the ashtray
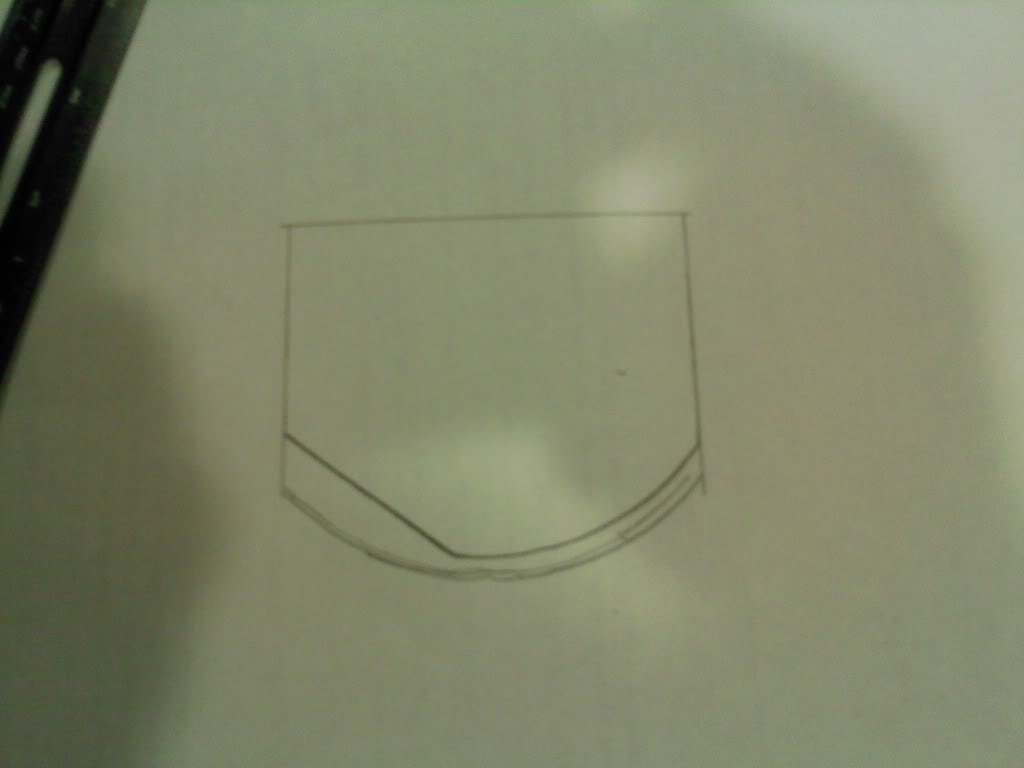
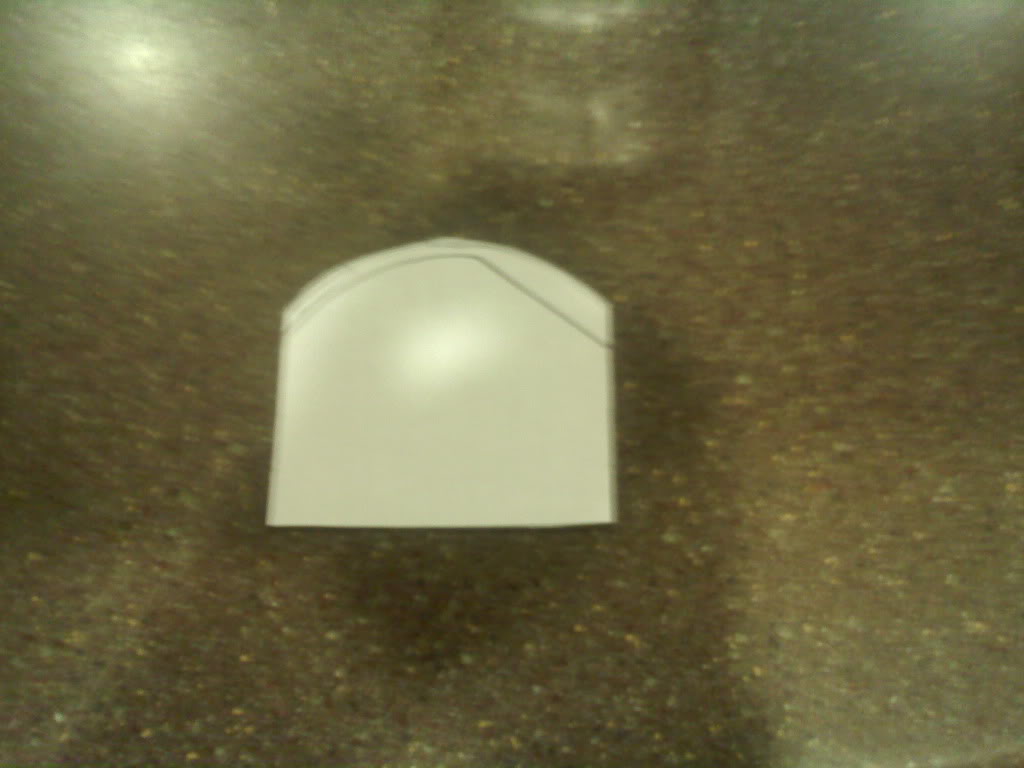
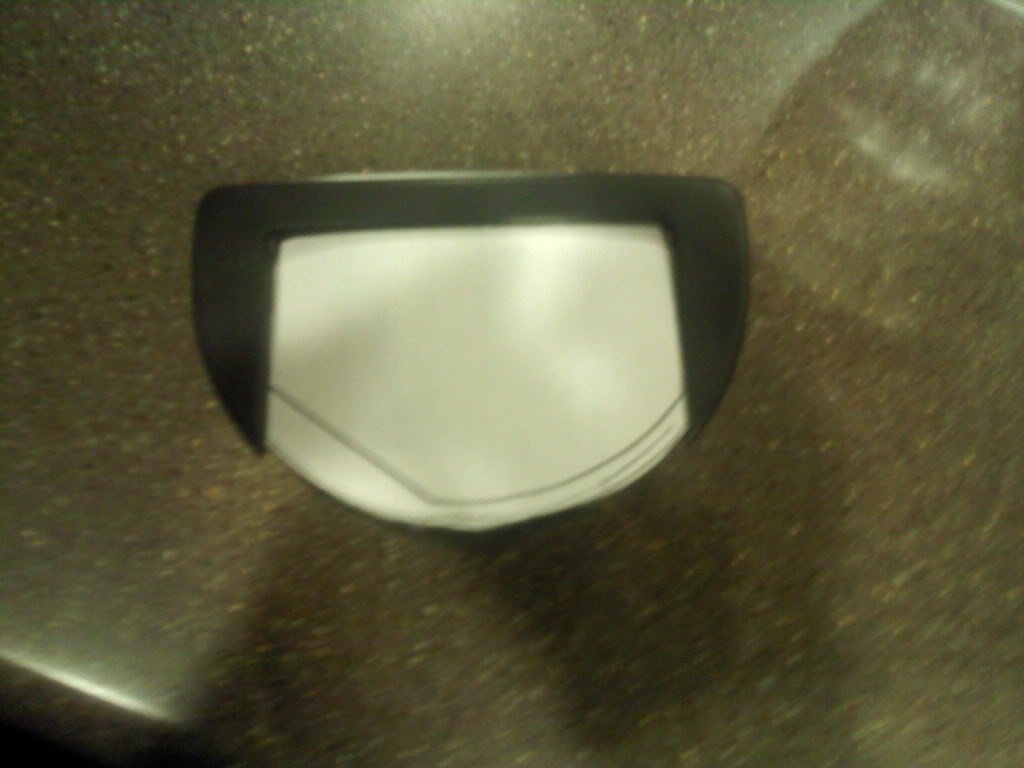
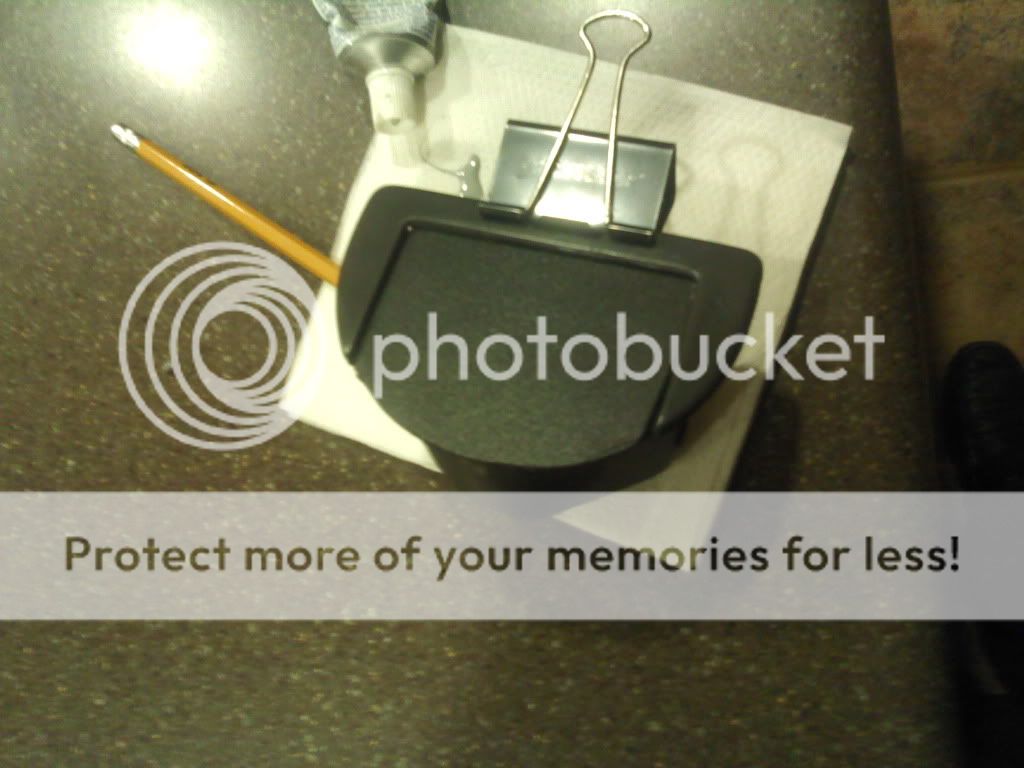
Then I used a dremel to cut out.
Then I put a good helping of RTV sealant whereever it would touch the ashtray and clamped it over night so it would dry
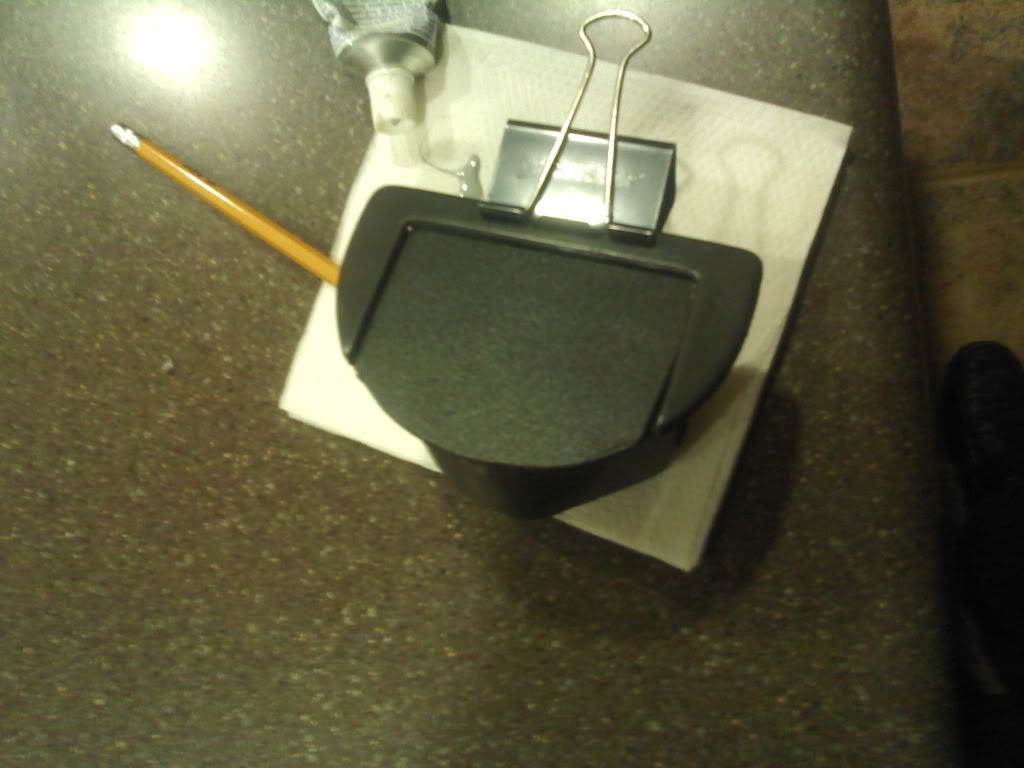
Then I test fitted
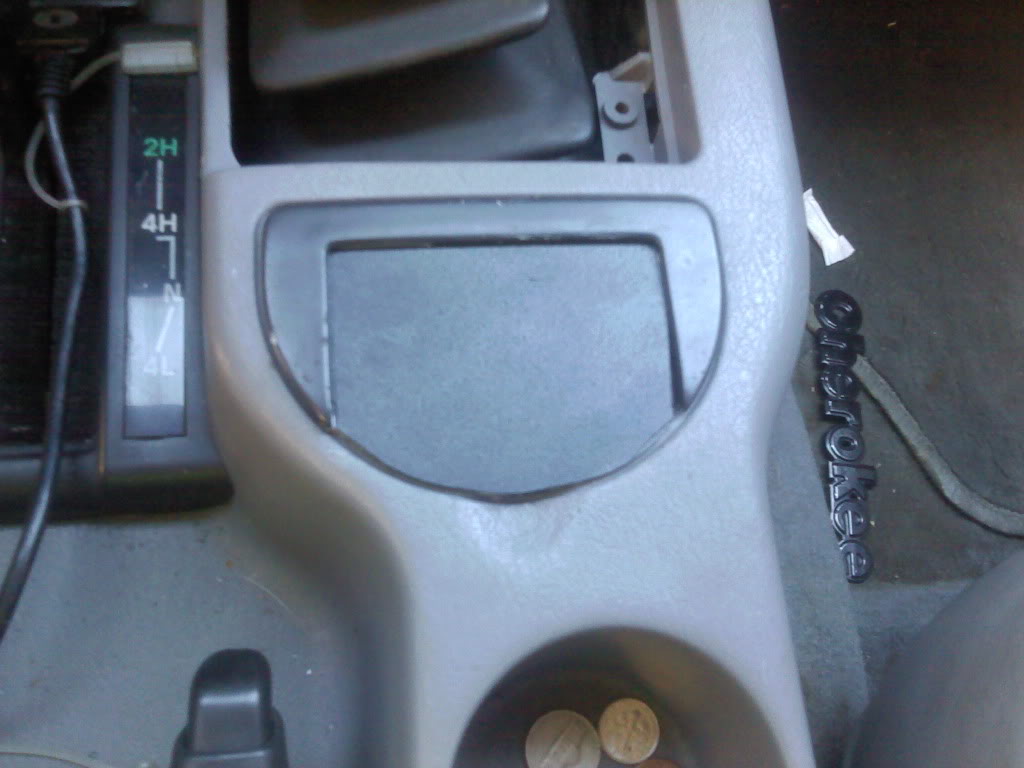
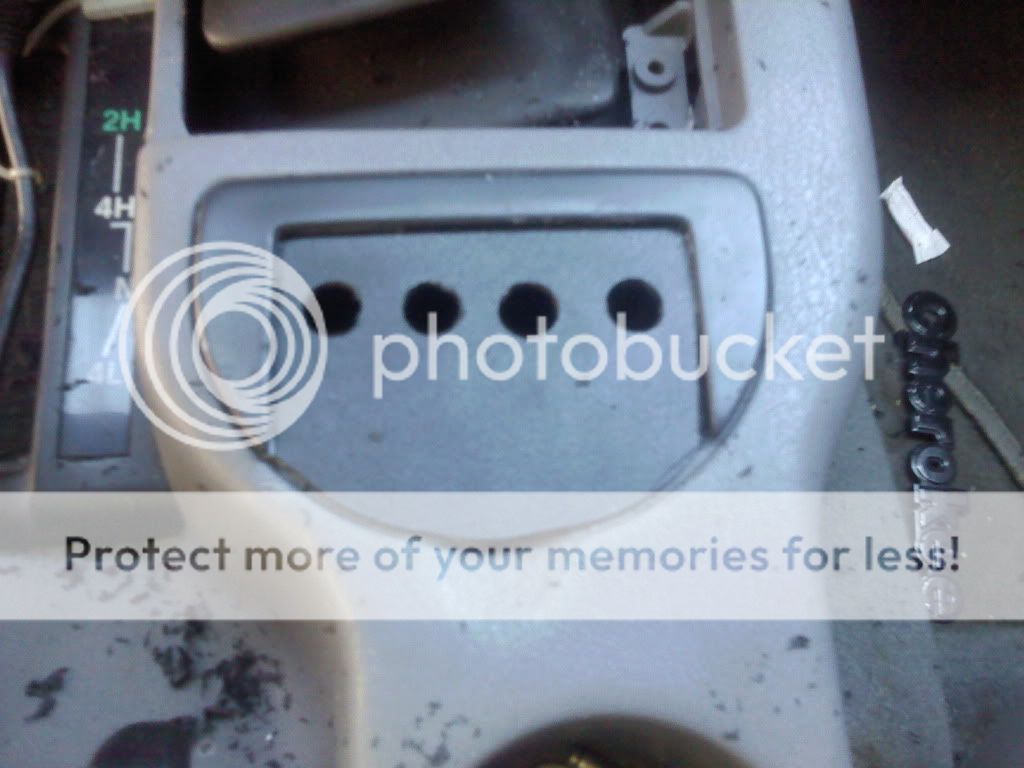
Then I figured how I wanted everything to lay out and started drilling
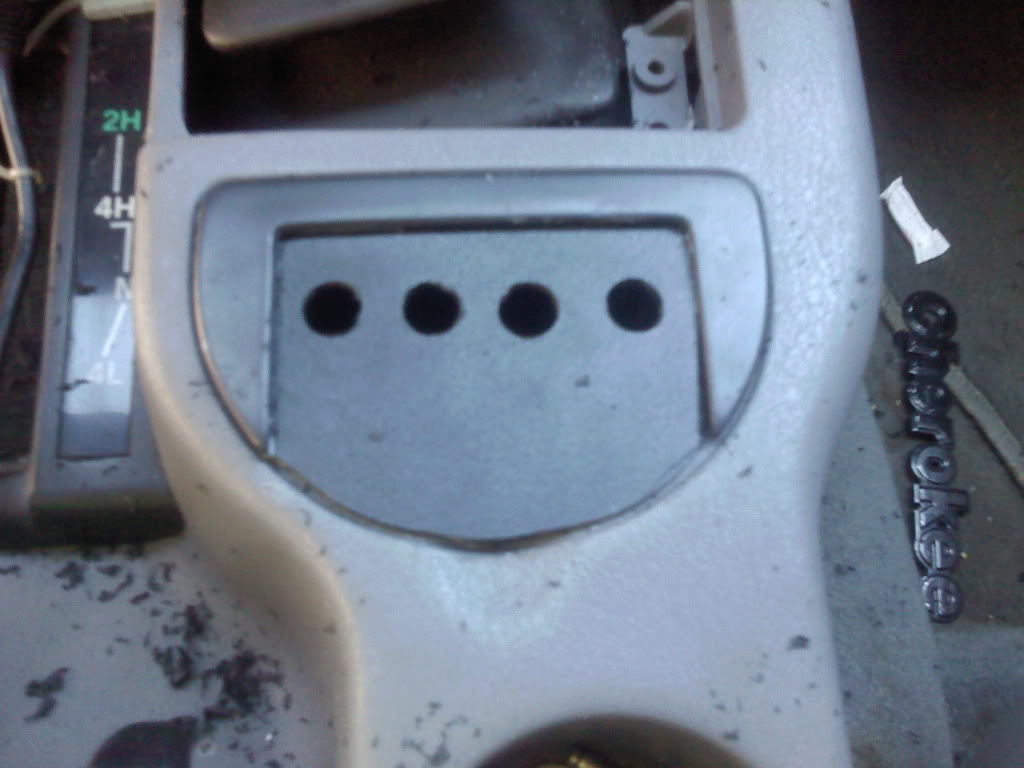
and the mock up!
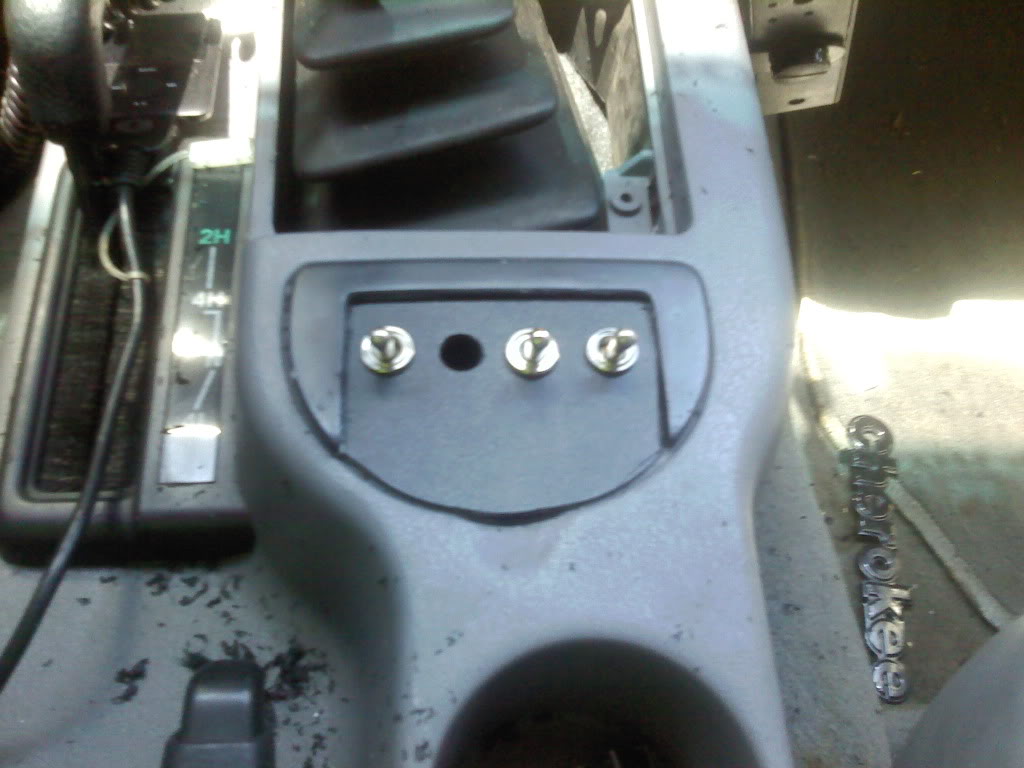
I ordered 3- 2 way/3 prong on-off toggle switches for the lights-3 prong is MANDATORY you can not use 2 prong.
napa part number TG6261
I ordered 1- 3 way/3 prong on-off-on to control my AC fan.
Napa part number TG6262
I will take pictures when I get everything wired up and all 4 switches in and mounted
the fan will be wired (normal operation(down)-center off-manual on(up))
with a little modification to the ashtray plastic you will be able to add up to 8 switches.
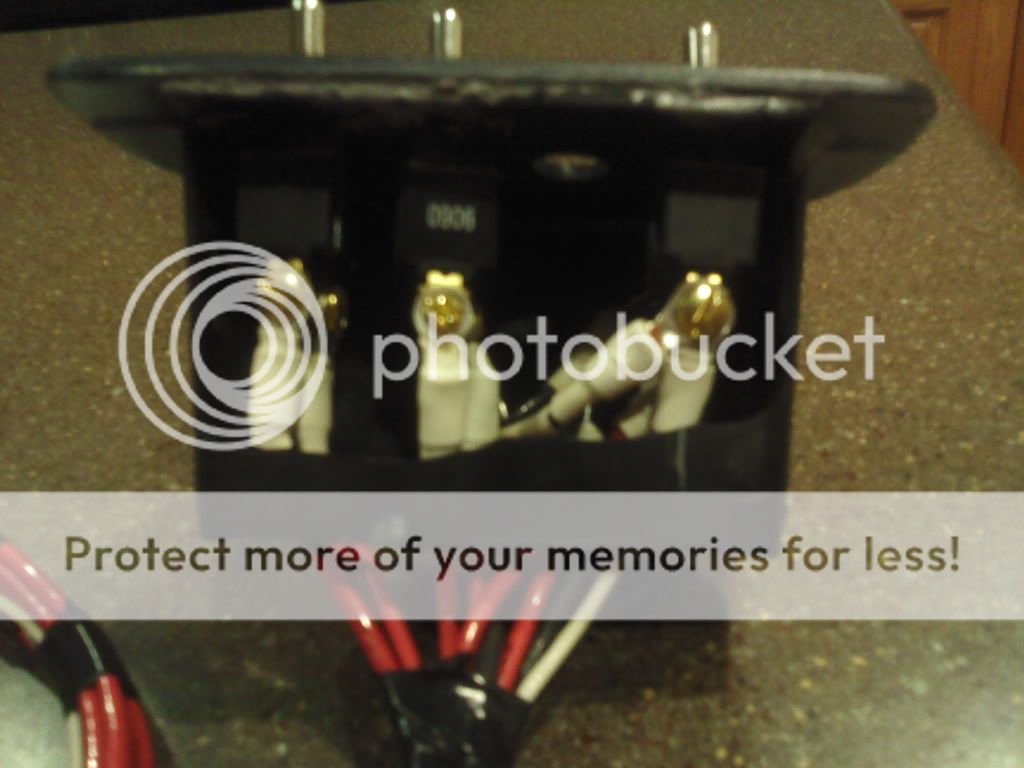
so tonight i went thru and wired all of the switches (well except the 4th switch, altho all the wiring is there for it)
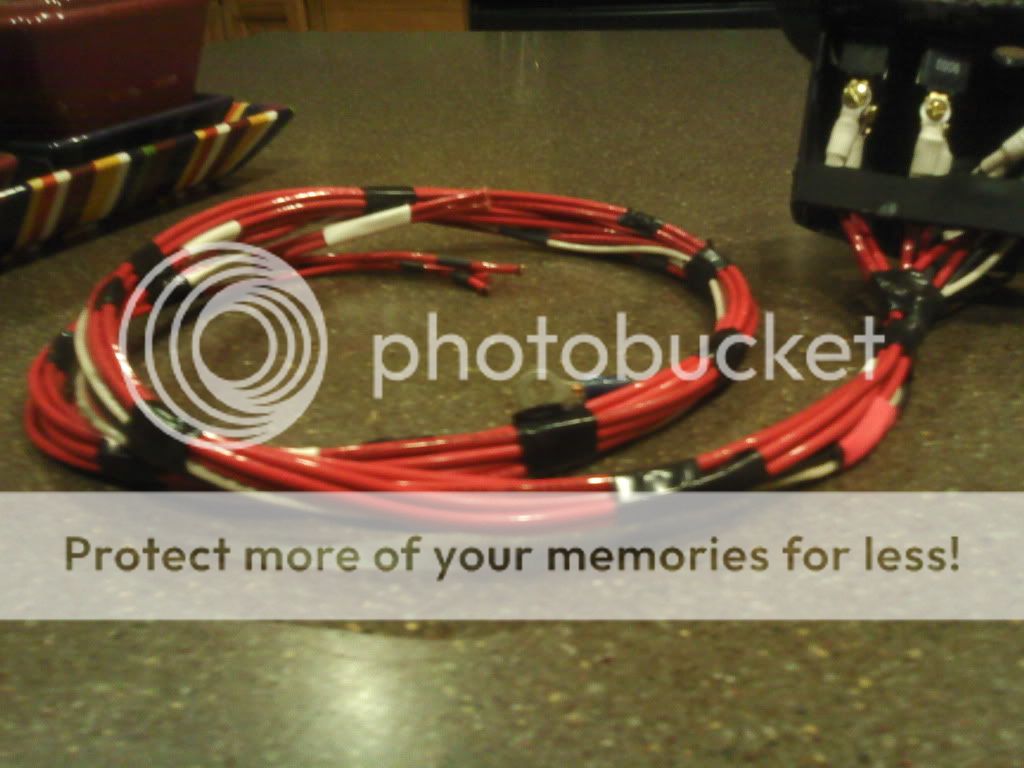
I know 12 gauge is a bit overkill but it is free
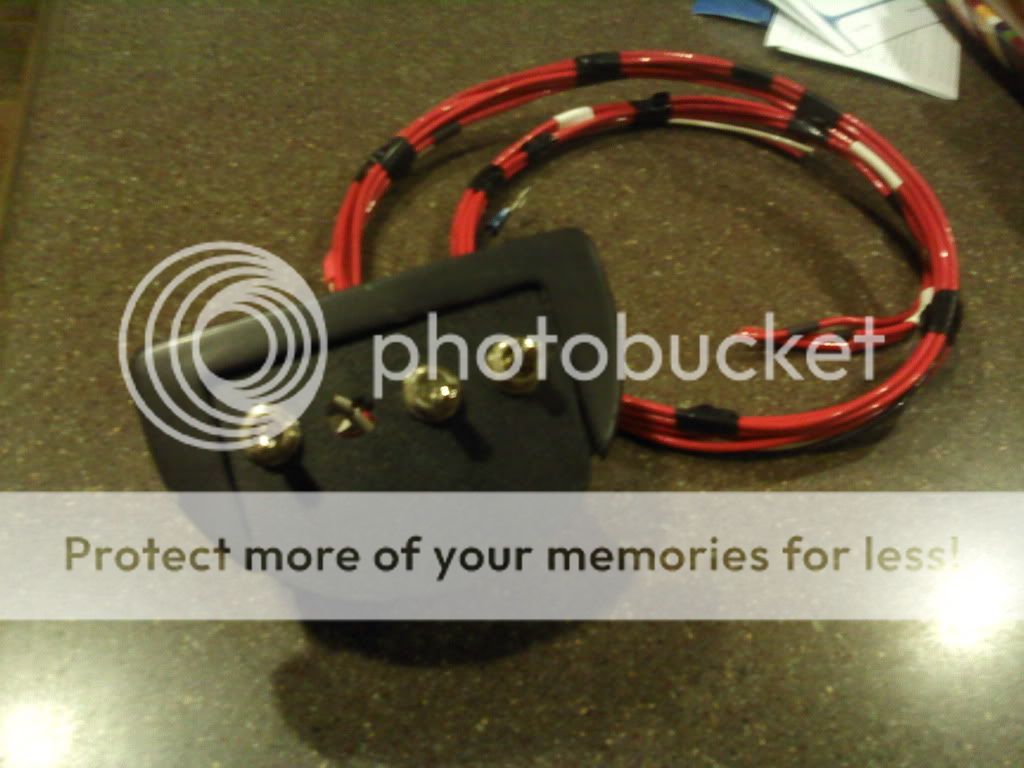
I went and shrink wrapped everything and made it one "harness" that i can place under the center consul.
Also everything is marked its not just a bunch of red and white wires (and one black)....
I should be getting my 4th switch tomorrow but we will see. I also want to pick up a relay for my "reverse lights" since it never had anything more than an inline fuse...
i cant wait to fill in the 4th hole....
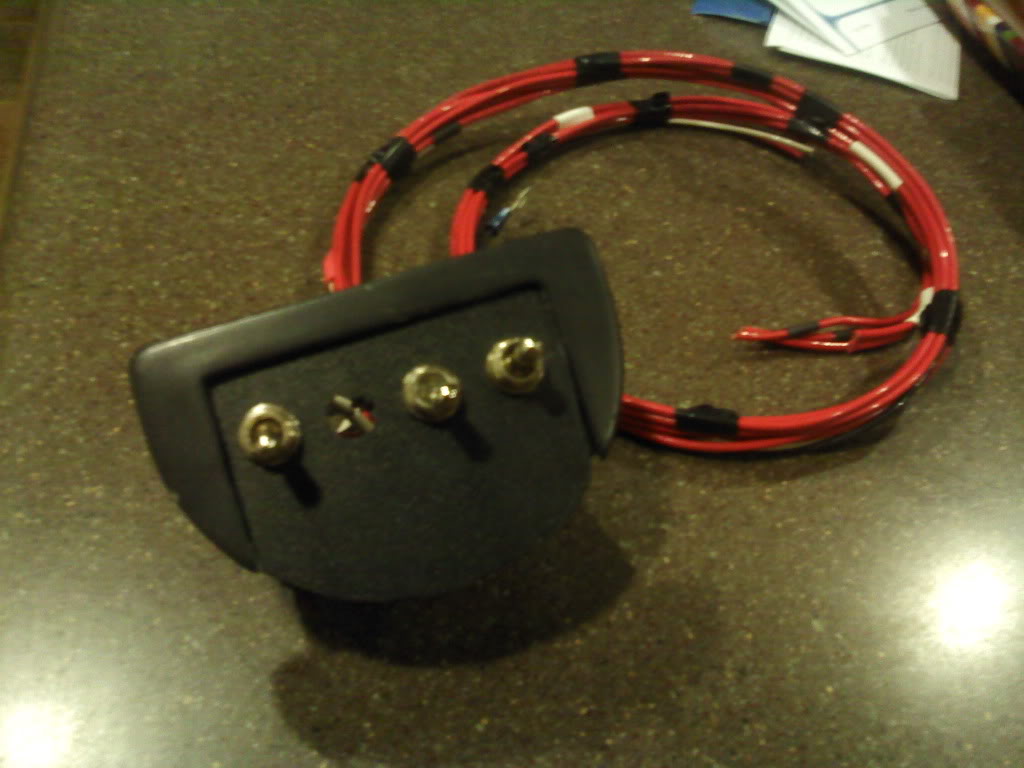
look how nice and clean that is =]
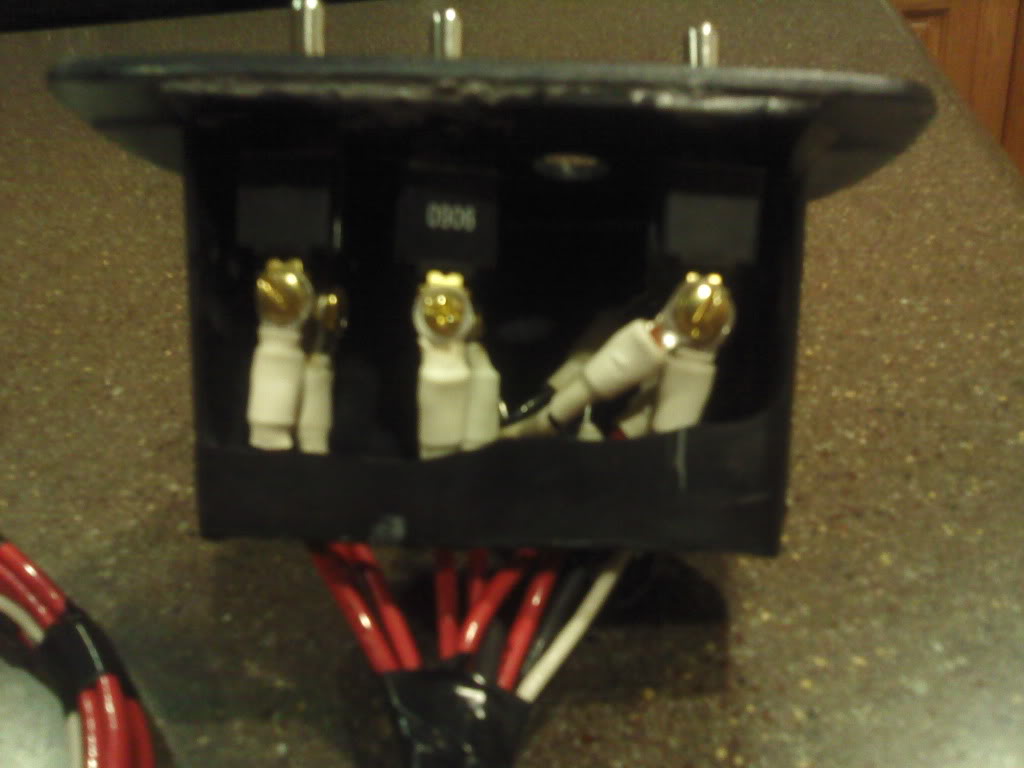
okay yeah maybe a little over kill..

First I took the ash tray out (mine had no lid) and cut the bottom off so I could feed wires thru with no issues.
Then I made a template that would slide into the ashtray
Then I used a dremel to cut out.
Then I put a good helping of RTV sealant whereever it would touch the ashtray and clamped it over night so it would dry
Then I test fitted
Then I figured how I wanted everything to lay out and started drilling
and the mock up!
I ordered 3- 2 way/3 prong on-off toggle switches for the lights-3 prong is MANDATORY you can not use 2 prong.
napa part number TG6261
I ordered 1- 3 way/3 prong on-off-on to control my AC fan.
Napa part number TG6262
I will take pictures when I get everything wired up and all 4 switches in and mounted
the fan will be wired (normal operation(down)-center off-manual on(up))
with a little modification to the ashtray plastic you will be able to add up to 8 switches.
so tonight i went thru and wired all of the switches (well except the 4th switch, altho all the wiring is there for it)
I know 12 gauge is a bit overkill but it is free
I went and shrink wrapped everything and made it one "harness" that i can place under the center consul.
Also everything is marked its not just a bunch of red and white wires (and one black)....
I should be getting my 4th switch tomorrow but we will see. I also want to pick up a relay for my "reverse lights" since it never had anything more than an inline fuse...
i cant wait to fill in the 4th hole....
look how nice and clean that is =]
okay yeah maybe a little over kill..
CF Veteran
Joined: Jul 2009
Posts: 2,245
Likes: 1
From: New Jersey (Milltown, Lavallette, and Wayne)
Year: 1999
Model: Cherokee
Engine: 4.0L I6
Alright so since I switched to the 00 center consul in my 96 jeep I was shown that you can turn your ashtray into a switch center. I really like the idea but I am all about cheap and home-grown ingenuity. I had some ABS plastic laying around from when I did my air box and I got to thinking....
First I took the ash tray out (mine had no lid) and cut the bottom off so I could feed wires thru with no issues.

Then I made a template that would slide into the ashtray


Then I used a dremel to cut out.

Then I put a good helping of RTV sealant whereever it would touch the ashtray and clamped it over night so it would dry
Then I test fitted

Then I figured how I wanted everything to lay out and started drilling
and the mock up!

I ordered 3- 2 way/3 prong on-off toggle switches for the lights-3 prong is MANDATORY you can not use 2 prong.
napa part number TG6261
I ordered 1- 3 way/3 prong on-off-on to control my AC fan.
Napa part number TG6262
I will take pictures when I get everything wired up and all 4 switches in and mounted
the fan will be wired (normal operation(down)-center off-manual on(up))
with a little modification to the ashtray plastic you will be able to add up to 8 switches.
so tonight i went thru and wired all of the switches (well except the 4th switch, altho all the wiring is there for it)
I know 12 gauge is a bit overkill but it is free
I went and shrink wrapped everything and made it one "harness" that i can place under the center consul.
Also everything is marked its not just a bunch of red and white wires (and one black)....
I should be getting my 4th switch tomorrow but we will see. I also want to pick up a relay for my "reverse lights" since it never had anything more than an inline fuse...
i cant wait to fill in the 4th hole....
look how nice and clean that is =]
okay yeah maybe a little over kill..
First I took the ash tray out (mine had no lid) and cut the bottom off so I could feed wires thru with no issues.
Then I made a template that would slide into the ashtray
Then I used a dremel to cut out.
Then I put a good helping of RTV sealant whereever it would touch the ashtray and clamped it over night so it would dry
Then I test fitted
Then I figured how I wanted everything to lay out and started drilling
and the mock up!
I ordered 3- 2 way/3 prong on-off toggle switches for the lights-3 prong is MANDATORY you can not use 2 prong.
napa part number TG6261
I ordered 1- 3 way/3 prong on-off-on to control my AC fan.
Napa part number TG6262
I will take pictures when I get everything wired up and all 4 switches in and mounted
the fan will be wired (normal operation(down)-center off-manual on(up))
with a little modification to the ashtray plastic you will be able to add up to 8 switches.
so tonight i went thru and wired all of the switches (well except the 4th switch, altho all the wiring is there for it)
I know 12 gauge is a bit overkill but it is free
I went and shrink wrapped everything and made it one "harness" that i can place under the center consul.
Also everything is marked its not just a bunch of red and white wires (and one black)....
I should be getting my 4th switch tomorrow but we will see. I also want to pick up a relay for my "reverse lights" since it never had anything more than an inline fuse...
i cant wait to fill in the 4th hole....
look how nice and clean that is =]
okay yeah maybe a little over kill..

Thread Starter
Honorary Moderator
Joined: Mar 2010
Posts: 8,135
Likes: 16
From: Gilbert AZ/Las Cruces NM
Year: 1996
Model: Cherokee
Engine: 4.0 upgraded
Oh well. i am just making sure al of my bases are covered
i dont want to have any electrical issues (or fires)!
and from the relay, my roof lights run 2- 8ga(yeah its big but they are HID simulate and i want to go true HID some day) up then split off into 2-12 for each light, my reverse HID simulate lights run of 12ga. When i wire up the fan to the relays it will be 8ga as well.
The best part about it is i (wont) have any wires running around the engine bay really. I am completely re wiring this week.
I am going to run a 6ga wire(extra amp cable i have from when i replaced it with 1/0) into the cab. I am going to pick up a project box from radio shack. (something like this:

I am going to run the 6ga in one end of the box (making the hole as snug of a fit as i can with a rubber grommet) then put a crimp end on the the 6gau. I have a copper bolt/nut and a bunch of copper washers. And then what you do is. Thread the bolt thru the crimp end and put 2 washers then put your accessory wires that need battery power on the bolt as well separated my 2 washers
every new wire. Then you screw the nut onto the bolt to where nothing is loose, and feed all of the wires out thru a rubber grommet on the otherside of the box. Seal the box up and place it under the dash. walla! no messy wiring under the hood. no crowded terminals. just something clean and safe! i will take a picture later of what it looks like now..... I was very impatient during high school and i have never got a chance to fix it.... lol
Last edited by 96_xj; Jun 24, 2010 at 10:35 AM.
Thread Starter
Honorary Moderator
Joined: Mar 2010
Posts: 8,135
Likes: 16
From: Gilbert AZ/Las Cruces NM
Year: 1996
Model: Cherokee
Engine: 4.0 upgraded
Alright so today did ALOT of wiring..... Luckily we have spools of wire laying around..
here is a nice pile that i pulled out!
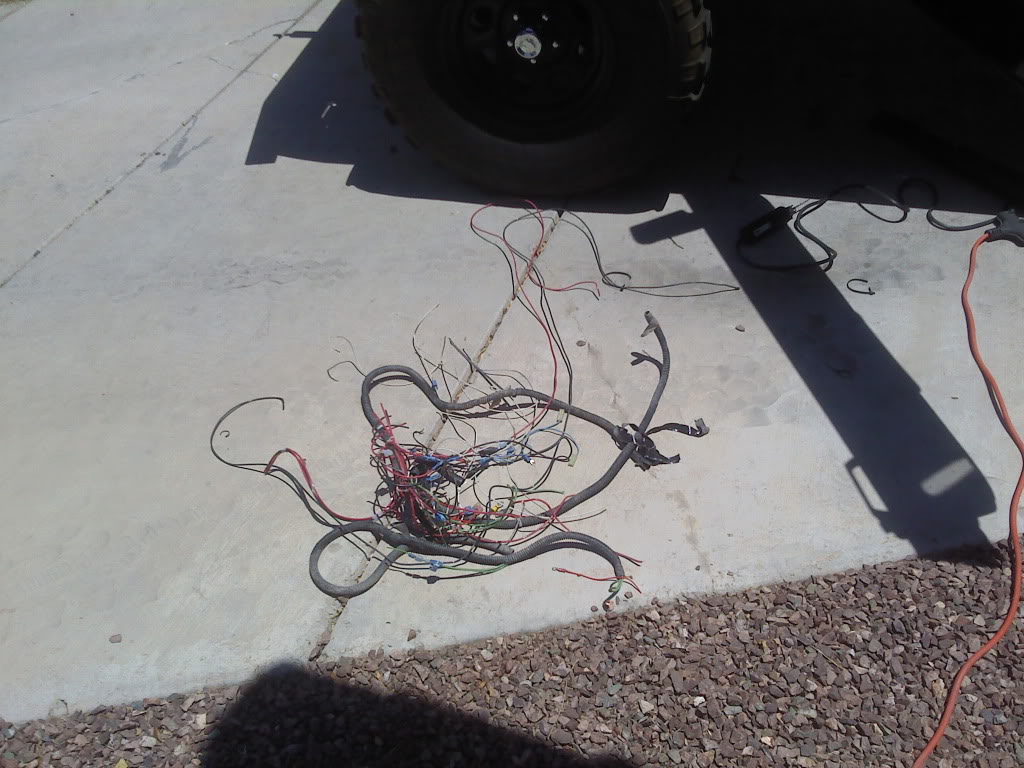
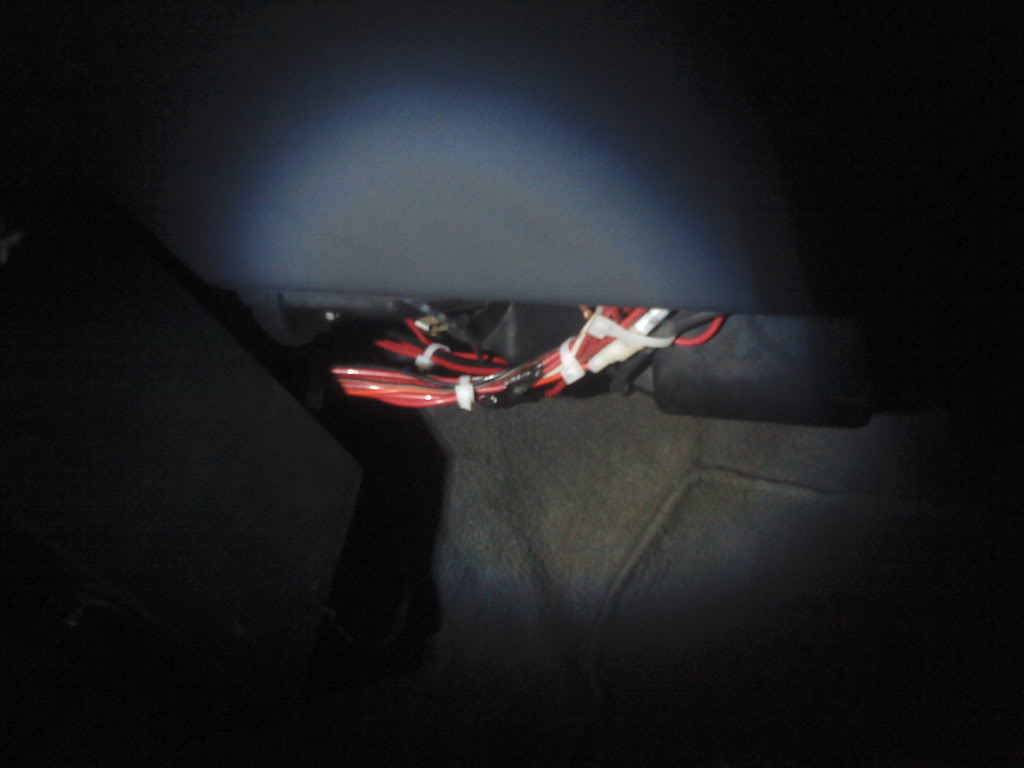
here is some pictures of what under the dash looked like ( darn high school impatience) mind you it was very safe the way it was, just amess....
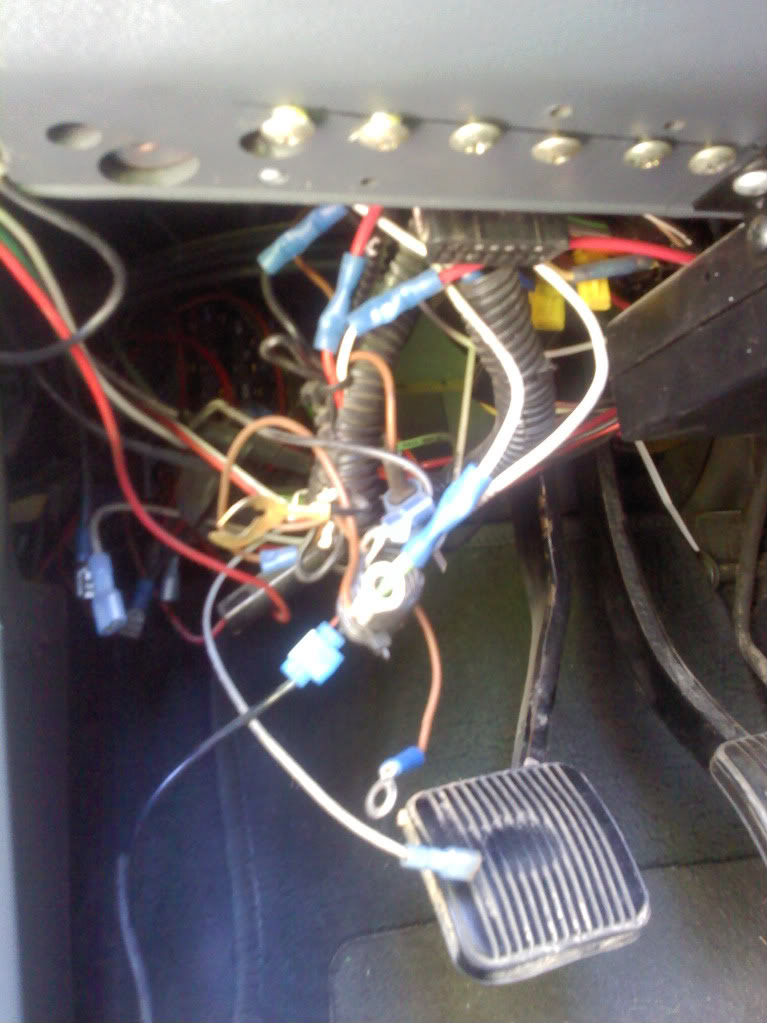
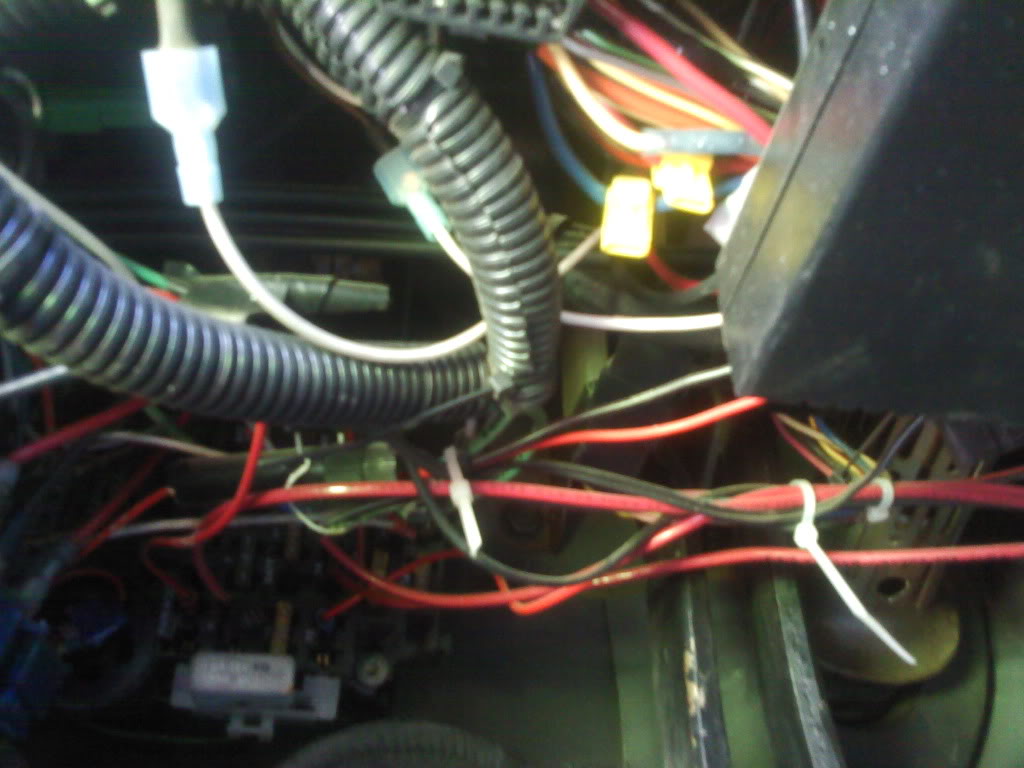
and here is what it looks like now!!!
i still need to split loom and get the project box so i can add power to everything.

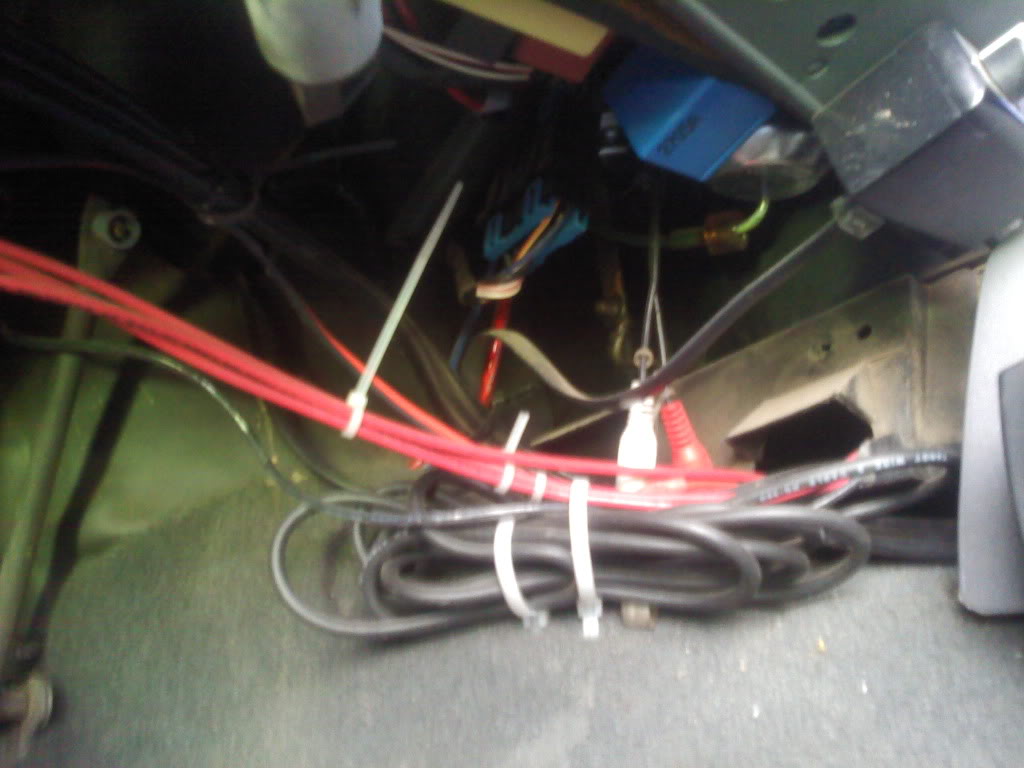
here is where everything will get power. It will go into the project box and be tucked up under the dash and vel-crowed down.
There is a 6ga cable coming into the cab directly from the battery(not hooked up yet for obvious reasons). It will have a bolt run thru the crimp end then everything will attach to bolt inside the box. providing power to everything attached.
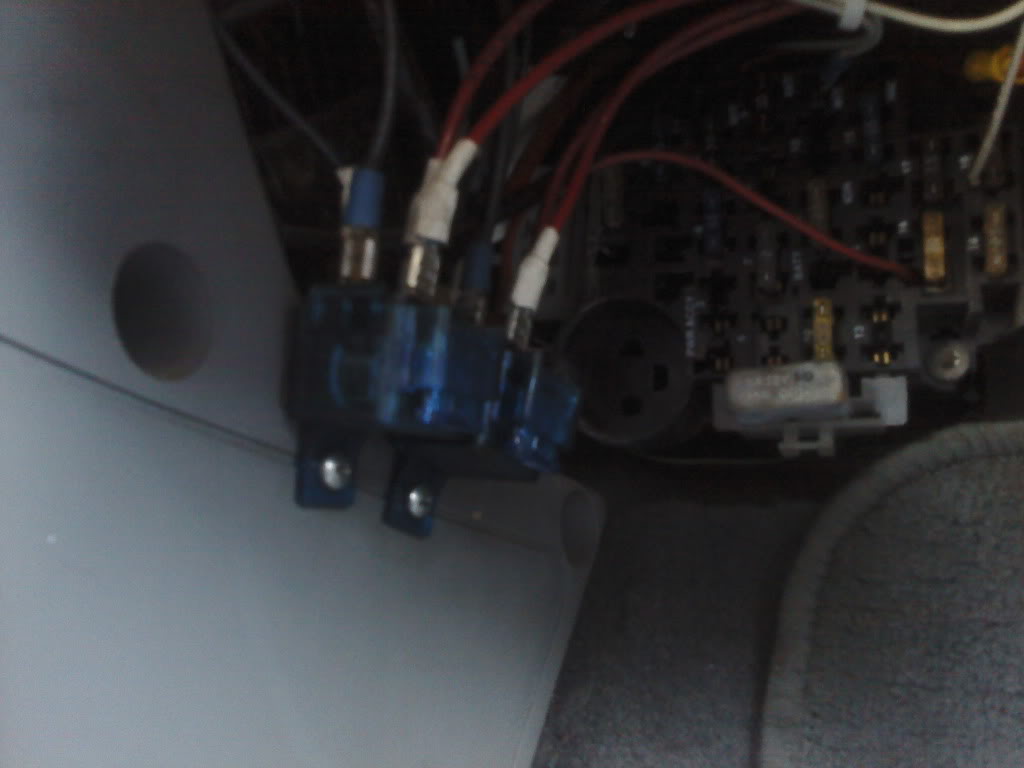
also finished my switches today
0624001114a.jpg?t=1277427118
here is how i ran the cable.
here is a nice pile that i pulled out!
here is some pictures of what under the dash looked like ( darn high school impatience) mind you it was very safe the way it was, just amess....
and here is what it looks like now!!!
i still need to split loom and get the project box so i can add power to everything.
here is where everything will get power. It will go into the project box and be tucked up under the dash and vel-crowed down.
There is a 6ga cable coming into the cab directly from the battery(not hooked up yet for obvious reasons). It will have a bolt run thru the crimp end then everything will attach to bolt inside the box. providing power to everything attached.
also finished my switches today
0624001114a.jpg?t=1277427118
here is how i ran the cable.
Thread Starter
Honorary Moderator
Joined: Mar 2010
Posts: 8,135
Likes: 16
From: Gilbert AZ/Las Cruces NM
Year: 1996
Model: Cherokee
Engine: 4.0 upgraded
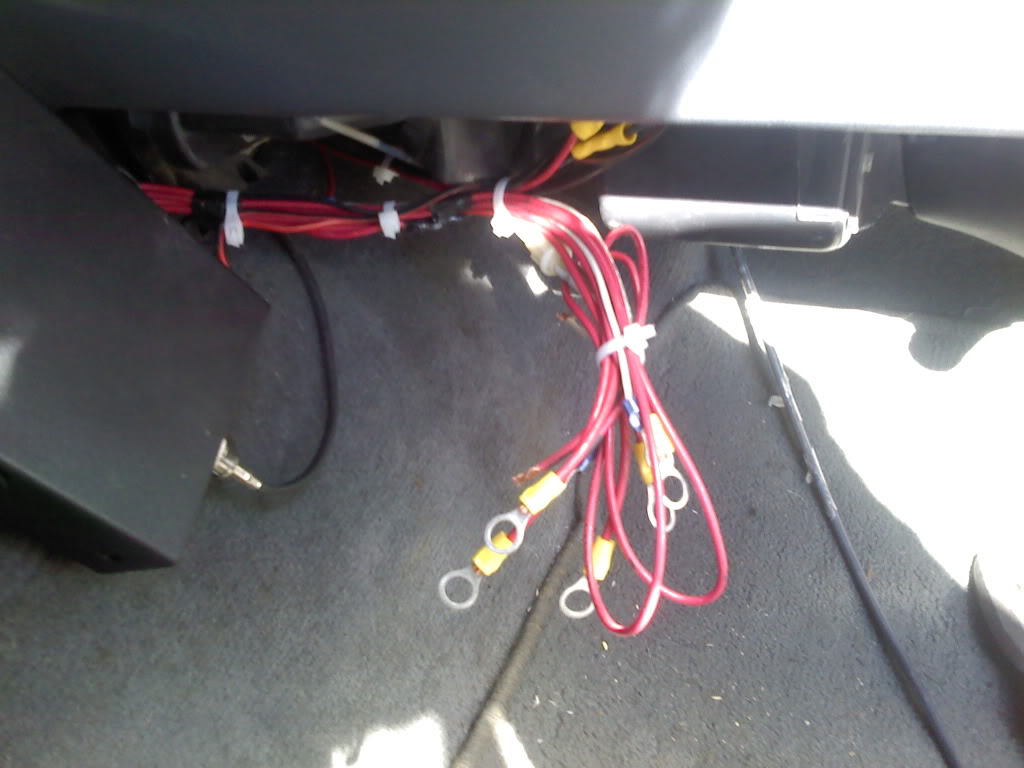
alright so i got the project box. Now i just need split loom!
this is what it looks like all hooked up. there is a 6ga wire feeding the box (a bolt with lots of washers so everything can connect to it)
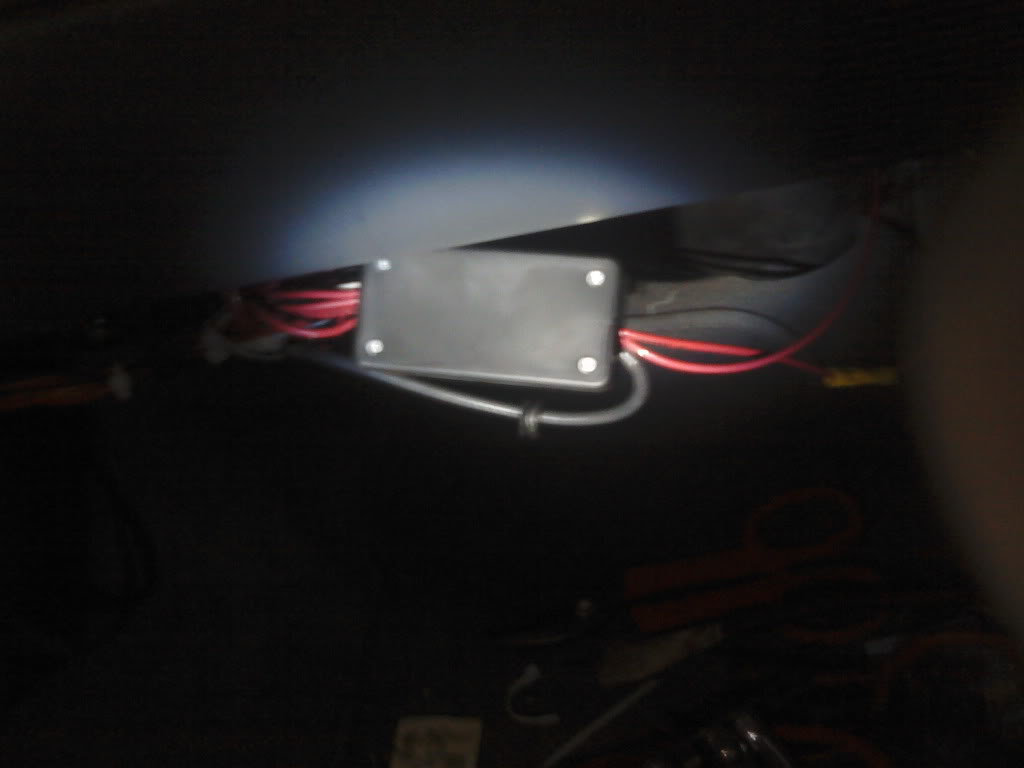
and this is what it looks like with the camera on the seat. So when you are sitting in the seat it is not to noticeable. (but again it needs split loom)
this is what it looks like all hooked up. there is a 6ga wire feeding the box (a bolt with lots of washers so everything can connect to it)
and this is what it looks like with the camera on the seat. So when you are sitting in the seat it is not to noticeable. (but again it needs split loom)
Thread Starter
Honorary Moderator
Joined: Mar 2010
Posts: 8,135
Likes: 16
From: Gilbert AZ/Las Cruces NM
Year: 1996
Model: Cherokee
Engine: 4.0 upgraded
Here is what it looks like all lit up!
here is the result of my wiring today:
fronts:

rear manual on:

rear reverse engaged:

here is the result of my wiring today:
fronts:
rear manual on:
rear reverse engaged: