When you click on links to various merchants on this site and make a purchase, this can result in this site earning a commission. Affiliate programs and affiliations include, but are not limited to, the eBay Partner Network.
I decided to upgrade the stereo system in my XJ after the head unit died, and I set a goal of significantly upgrading the sound quality while maintaining a stock interior appearance.
To achieve this goal, I landed on adding sound deadening material under the carpet/headliner, installing components speakers in the front doors, adding a subwoofer in the rear cubby hole area, and installing a 5-channel amplifier under the rear seat. Again, it was important to me to keep a clean and stock-like appearance, and I want to provide specific details around what materials/parts I used for others looking to do something similar.
I'll break down the project into stages, as some pieces are mutually exclusive and could be useful by themselves. The stages are:
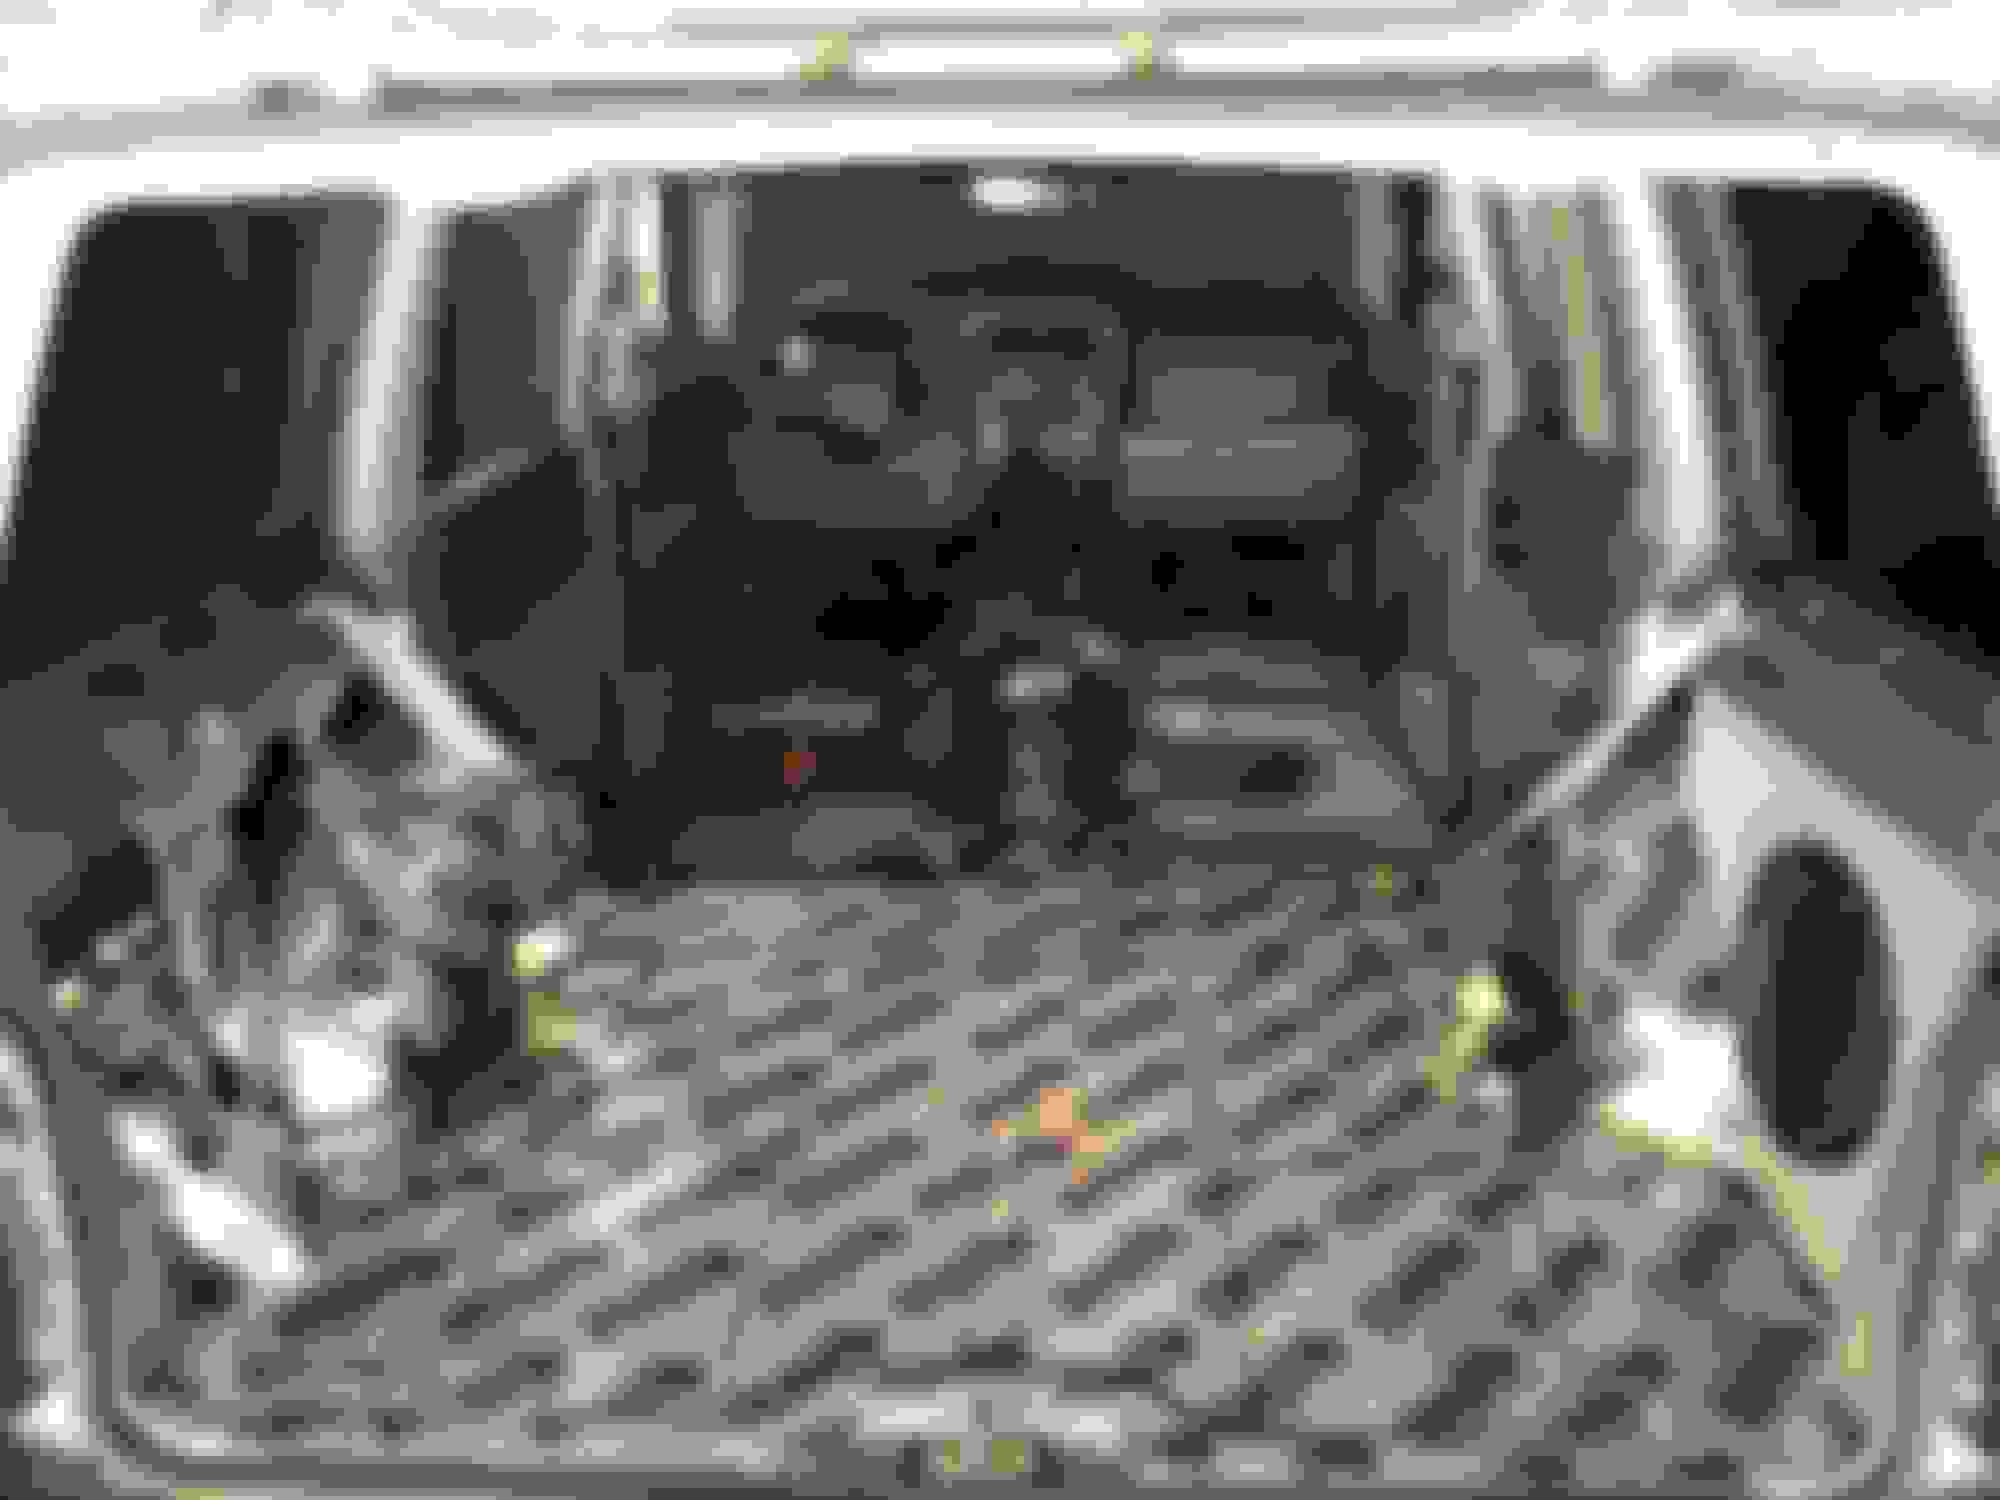
I decided to add soundeadener, well mass loaded panels, to the interior metal of the XJ to help with road noise and reverberations. After fairly extensive research on the available options (Dynamat, Hushmat, Fatmat, Peel & Seal, etc.) I landed on Kilmat being a good mix of performance and value. Applying the deadener required me to completely strip out the interior (seats, carpet, trim, etc.), so I decided to go ahead an replace the old, worn carpet.
The hardest part of stripping the interior was removing the center console, but I was able to shimmy the console out by pulling the parking break up as far as it would go. This allow me to get it up and over the shifter, without having to actually remove the shifter. After the interior was stripped clean, I cleaned and degreased the floor and used a heat gun and roller to apply the Kilmat to the metal. It was a fairly straight process but just took some time to carefully cover the fender wells, inside the rear quarter panels, inside the doors, etc. The carpet fitting was a little more complicated, as the replacement carpet was molded to fit but had to be trimmed on all sides to fit perfectly. Here are some shots of the progress.
Stage 2 - Subwoofer installation:
There are several enclosure options out there for installing a subwoofer in XJs, but I wanted something to look as stock and that took up as little of rear cargo space as possible. I ended up ordering SubThumps' 10" rear cubby hole enclosure and pairing it with a shallow mount Polk sub. With such a small enclosure, it was important to find a sub that could be efficient in a small space and that was shallow enough to fit the box.
Overall, I'm happy with how how the install turned out. The one thing I wish was different was the location of the subwoofer cut out in the box. It's slightly off center, but other than that, I couldn't have asked for a cleaner look. Also, I exchanged the cheap, spring-loaded speaker terminals that came with the box to a
. I used a Dremel tool to cut out the cubby hole, and then I sanded the edges to make it look as clean as I could. If you search, you'll see that people trim the plastic in several different ways, and I wanted to keep the panel that I could and have it fit snug against the box. Here are some pictures of the process.
Stage 3 - Front component speaker installation:
I knew I definitely wanted component speakers up front but didn't want to install kick panels or anything that would take up room in the floor. I saw that a few people had installed tweeters in their doors, but I couldn't find a lot of detailed information on how they did, though. Cutting a hole in your doors is something that you can't undo, so I really took my time here to make sure I didn't mess things up. I'm extremely happy with how the results came out, and, to me, it looks like the XJ came from the factory with the tweeters.
I started by centering the location of the hole on the door and drilling a pilot hole, which I later used to guide a hole saw to cut through the door. Next, I marked the hole with a permanent market and used a razor blade to cut out the top layer of vinyl. This provided a clean edge and allowed me to use the hole saw to cut through the rest of the door but not rip up the vinyl. Polk's instructions called for a 2" hole to be drilled, but I went with a 1 3/4" hole to make sure the tweeter fit snugly in place, which worked out perfect. Also, I installed the crossovers inside each door. Here are a few pics of the process.
Stage 4 - Amplifier installation:
As you know, there is little room under the front or rear seats to install an amplifier, and I wanted a single amplifier that would power all my speakers (front components, rear coaxils, and sub). This quickly narrowed my search to a 5-channel amplifier. Again, I searched and found that several people had installed amplifiers underneath their rear seat, but it was hard to find details about which model they used. After significant research, I decided to go with the Zapco model linked above, as the brand has a great reputation for delivering high-quality products, and it was one of the very few 5-channel options that would fit cleanly under the seat. The amplifier is class D, which is a little newer to the market and provides great power in a smaller footprint. Phoenix Gold and Soundstream have class D models coming out this year that I think will also work perfectly, but they're not actually being sold yet.
I don't have pics of the associated wiring, but I ran the power wire inside the trim on the passenger side of the XJ and the RCAs and remote turn on wires inside the driver's side trim. I ended up using
, as it allowed me to only run one (vs. three) RCA cables and was flat, which made it very easy to hide underneath the interior trim. Here is a pic of the final amplifier installation.
I still have to install the rear coaxil speakers, which will require me taking out the headliner to install Kilmat on the inside of the roof, but the system already sounds great, and the rear speakers will be used primarily only for fill, so that project can wait a few weeks.
I know I left out some details, but I'm happy to answer any questions you might have and help where I can.
Nice install. I am looking to do everything you laid out except the sub for my jeep. I noticed some other jeepers going with Kilmat over Dynamat, fat mat or other sound deadener. Any particular reason?
Nice install. I am looking to do everything you laid out except the sub for my jeep. I noticed some other jeepers going with Kilmat over Dynamat, fat mat or other sound deadener. Any particular reason?
Thank you!
They are basically all the same type of product, butyl rubber mass deadeners, and, for me it came down to the cost/sq ft. Currently, Dynamat is $4.47/sq ft, Kilmat is $1.64, and Noico is $1.83. Given that the Kilmat and Noico options are 80mil thick (vs. 67 for Dynamat) and they were massively cheaper, I went with the Kilmat. All three get solid reviews, but I couldn't justify 2.7x the cost for the Dynamat.
I purchased three boxes (108 sq feet in total) of Kilmat for $167, and this would have cost over $480, had I went with the Dynamat. Also, the thicker material, in theory, should deaden things a little better. I imagine all three product perform roughly the same, however.
Did you notice a difference in quietness in the cab after you finished the roof?
Kinda. Maybe. I put in an overhead console. So it was more a "while we are here thing".
Definitely made all the sheet metal go from a tinny sound when rapping on it to more of a thud.
Also, could be my imagination, but I want to say that I could hear more of my music.
If that makes sense. With a stock system.
Did a little write up.