
My first winch bumper build!

Thread Starter
CF Veteran
Joined: Feb 2012
Posts: 2,716
Likes: 2
From: Bowie, MD
Year: 1999
Model: Cherokee
Engine: 4.0L
So, since the 2 sets of sliders I built went together so nicely I decided to go ahead and try my hand at building a winch bumper. Here goes!
I designed this on Google a week or 2 ago, very JCR'ish now that I'm building it
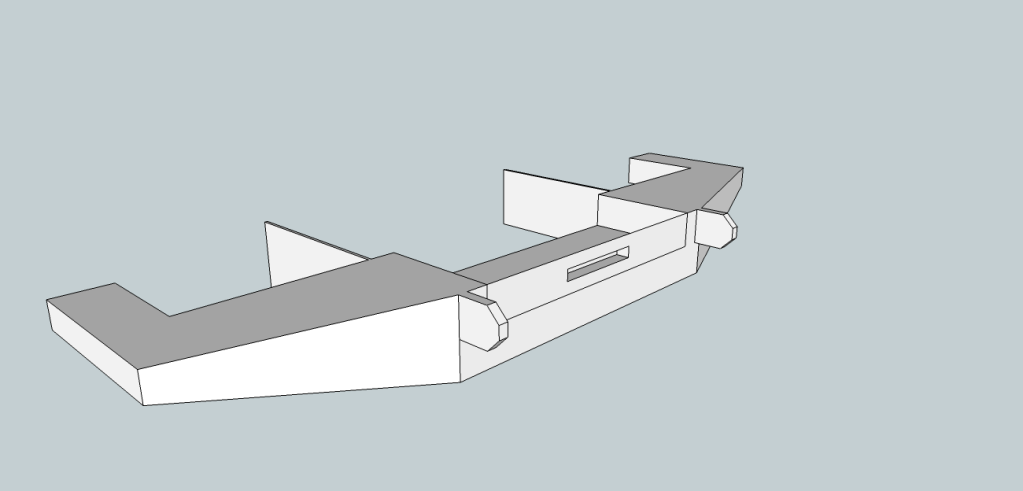
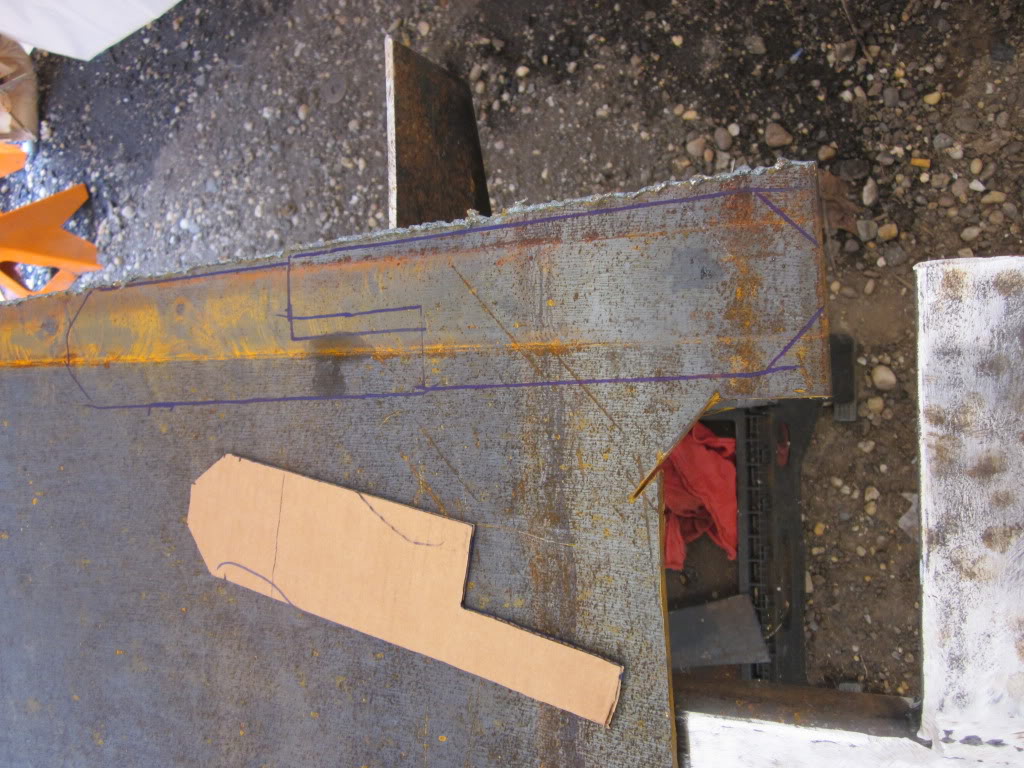
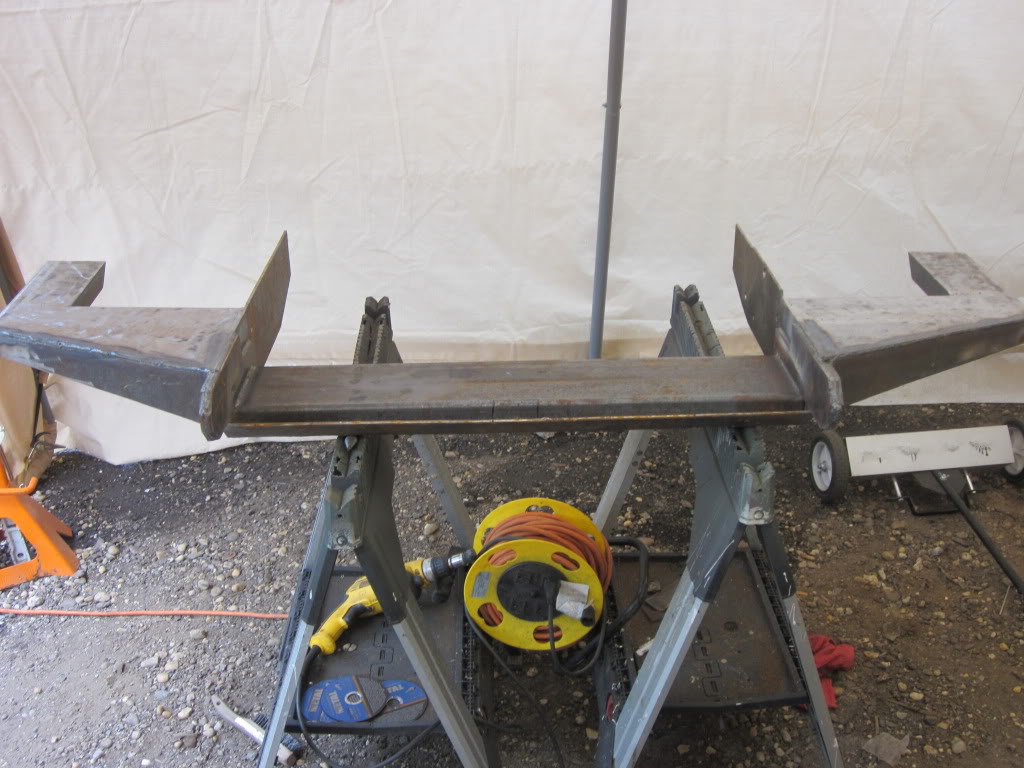
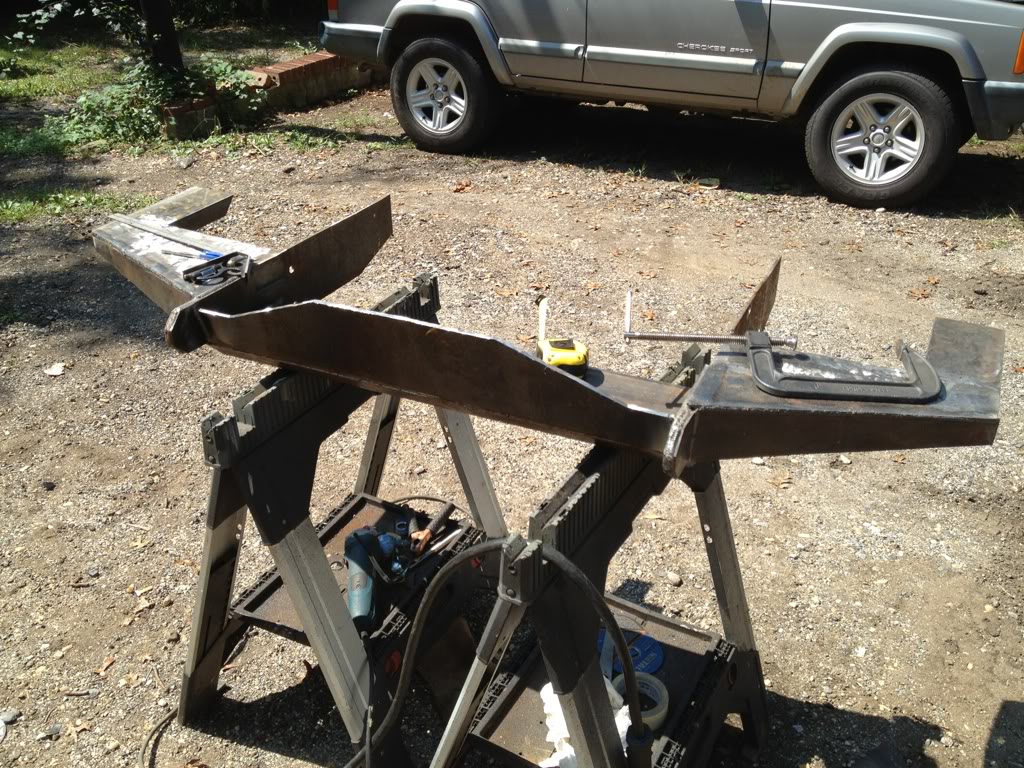
Started with some 3/16th's plate for my mounts/frame tie ins
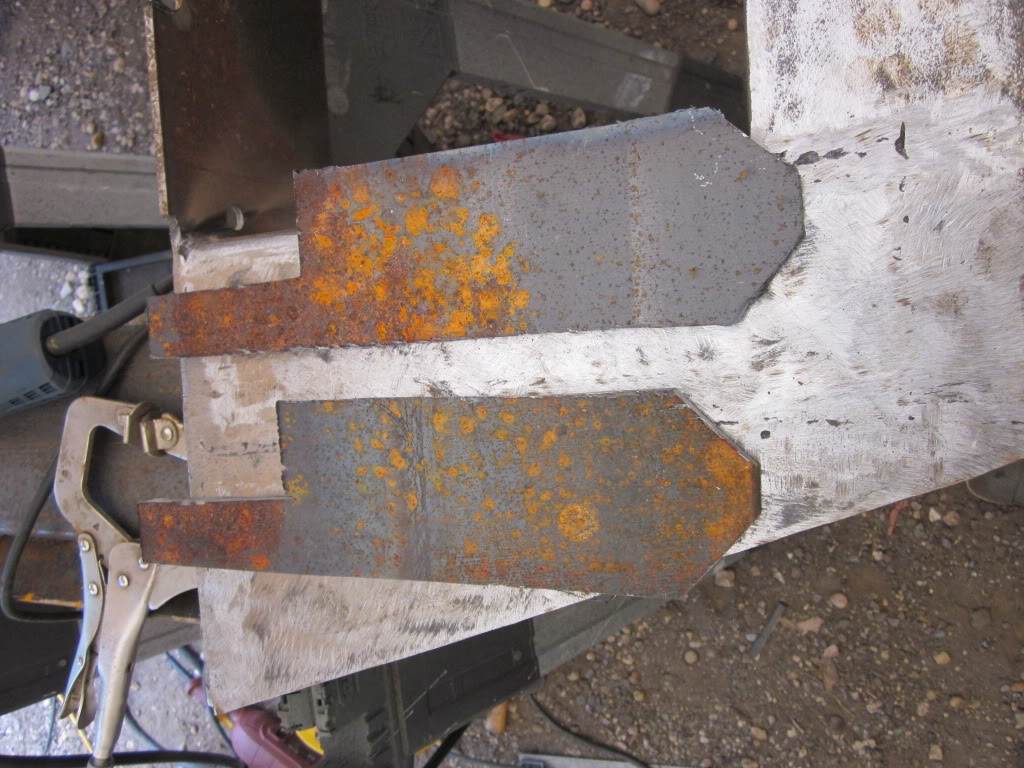
Mounts/frame tie ins (still need to drill all the mounting holes, just drilled out what was needed atm)
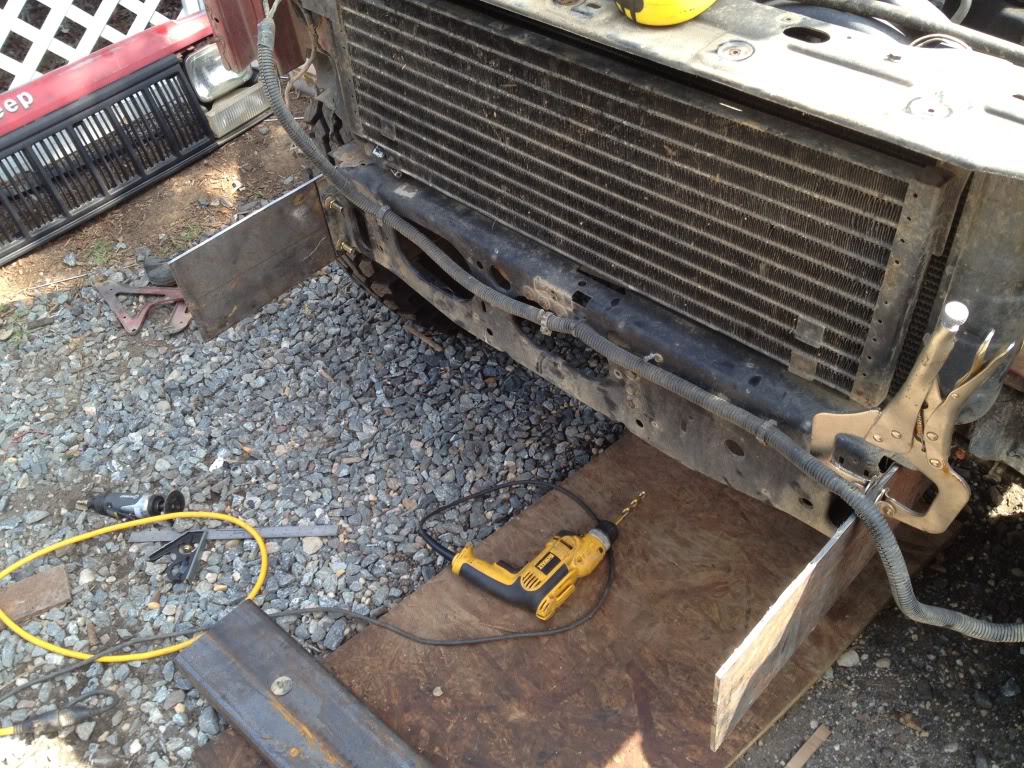
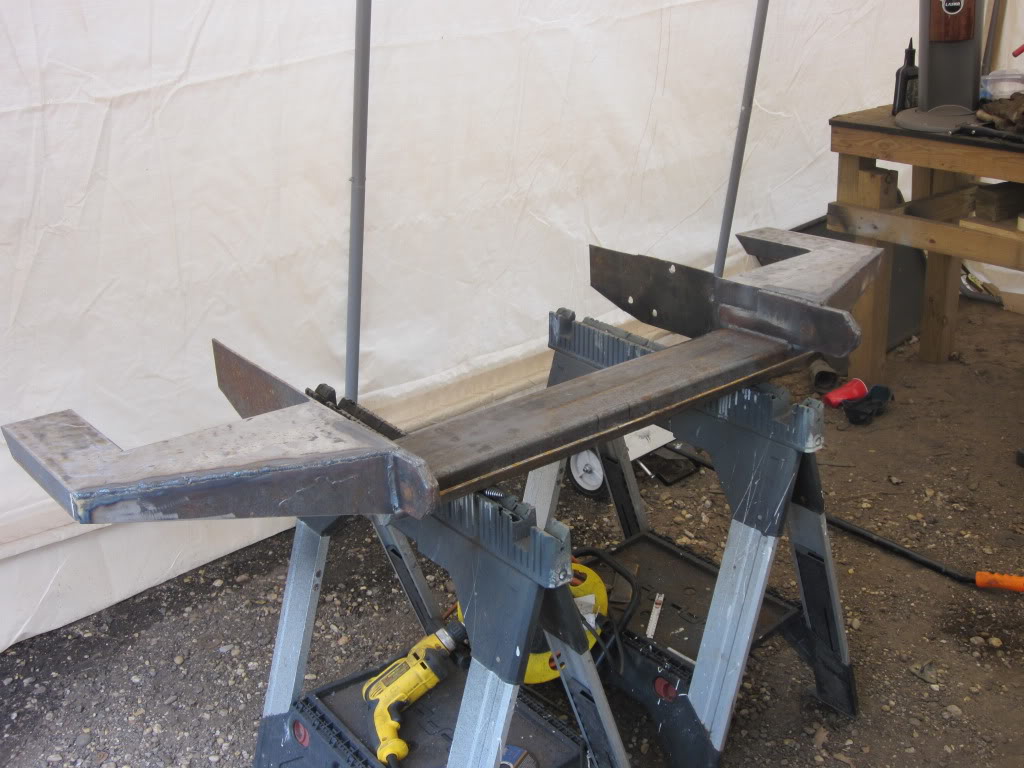
3/16th wall 2x6 tube for the winch bed
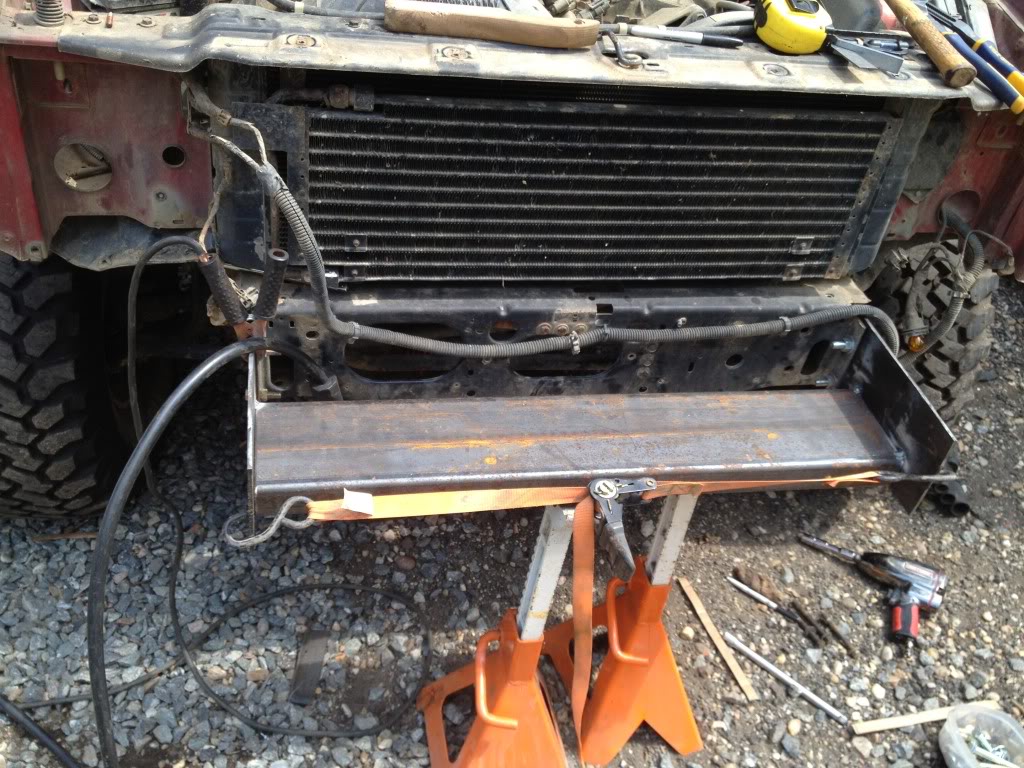
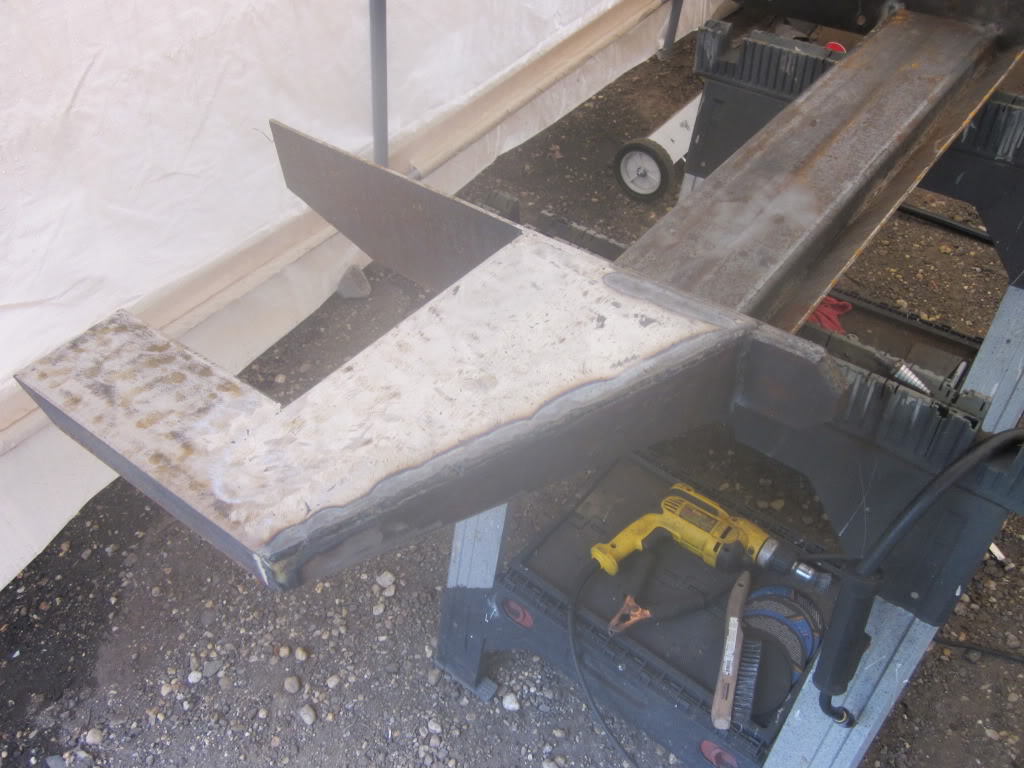
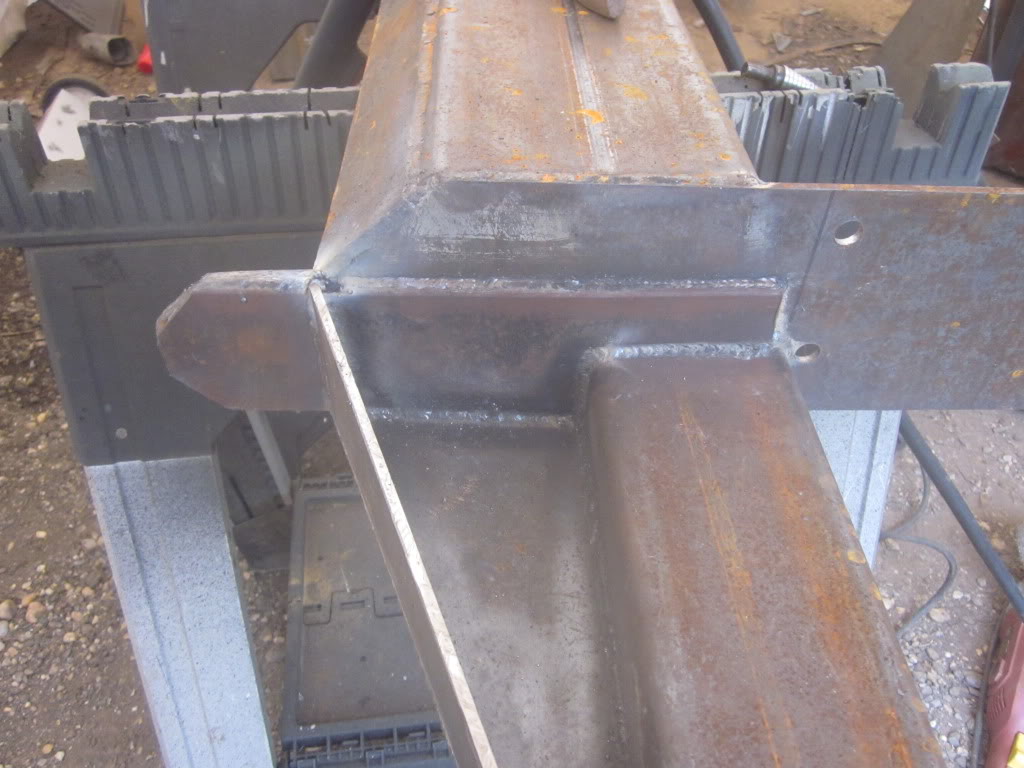
I had a little 2x4 and c-channel left over from the rock sliders I built last week and since I was low on plate I used my scrap to build out the corners. It's gonna add a little weight, but a LOT of rigidity
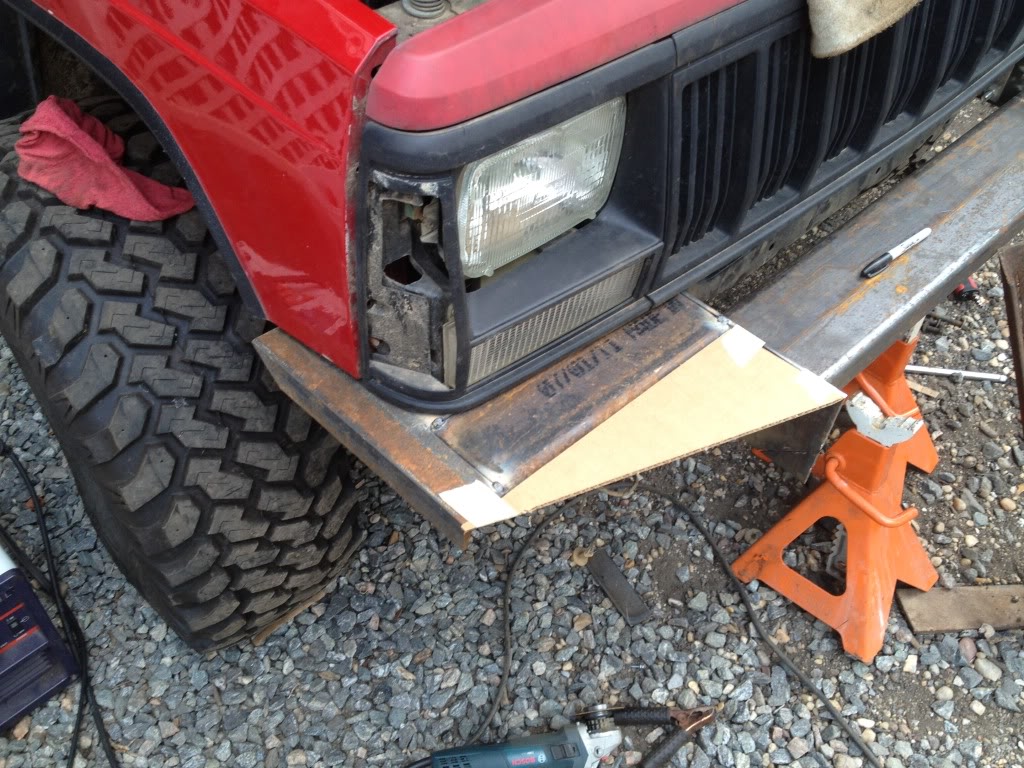
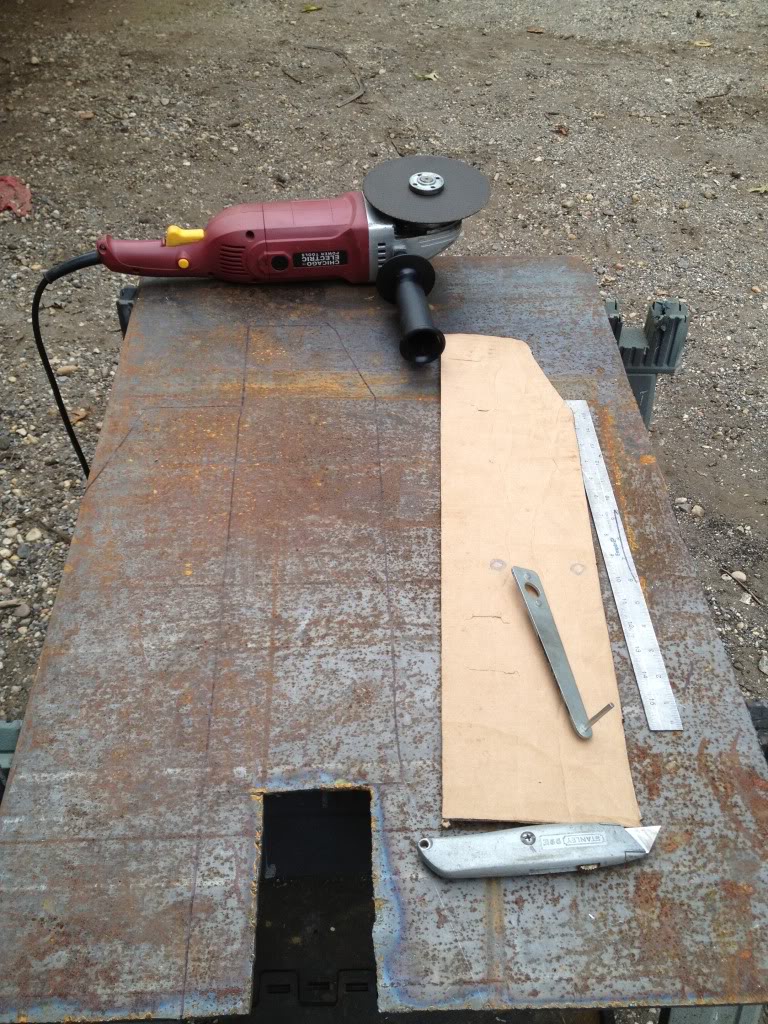
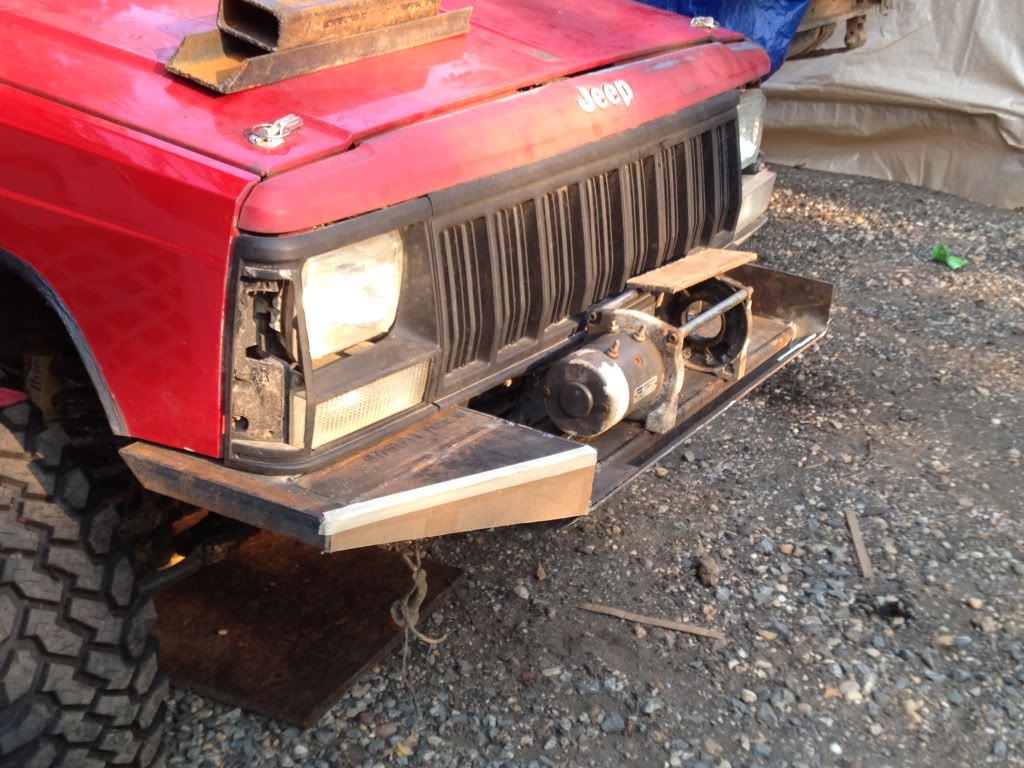
Test fitting a winch frame and making some cardboard templates for plate to cut
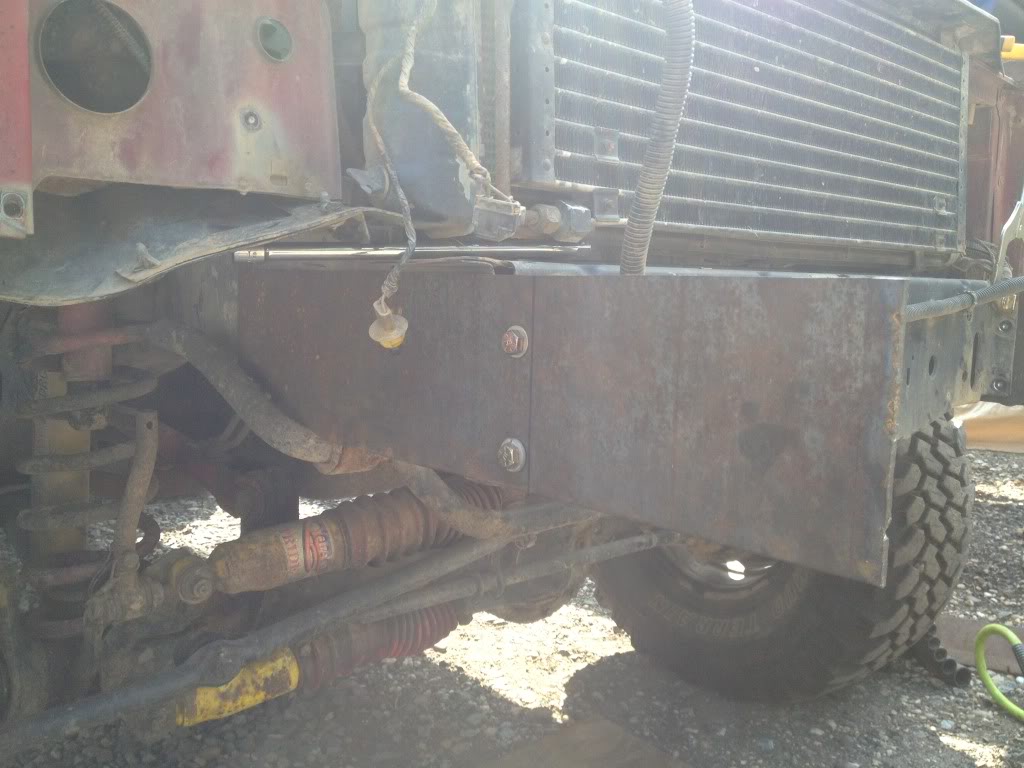
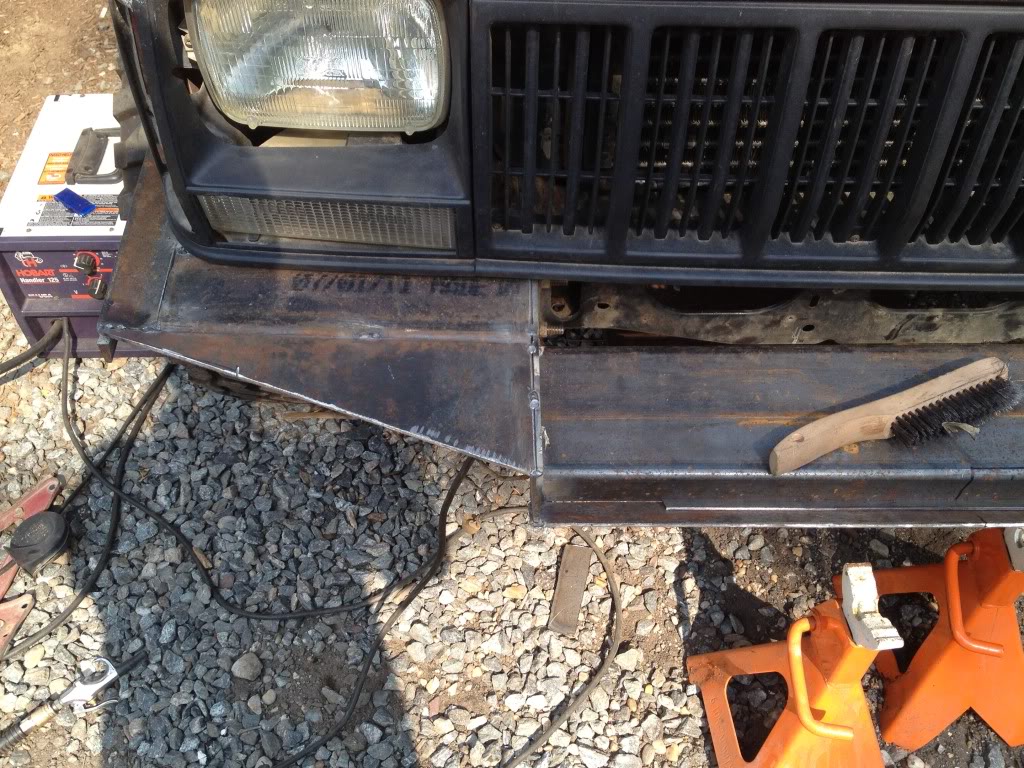
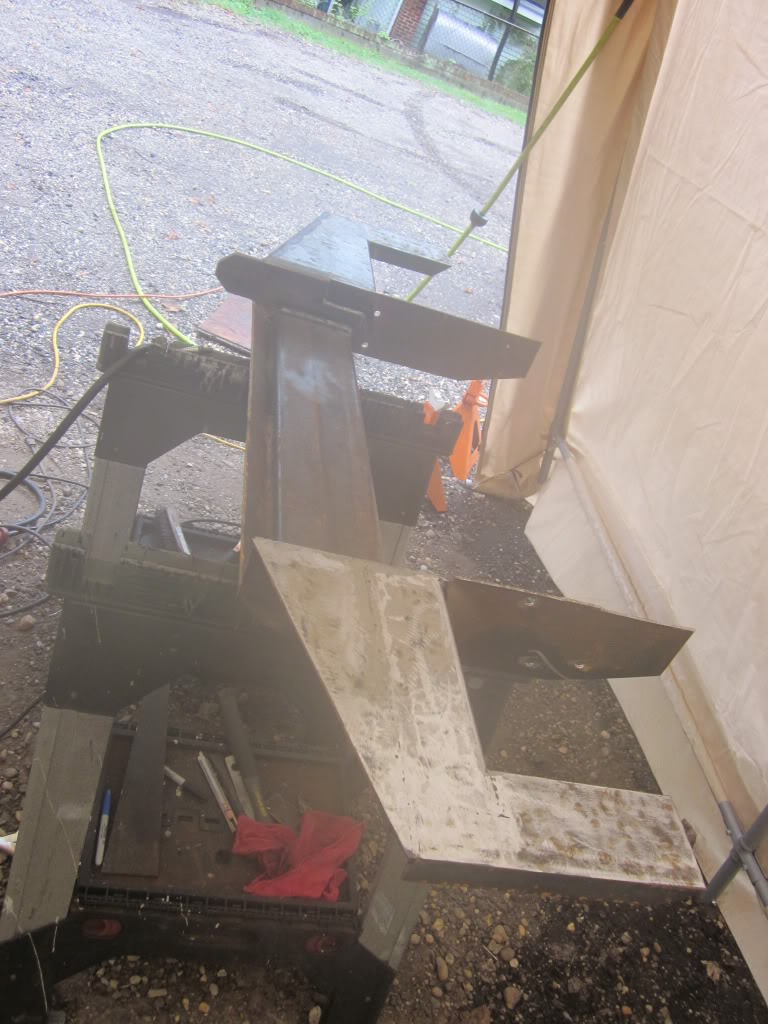
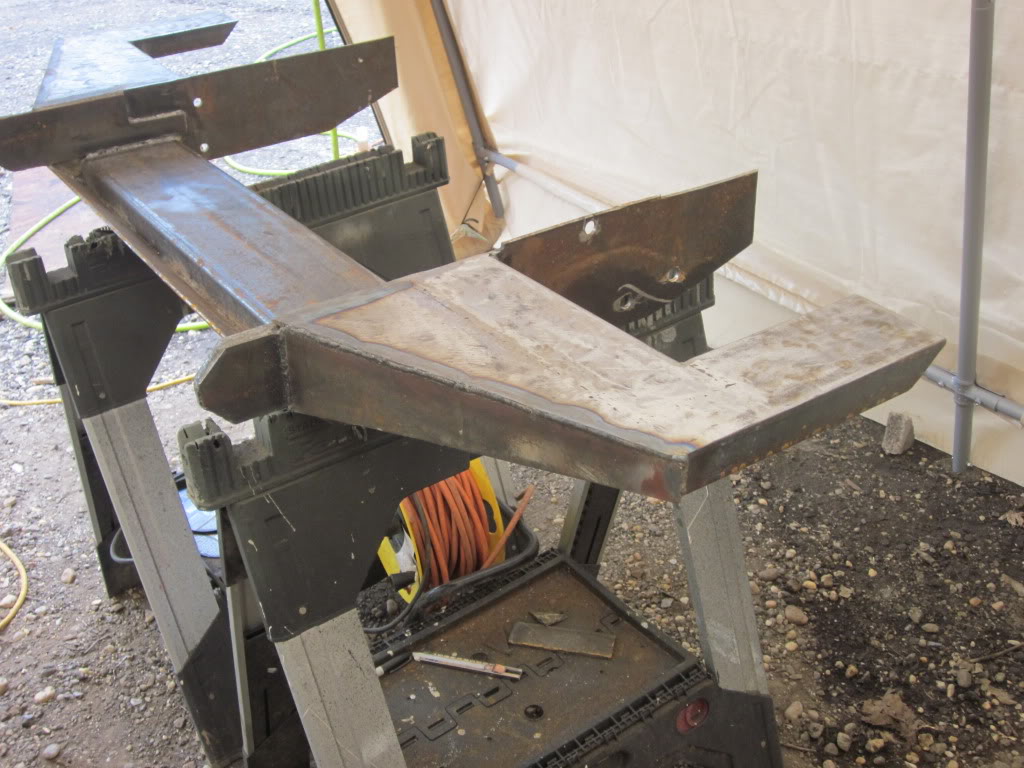
Drivers side built out
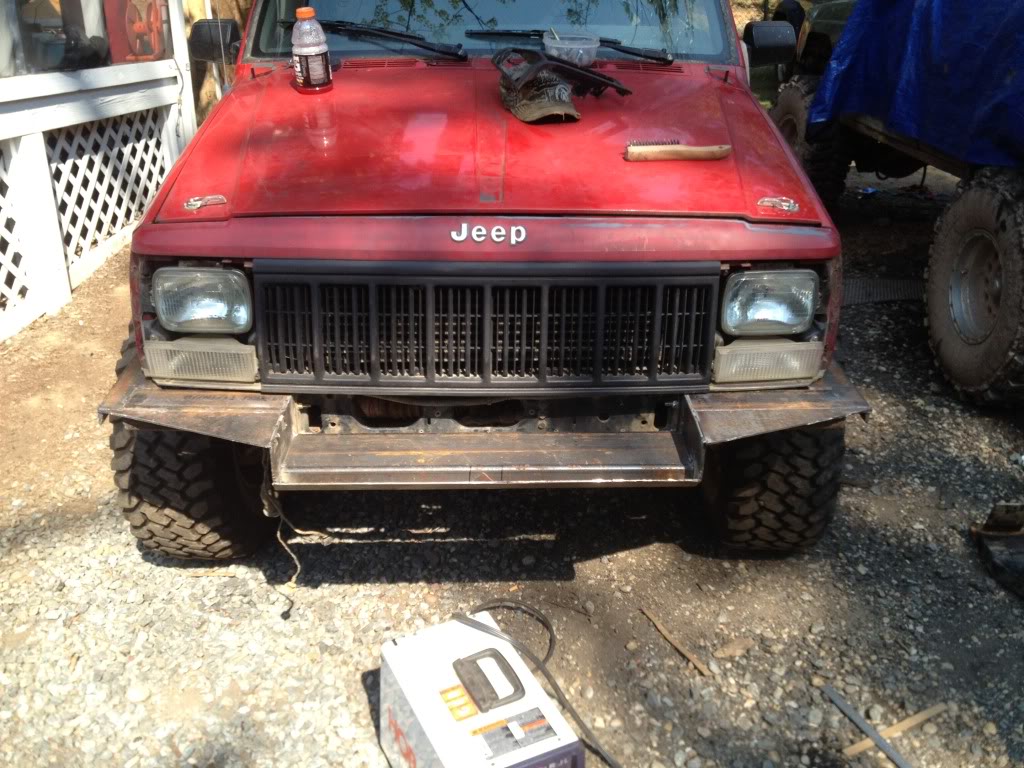
And this is how far I've gotten. Hoping to get a little done today, don't really have much motivation
I designed this on Google a week or 2 ago, very JCR'ish now that I'm building it
Started with some 3/16th's plate for my mounts/frame tie ins
Mounts/frame tie ins (still need to drill all the mounting holes, just drilled out what was needed atm)
3/16th wall 2x6 tube for the winch bed
I had a little 2x4 and c-channel left over from the rock sliders I built last week and since I was low on plate I used my scrap to build out the corners. It's gonna add a little weight, but a LOT of rigidity
Test fitting a winch frame and making some cardboard templates for plate to cut
Drivers side built out
And this is how far I've gotten. Hoping to get a little done today, don't really have much motivation
Thread Starter
CF Veteran
Joined: Feb 2012
Posts: 2,716
Likes: 2
From: Bowie, MD
Year: 1999
Model: Cherokee
Engine: 4.0L
Put off work for the weekend on it. Finally got back to it today and making some good progress.

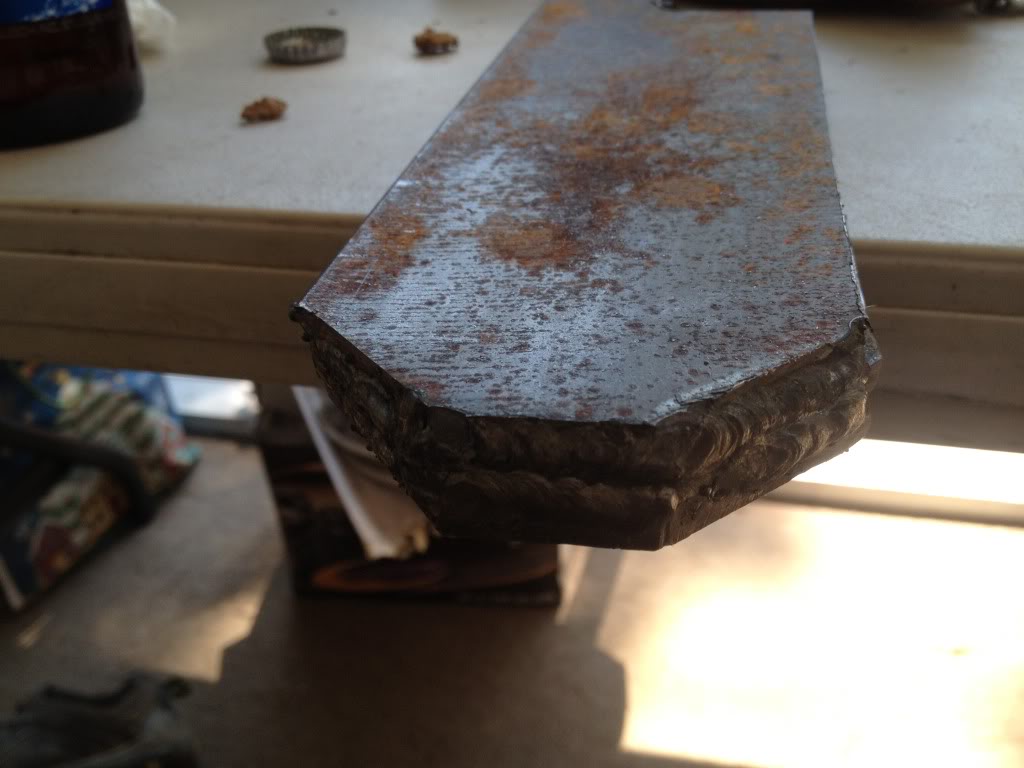
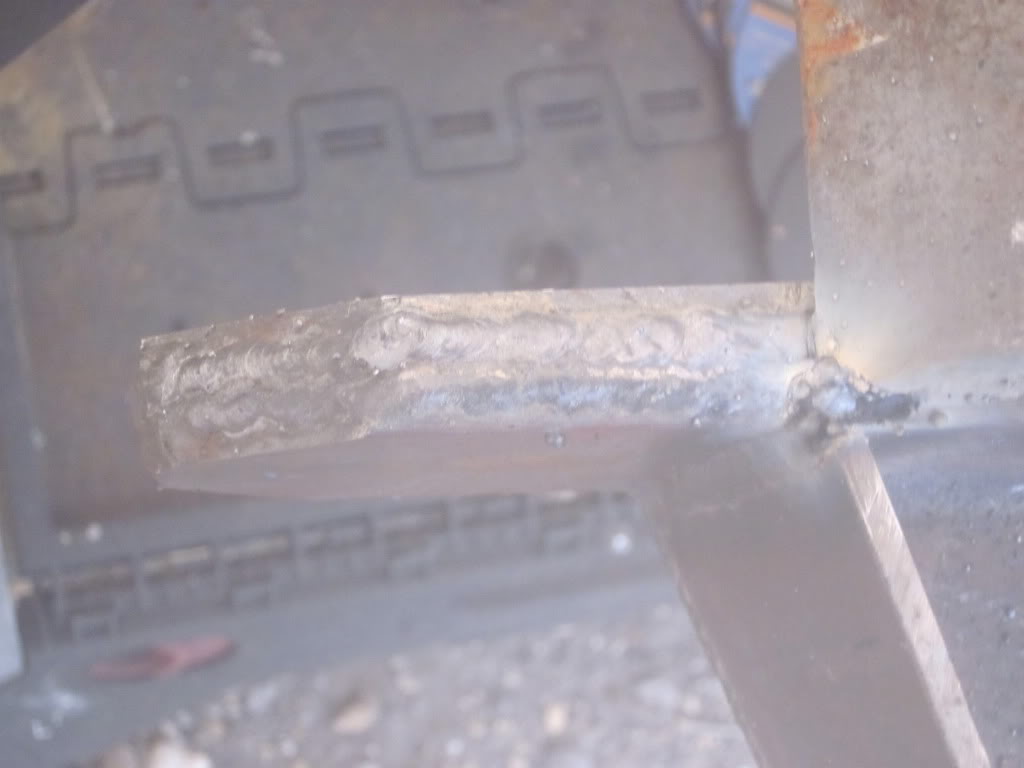

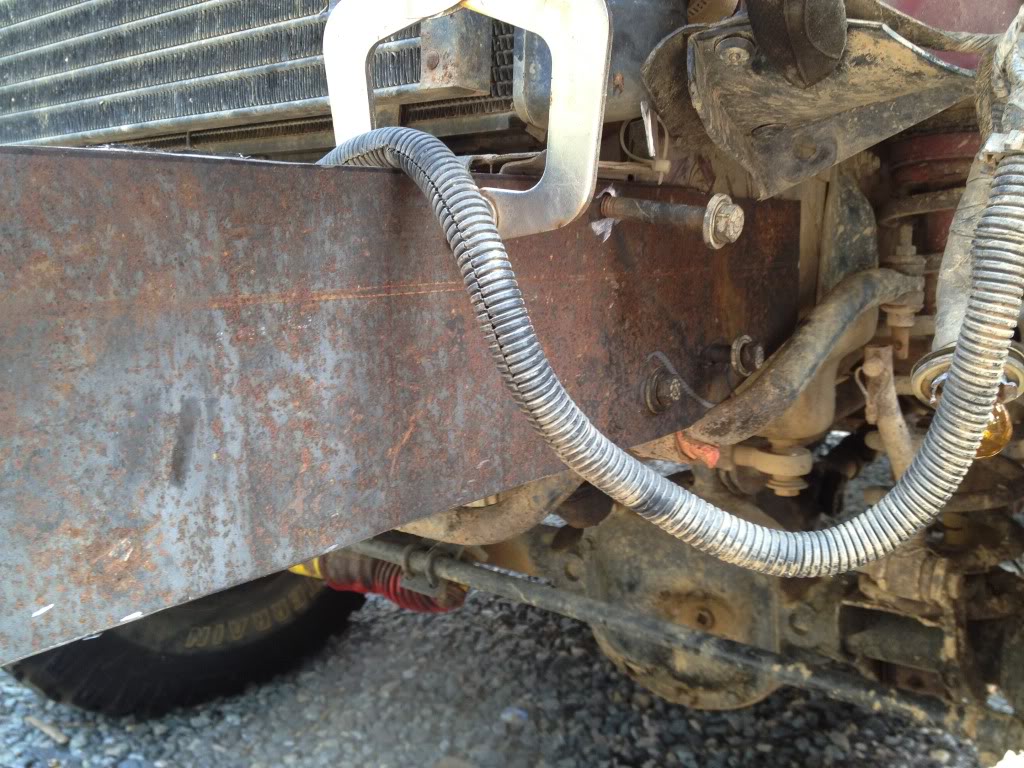
Now before you guys gimmie a bunch of s h i t about the D-ring mounts I did them that way for a reason. The orignal piece of 3/16th plate I started with was just too short to incorporate the mounts. So instead I took 2 pieces of 1/4" plate and sandwiched a piece of 3/16th sheet between them and then slid it over the main frame mount and welded it all the way around. I'm going to go back with a drill and drill a couple of small holes to get some rosette welds down the length too just for extra strength.
Now before you guys gimmie a bunch of s h i t about the D-ring mounts I did them that way for a reason. The orignal piece of 3/16th plate I started with was just too short to incorporate the mounts. So instead I took 2 pieces of 1/4" plate and sandwiched a piece of 3/16th sheet between them and then slid it over the main frame mount and welded it all the way around. I'm going to go back with a drill and drill a couple of small holes to get some rosette welds down the length too just for extra strength.
Last edited by mikefrost; Sep 6, 2012 at 01:01 PM.
Trending Topics
Thread Starter
CF Veteran
Joined: Feb 2012
Posts: 2,716
Likes: 2
From: Bowie, MD
Year: 1999
Model: Cherokee
Engine: 4.0L
Until I get my plasma cutter next week I do all my cutting with a grinder and cutting wheel
Senior Member
Joined: Nov 2010
Posts: 976
Likes: 5
From: Cloquet, MN
Year: 2000 Ltd.
Model: Cherokee
Engine: 4.0L I6
Nice job. I particularly like the d-ring mounts. Distributes the load over a large area and good thinking welding it to both sides of the main plate.
CF Veteran
Joined: Jan 2011
Posts: 2,765
Likes: 0
From: Littleton, CO
Year: 1991
Model: Cherokee
Engine: 2001 4.0L
Now before you guys gimmie a bunch of s h i t about the D-ring mounts I did them that way for a reason. The orignal piece of 3/16th plate I started with was just too short to incorporate the mounts. So instead I took 2 pieces of 1/4" plate and sandwiched a piece of 3/16th sheet between them and then slid it over the main frame mount and welded it all the way around. I'm going to go back with a drill and drill a couple of small holes to get some rosette welds down the length too just for extra strength.
 Only thing I would have done different is drill them out before welding them to the bumper.
Like said, now comes the fun part, grinding!! Black boogie time!

Senior Member
Joined: Oct 2011
Posts: 706
Likes: 0
From: Racine, Ohio
Year: 1999
Model: Grand Cherokee
Engine: 4.7
Originally Posted by hudfabxj
Dont knock your d-ring mount design. Prob one of the better ways I have seen it done.
Only thing I would have done different is drill them out before welding them to the bumper.Like said, now comes the fun part, grinding!! Black boogie time!