

Newbie
Quote:
But i actually bought some door pockets of a guy on NAXJA and i use those when shes not there
Amen, brother. Amen. Originally Posted by TheJerm
I use my gf as the cup holder lolBut i actually bought some door pockets of a guy on NAXJA and i use those when shes not there

Seasoned Member
Quote:
Thats what I said when I took apart my center console.Originally Posted by dukie564
I have heat for the rear seat? since when?

CF Veteran
Here are a few of my homebrew 96Xj mods.
Homemade snorkel. Cost me about $70 Bucks in materials.
Cut and trimed fenders and rolled all fenders in. Also trimed stock flares and reinstalled them. Made the rears like bushwacker so they mount to door and fender.
Also trimed front bumper back for better approach angels and more clearance for front tires.


CF Veteran
One of the pics didn't post so I had to repost it.

CF Veteran
Quote:
hope you plugged the original air intake hole lol if you didnt, kinda makes the snorkel pointless. Originally Posted by aquickmopar
One of the pics didn't post so I had to repost it.

CF Veteran
I did seal up the whole intake box. There's a piece od steel that's riveted to the intake box to cover up the factory hole. And then siliconed around that. I'll take a pic of insiide the intake box later today when it stops raining to show you guys.
CF Veteran
Actually its a piece of sheet metal that's riveted not steel my bad.

is that an electrical junction box on the outside? LOL.
What size tubing is that? It looks like 2" ID, which is too small to carry the amount of air our engines need. I bet you bog down at WOT. I'm sure that works but with those sharp bends i'm not sure it works well.
What size tubing is that? It looks like 2" ID, which is too small to carry the amount of air our engines need. I bet you bog down at WOT. I'm sure that works but with those sharp bends i'm not sure it works well.
Junior Member
Quote:
Frame stiffeners.

Long Arms
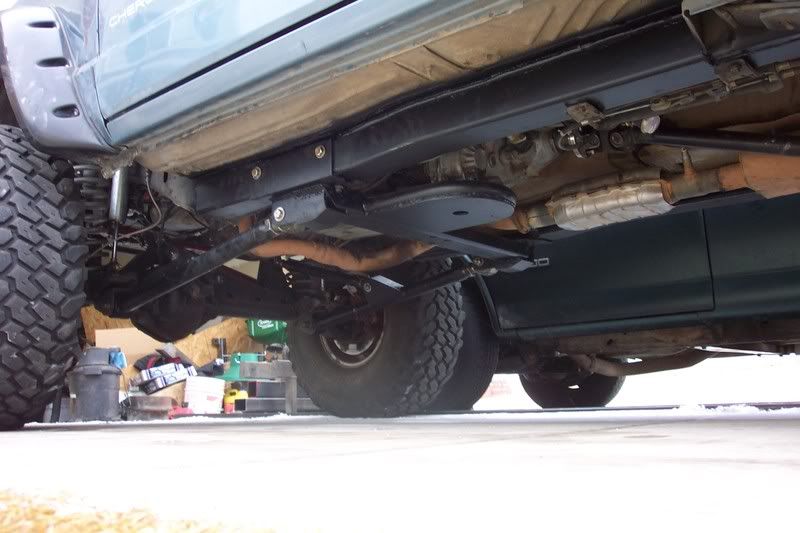
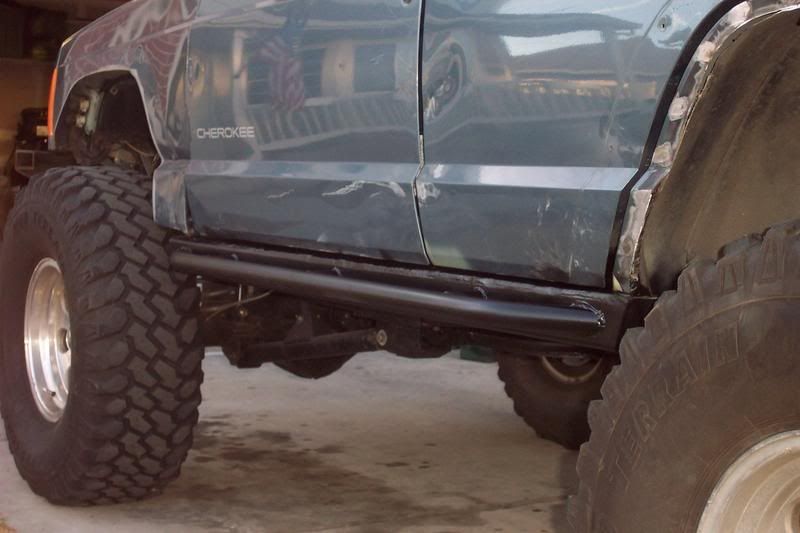
Replaced Rockers with built in SliderZ
Flat Fenders
My old Bumper/tire carrier with a D44 hub as a spindle. (Yes it locks).

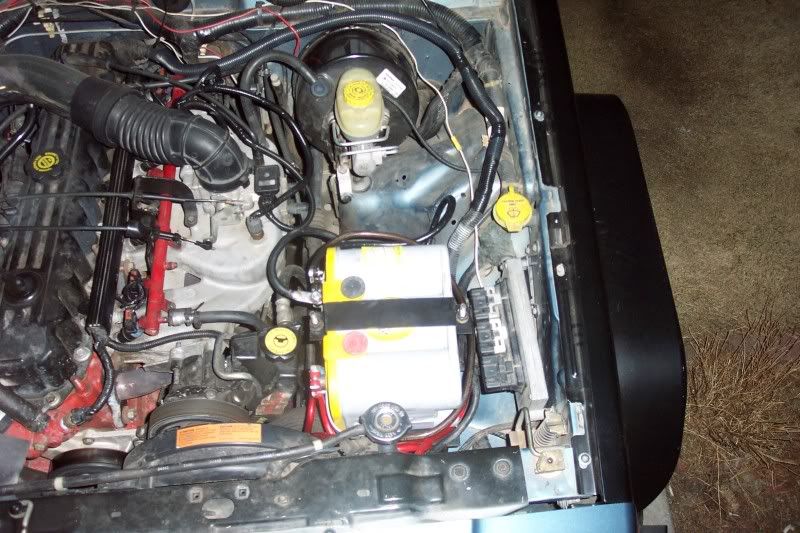
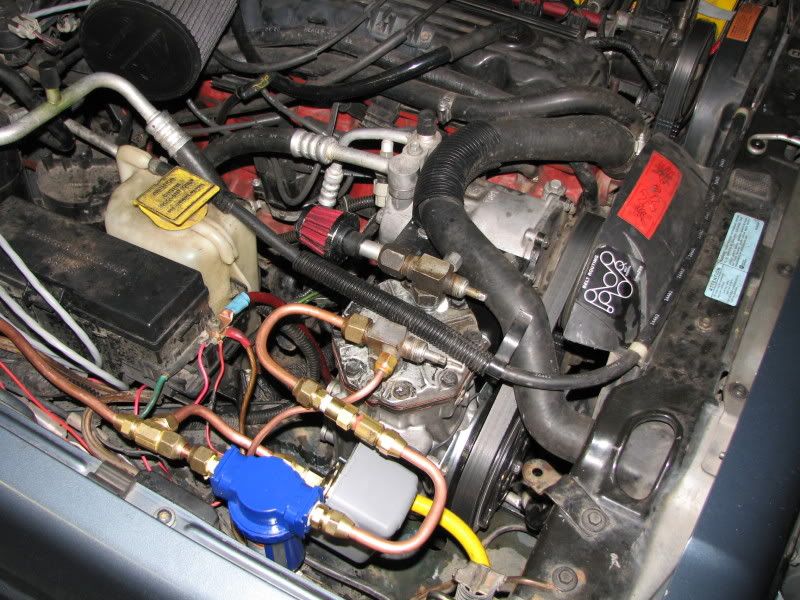
Battery relocation and OBA.
That's enough I guess.
do you have a build thread on your stiffiners or tube fenders?Originally Posted by FrankZ
In no particular order.Frame stiffeners.
Long Arms
Replaced Rockers with built in SliderZ
Flat Fenders
My old Bumper/tire carrier with a D44 hub as a spindle. (Yes it locks).
Battery relocation and OBA.
That's enough I guess.

CF Veteran
CF Veteran
Yep. Its a electrical junction box. Liked the look of that better than a 90 degree abs pipe going into the fender. And yes it is a dryer vent at the top to keep out rain when driving. Hey it works great and looks good to me and that's all that matters. I didn't spend 350 to 450 Dollars on one that does the same as mine. For a whole lot cheaper.


CF Veteran
Its 3' Abs with a 2' Electrical junction box. But the only thing that is 2' Is were the electrical junction box connects to the 3' abs and were it goes through the fender. Then opens back up to 3' again with the flex pipe. And NO it dosent Boug down and it does work flawless I've already tested it.
cool i couldn't tell from the pictures. A lot of people tend to use the 2" pvc for these things without making sure it'll work right first. Great job! It looks a lot better than a lot of homebrew roof snorkles i've seen.
Senior Member
Well here are the LED tail lights I have been working on. I’m building these for greater visibility for Search and Rescue. I wanted to keep the OME look but increase my visibility These are very bright! I got the idea looking on EBay for LED xj tail lights and nothing. Then I measured the light housing and 4” square is what I came up with. So I found 4” square LED fender post mount for a semi. 
Took them apart.


Made a template, Marked the tail light and used a Dremel to do the cut out.


Removed interior compartment walls.


Siliconed them, then aftre about 12 hours tightened them down snug.


And then Installed them.


A few short videos.
Day time
http://s12.photobucket.com/albums/a2...PICT0029-1.mp4
Night time.
http://s12.photobucket.com/albums/a2...PICT0020-2.mp4
I hope I didnt use to many pics.
Took them apart.
Made a template, Marked the tail light and used a Dremel to do the cut out.
Removed interior compartment walls.
Siliconed them, then aftre about 12 hours tightened them down snug.
And then Installed them.
A few short videos.
Day time
http://s12.photobucket.com/albums/a2...PICT0029-1.mp4
Night time.
http://s12.photobucket.com/albums/a2...PICT0020-2.mp4
I hope I didnt use to many pics.