
Roni's Rogue4x4 Build...finally!

Thread Starter
::CF Administrator::


Joined: Feb 2011
Posts: 14,479
Likes: 805
From: Blunt, South Dakota
Year: 97
Model: Cherokee (XJ)
Engine: 4.6 stroker
Still need to source the steel for the 3 link crush sleeves...chatted with my mentor at work about where I could find some, I may have to use something other than what came with the kit...as long as I can find something close, I should be fine, as I will be welding the brackets to the stiffeners, as well as installing the crush sleeves and all the hardware...
They are calling for rain this weekend...hope those idiots are wrong, LMAO
CF Veteran
Joined: Jan 2013
Posts: 19,219
Likes: 45
From: west chester, pa
Year: 1999
Engine: 4.0
Thread Starter
::CF Administrator::
Joined: Feb 2011
Posts: 14,479
Likes: 805
From: Blunt, South Dakota
Year: 97
Model: Cherokee (XJ)
Engine: 4.6 stroker
You know for a deaf guy, you're pretty ok, LOL

CF Veteran
Joined: Jan 2013
Posts: 19,219
Likes: 45
From: west chester, pa
Year: 1999
Engine: 4.0
Didn't even think to look there...thanks, man. I'll be going to a fab shop around the corner from me, to see if they stock it local, and see how much it costs there, but if it's out of control or unavailable there, I will definitely be getting this. You know for a deaf guy, you're pretty ok, LOL
Anything can work. Even pipe. As long internal diameter is 5/8 so to give yourself some wiggle room for the 1/2" bolts to go through
Thread Starter
::CF Administrator::
Joined: Feb 2011
Posts: 14,479
Likes: 805
From: Blunt, South Dakota
Year: 97
Model: Cherokee (XJ)
Engine: 4.6 stroker
Yeah, the mounts will be welded in as well. Extra beef is always welcomed.
And before you say it, shut up.
LMFAO
And before you say it, shut up.
LMFAO
CF Veteran
Joined: Jan 2013
Posts: 19,219
Likes: 45
From: west chester, pa
Year: 1999
Engine: 4.0
Thread Starter
::CF Administrator::
Joined: Feb 2011
Posts: 14,479
Likes: 805
From: Blunt, South Dakota
Year: 97
Model: Cherokee (XJ)
Engine: 4.6 stroker
Ordered my steel tubing for the crush sleeves this morning. Found it on Amazon, $12 with free 2 day shipping. Should be here on Friday. HEYUMP

Junior Member
Joined: Oct 2015
Posts: 31
Likes: 0
From: Fort Irwin/ So Cal
Year: 1990
Model: Cherokee
Engine: 4.0
Hey man I subbed this thread looks great, I'm stationed at fort Irwin but I run trails all over so-cal in my 90xj, your pretty much doing everything I want to do. Better and bigger lift, Strengthen the Uni-body. already have the hack and tap 242 done, locked front and rear. Gotta re-gear and get some bigger tires also. Looks awesome man!
Thread Starter
::CF Administrator::
Joined: Feb 2011
Posts: 14,479
Likes: 805
From: Blunt, South Dakota
Year: 97
Model: Cherokee (XJ)
Engine: 4.6 stroker
Thanks, guys...been working on it for a good long while to get to this point. Lots of research, saving money, buying parts here and there, and patiently waiting to put them all on.
Thread Starter
::CF Administrator::
Joined: Feb 2011
Posts: 14,479
Likes: 805
From: Blunt, South Dakota
Year: 97
Model: Cherokee (XJ)
Engine: 4.6 stroker
UPDATE TIME!
Well Basslicks, get one of those bits. Worked fantastic.
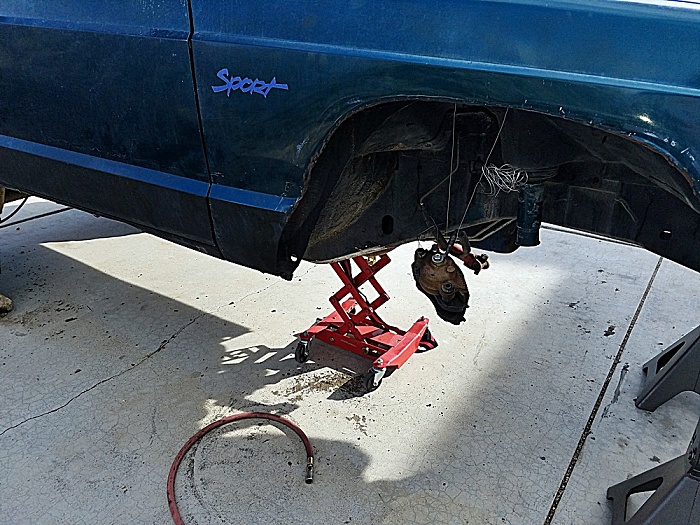
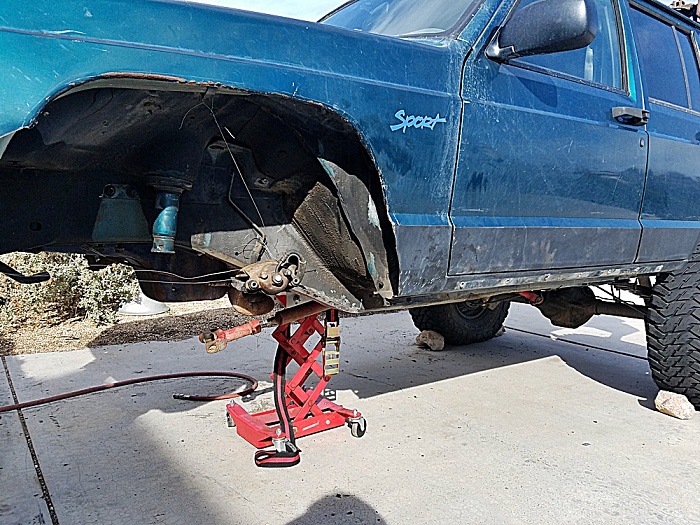
Gettin' started...

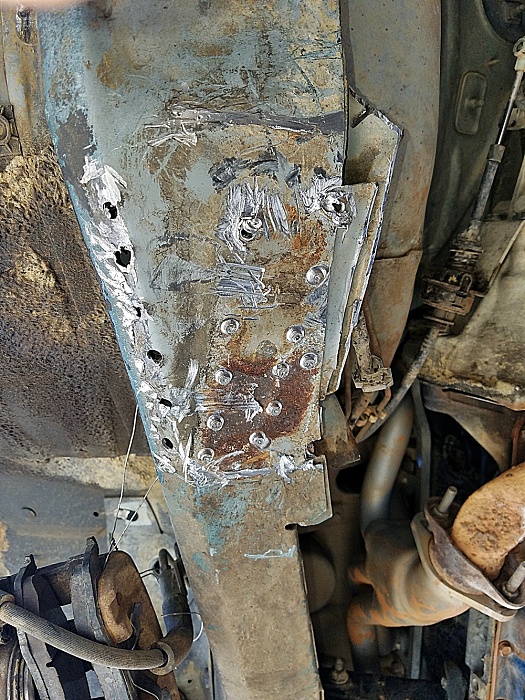
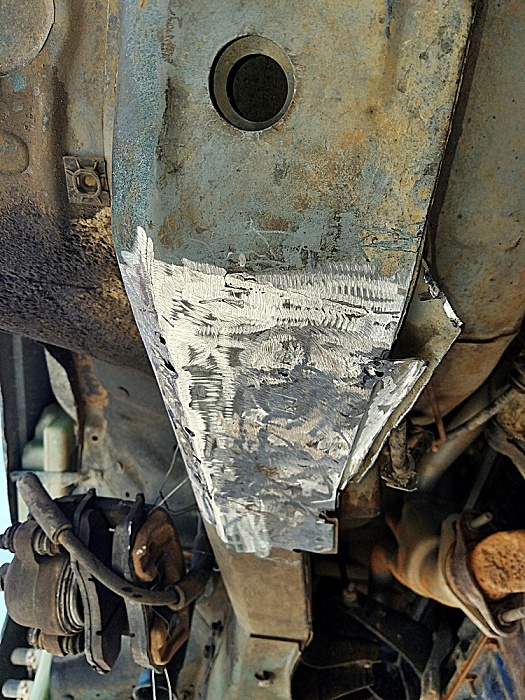
Driver's side bracket out...


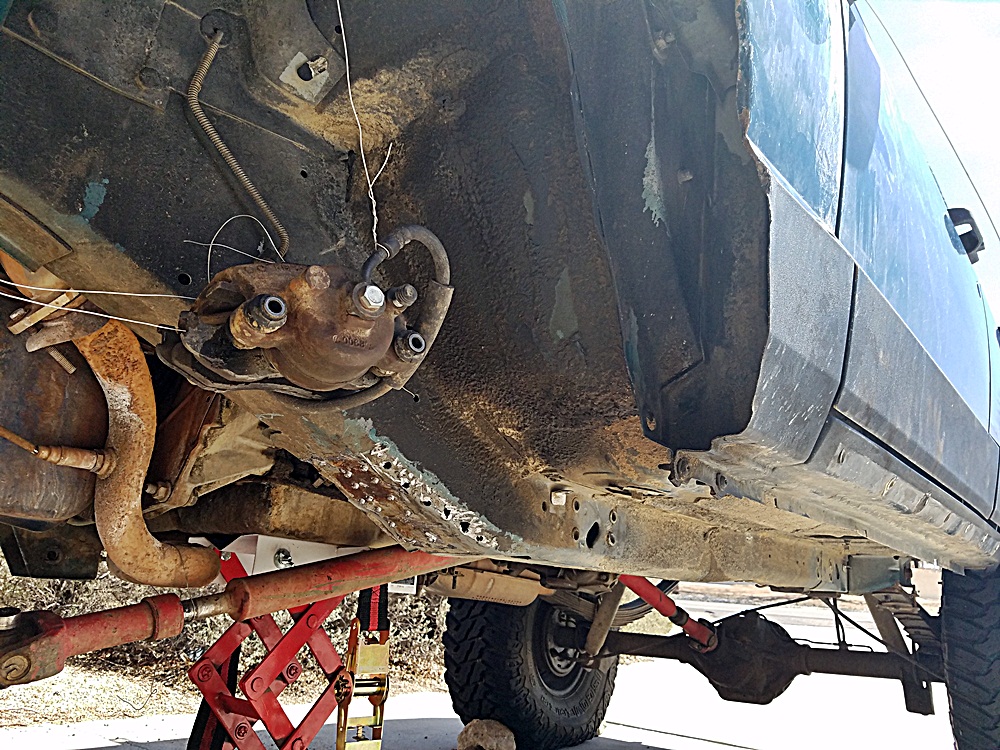
The aftermath...notice the holes on the left side of the pic...where I drilled out with drill bits, instead of the spot weld cutting bit...
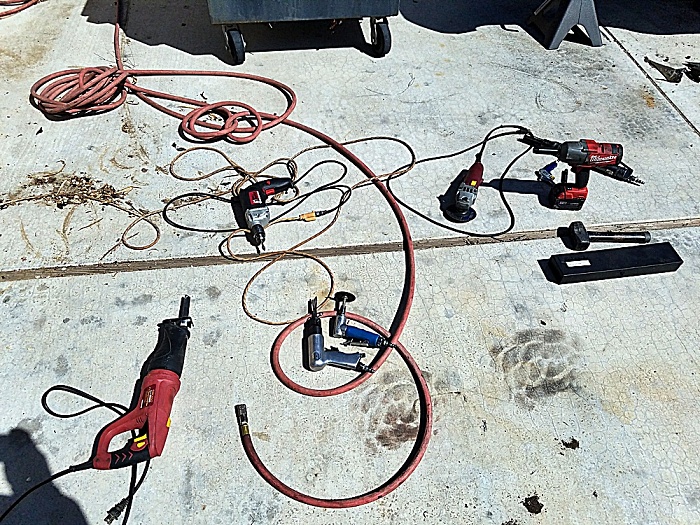
Tools used
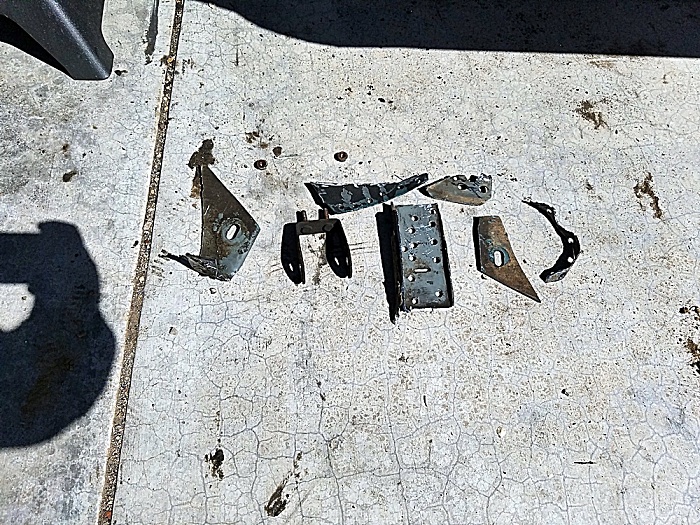
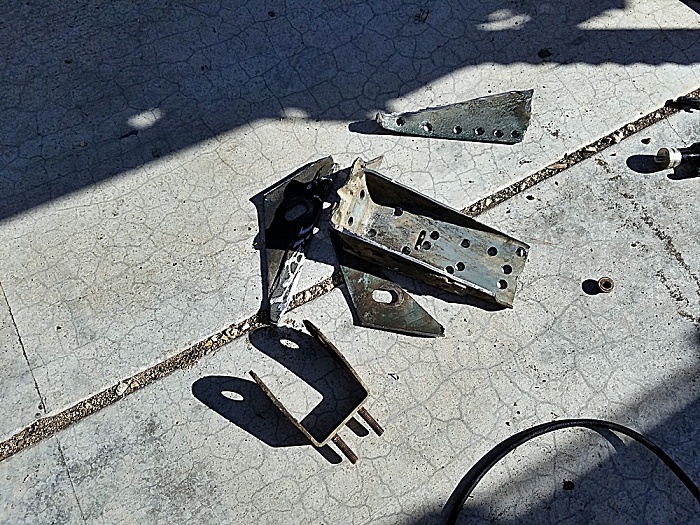
Bits o' bracket, LOL
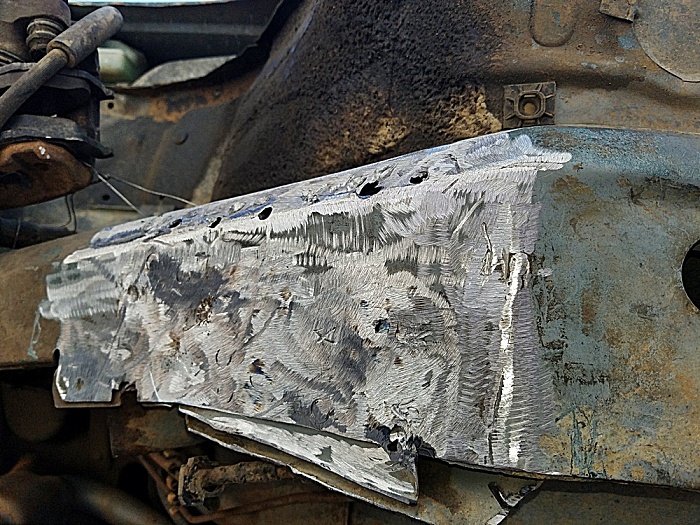
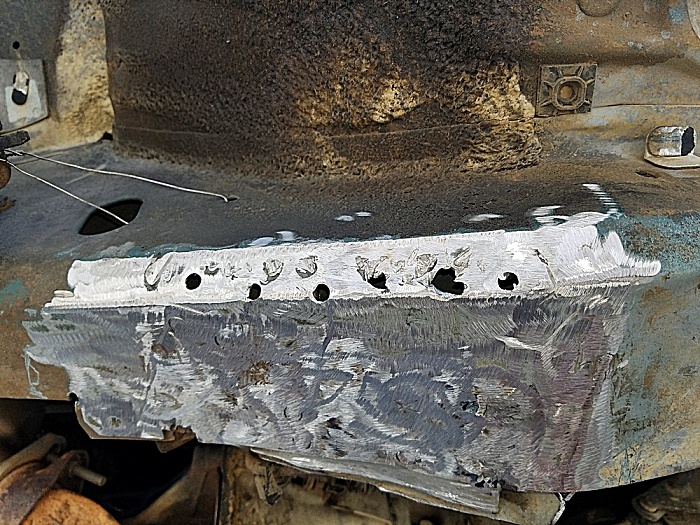
Ground down, with a couple of views of the drill bit holes...more on this in a sec
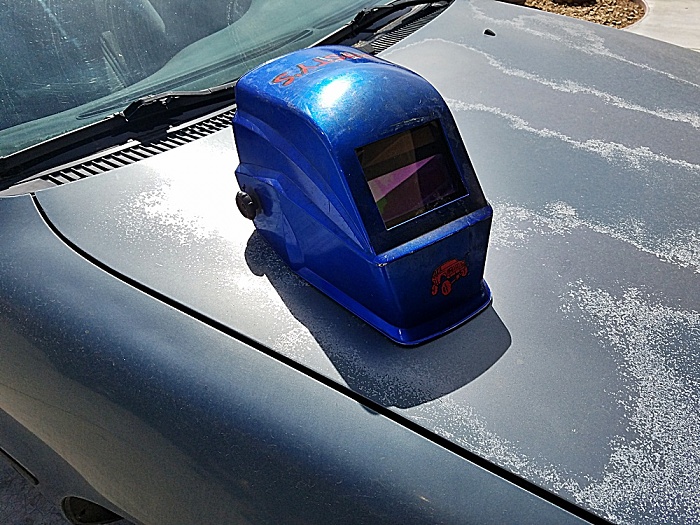
Rebuilt the optics in my old Huntsman Nitro hood...like brand new, LOL
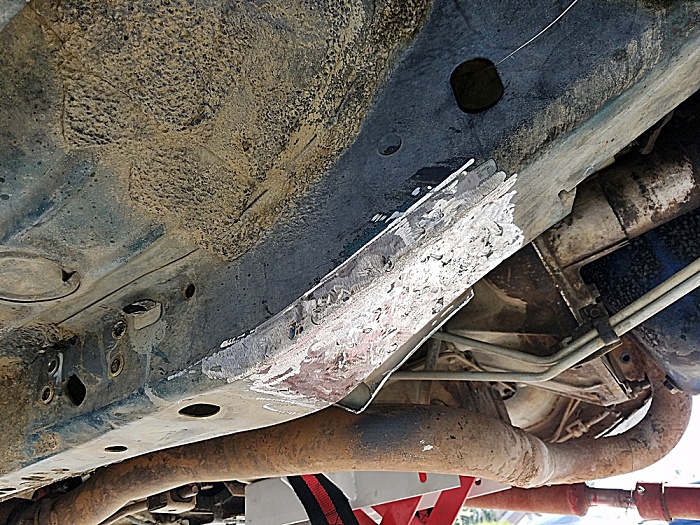
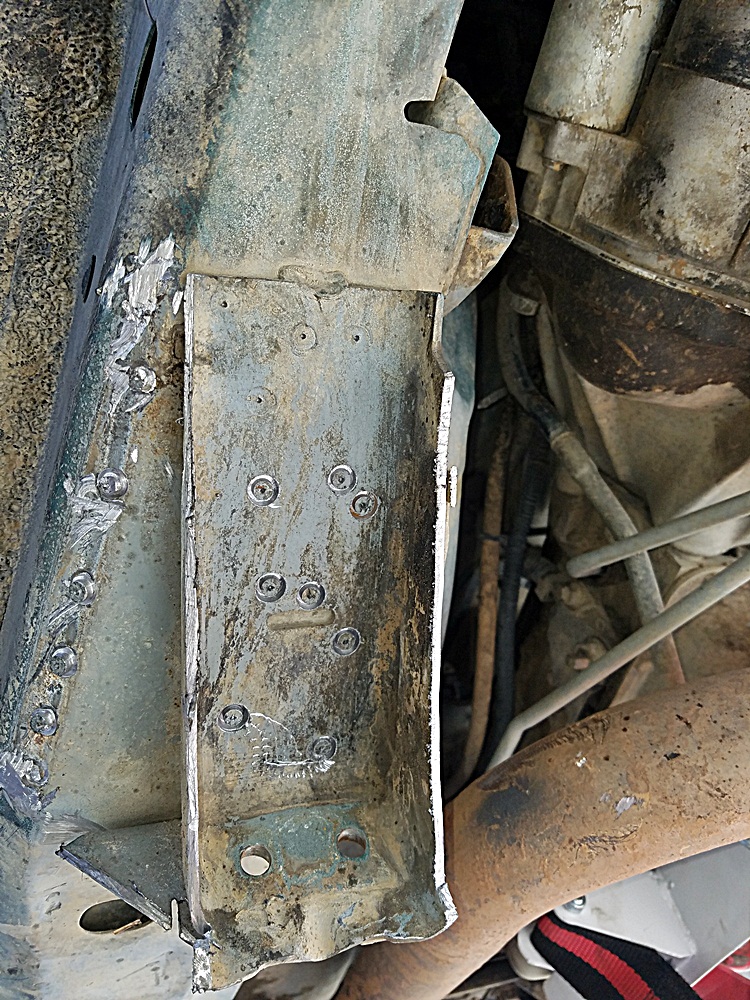
So, I busted out the welder, and filled in those holes...never mind the low spots...might fill those with some braze rod, might not, would have to borrow some torches...but it would be cleaner
Passenger side bracket...next few shots show how that bit works. So I trimmed off the parts of the bracket that got in the way of the drill, then drilled out with the bit. I used an automatic center punch, followed by a handheld punch...necessary, as this is my only complaint with that bit, you need a good center punched divot for it to work well. Other than that, once I got it down, it made short work of those spot welds...you can see in the next 2 pics, the holes made with the bit, and 4 spot welds center punched in anticipation, LOL
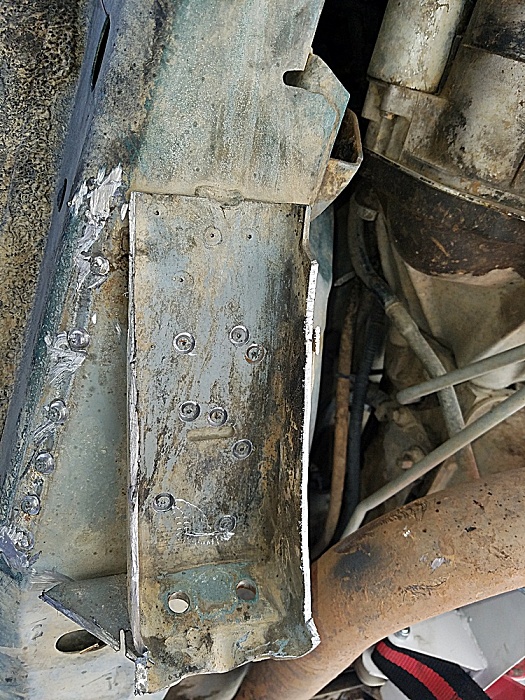
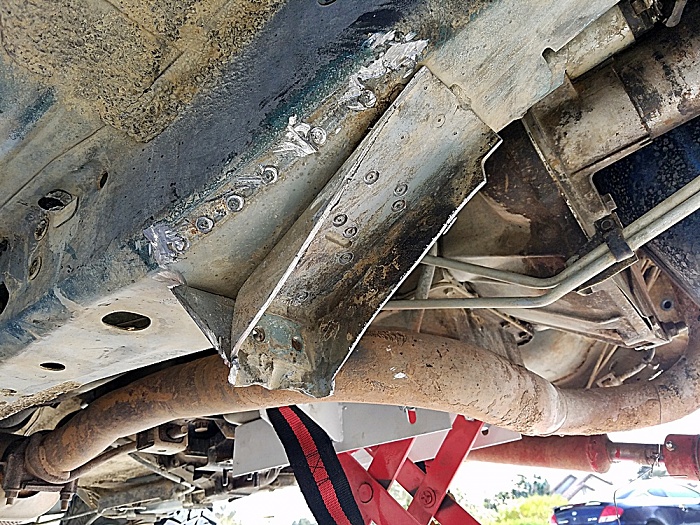
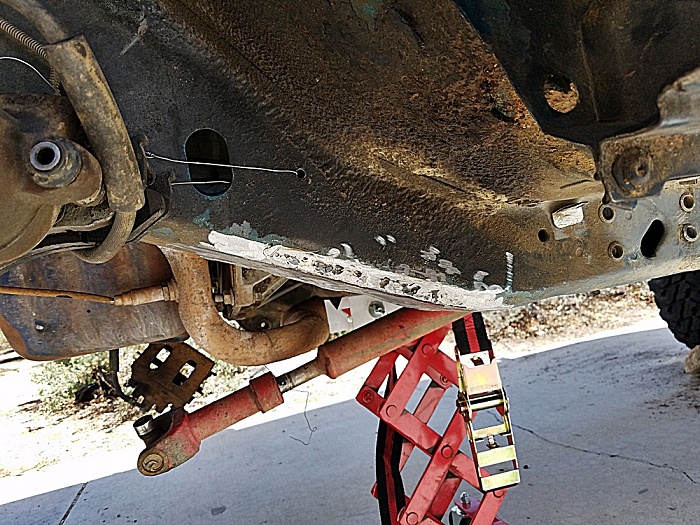
Passenger side bracket out...once you have all the spot welds dealt with, just use an air chisel to remove...easy peasy. Second side went MUCH faster than the first...
It does leave behind some plugs, though. Hit it with a grinder, and it's like they were never there.

Ground down
No more pesky short arm brackets, LMAO
So, next weekend should be finishing up prepping the rails, doing a mock up, marking the weld locations in soapstone and grinding those down, and with any luck I should have my mids installed and burned in by next Sunday evening. Maybe the fronts as well, we'll see how it goes. Then I'll start on the 3 link bracketry, and rebuild the front end...axle's getting fresh u-joints, ball joints, and hubs, and I noticed some divots on the caliper slides, so those will get filled with weld as well.
Baby steps to greatness, LOL
Well Basslicks, get one of those bits. Worked fantastic.
Gettin' started...

Driver's side bracket out...

The aftermath...notice the holes on the left side of the pic...where I drilled out with drill bits, instead of the spot weld cutting bit...

Tools used

Bits o' bracket, LOL

Ground down, with a couple of views of the drill bit holes...more on this in a sec


Rebuilt the optics in my old Huntsman Nitro hood...like brand new, LOL

So, I busted out the welder, and filled in those holes...never mind the low spots...might fill those with some braze rod, might not, would have to borrow some torches...but it would be cleaner

Passenger side bracket...next few shots show how that bit works. So I trimmed off the parts of the bracket that got in the way of the drill, then drilled out with the bit. I used an automatic center punch, followed by a handheld punch...necessary, as this is my only complaint with that bit, you need a good center punched divot for it to work well. Other than that, once I got it down, it made short work of those spot welds...you can see in the next 2 pics, the holes made with the bit, and 4 spot welds center punched in anticipation, LOL

Passenger side bracket out...once you have all the spot welds dealt with, just use an air chisel to remove...easy peasy. Second side went MUCH faster than the first...

It does leave behind some plugs, though. Hit it with a grinder, and it's like they were never there.

Ground down

No more pesky short arm brackets, LMAO


So, next weekend should be finishing up prepping the rails, doing a mock up, marking the weld locations in soapstone and grinding those down, and with any luck I should have my mids installed and burned in by next Sunday evening. Maybe the fronts as well, we'll see how it goes. Then I'll start on the 3 link bracketry, and rebuild the front end...axle's getting fresh u-joints, ball joints, and hubs, and I noticed some divots on the caliper slides, so those will get filled with weld as well.
Baby steps to greatness, LOL