When you click on links to various merchants on this site and make a purchase, this can result in this site earning a commission. Affiliate programs and affiliations include, but are not limited to, the eBay Partner Network.
I take a lot of road trips in my Jeep and with no cruise control that can get tiring. So I decided it was time to fix that! I ordered and installed a Rostra electric cruise control system.
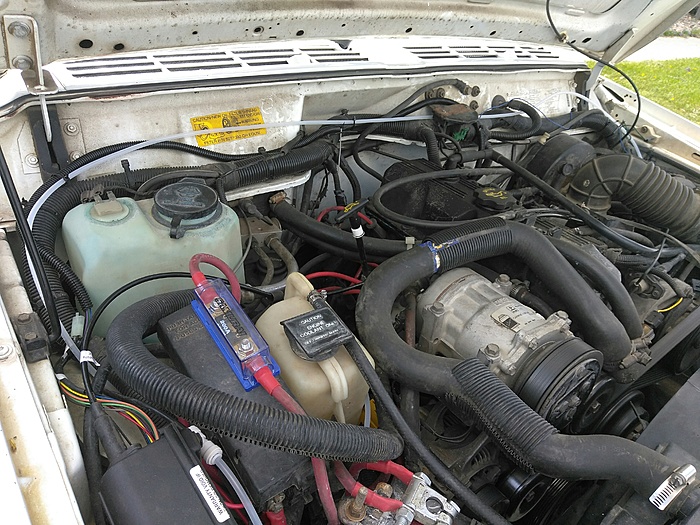
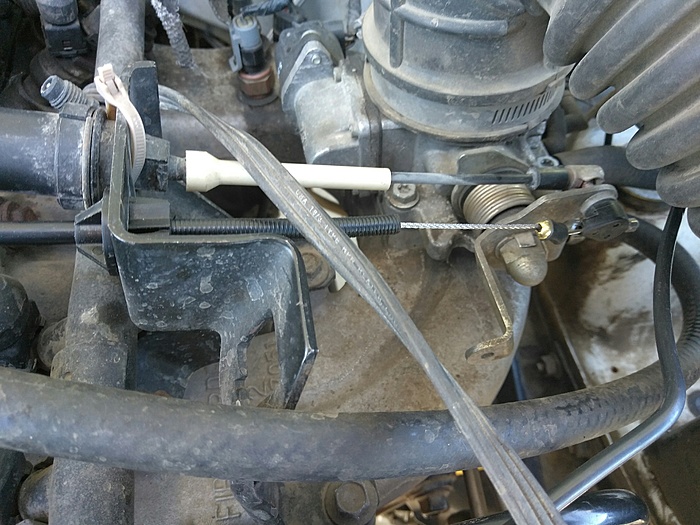
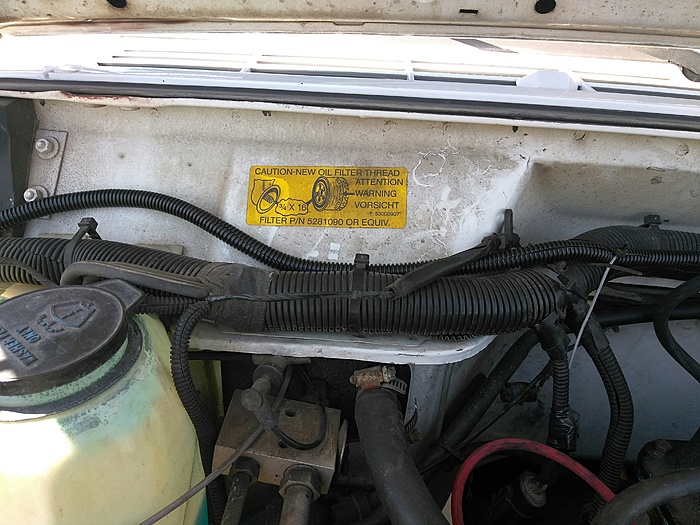
I mounted the actuator in the stock location for the cruise control servo.
I was also able to attach the cable in the stock location on the throttle body.
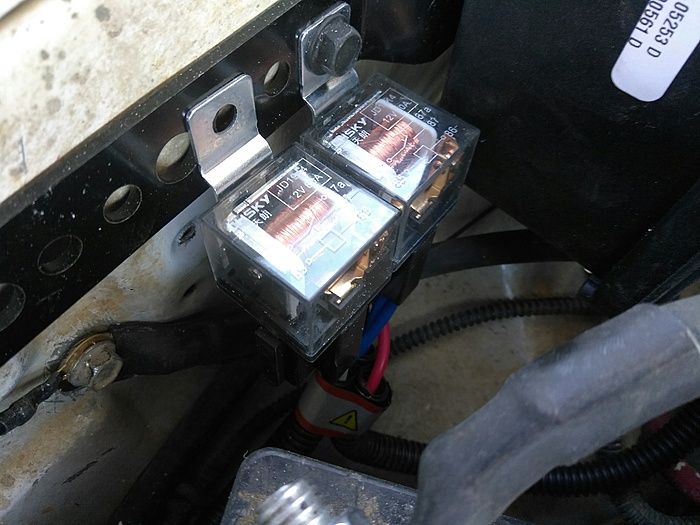
I ran the wiring for the Rostra unit alongside the main wiring.
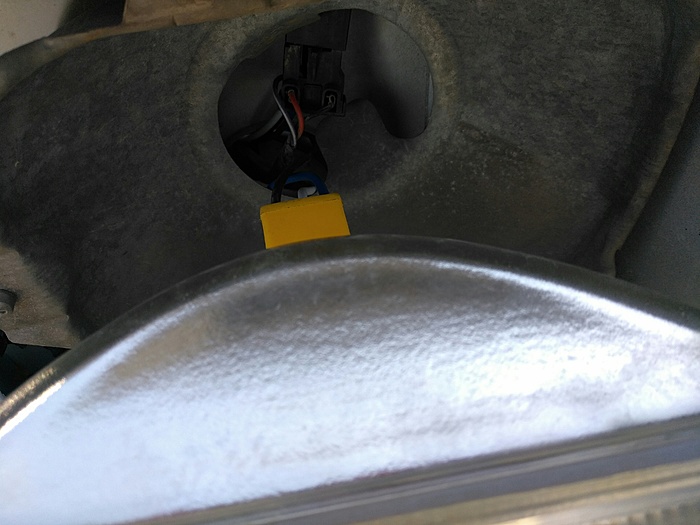
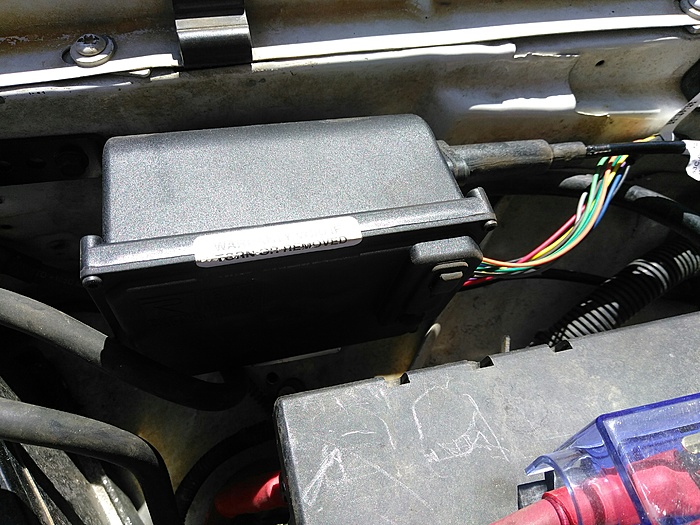
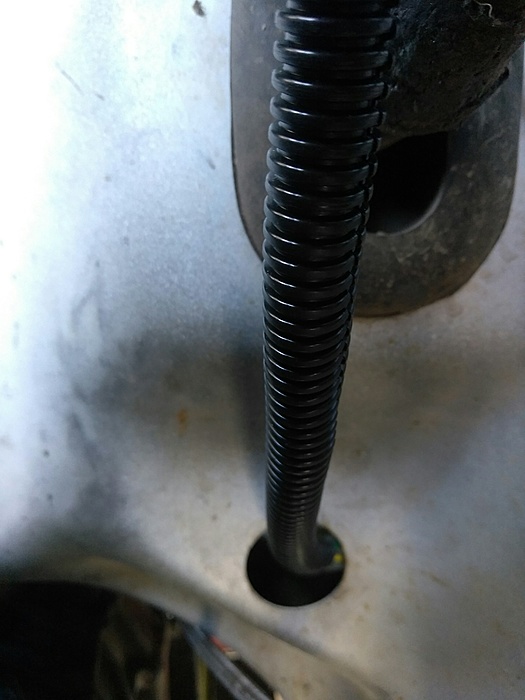
I found this open hole running through the firewall with nothing in it so I put it to use and now the cruise control wiring goes through it. It saved me a little time from drilling a new hole.
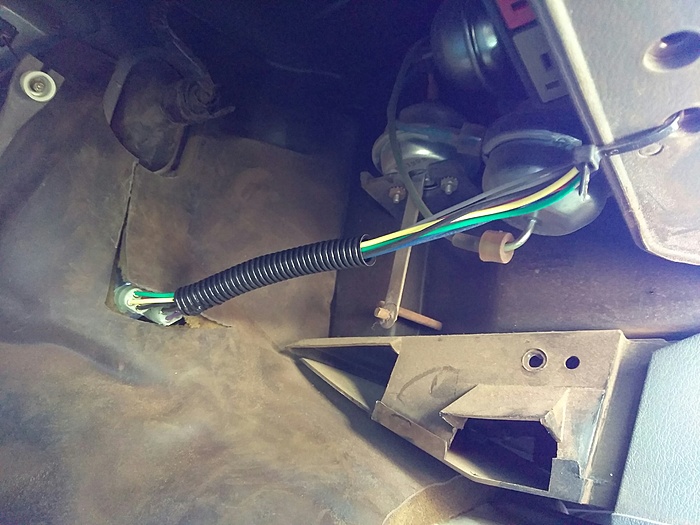
The other side of the hole with the wires running up under the dash where I secured them.
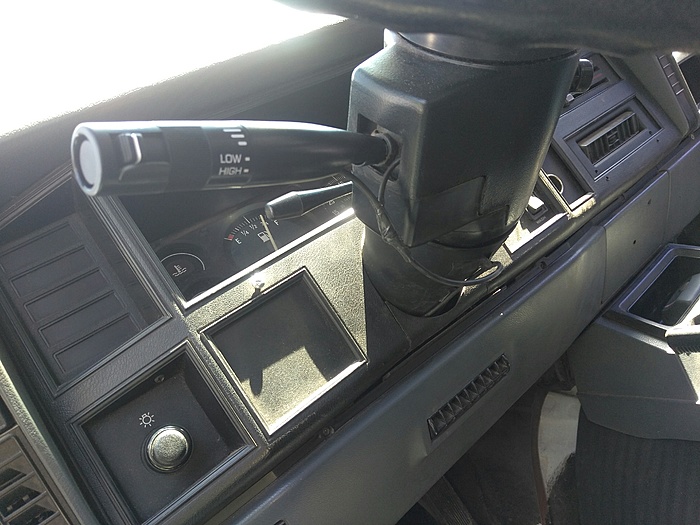
Shots of the new turn signal lever that came with the kit. I wasn't in the mood to pull the steering wheel so I ran the wire underneath it. Maybe I'll run the wire down the column when I overhaul my interior, I don't know. I've got a problem with my window washer sprayers not working and I was hoping I'd get lucky that the new lever would magically fix that. Unfortunately it didn't. The wipers work otherwise just nothing happens when you press the sprayer tab (not even the wipers). Otherwise the new lever works as it should.
And that's it! I used the recommended settings by Rostra and it works like a charm! I'm no electrician so I went over the instructions several times and worked slow, so it took my longer than it might've taken others, but I got it done!
Last edited by 4BangerDanger; May 11, 2017 at 02:14 PM.
A few "house keeping" items... Important but probably not all that exciting...
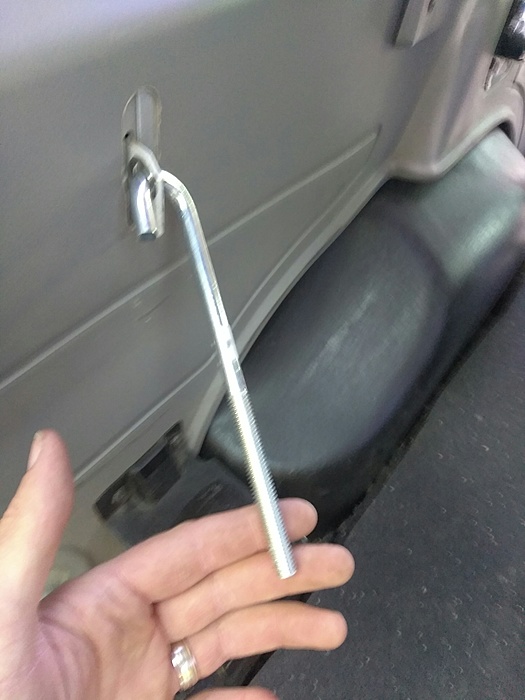
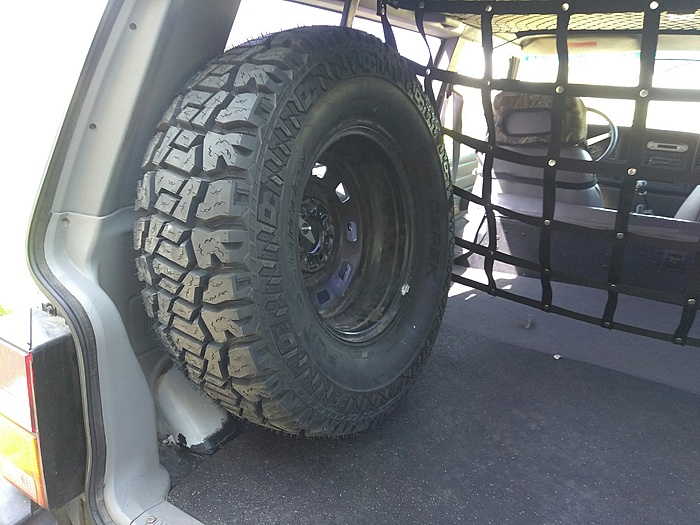
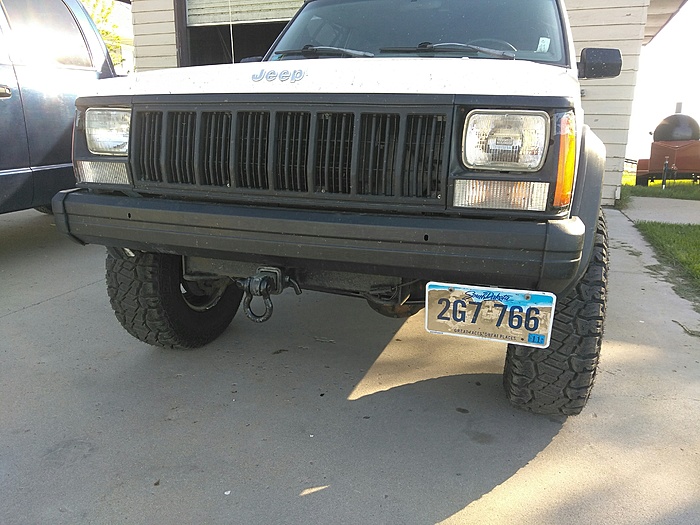
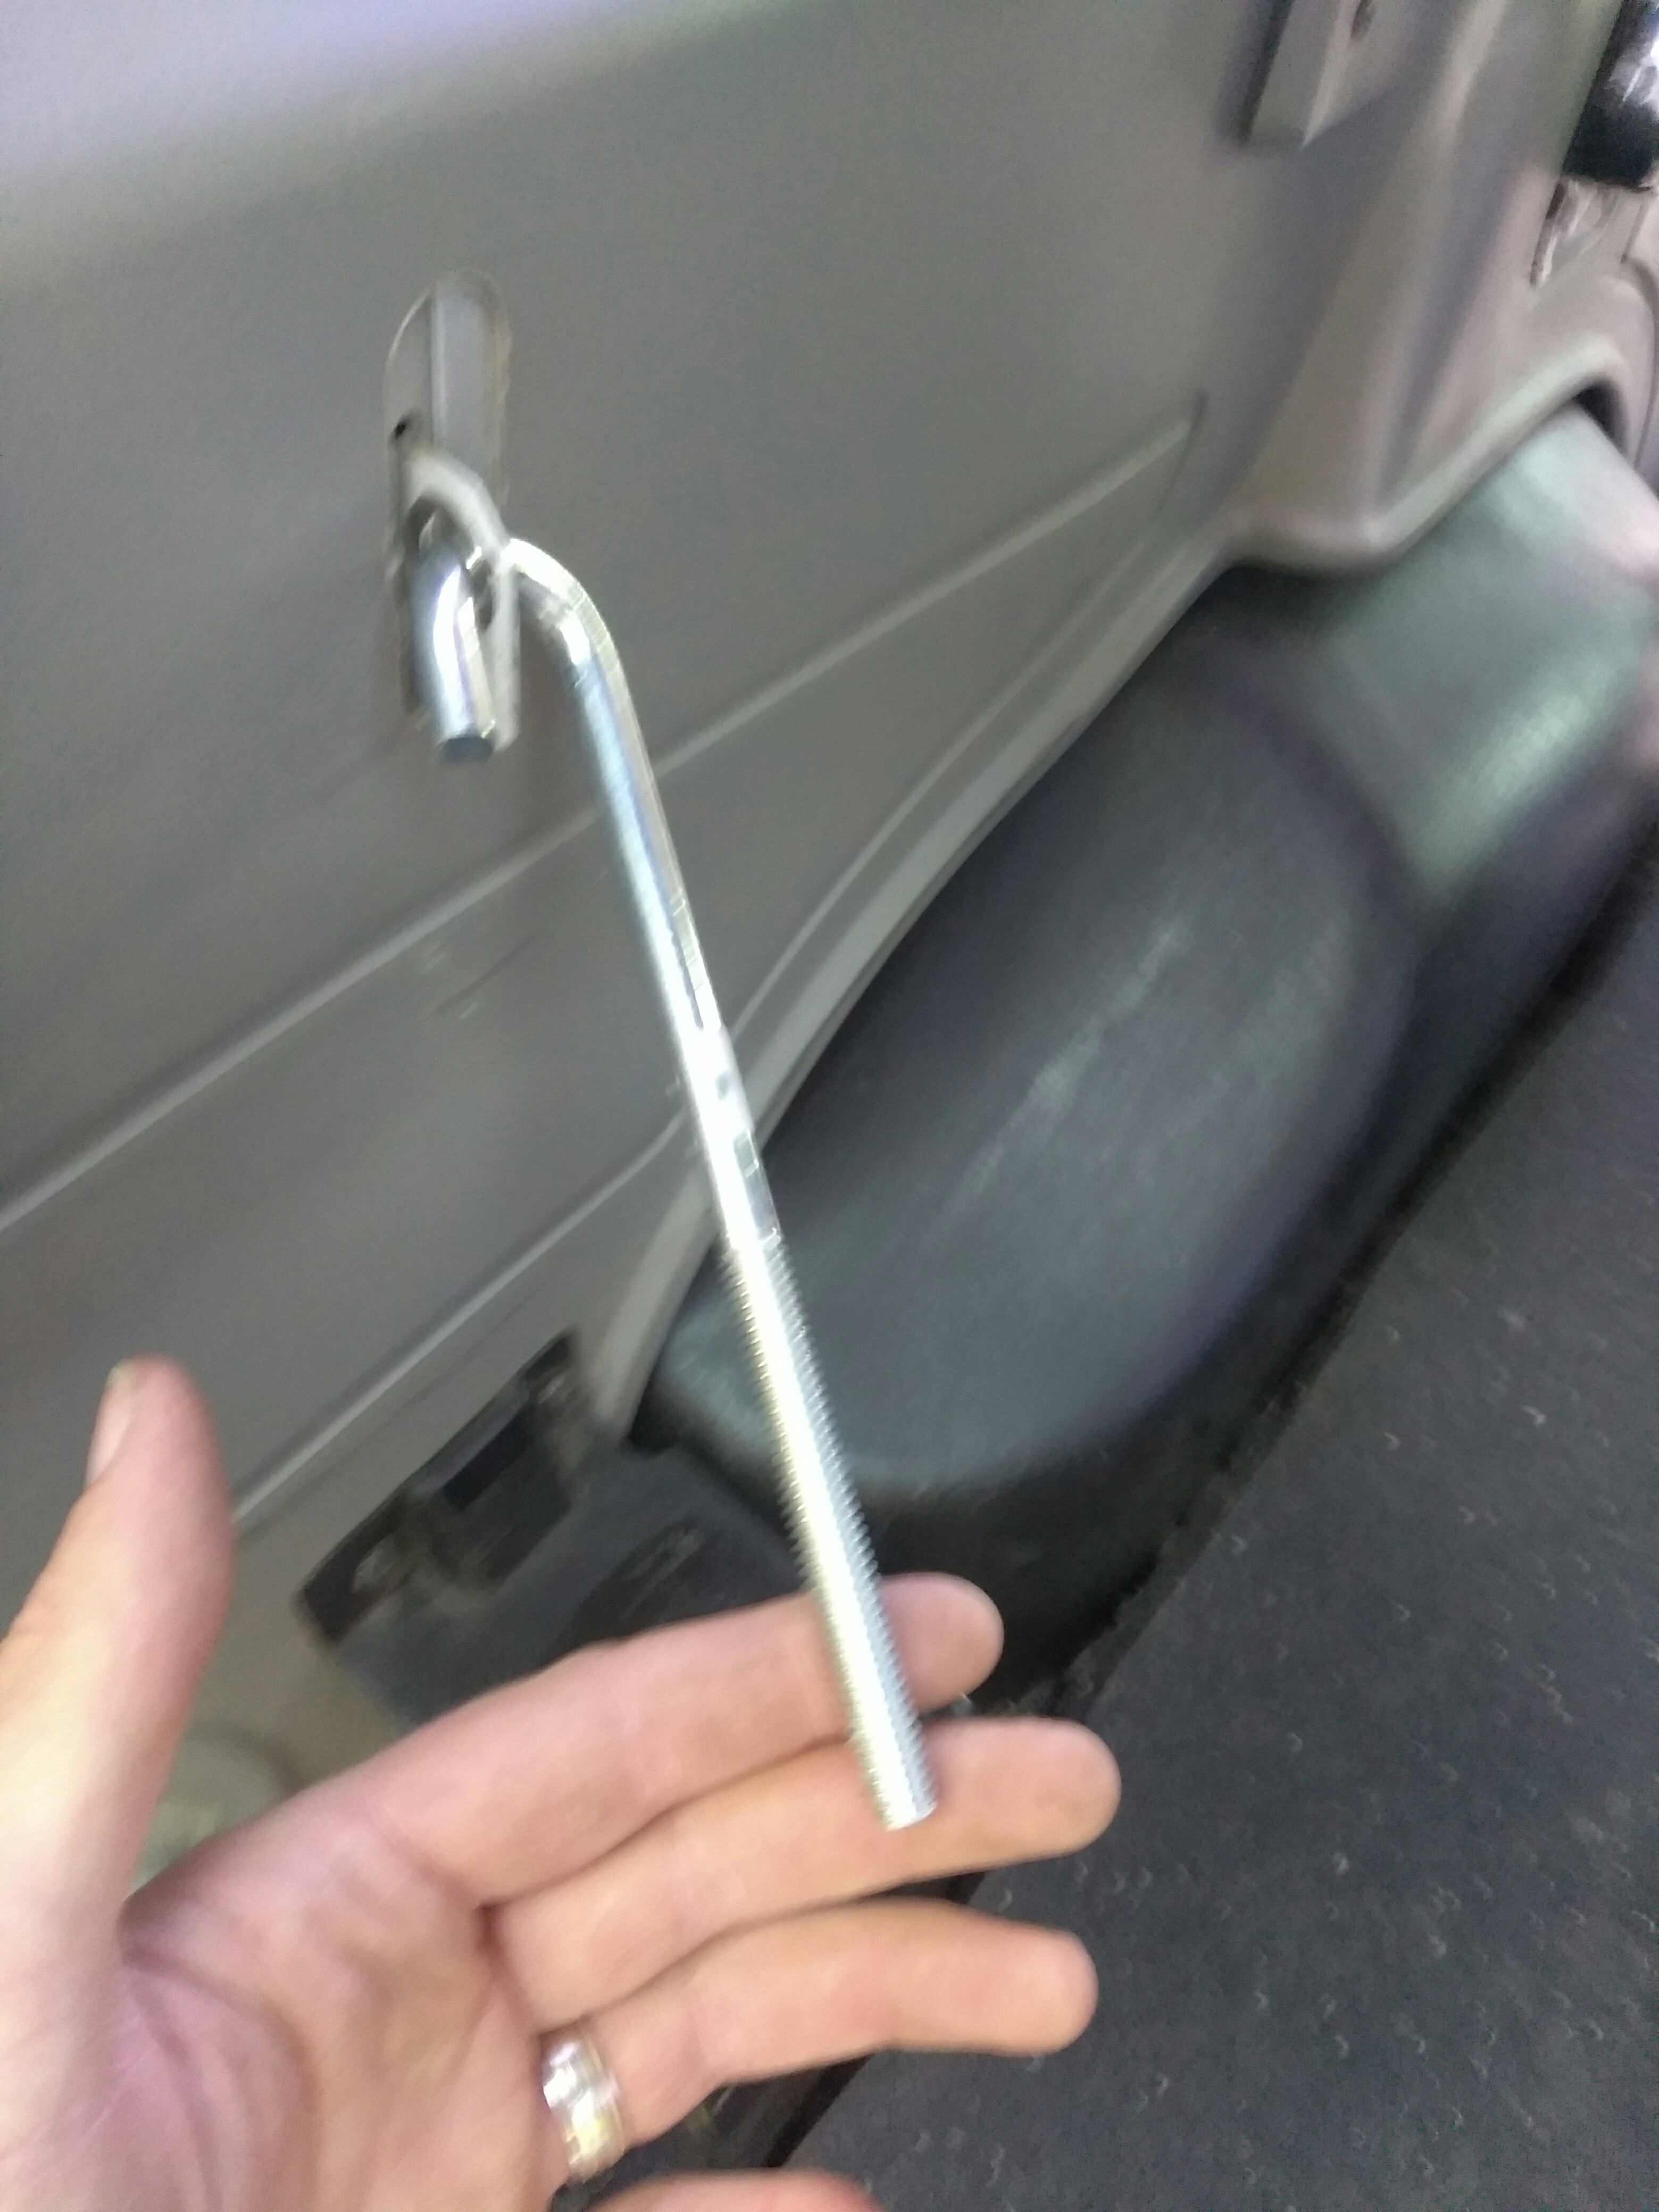
I bought a longer J-bolt so I could mount my full size spare in the back.
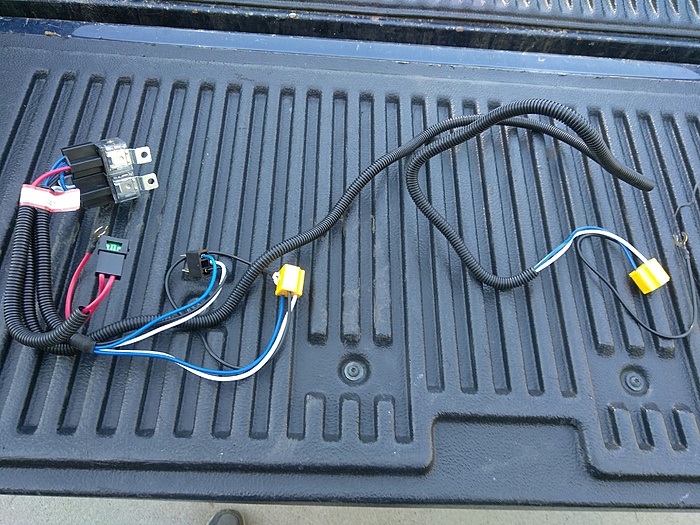
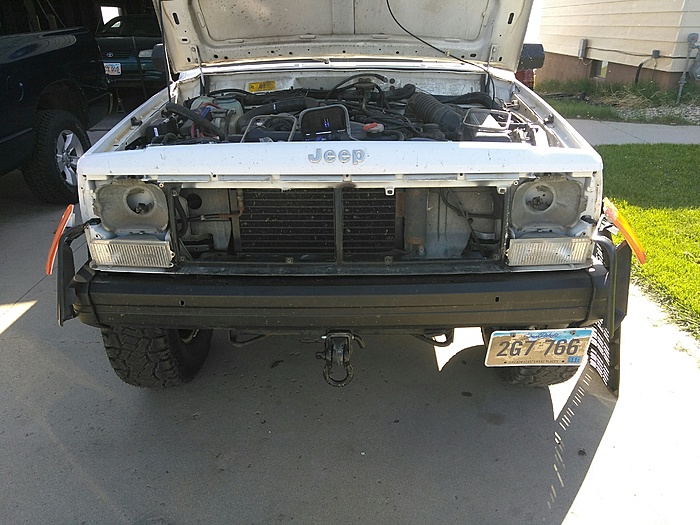
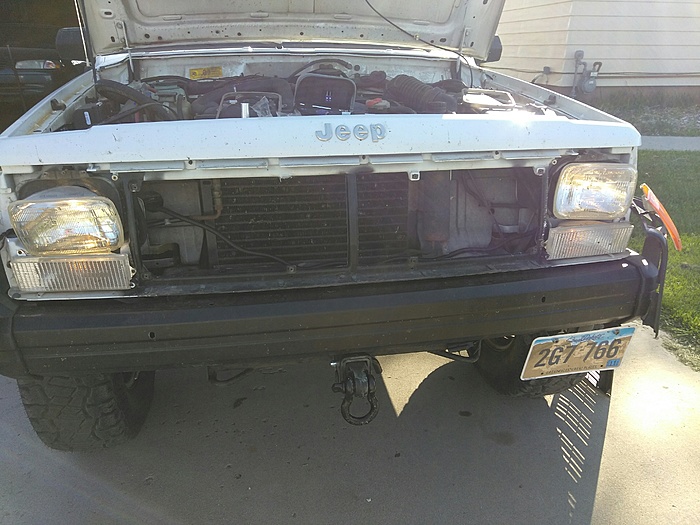
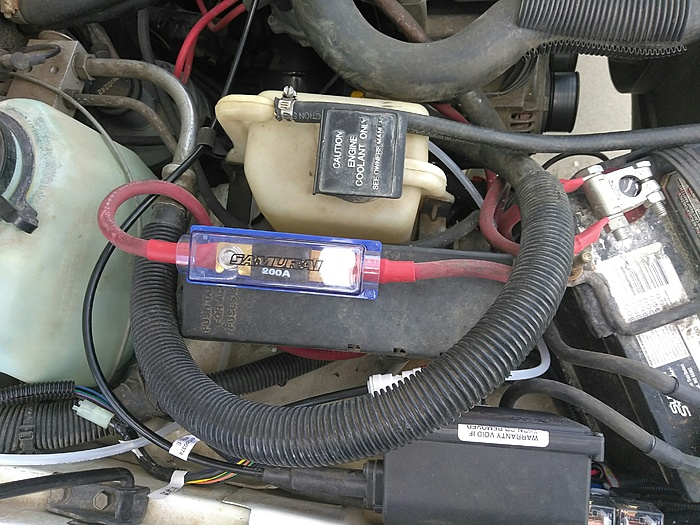
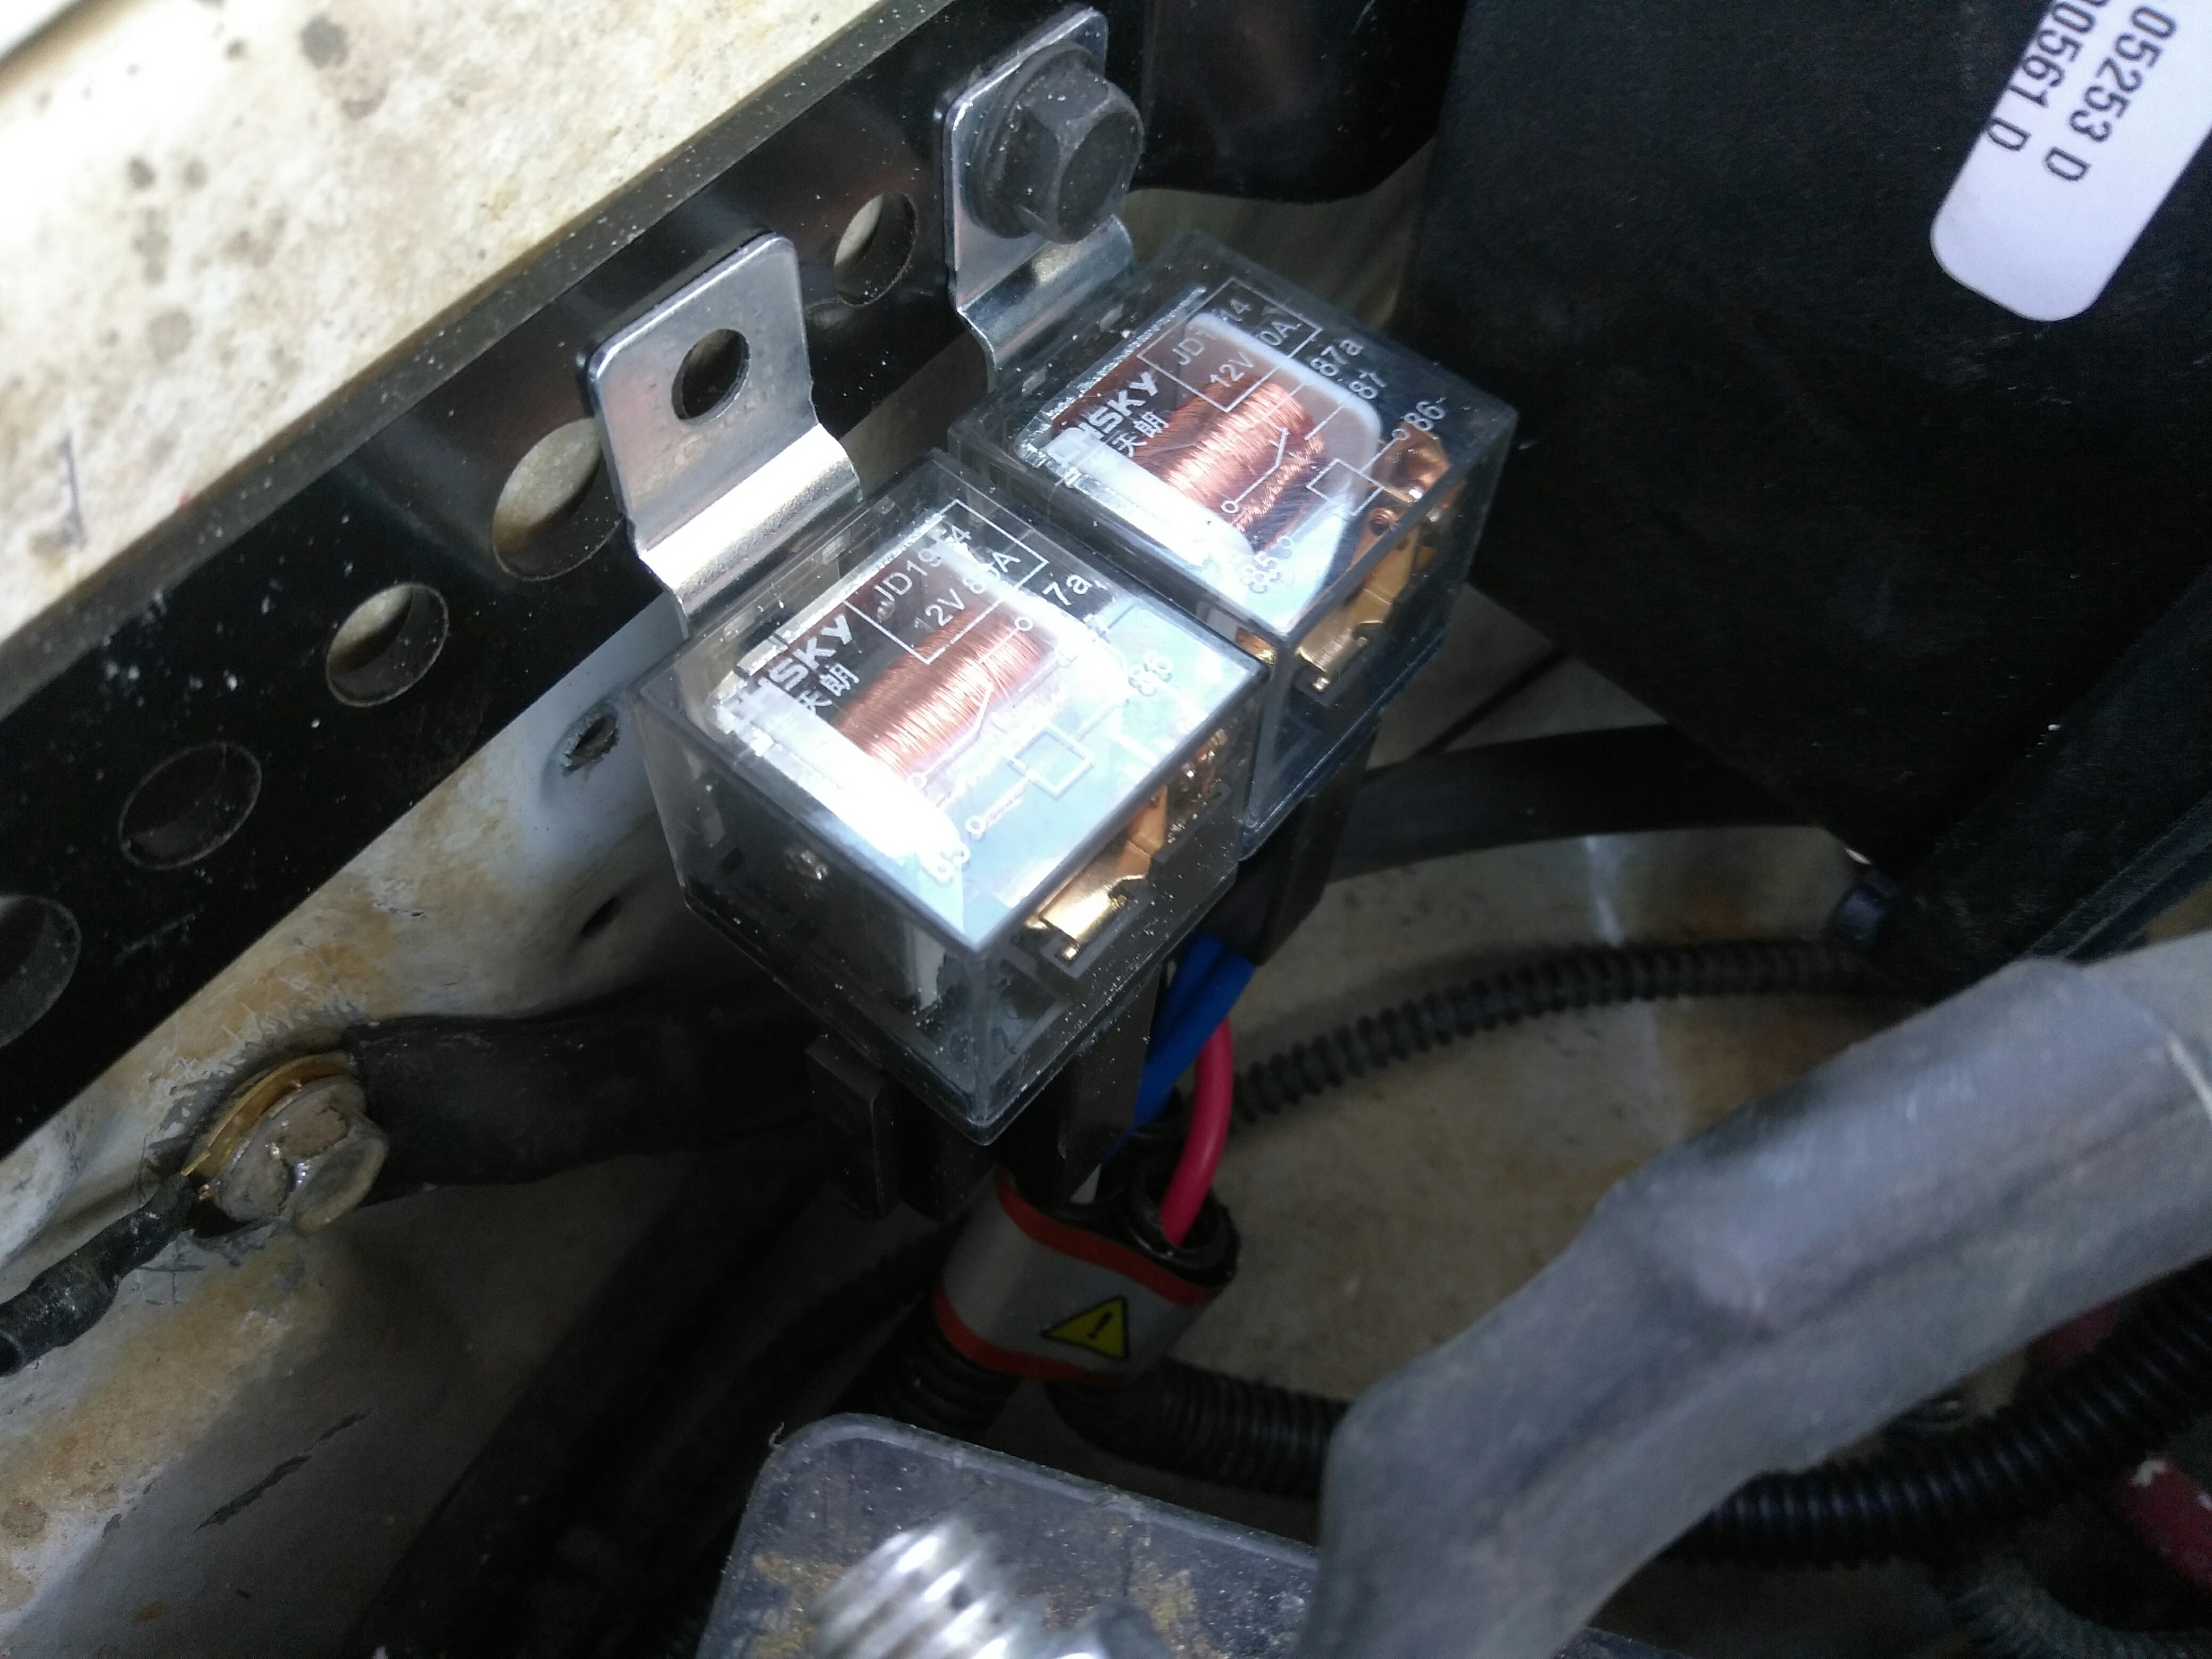
A while back I had purchased a headlight harness from jhc7399 here on CF so I got that installed. I'm quite happy with it.
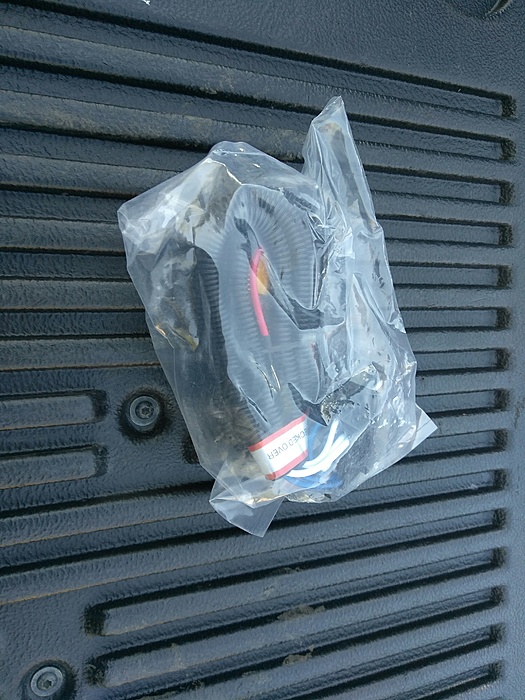
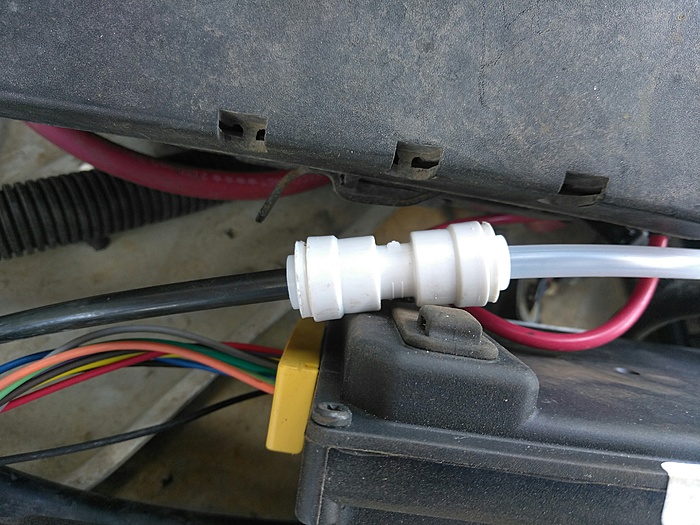
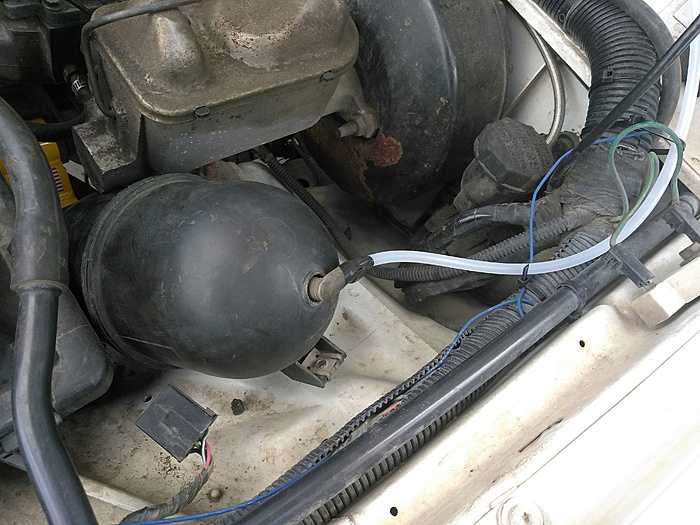
Then I purchased some tubing from the hardware store for about $1 and relocated the vacuum ball. I used a quick connector for the vacuum line. It works well.
I used a trick I saw in one of Bleepin Jeep's videos to eliminate some wind noise. I ran some 1/4" poly rope around the door seals. It works!
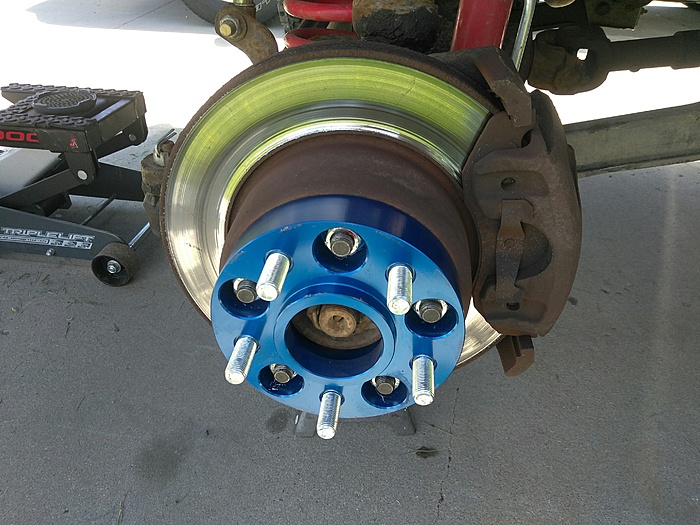
We're on a road trip this weekend to the Western side of South Dakota so I made sure to re-torque the spacers.
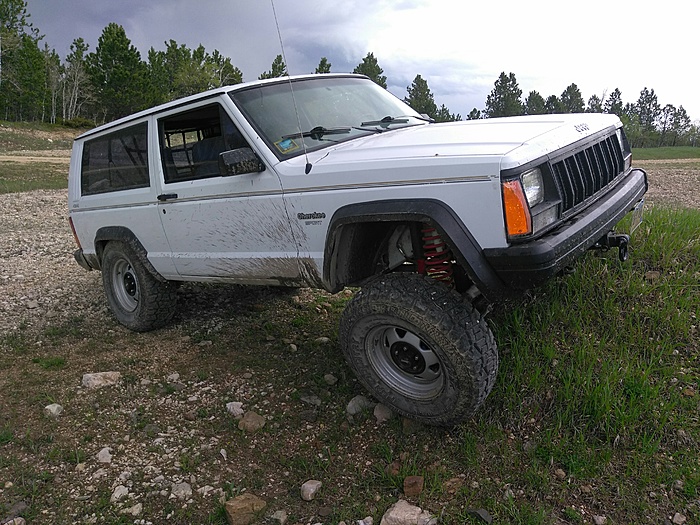
I'm actually typing this from the Black Hills... We went off-roading today and hopefully I'll have some pictures up soon...
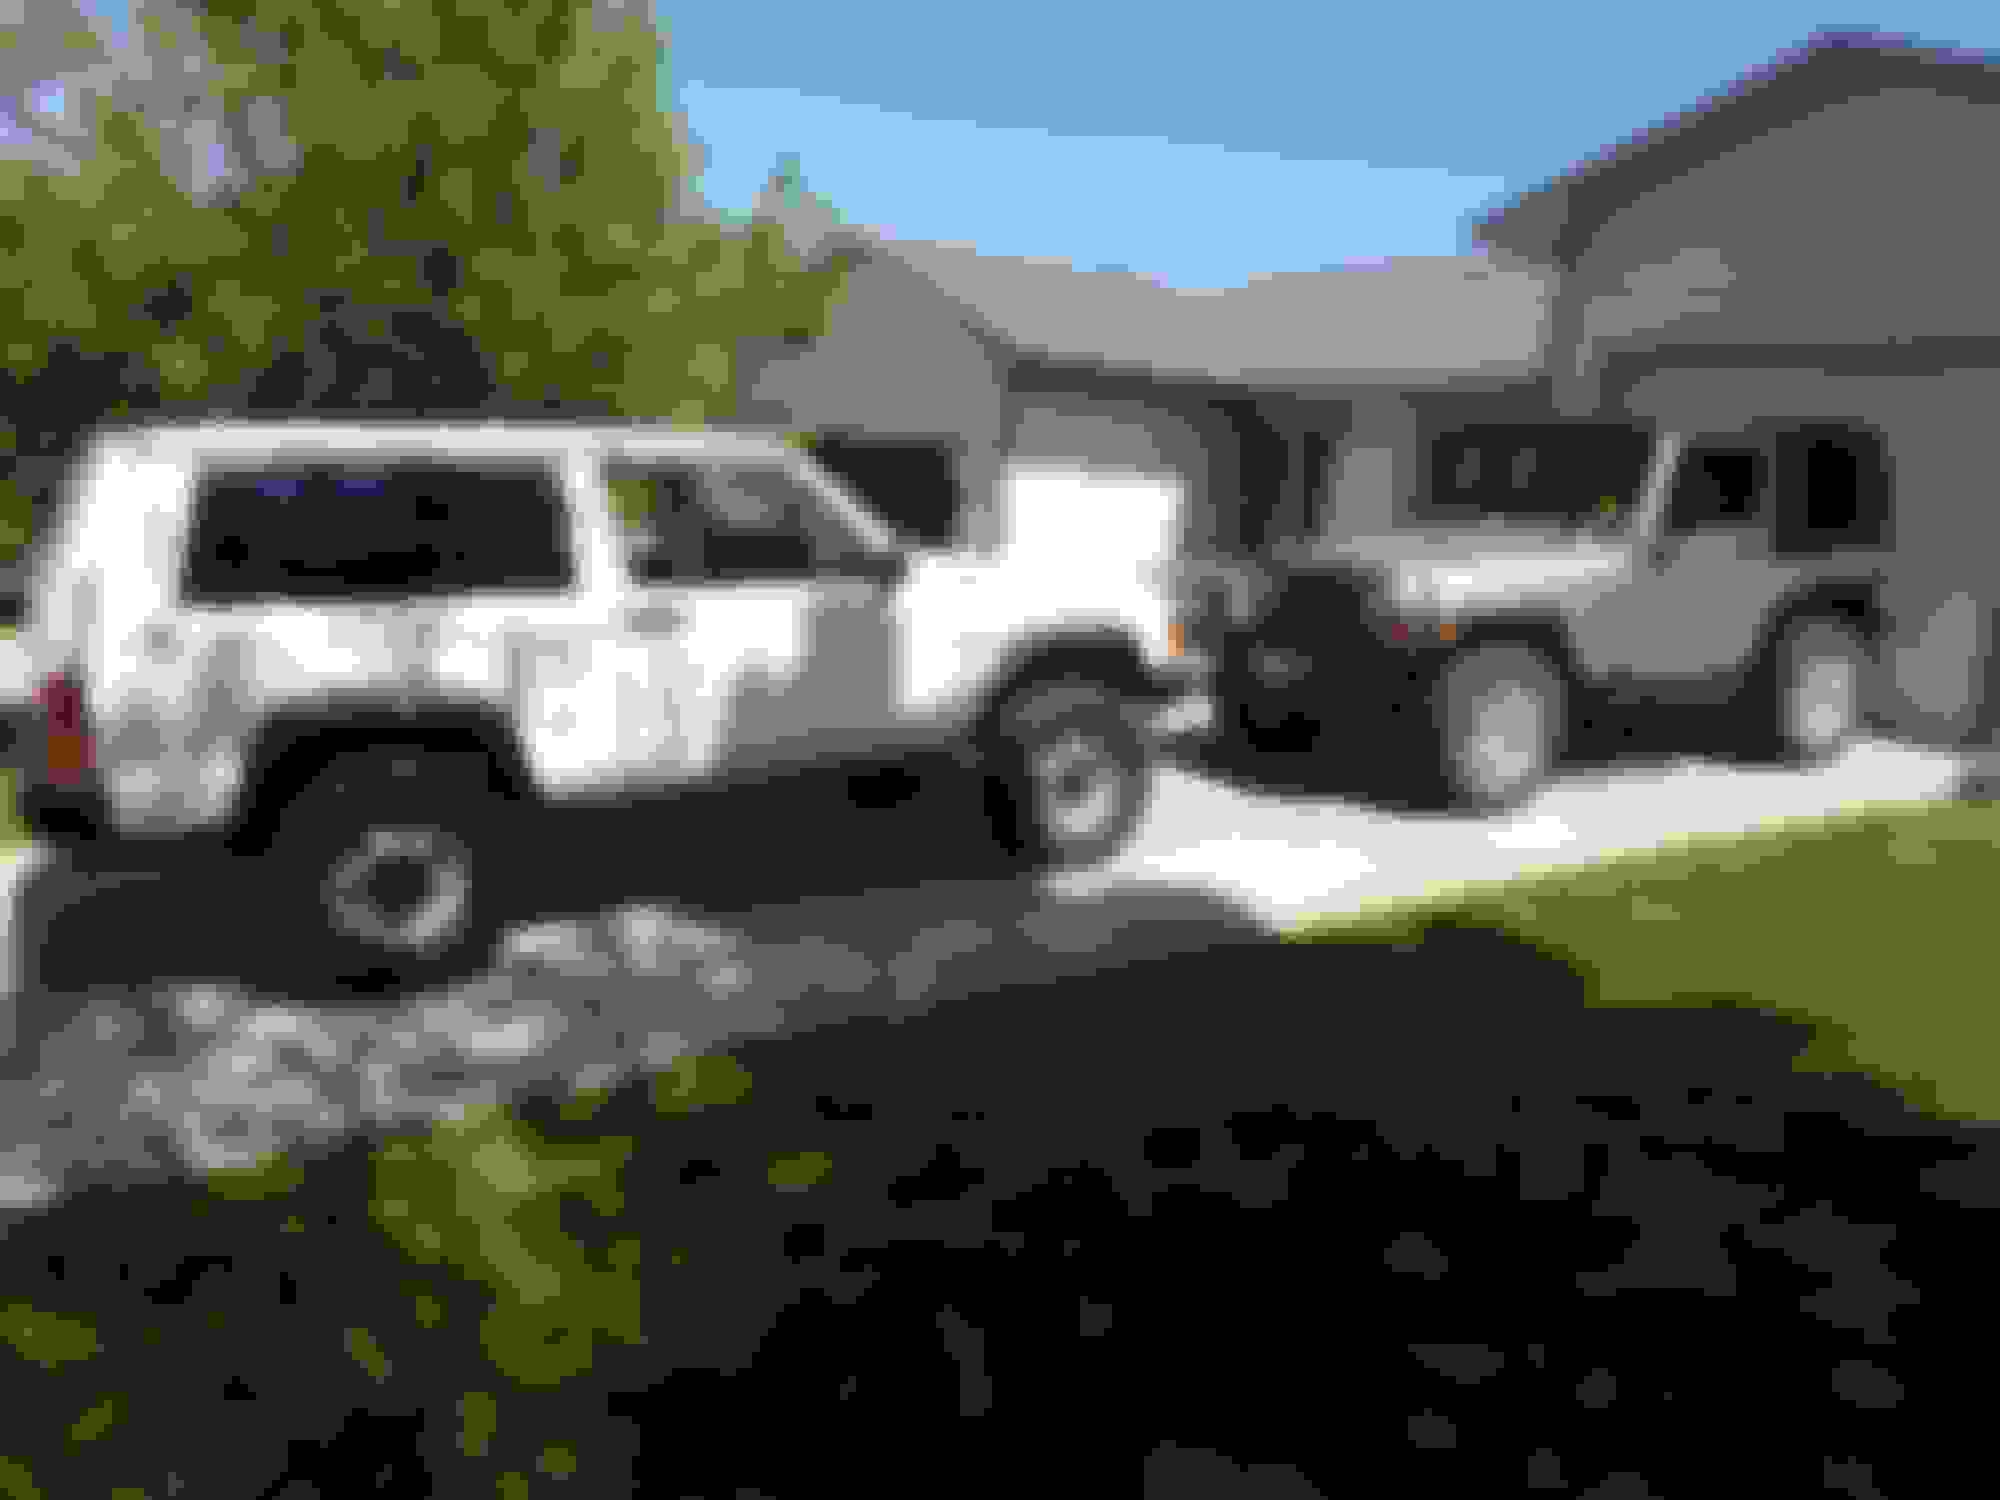
We went off-roading this weekend in the Black Hills National Forest. My in-laws joined us in their TJ. None of use have much off-road experience (unless you count snow/ice packed forest roads) so we stuck to beginner trails. I will say they were tougher than the pictures make them look. It was a blast!
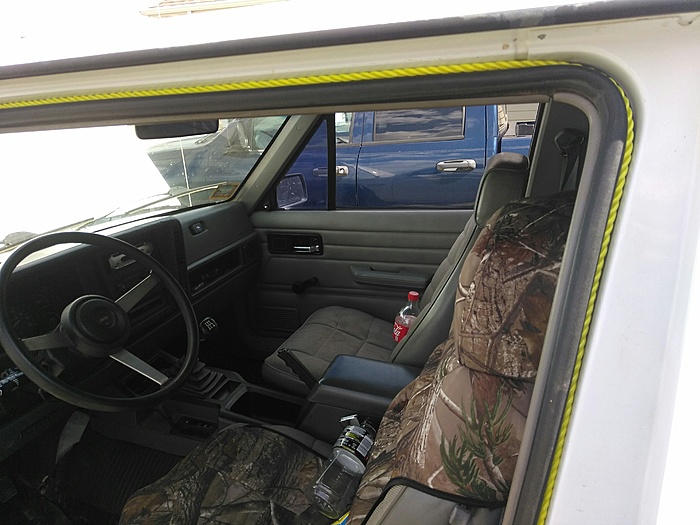
Looks like a blast! That picture of you in the drivers seat is great! Love how happy you look getting it out for the first time.
Cute dog too! Dogs are some of the best wheeling buddies!
Thanks! It was a great time.
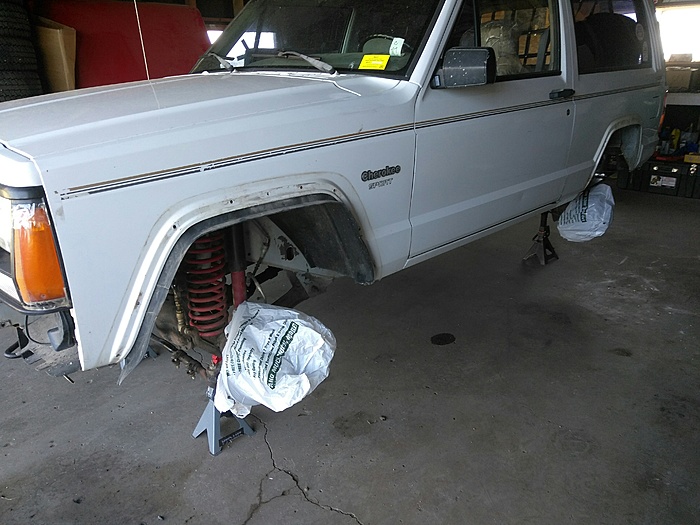
I removed the fender flares today. I was curious if there would be any rust underneath but thankfully everything looked good.
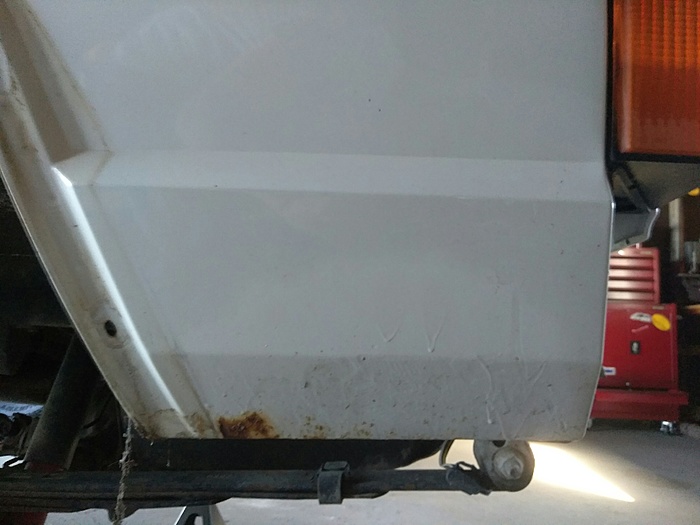
There was some surface rust on the rockers and lower door panels, as well as on the rear quarter panels.
It's been bothering me for a while now so it's time to do something about it. I took a wire brush to it to clean it up.
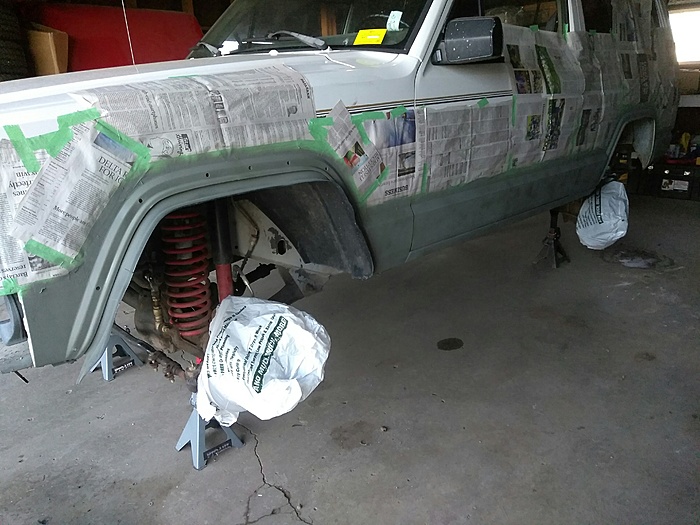
I then taped off the lower section of the body.
I went over the paint with some 60 grit sandpaper. Then I washed it with soap and water, then I wiped it down with acetone. Then it was time to paint!
I used Rust-Oleum self-etching primer.
Two coats later and this is what it looks like. I only got the passenger side done today. I still have a lot of Al's Heat & Noise reducer leftover from when I bedlined the interior so I plan to paint that on next. I was honestly a bit disappointed with it but I figure it won't hurt.
I have a lot of this aluminum sheet metal in my garage leftover from another project. The plan is to see if I can make some armor for the lower panels. This will be my first attempt at "fabrication" so we'll see how it goes. If it doesn't work out I can always just bedline the panels. If the armor does turn out I will probably cover that in bedliner.
I'm not sure if I want to use Rust-Oleum bedliner again or maybe try something different like Monstaliner? Or something else? Any suggestions?
Last edited by 4BangerDanger; May 30, 2017 at 10:57 PM.
Monstaliner FTW! It's what I'll be doing to mine unless I find a different XJ before then.
Yeah? What do you like about it? I posted the same question in the "what did you do to your Cherokee today?" thread and was told it fades quickly. So I'll have to look into that.
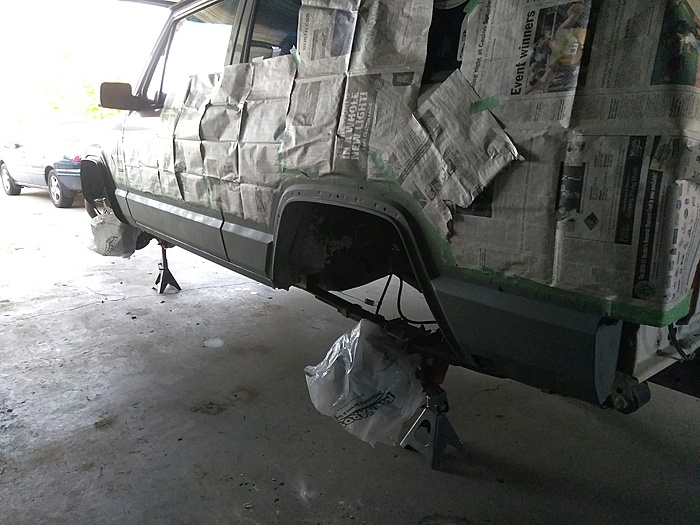
Today I attacked the driver's side. Off with the flares!
Notice that little spot of surface rust? It doesn't look like much...
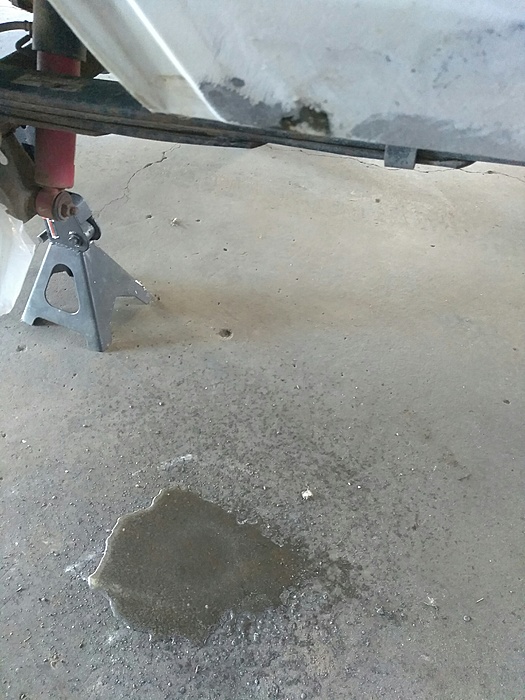
As I started wire brushing that off... It started leaking!
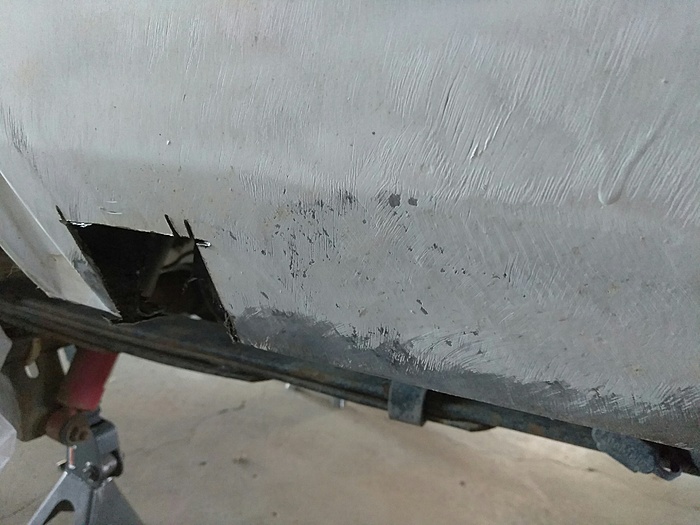
I poked a hole in it so the water could drain out and discovered that the panel was full of mud. I have no idea how that got in there...
At this point I knew it was time to break out the cutting disc. I cut a square out and cleaned out the mud from inside the panel.
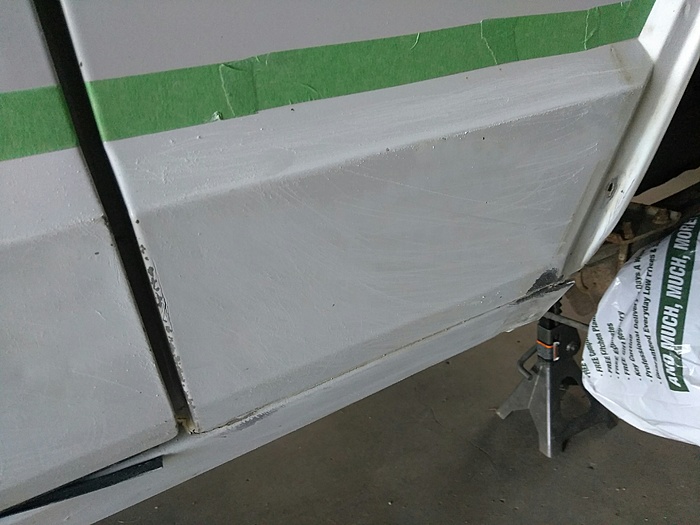
Now I have to decide what to do about this. The obvious answer is to do a rear cut & fold. I understand why people do that but I will say that I personally am more of a fan of the stock look. While I mull over my decision I went ahead and finished prepping the driver's side.
Then comes the primer!
Now while that sets up I have to decide how to fix my newest hole... Cut & fold or stock? I asked my wife and she said she prefers the stock look too. So I will see if I can get my armor experiment can cover that up. If I can't get that to work I may have no choice but to do the cut & fold.
Hey man, I decided to cut all my cancer away. It looked a little off, not too bad, with the stock rear bumper, so I bought a $425.00 shipped to my door ares cut and fold bumper with built in hitch and frame tie ins.
Hey man, I decided to cut all my cancer away. It looked a little off, not too bad, with the stock rear bumper, so I bought a $425.00 shipped to my door ares cut and fold bumper with built in hitch and frame tie ins.
Hey, thanks for the reply. I like that bumper! How much does it weigh? I ask because since my rig is a 4 cylinder I'm trying to be careful about how much weight I add.
Less than 100 lbs. I was able to install it myself with the help of a jack. Strong and sturdy. It does replace your factory hitch so take that in consideration.
Last edited by CantDrive55; Jun 1, 2017 at 01:56 PM.


 Unfortunately it didn't. The wipers work otherwise just nothing happens when you press the sprayer tab (not even the wipers). Otherwise the new lever works as it should.