
2.8L of Doom!!

Member
Joined: Dec 2011
Posts: 235
Likes: 0
From: Somerset TX
Year: 94
Model: Cherokee
Engine: 4.6 stroker
[QUOTE=emptypockets;1269788]Thanks! I was hoping to get some more use out of my cheapy lca's, but it may not work out that way. Time to start hitting CL to see if I can find some deals.
Thanks a lot! I live in Northern IL in the Rockford area.
-----------
Got a little bit of work done last night, but not much.
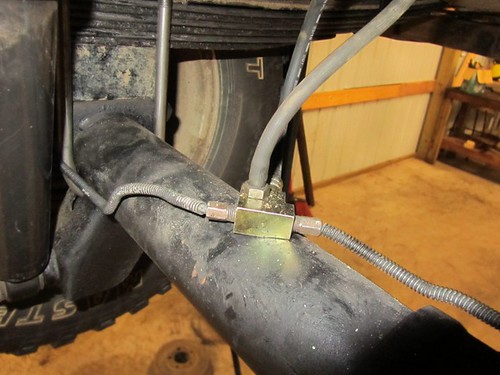
The stock center hose was WAY to short so I picked up a Dakota hose:
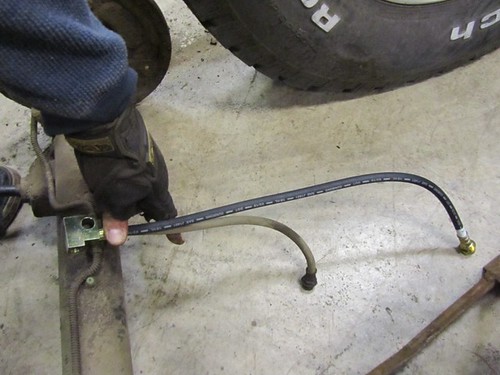
Installed:
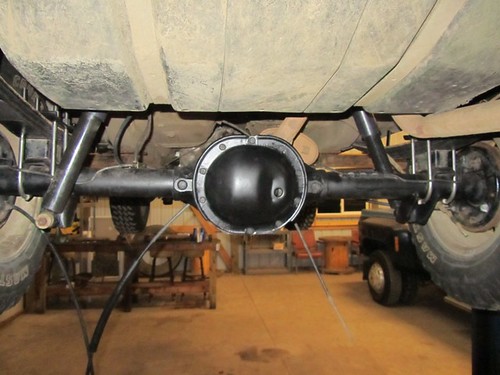
Pic of the 8.25 installed:
Tonight I'm hoping to bleed the brakes, hook up the e-brakes, install the rear driveshaft, finish the exhaust, and fill the diff. I say hope because I have a friend coming over to look at a car I'm selling and the BSing may eat up most of my night. [/QUOTE
]
What year dakota is that brake line for
Thanks a lot! I live in Northern IL in the Rockford area.
-----------
Got a little bit of work done last night, but not much.
The stock center hose was WAY to short so I picked up a Dakota hose:
Installed:
Pic of the 8.25 installed:
Tonight I'm hoping to bleed the brakes, hook up the e-brakes, install the rear driveshaft, finish the exhaust, and fill the diff. I say hope because I have a friend coming over to look at a car I'm selling and the BSing may eat up most of my night.
[/QUOTE]
What year dakota is that brake line for
Thread Starter
::Regional Moderator::
Joined: Jul 2011
Posts: 2,912
Likes: 6
From: Over here...
Year: 1986
Model: Cherokee
Engine: 2.8
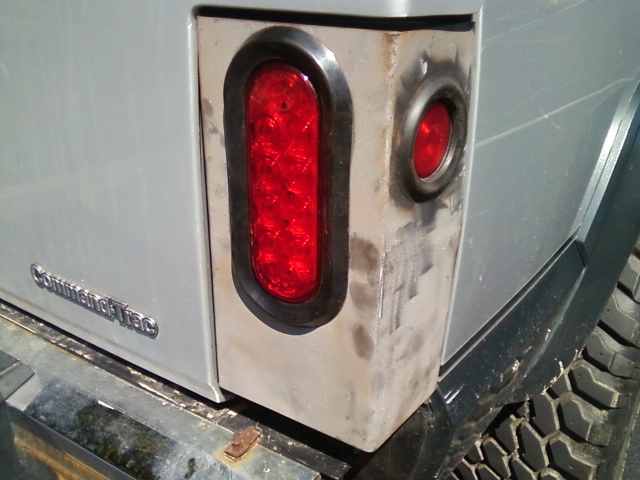
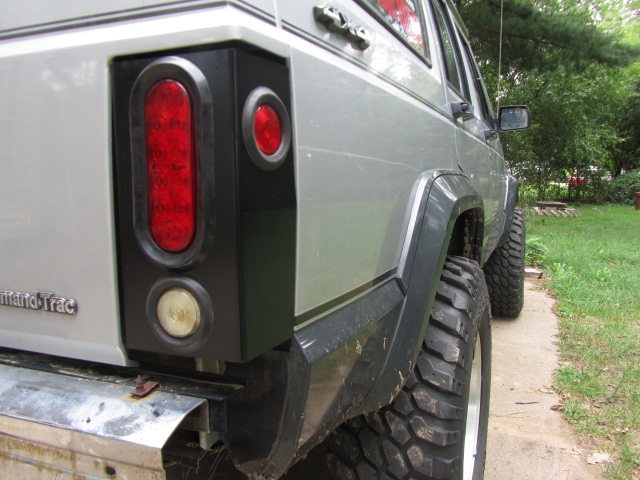
Finally got around to installing my Farmboy tail light boxes. I bought these uncut at the beginning of the year and just kind of forgot about them. I stumbled across them and thought I should probably take the time to finish and install them. I don't have many pictures of the actual install, but hopefully it helps others out.
Here's one, sandblasted with two out of three lights cut and installed. I used a 2 1/4" hole saw for the LED light. I also used it for the 2" round and we had to weld the hole up some for the light to fit. We got the right sized 2 1/8" bit and drilled the rest of the 2" holes out.
The key to using a single light for your brake/turn signal is that you need a convertor kit to switch from a 3 wire setup (separate brake, turn, park lamps) to a 2 wire setup (turn/brake lights together and park lamps). If you're going with LEDs make sure you get the kit that is compatible with them, otherwise they won't work! You can find these in the trailer wiring section wherever they're sold. Here it is wired inline.

I retained the stock harness and butt connected the pigtails on. Pic was taken before I melted the connectors, but you get the idea.
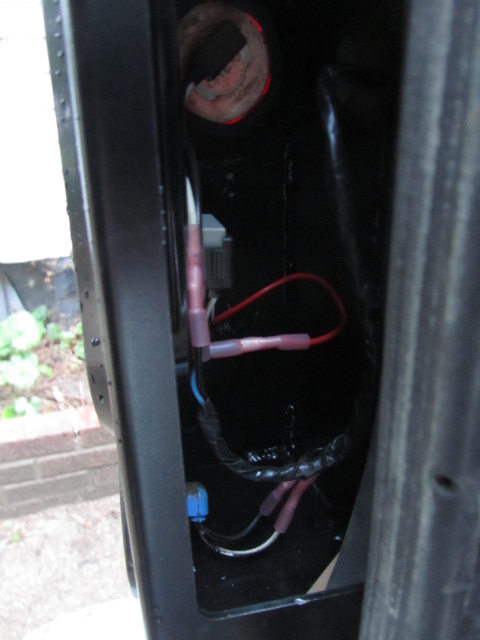
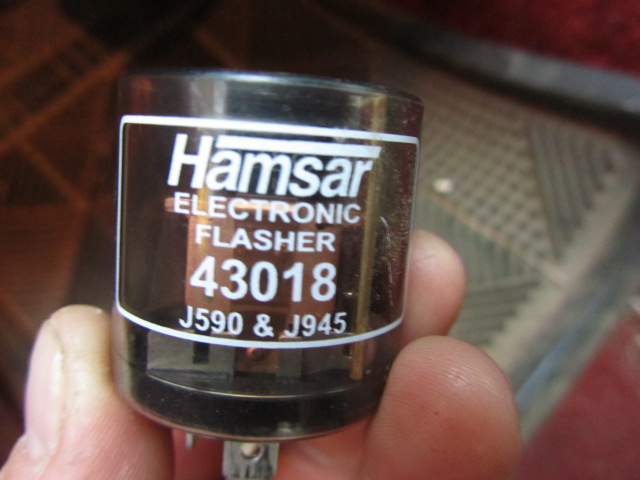
And the last thing you need if switching over to LEDs is an electronic flasher. Without it your lights will just light up solid without blinking.
Here's how they ended up after paint and with everything installed.
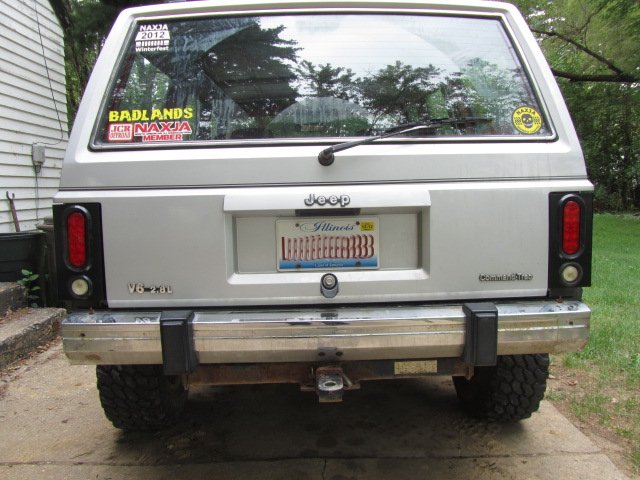
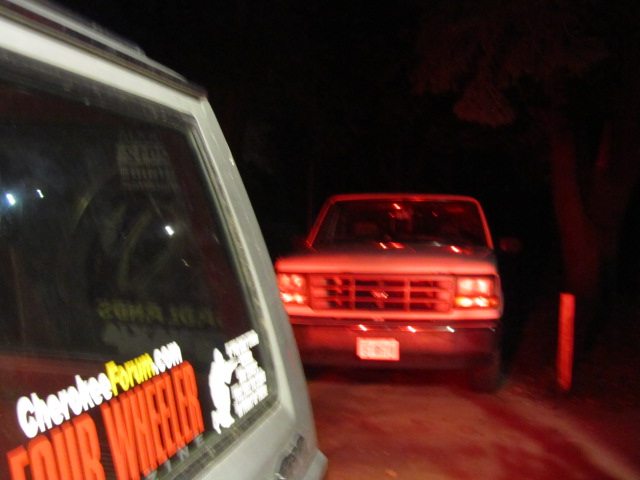
A couple of night shots
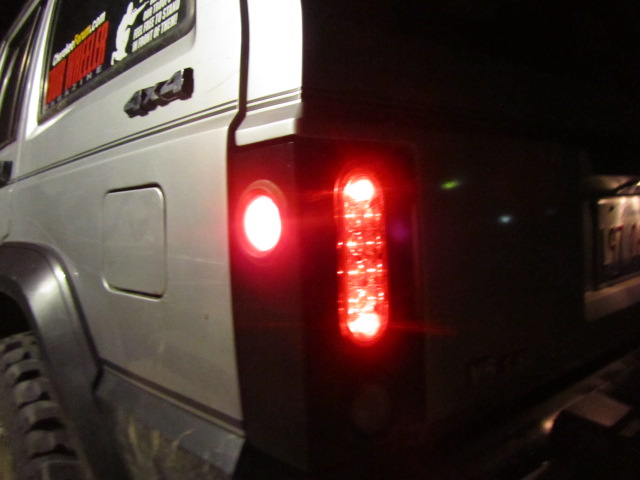
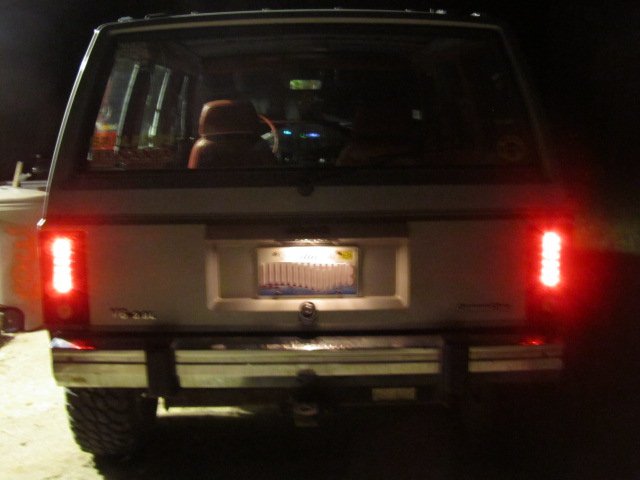
How the backup light looks lit up.
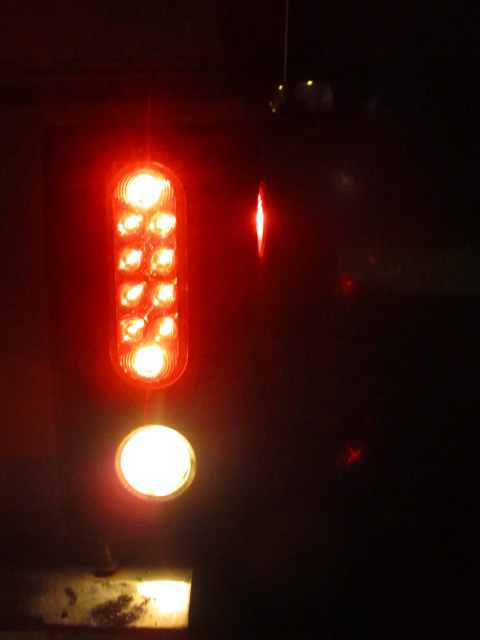
LED brake lights = bright!
And that's it. Any questions, feel free to ask.
Here's one, sandblasted with two out of three lights cut and installed. I used a 2 1/4" hole saw for the LED light. I also used it for the 2" round and we had to weld the hole up some for the light to fit. We got the right sized 2 1/8" bit and drilled the rest of the 2" holes out.
The key to using a single light for your brake/turn signal is that you need a convertor kit to switch from a 3 wire setup (separate brake, turn, park lamps) to a 2 wire setup (turn/brake lights together and park lamps). If you're going with LEDs make sure you get the kit that is compatible with them, otherwise they won't work! You can find these in the trailer wiring section wherever they're sold. Here it is wired inline.
I retained the stock harness and butt connected the pigtails on. Pic was taken before I melted the connectors, but you get the idea.
And the last thing you need if switching over to LEDs is an electronic flasher. Without it your lights will just light up solid without blinking.
Here's how they ended up after paint and with everything installed.
A couple of night shots
How the backup light looks lit up.
LED brake lights = bright!
And that's it. Any questions, feel free to ask.
Thread Starter
::Regional Moderator::
Joined: Jul 2011
Posts: 2,912
Likes: 6
From: Over here...
Year: 1986
Model: Cherokee
Engine: 2.8

Thread Starter
::Regional Moderator::
Joined: Jul 2011
Posts: 2,912
Likes: 6
From: Over here...
Year: 1986
Model: Cherokee
Engine: 2.8
 Thanks man.
Seasoned Member
Joined: Jul 2011
Posts: 359
Likes: 0
From: northern illinois
Year: 2000
Model: Cherokee
Engine: 4.0 I6 HO
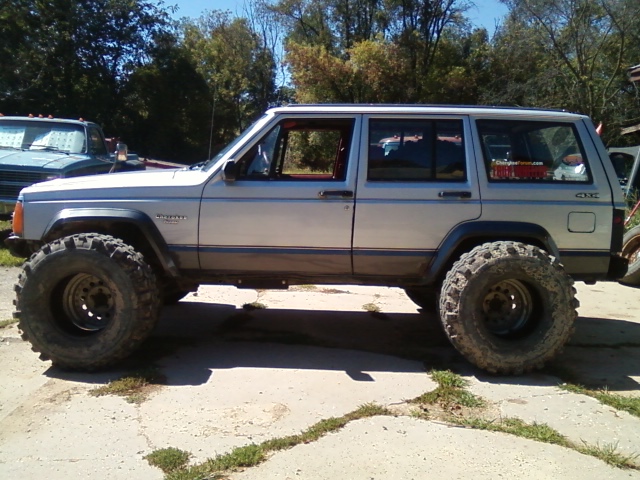
looking good man here is a pic of the xj with the sliders installed. The frame mounts were off and had to do a lil adjusting to them to get them to fit right for now till i can do some more modding later on.

Thread Starter
::Regional Moderator::
Joined: Jul 2011
Posts: 2,912
Likes: 6
From: Over here...
Year: 1986
Model: Cherokee
Engine: 2.8
Yours is looking good as well! Glad to see you got them on. I get so lazy about installing stuff. After seeing your xj I keep thinking about going up another 1/2". I just like the way it looks with a little more room in the wheel wells.
Seasoned Member
Joined: Jul 2011
Posts: 359
Likes: 0
From: northern illinois
Year: 2000
Model: Cherokee
Engine: 4.0 I6 HO
yeah i think sometime next year im going up to 4.5-5. i like the 3.5 but i wanna go bigger lol, im more likely going to do a 4.5 so its still streetable, and pry go with iro long arm. You go the 2 door to go bigger with lol that thing should be a beast when done man.
Thread Starter
::Regional Moderator::
Joined: Jul 2011
Posts: 2,912
Likes: 6
From: Over here...
Year: 1986
Model: Cherokee
Engine: 2.8
Forgot to add that I got my diff cover last week. Pure beef, I've learned to expect nothing less from Ruff Stuff.
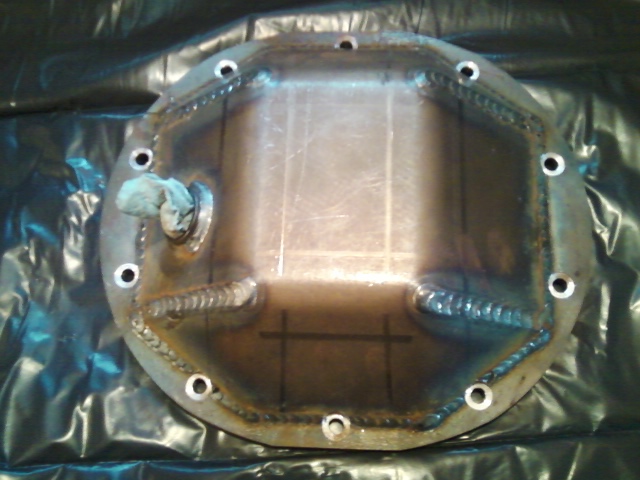
Just went with black, nothing flashy.
Looking to install it later this week along with the new seals. It'll be nice not worrying about messing up the stock cover for once.
Seasoned Member
Joined: Jul 2011
Posts: 359
Likes: 0
From: northern illinois
Year: 2000
Model: Cherokee
Engine: 4.0 I6 HO
but u dot wanna rush it thts when theres problems. I wish i had the space tools and lil more knowledge cuz i wanna start a project jeep. Id like to build an xj truggy or massive crawler 
Thread Starter
::Regional Moderator::
Joined: Jul 2011
Posts: 2,912
Likes: 6
From: Over here...
Year: 1986
Model: Cherokee
Engine: 2.8
Been trying to hammer out some more work on the Jeep.
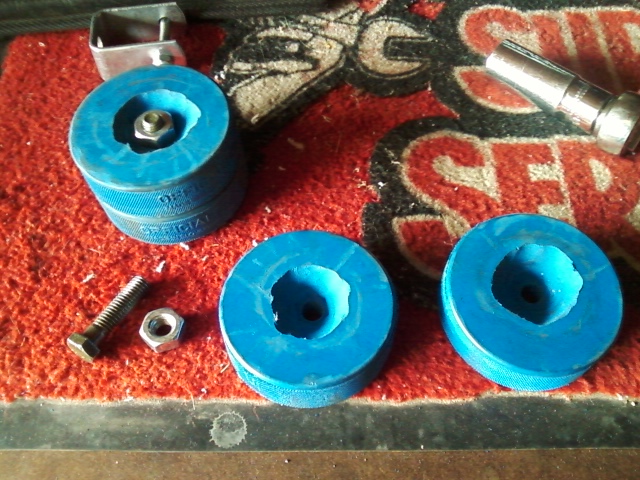
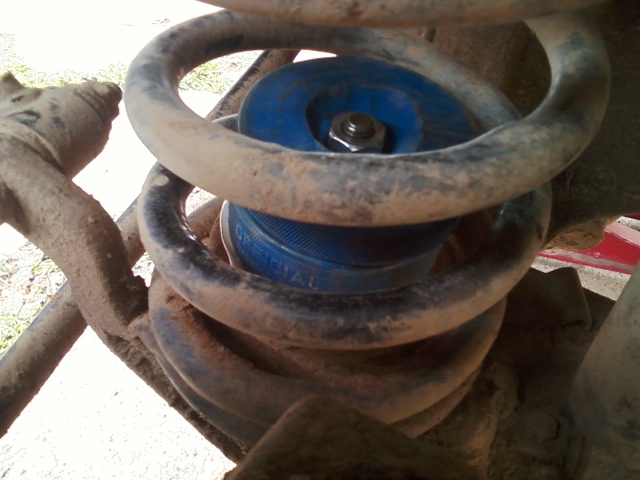
Finished my front bumpstops this afternoon. Picked up four pucks at MC Sports and Liquid Nails at Home Depot. Decided to bolt the pucks together and then epoxy them to the coil buckets. I figure that if they fall off at least they won't fall out.
Also started working on my rear bumpstop brackets, but haven't finished them yet. I'm using 1/4" plate and box tubing for the stanchion.

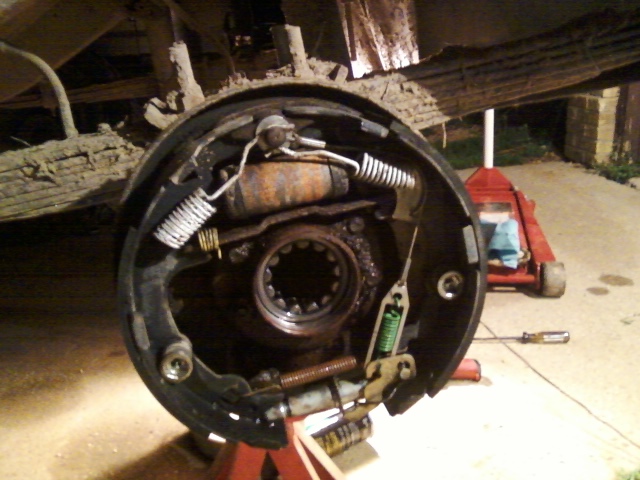
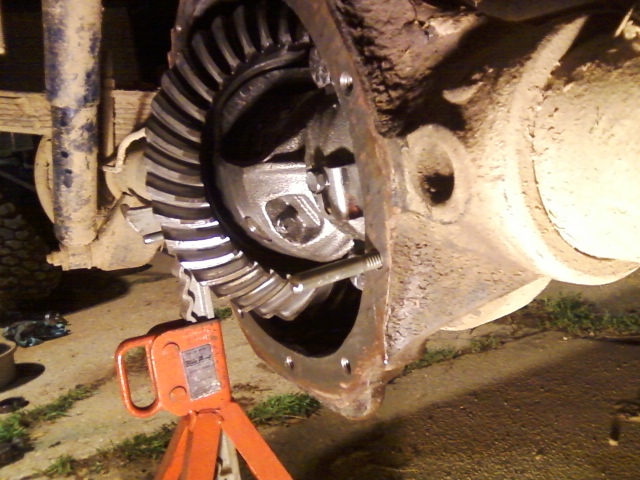
Installed my axle seals and readjusted my brakes.
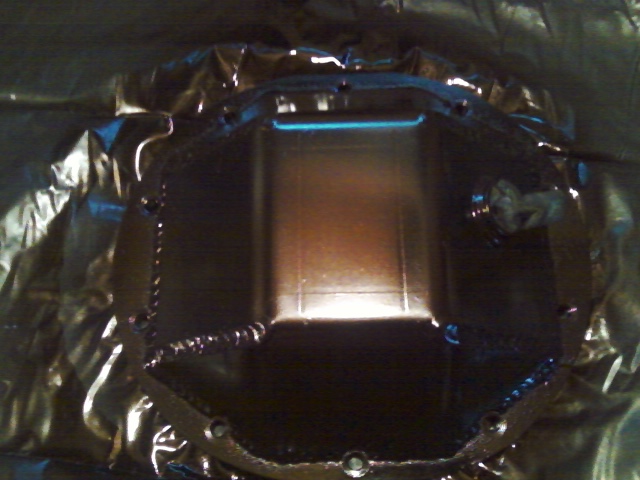
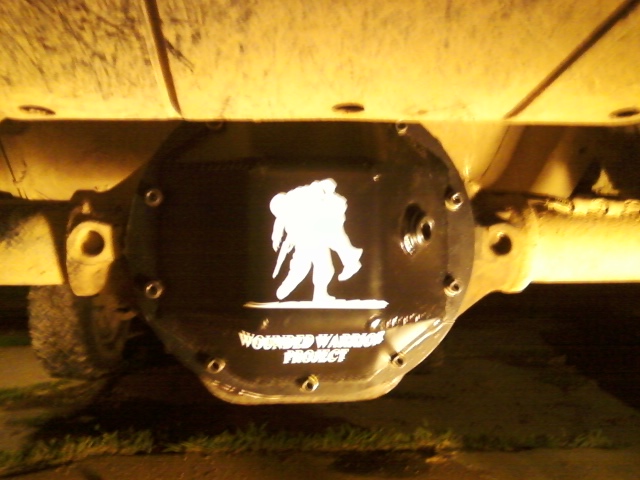
Installed my diff cover as well. Little tip if you have a heavy diff cover. Take some bolts, cut off the heads, and radius them. They're like having a second set of hands to help you out.
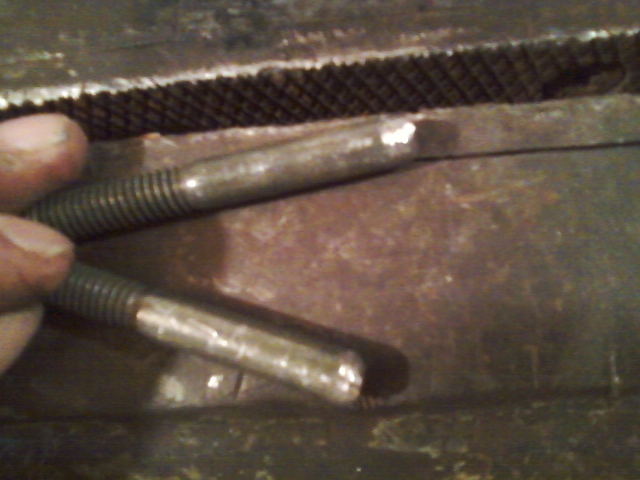
Makes installing the bolts easy as hell.
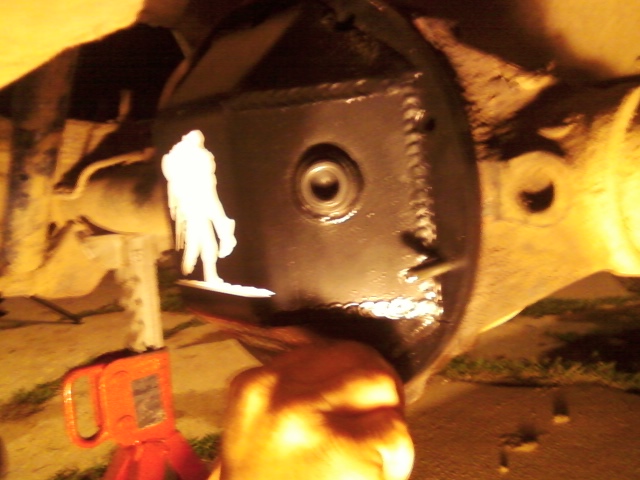
All bolted up. I know the decal won't last long, but I threw it on anyways.
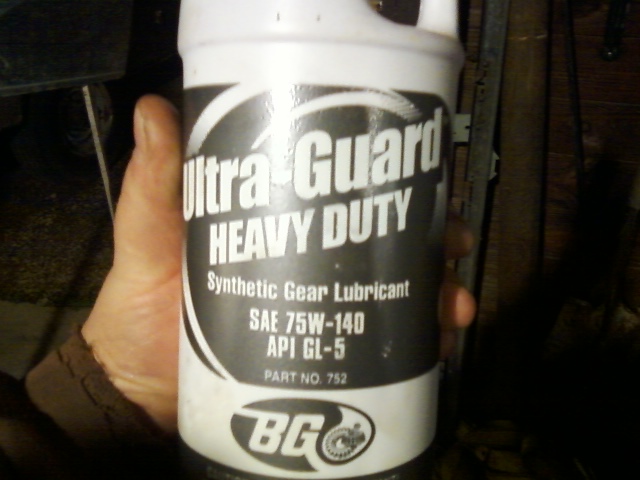
And finally filled it up with the good stuff.
Still need to install my pinion seal, but it and the ZJ tie rod are going to have to wait till after the trail run. Not bad for a days worth of work though.
Finished my front bumpstops this afternoon. Picked up four pucks at MC Sports and Liquid Nails at Home Depot. Decided to bolt the pucks together and then epoxy them to the coil buckets. I figure that if they fall off at least they won't fall out.
Also started working on my rear bumpstop brackets, but haven't finished them yet. I'm using 1/4" plate and box tubing for the stanchion.
Installed my axle seals and readjusted my brakes.
Installed my diff cover as well. Little tip if you have a heavy diff cover. Take some bolts, cut off the heads, and radius them. They're like having a second set of hands to help you out.
Makes installing the bolts easy as hell.
All bolted up. I know the decal won't last long, but I threw it on anyways.
And finally filled it up with the good stuff.
Still need to install my pinion seal, but it and the ZJ tie rod are going to have to wait till after the trail run. Not bad for a days worth of work though.
Thread Starter
::Regional Moderator::
Joined: Jul 2011
Posts: 2,912
Likes: 6
From: Over here...
Year: 1986
Model: Cherokee
Engine: 2.8
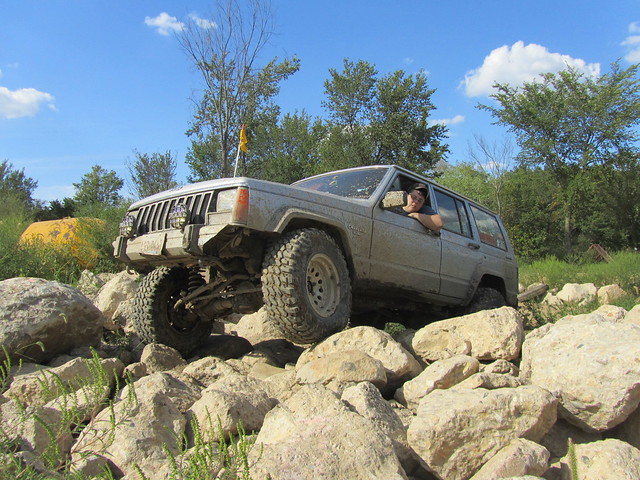
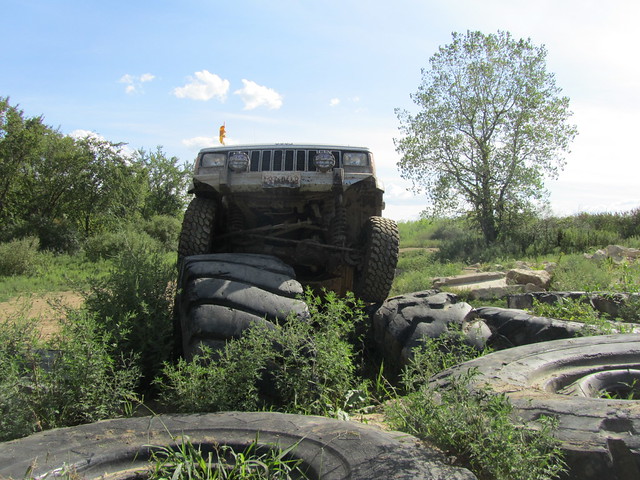
Picked up a few goodies this week for the Jeep. A couple shots from the Cliffs run before I go into details.
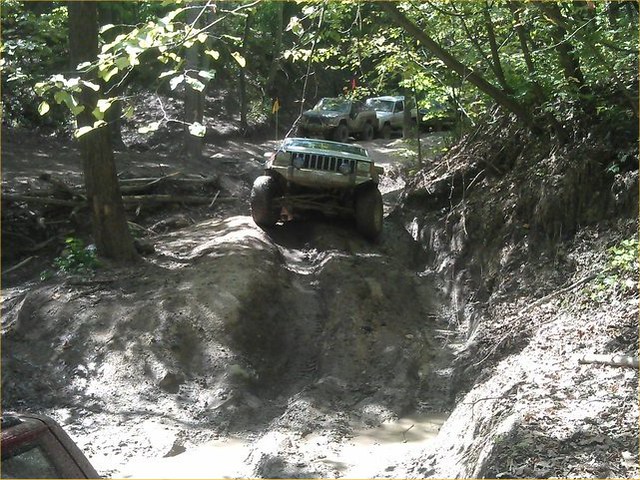
On to details. Have a set of frame stiffeners, shock brackets and spring perches coming from Ruff Stuff. Also picked up a set of 33x12.5x15 TSL's yesterday. This is pretty much the beginning of my LCOG build.
The plan is to run the 33's offroad only and keep the 31's for dd duties. Got a free rebuilt 305, bored .40 over, rv cam, and flat top pistons from a friend who wants it gone. Plans are to dump that, along with a 700r4 and a NP231 w/ 4:1 over this winter. I'll also be regearing to 4.56, trussing the turdy, upgrading the steering, 2x6 rockers, and well, a lot of other stuff. I really want to keep it under 4" of lift if I can manage. Guess we'll see how things work out. So that's it for now, let the snowball start to roll.
Last edited by emptypockets; Sep 13, 2012 at 05:26 PM.
Thread Starter
::Regional Moderator::
Joined: Jul 2011
Posts: 2,912
Likes: 6
From: Over here...
Year: 1986
Model: Cherokee
Engine: 2.8
Picked up this older Rusty's bumper yesterday.
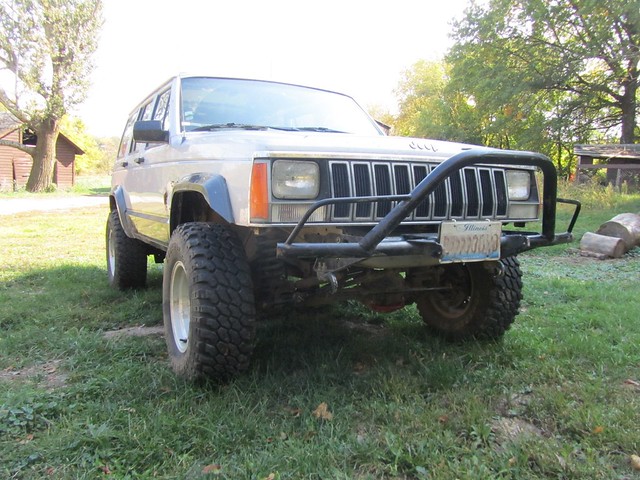
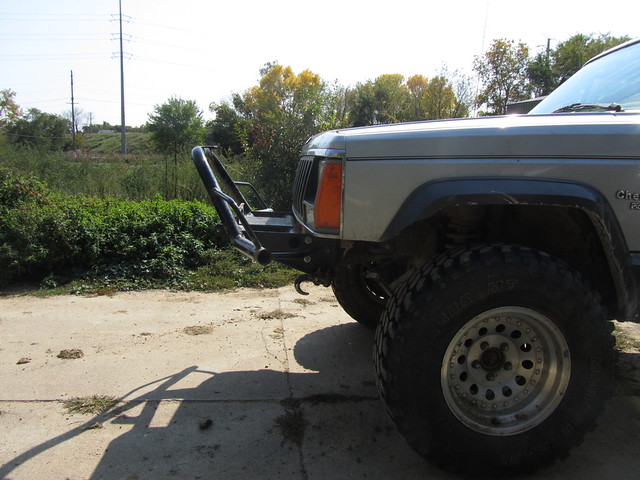
Not completely in love with it, but I couldn't pass it up for the price. Going to modify it a bit. I don't like how the tow hooks hang down and I don't like how the d-ring tabs stick out. So I'm going to relocate everything once I get a winch installed. Also planning on running a piece of plate steel on the bottom to act as a skid.
Got everything in from Ruff Stuff. Haven't put the stiffeners on yet since I still need to collect the components for my 3-link build. I want to do this all in one shot and preferably before Winterfest '13.