2.8L of Doom!!

 05-24-2012, 03:14 PM
#49
::Regional Moderator::
Thread Starter
Join Date: Jul 2011
Location: Over here...
Posts: 2,912
Likes: 0
Received 6 Likes
on
6 Posts
Year: 1986
Model: Cherokee
Engine: 2.8
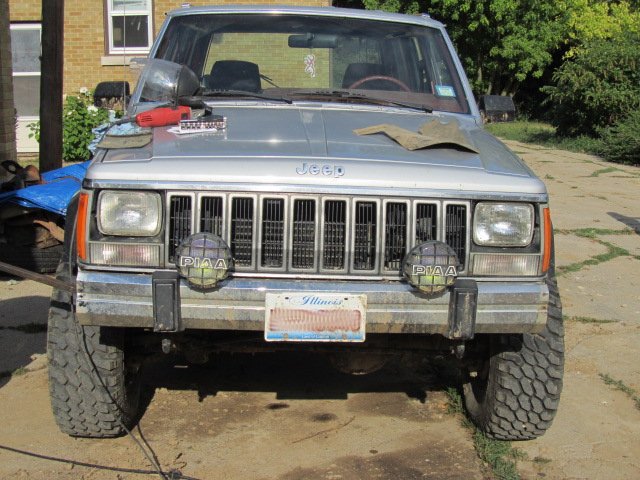
After towing the heep back home last time it's been happily chugging along. Went to start it up today and tada! No worky again. So under the hood I went and started messing with wires. I found the culprit... again. Time to do some more digging. 
And yeah, this is a cheap update. However, it does have a video which makes up for the lameness of this post.
And yeah, this is a cheap update. However, it does have a video which makes up for the lameness of this post.
05-24-2012, 08:27 PM
#50
::Regional Moderator::
Thread Starter
Join Date: Jul 2011
Location: Over here...
Posts: 2,912
Likes: 0
Received 6 Likes
on
6 Posts
Year: 1986
Model: Cherokee
Engine: 2.8
Got it hammered out, cheap Chinese made coil was my issue. Replaced with a US made one, 100x better fitment, better quality and only $10 more. Would of saved me towing the junk home twice and wasted time chasing the demon electrical issue if I would of ponied up the cash to begin with. Lesson learned.
06-02-2012, 06:58 PM
#51
::Regional Moderator::
Thread Starter
Join Date: Jul 2011
Location: Over here...
Posts: 2,912
Likes: 0
Received 6 Likes
on
6 Posts
Year: 1986
Model: Cherokee
Engine: 2.8
Got my Brown Dog motor mounts last Tuesday and finally had a chance to install them today.
Brown Dog Classic Poly mount vs stock mount:
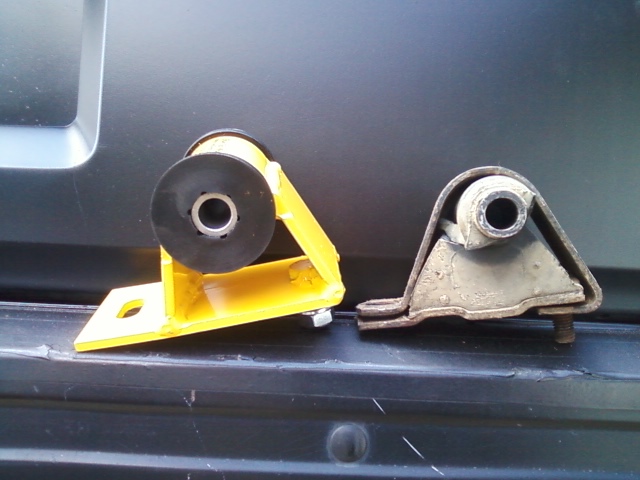
Psh, still had some miles left on 'em:

Total install time was around 30 minutes for both sides:

First impressions were that they gave the xj a more "firmer" feel. I don't know if I can properly explain it, but it does feel "sportier". Throttle response if obviously better than what I had before. I have zero vibration issues using the poly bushings on these, though Tim does offer them with a rubber bushing. My last trip to the Badlands is what finally did my oem mounts in... don't think I'll be having that problem again.
Brown Dog Classic Poly mount vs stock mount:
Psh, still had some miles left on 'em:
Total install time was around 30 minutes for both sides:
First impressions were that they gave the xj a more "firmer" feel. I don't know if I can properly explain it, but it does feel "sportier". Throttle response if obviously better than what I had before. I have zero vibration issues using the poly bushings on these, though Tim does offer them with a rubber bushing. My last trip to the Badlands is what finally did my oem mounts in... don't think I'll be having that problem again.
06-07-2012, 11:21 PM
#52
CF Veteran
Join Date: Dec 2010
Location: Missouri
Posts: 1,246
Likes: 0
Received 1 Like
on
1 Post
Year: 1998
Model: Cherokee
Engine: I6 4.0 L
Hey, when you cut into your rear shackles to get the rusted bolt off the sleeve, did you use an angle grinder with a cutting disc on it? We're you able to just pry the sleeve off of the bolt after the shackle was cut off? Do you have any tips or advice? I've been working at mine for about 4 hours.
06-08-2012, 02:08 AM
#53
::Regional Moderator::
Thread Starter
Join Date: Jul 2011
Location: Over here...
Posts: 2,912
Likes: 0
Received 6 Likes
on
6 Posts
Year: 1986
Model: Cherokee
Engine: 2.8
For the inner metal sleeve I used a grinding disc on an angle grinder. Grind the seam down on the sleeve and then go 180* and hit the backside. You need to use a chisel and hammer to open the sleeve up. I attacked the seam at a 45* or so angle with the edge of the chisel and worked down the seam. When you get the seam to open up some, stick the chisel on either open edge and give it a bunch of good whacks. It should open up and you can then pull it off. Hope this helps.
06-08-2012, 06:01 AM
#54
CF Veteran
Join Date: Dec 2010
Location: Missouri
Posts: 1,246
Likes: 0
Received 1 Like
on
1 Post
Year: 1998
Model: Cherokee
Engine: I6 4.0 L
Originally Posted by emptypockets
For the inner metal sleeve I used a grinding disc on an angle grinder. Grind the seam down on the sleeve and then go 180* and hit the backside. You need to use a chisel and hammer to open the sleeve up. I attacked the seam at a 45* or so angle with the edge of the chisel and worked down the seam. When you get the seam to open up some, stick the chisel on either open edge and give it a bunch of good whacks. It should open up and you can then pull it off. Hope this helps.
06-08-2012, 02:03 PM
#56
CF Veteran
Join Date: Dec 2010
Location: Missouri
Posts: 1,246
Likes: 0
Received 1 Like
on
1 Post
Year: 1998
Model: Cherokee
Engine: I6 4.0 L
Originally Posted by emptypockets
Yep, just grind into it and go after it with your chisel and hammer.
07-21-2012, 02:09 AM
#58
::Regional Moderator::
Thread Starter
Join Date: Jul 2011
Location: Over here...
Posts: 2,912
Likes: 0
Received 6 Likes
on
6 Posts
Year: 1986
Model: Cherokee
Engine: 2.8
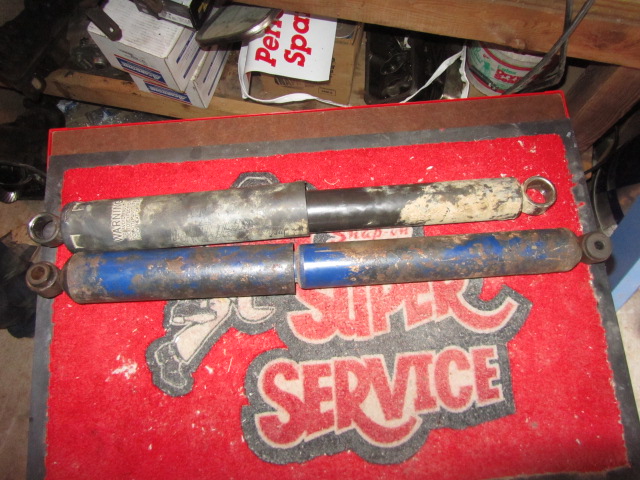
I decided to try something out. I had a pair of F150 stock shocks left over from when I lifted my truck just chilling in the corner and thought, eh what the hell.
Everyone loves measurments, so here they are.
JK Rear Shocks
Collapsed: 16"
Extended: 24"
Travel: 8"
F150 Monroe Shocks:
Collapsed: 15.125"
Extended: 25.750"
Travel: 10.625"
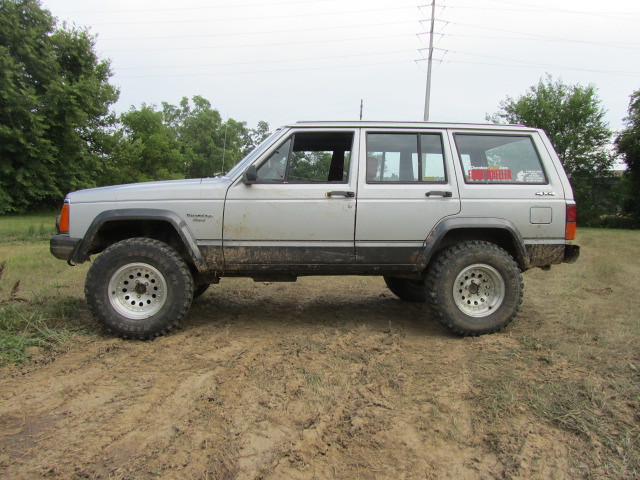
Poser shot
On the street the F150 shocks actually feel nice. They're firmer, so less body roll is present on the corners. Potholes, upheavals, railroad tracks, etc are finally bearable again. I need to adjust my bump stops in the rear to account for the new travel still. I'll have to wait till the Cliffs run in Aug. to see how they do on the trail. If they end up not working, at least I don't have anything but time invested in trying them out.
Everyone loves measurments, so here they are.
JK Rear Shocks
Collapsed: 16"
Extended: 24"
Travel: 8"
F150 Monroe Shocks:
Collapsed: 15.125"
Extended: 25.750"
Travel: 10.625"
Poser shot
On the street the F150 shocks actually feel nice. They're firmer, so less body roll is present on the corners. Potholes, upheavals, railroad tracks, etc are finally bearable again. I need to adjust my bump stops in the rear to account for the new travel still. I'll have to wait till the Cliffs run in Aug. to see how they do on the trail. If they end up not working, at least I don't have anything but time invested in trying them out.
Last edited by emptypockets; 09-13-2012 at 05:20 PM.
07-21-2012, 08:44 PM
#59
::Regional Moderator::
Thread Starter
Join Date: Jul 2011
Location: Over here...
Posts: 2,912
Likes: 0
Received 6 Likes
on
6 Posts
Year: 1986
Model: Cherokee
Engine: 2.8
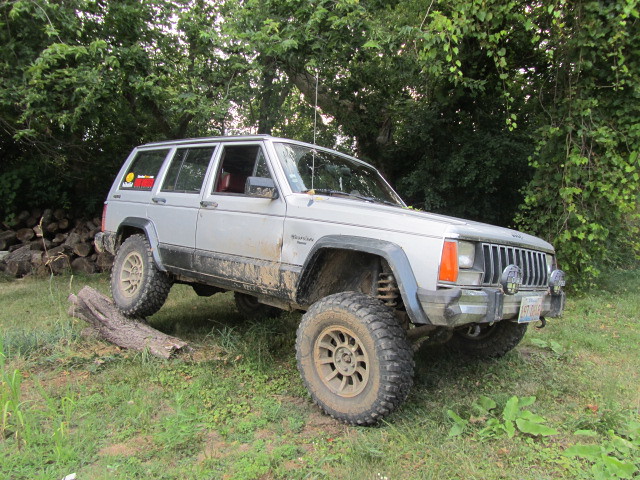
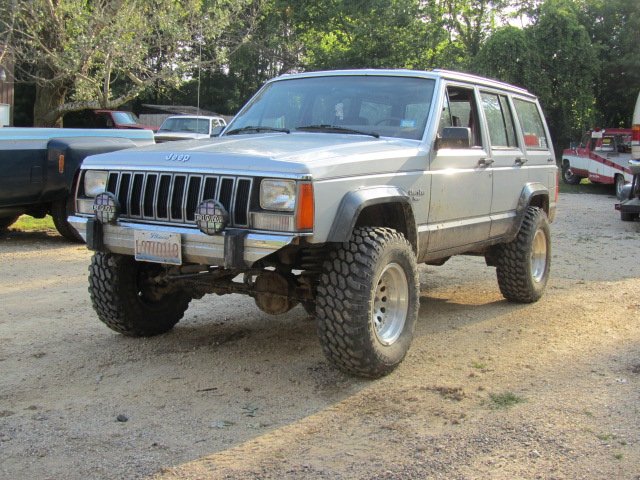
Amazingly enough I did some more stuff to the xj. I was getting tired of the stock rims rubbing on the lca, top of the coil towers, and the inner fenders in the rear. I originally picked up these rims for the '88, but since it's not going anywhere fast, I mounted up my tires on them. I can't remember offhand, but I think they're 3.75" bs.
Like all things, it solved one problem, but made another. Now instead of rubbing on the above listed things, the tires rubbed the front inner fender on turns. So I had to do some trimming.
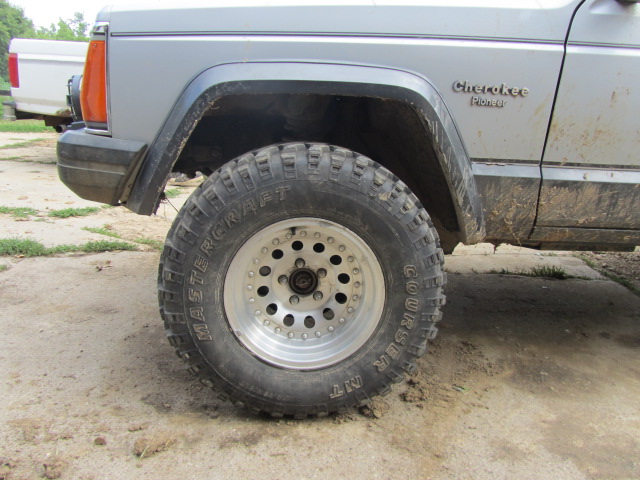
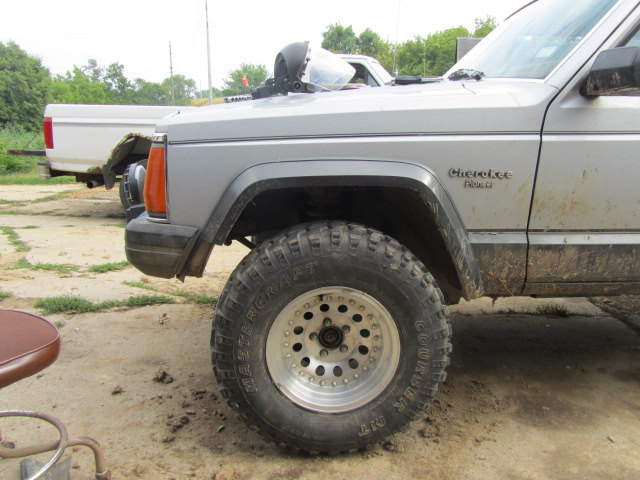

Decided to just rip off the bumper caps.
Then figured, what the hell, and went one step further.

Like all things, it solved one problem, but made another. Now instead of rubbing on the above listed things, the tires rubbed the front inner fender on turns. So I had to do some trimming.
Decided to just rip off the bumper caps.
Then figured, what the hell, and went one step further.
08-02-2012, 06:02 PM
#60
::Regional Moderator::
Thread Starter
Join Date: Jul 2011
Location: Over here...
Posts: 2,912
Likes: 0
Received 6 Likes
on
6 Posts
Year: 1986
Model: Cherokee
Engine: 2.8
Just a couple of updates and a list of upcoming stuff I plan on doing.
Picked up this FourXDoctor diff guard on fleabay. It came red, I'm too lazy to have painted it.
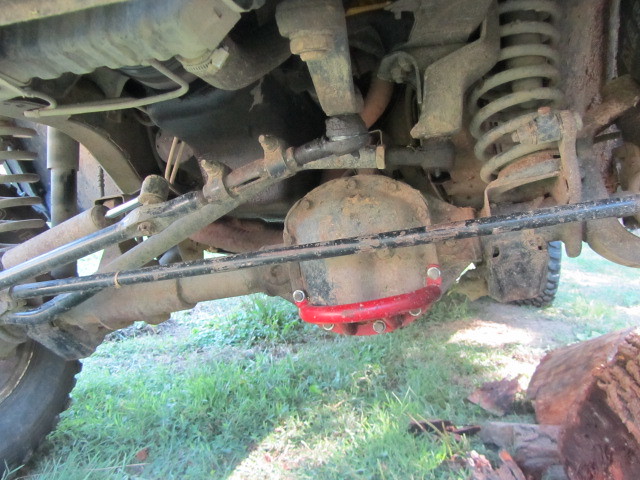
Caved in my drivers side rocker playing on my stump pile. Planning on doing 2x6 rockers in the very near future.

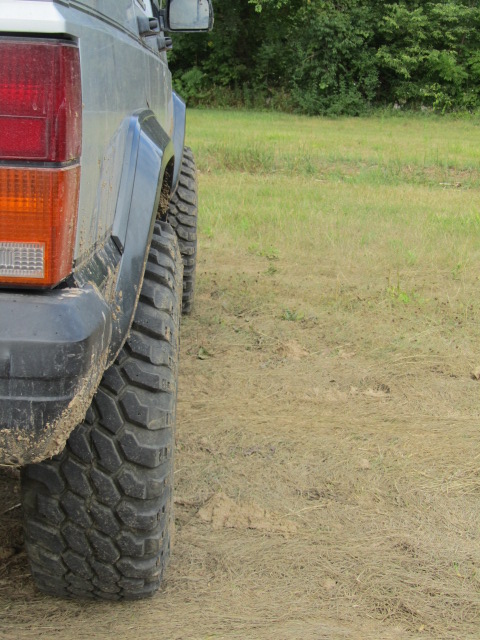
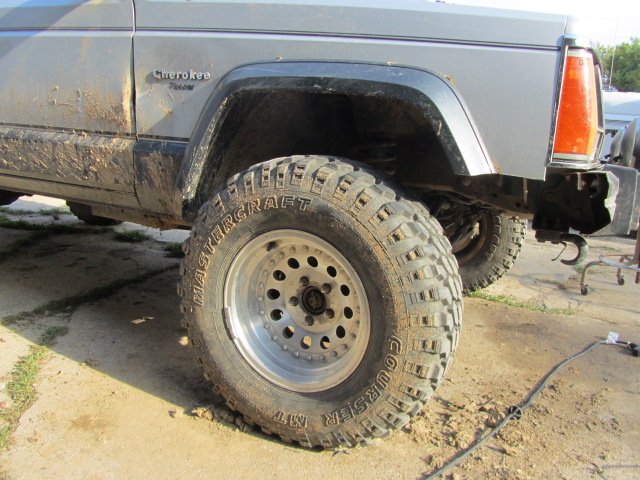
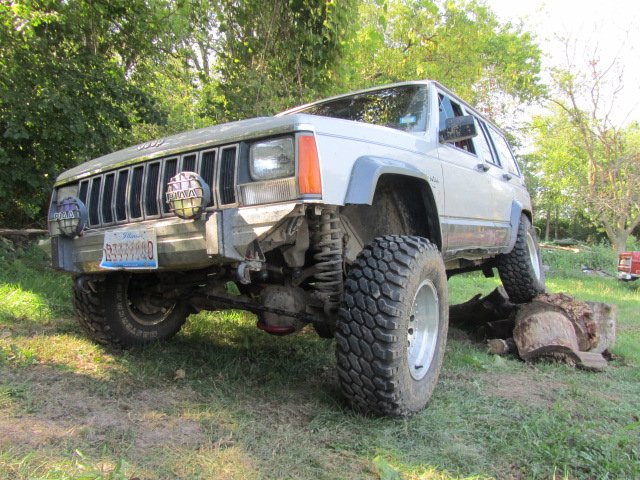
Some poser shots just because. Oh wait, cut my fenders up higher.

Future updates:
Ordered a Ruff Stuff diff cover today for my 8.25. Hopefully I'll have it in my hands by next week. Also planning on upgrading to a ZJ tie rod for a little extra piece of mind. Plus, I still need to adjust my bumpstops before the Cliffs run on the 18th. I think that covers it all.
Picked up this FourXDoctor diff guard on fleabay. It came red, I'm too lazy to have painted it.
Caved in my drivers side rocker playing on my stump pile. Planning on doing 2x6 rockers in the very near future.
Some poser shots just because. Oh wait, cut my fenders up higher.
Future updates:
Ordered a Ruff Stuff diff cover today for my 8.25. Hopefully I'll have it in my hands by next week. Also planning on upgrading to a ZJ tie rod for a little extra piece of mind. Plus, I still need to adjust my bumpstops before the Cliffs run on the 18th. I think that covers it all.

