


HOW TO: Replace a NP231 Chain "with pictures"

Thread Starter
CF Veteran
Joined: Mar 2010
Posts: 6,685
Likes: 6
From: Jacksonville, FL
Year: 92
Model: Cherokee
Engine: 4.0
 HOW TO: Replace a NP231 Chain "with pictures"
so for those of you who offroad your jeep, and even those who dont...the time will come when your transfer case chain will stretch to the point of needing to be replaced. or else you may end up skipping teeth while in 4wd and damaging gears, or have the chain slapping around and damaging the case. this write up is for an early NP231 case, but the same basics steps apply to almost all chain driven cases.
so here's the how to.
drain and remove the tcase from the jeep and set it on a workbench (or ground if needed). you can do the whole job with the tcase still in the jeep if you want. but its more comfortable and easier to work on out of the jeep....and besides, its only 6 more nuts to remove the case.
step one: remove the front output shaft yoke.
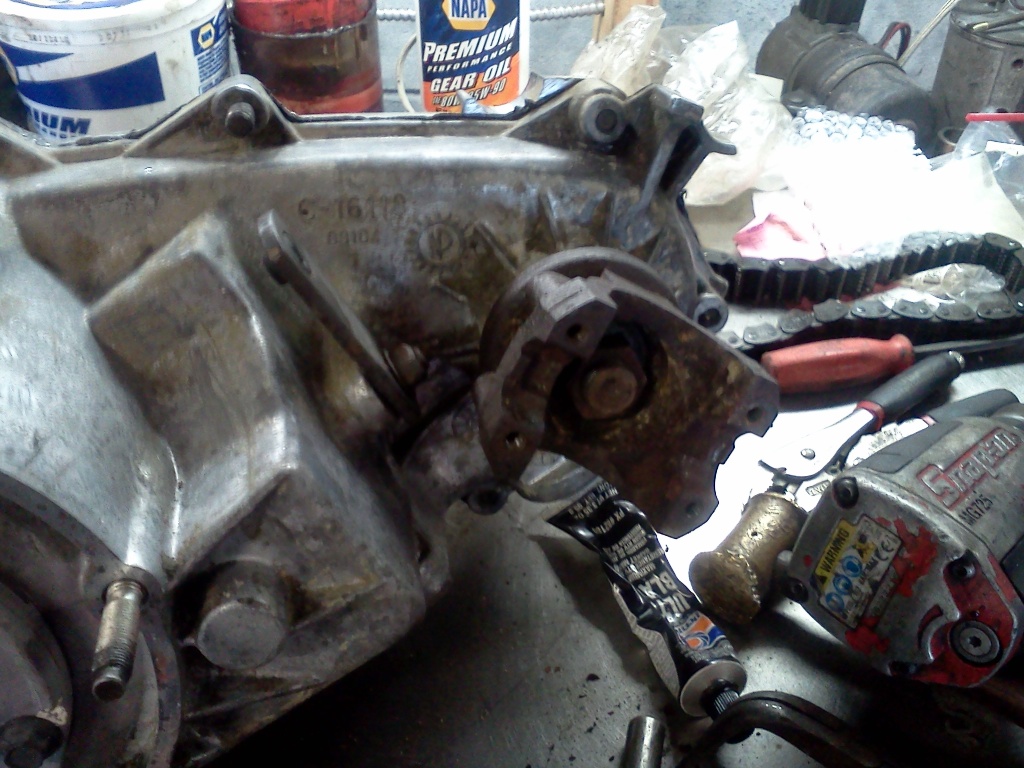
then turn the case over and remove the 3 15mm bolts to remove the rear output shaft housing. ( later model NP231's will not have this housing, so skip this step.)

Next, remove the speedometer gear. 13mm bolt. remember which way it is clocked when you remove it, as you will need to put it back in the same way.
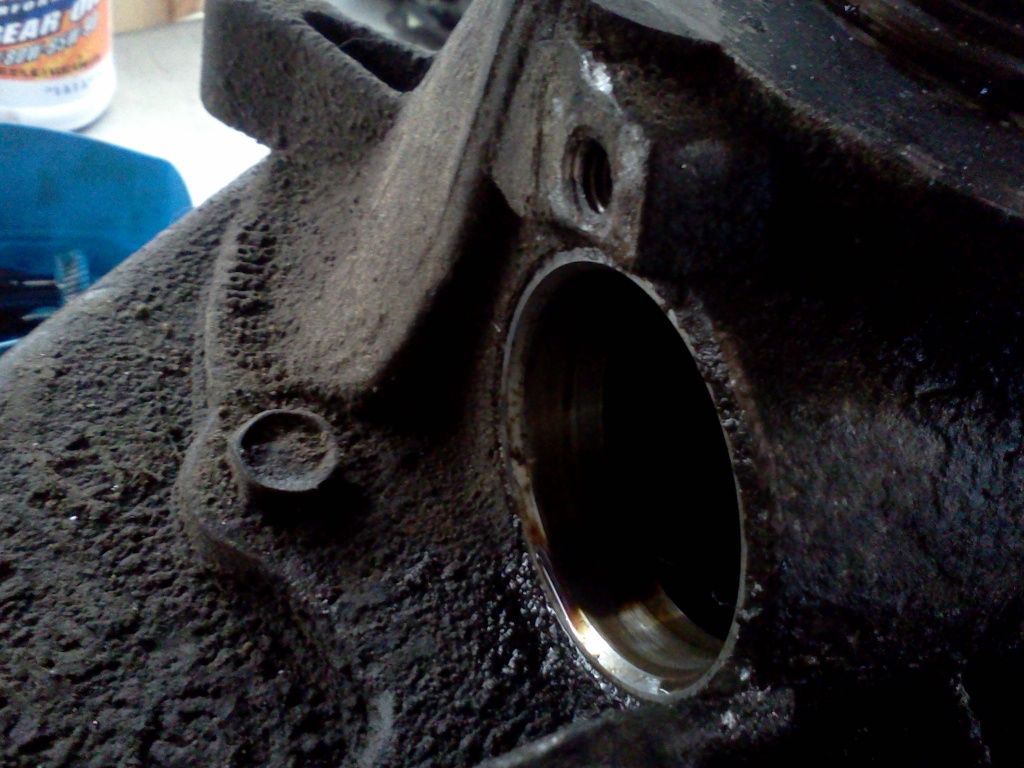
now, remove the c-clip from the mainshaft. (later model NP231s will need to remove the output shaft seal to get to the clip)

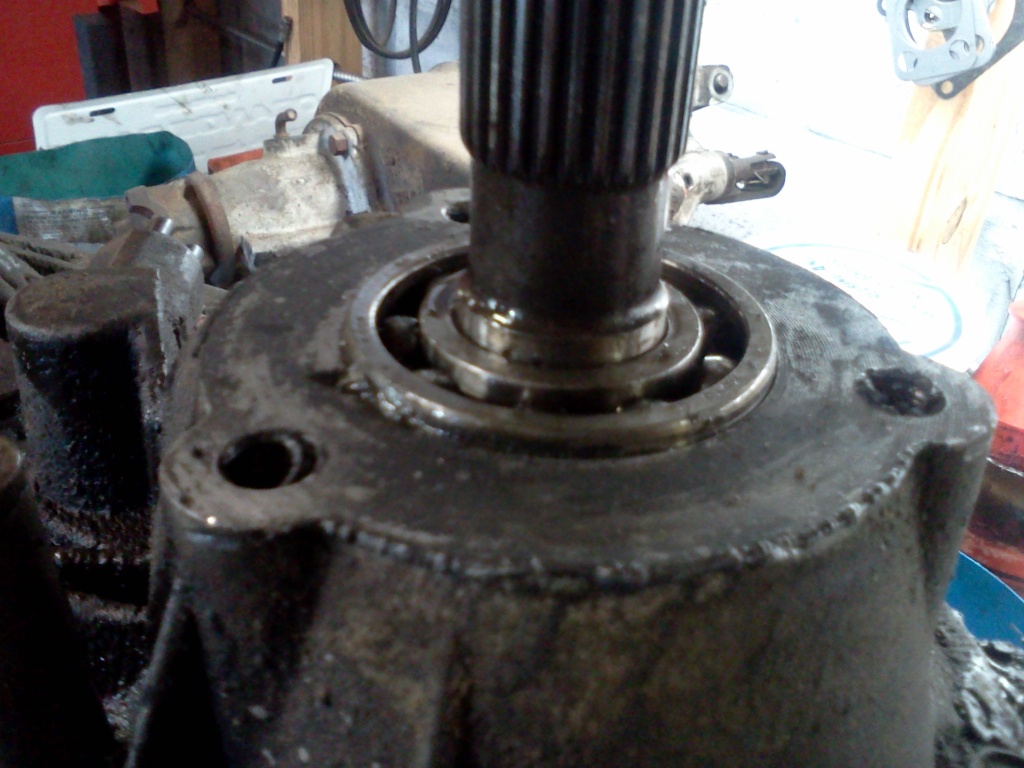
then, unbolt the 5 15mm bolts that hold the housing on, the housing may require a little prying and some light tapping with a hammer. but dont get to rough, it is only aluminum
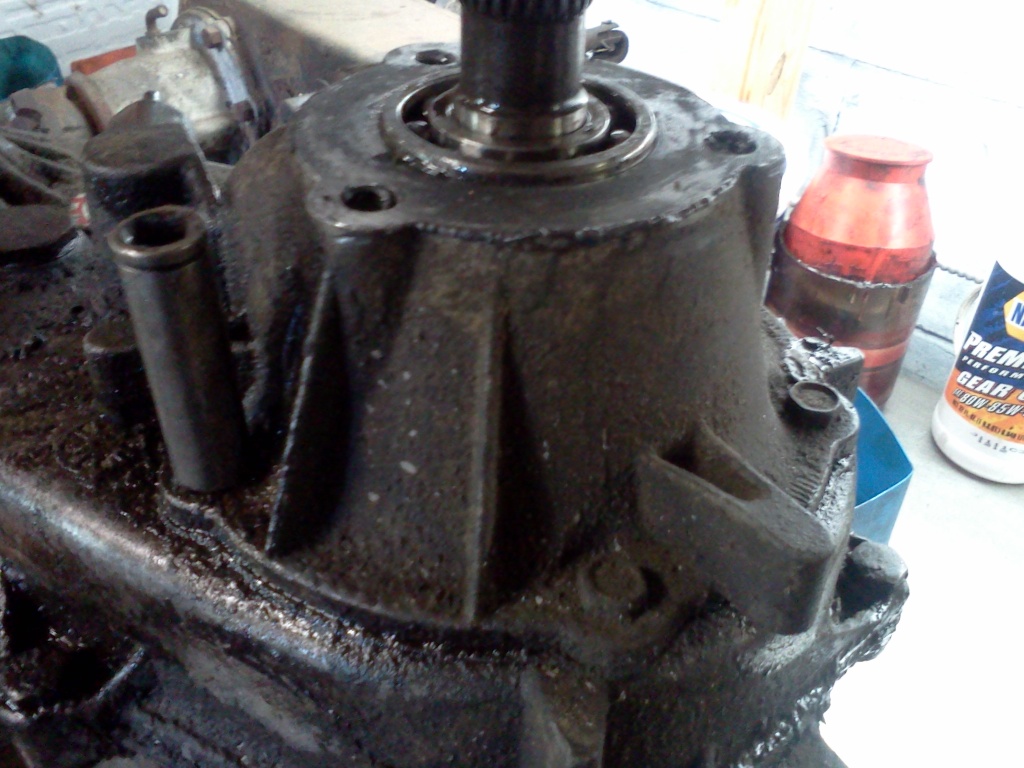
remove housing and you will see the oil pump.
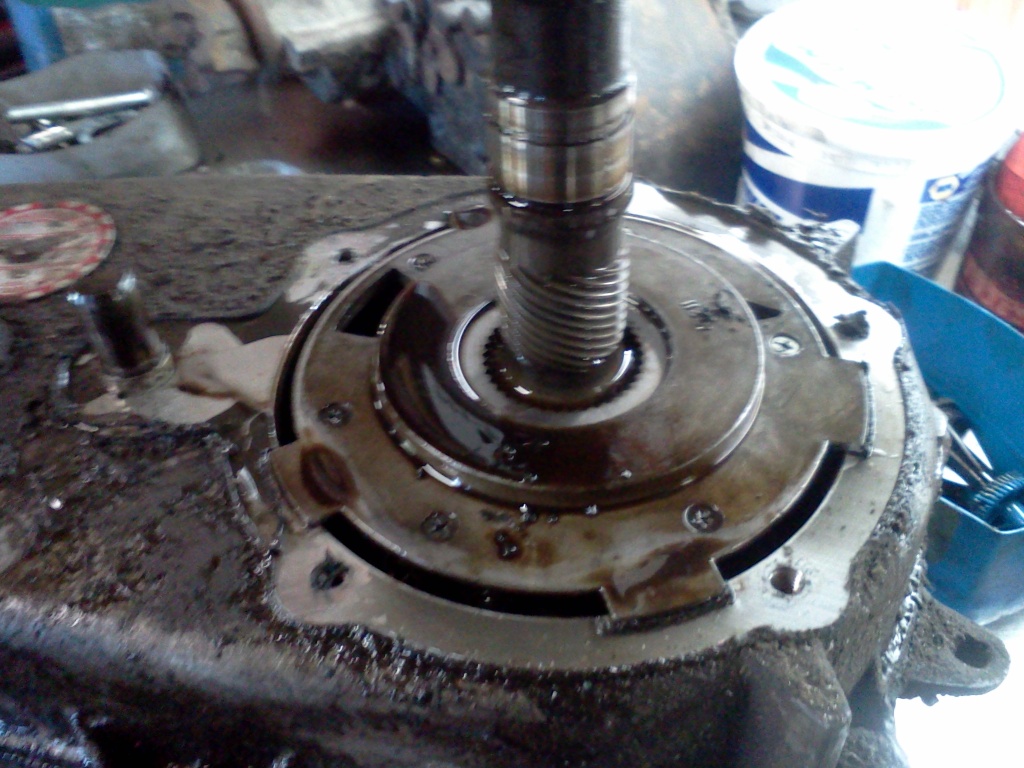
remove the oil pump
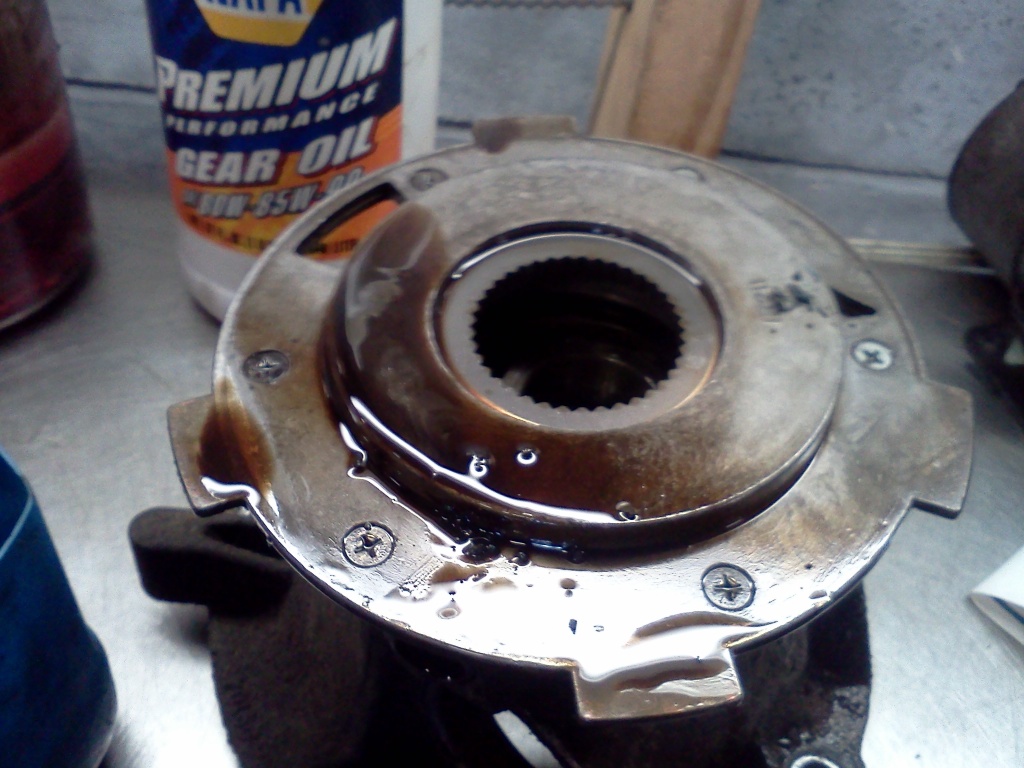
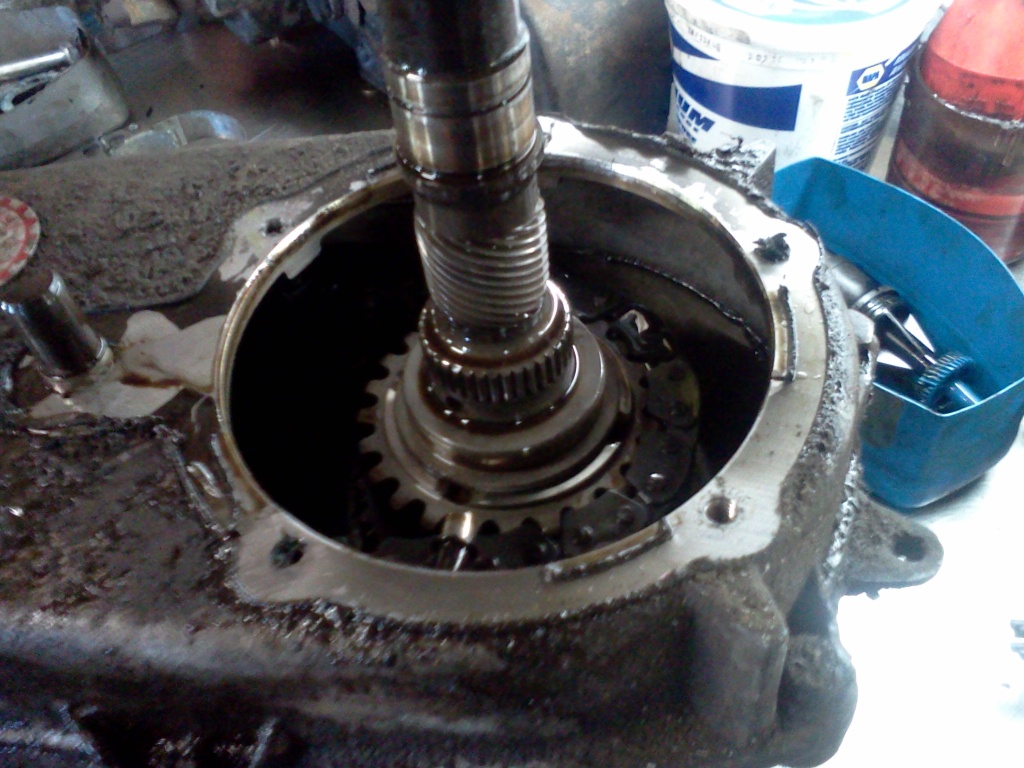
now, remove all of the bolts that connect the 2 halves, one of them is a 12point 10mm socket, you can use a wrench...but i suggest getting the socket.

there are 2 pry points for the case halves that you can put screw drivers into. pry the case apart.
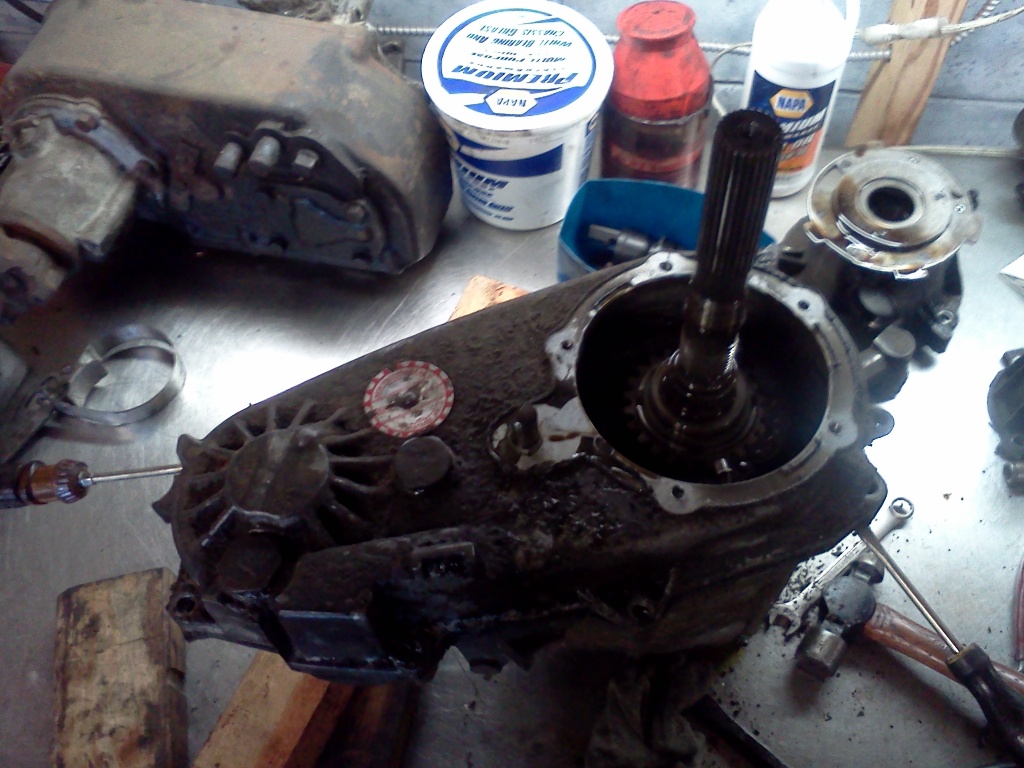
now you will see the chain and gears, and if you're like this one the chain will have a TON of slack

lift up on the front output shaft and the mainshaft until you can get the front shaft to come out so you can remove the chain.


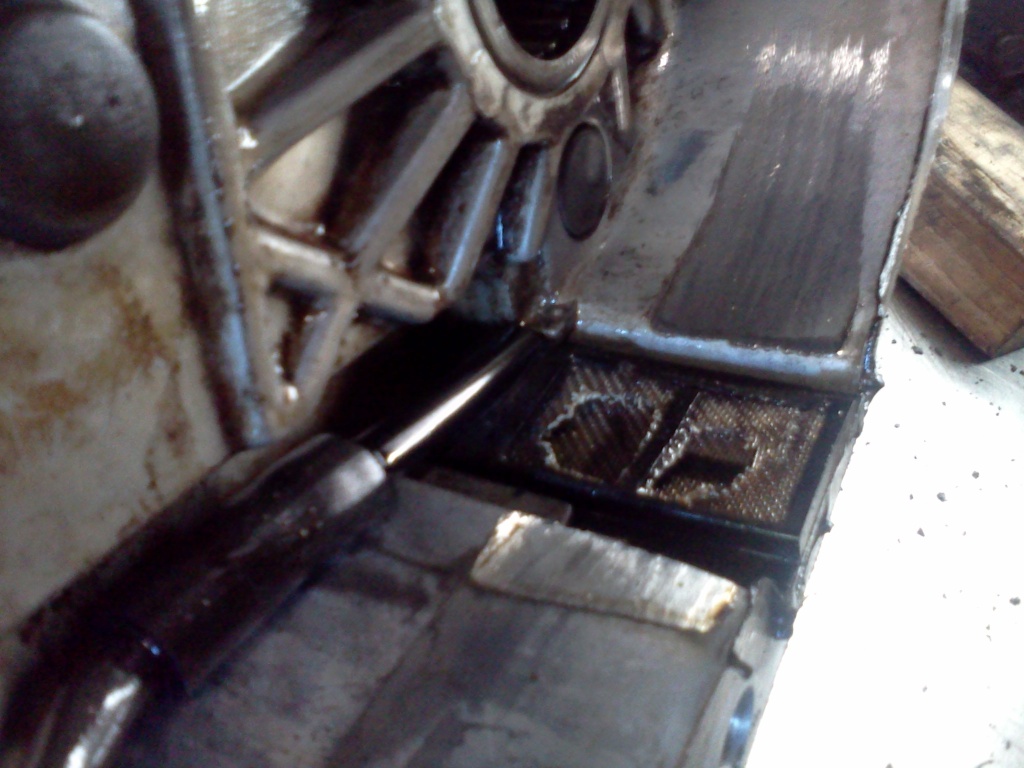
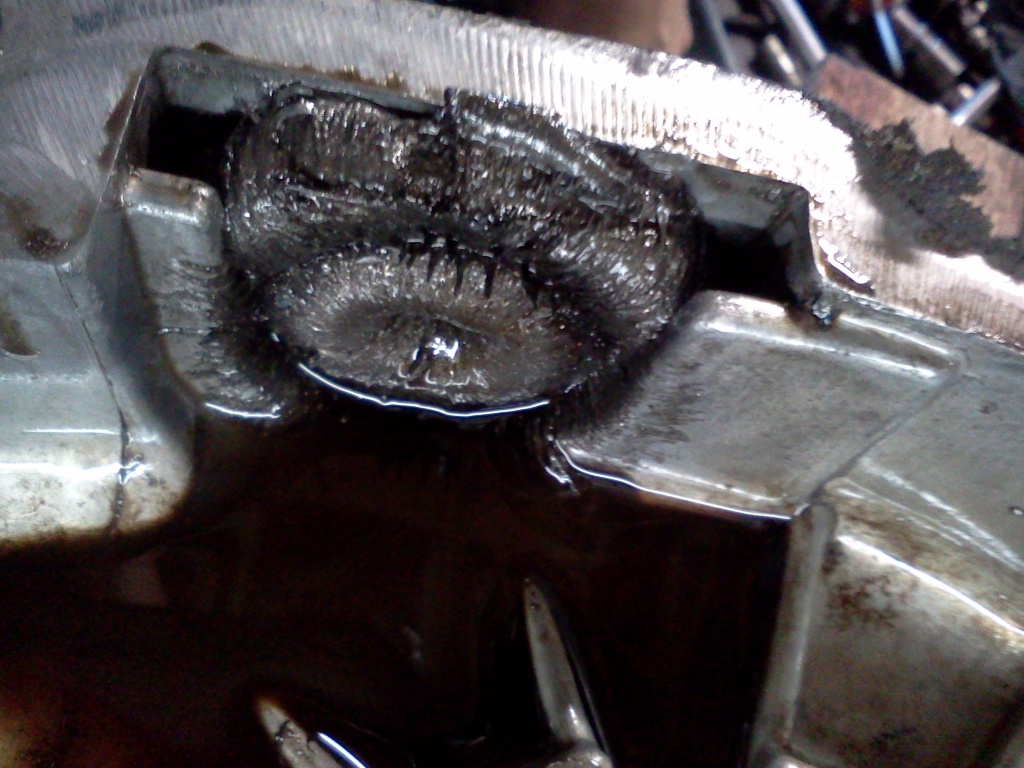
and because of the severity of how badly this chain was worn it ate into the case and tore up pickup filter. will need to be replaced
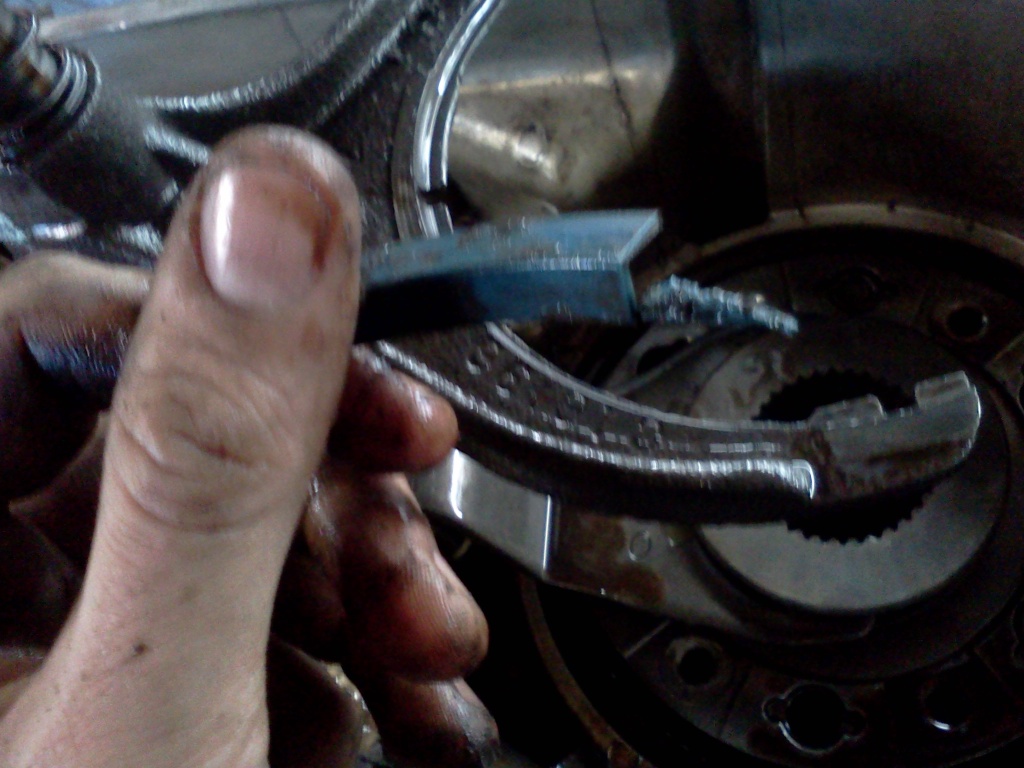
this one also had worn out fork sleeves which will also need to be replaced
this is also a good time to check over everything else in the case for damage or excessive wear. and also to give everything a good cleaning.
heres the case parts all cleaned up.
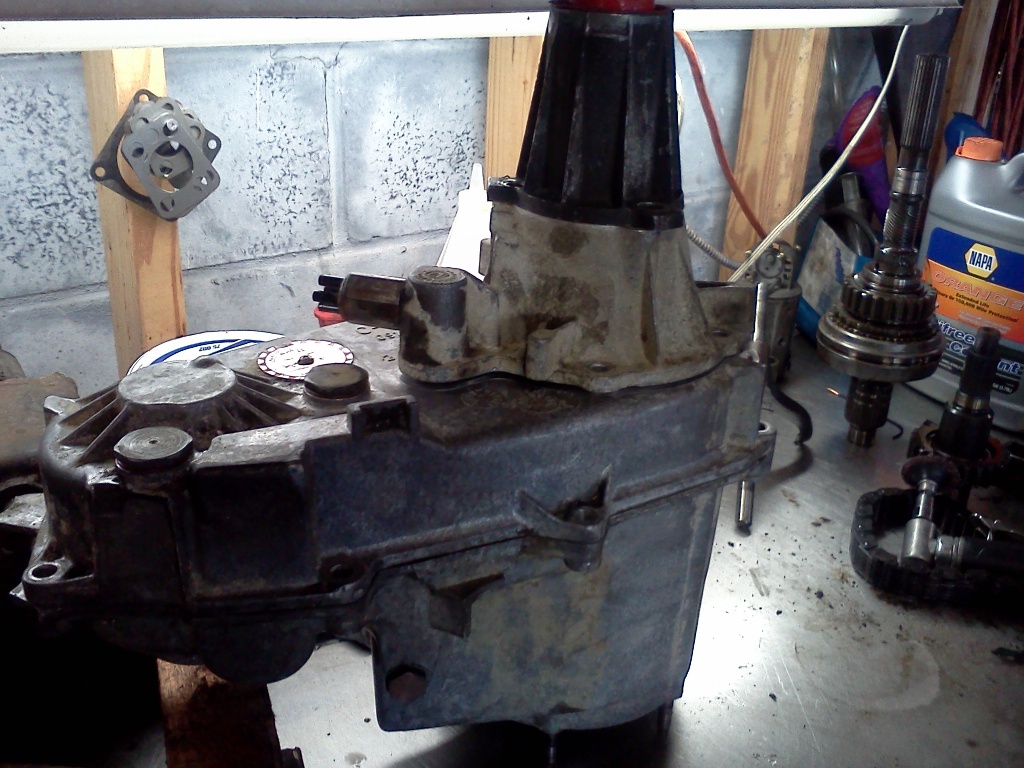
and heres all the new parts going in
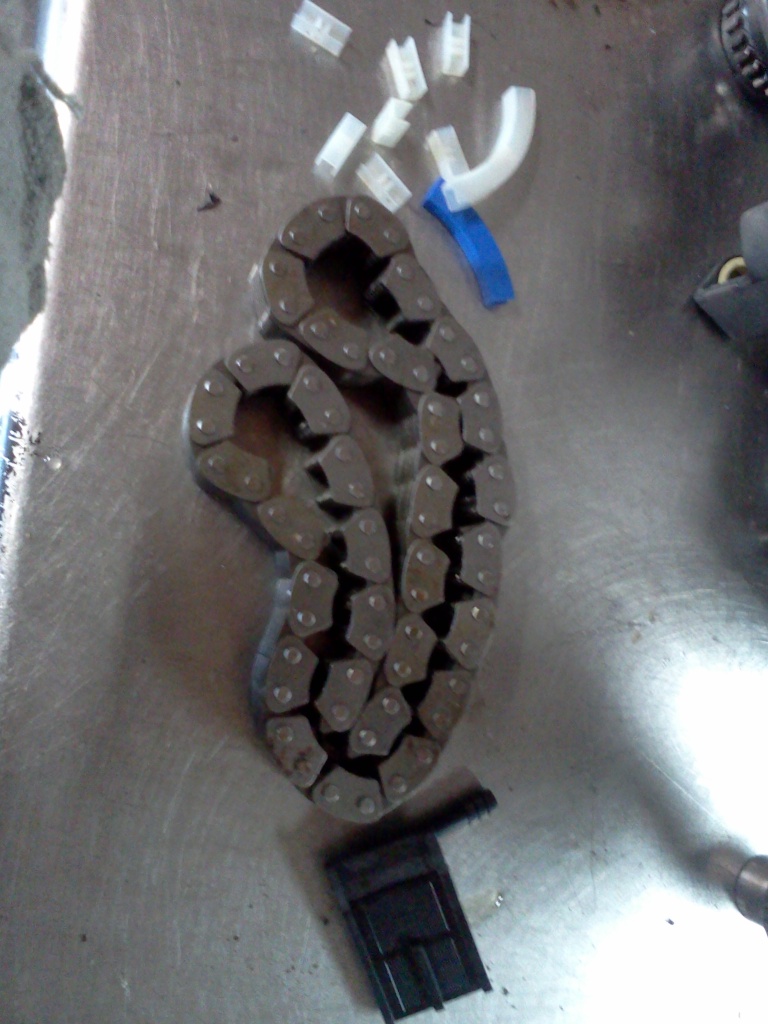
new sleeves installed
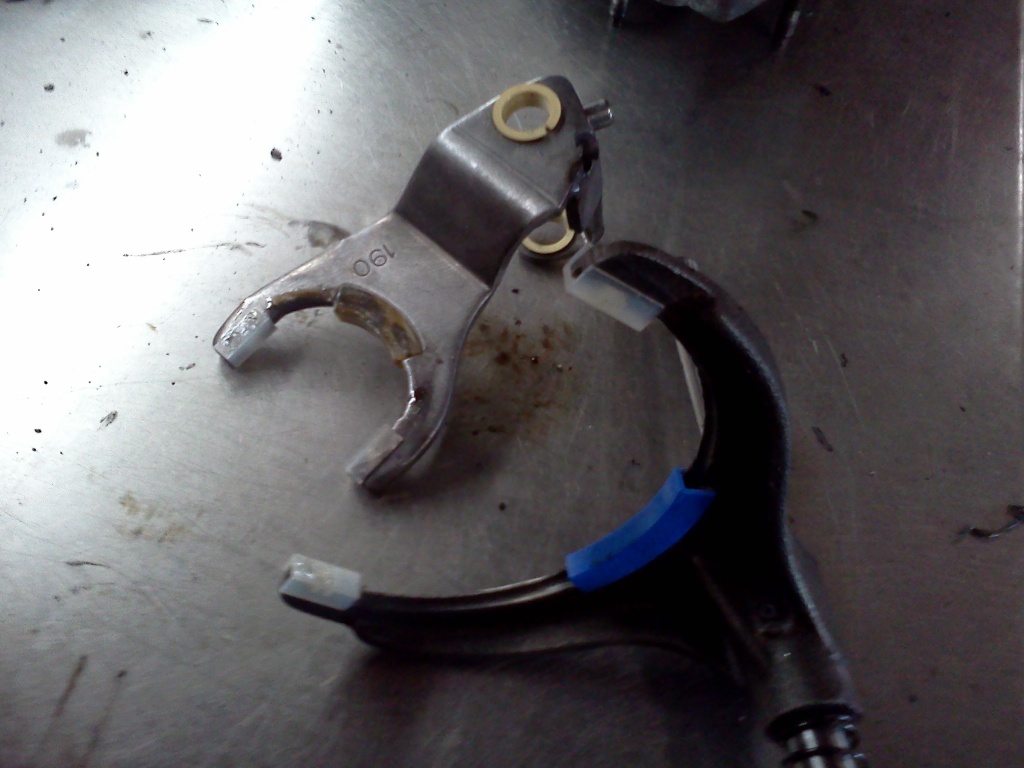
and now to start putting everything back in, remember to put the spring back on the end of the selector fork!
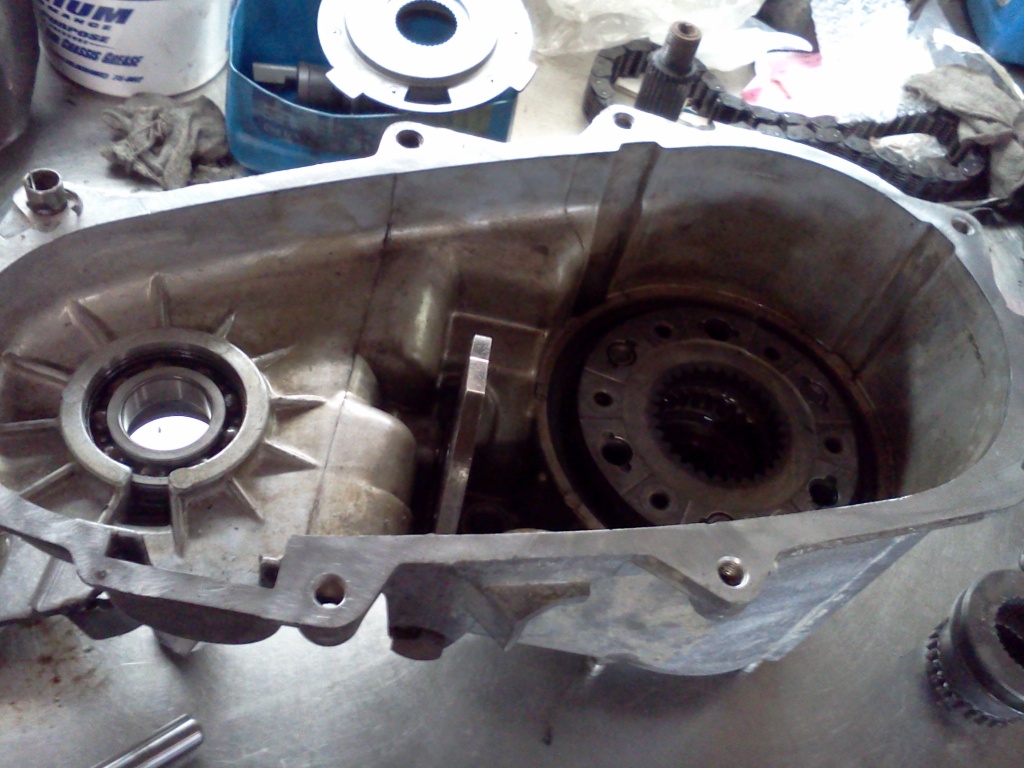
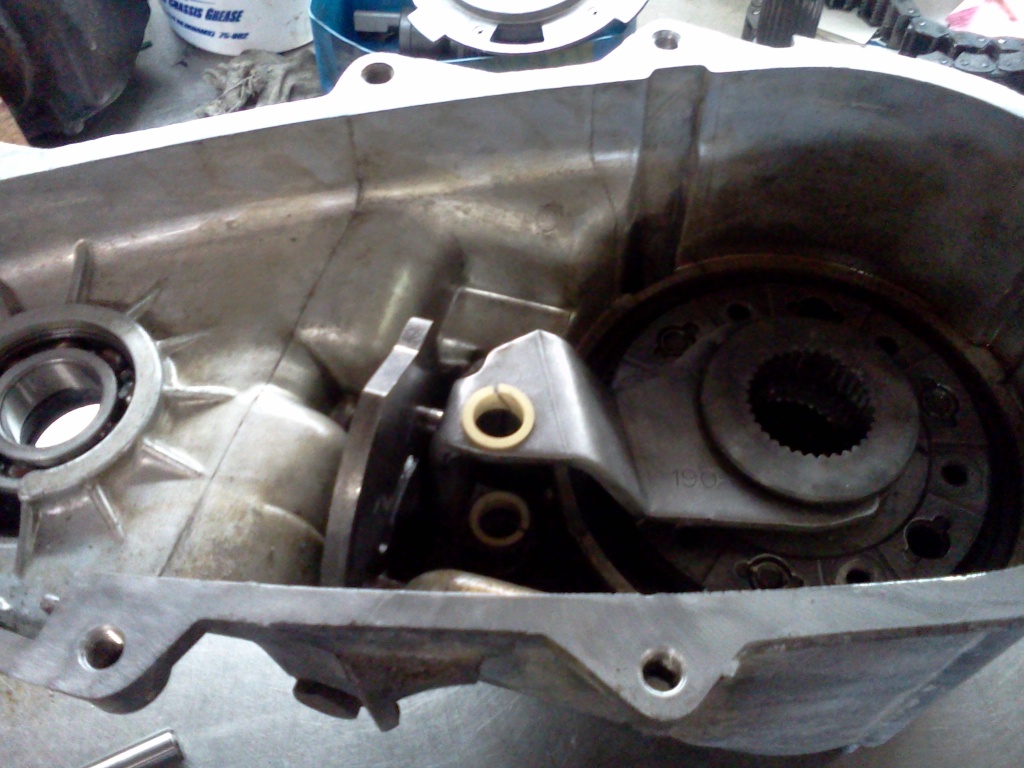
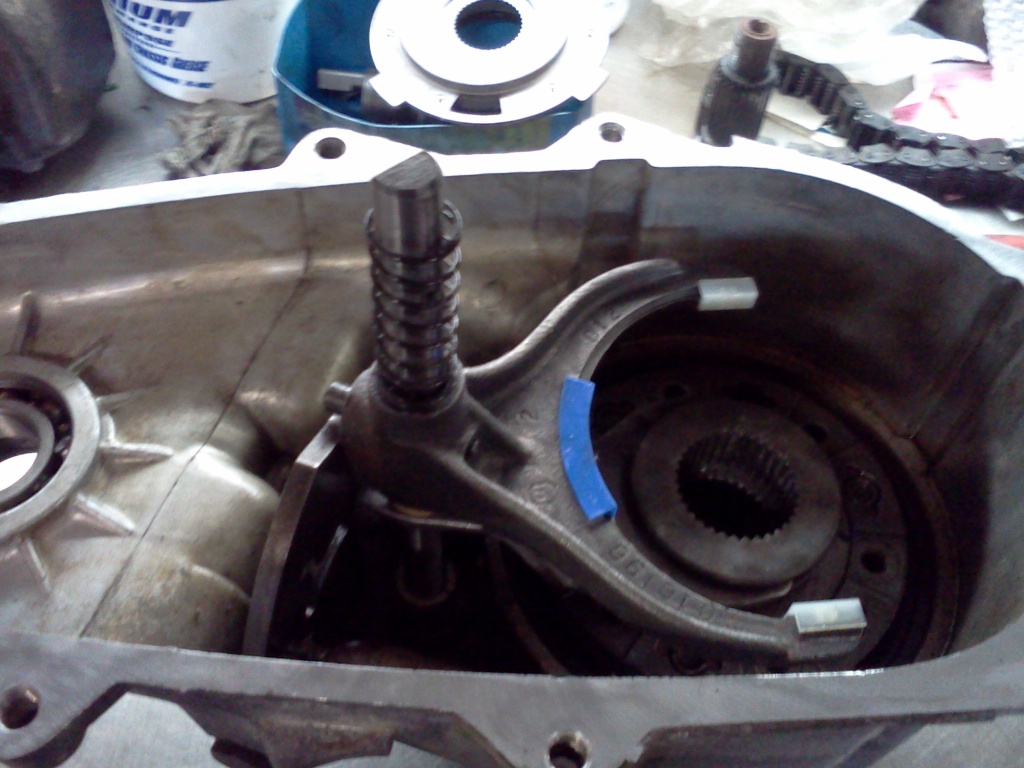
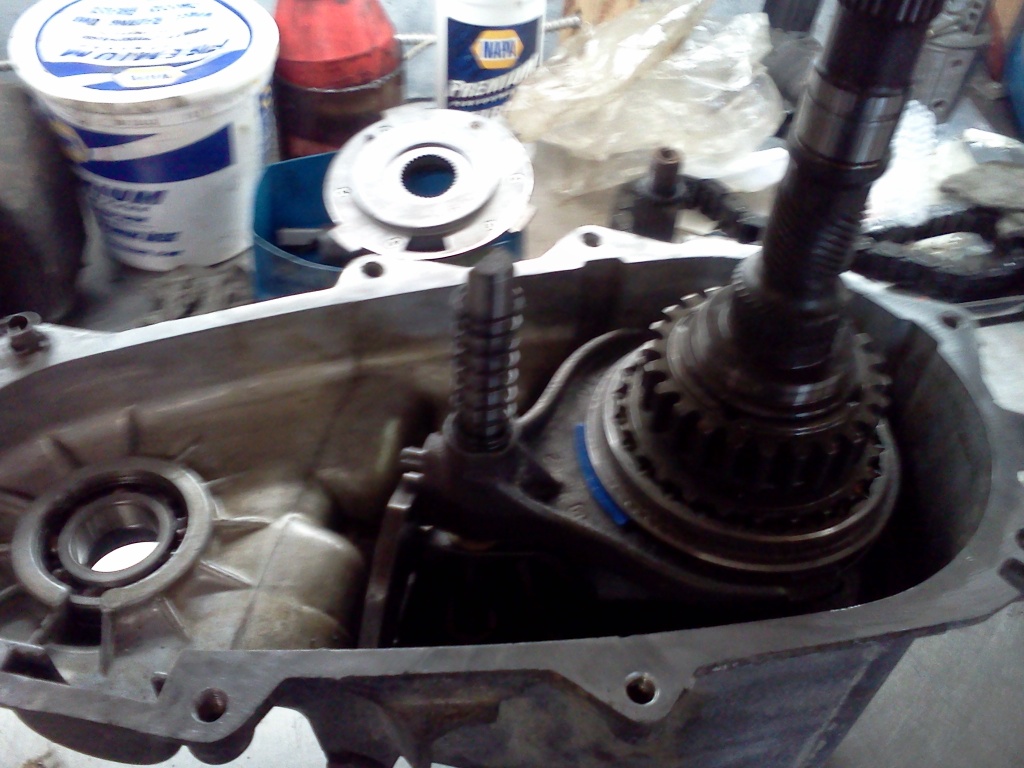
and also make sure the magnet goes back in its place
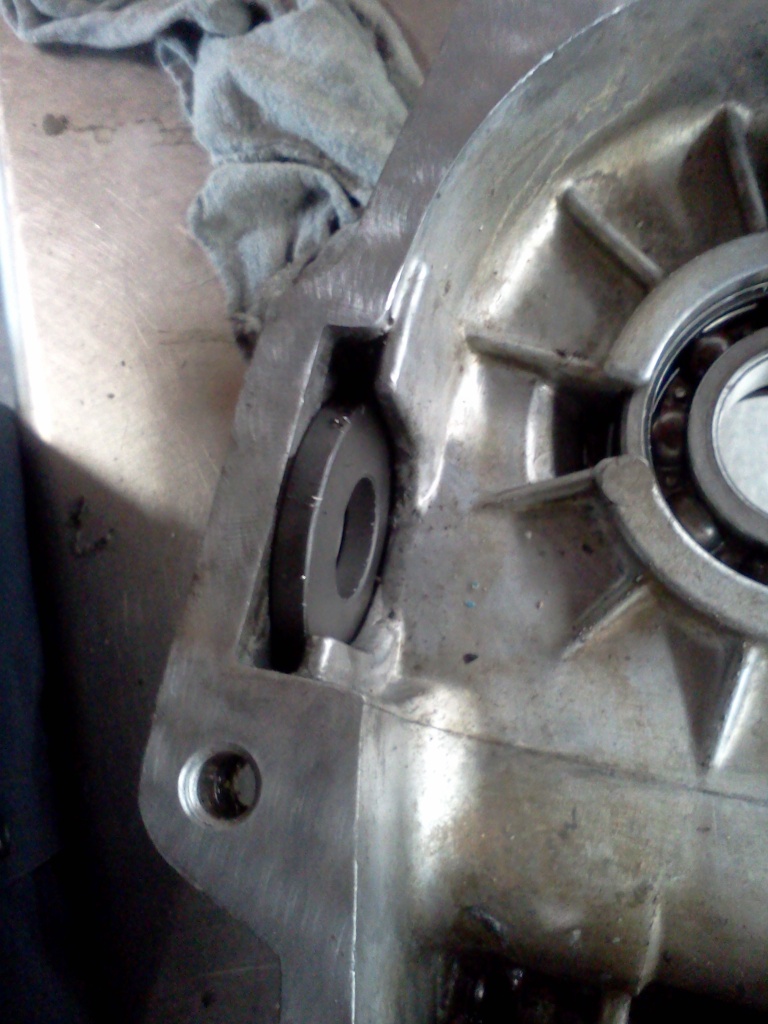
now put the chain on the front output shaft

and lift up on the mainshaft like you did to remove the chain, and install.

and make sure eveything is seated in place

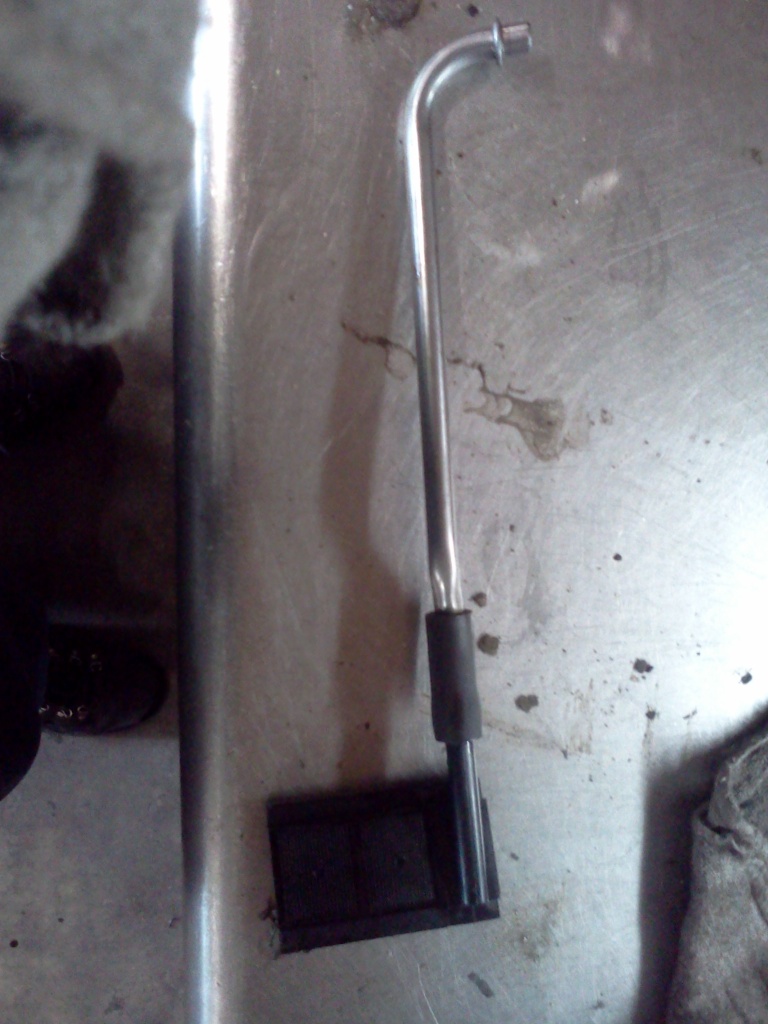
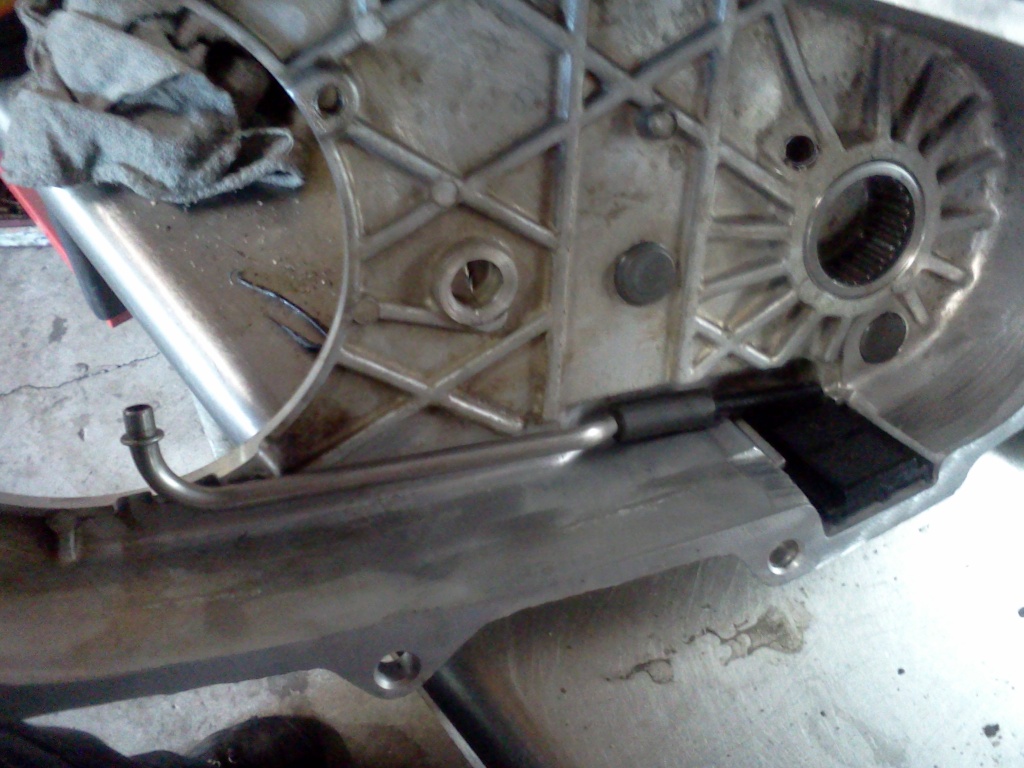
i installed the new pump filter onto the old tube, and set it into place on the back case half
apply RTV around the edge of the case half

let the RTV sit for a minute or two, then put the other half onto the case, now bolt it back on.

install the oil pump, and use a screwdriver or a pick to insert the pickup tube into the pump
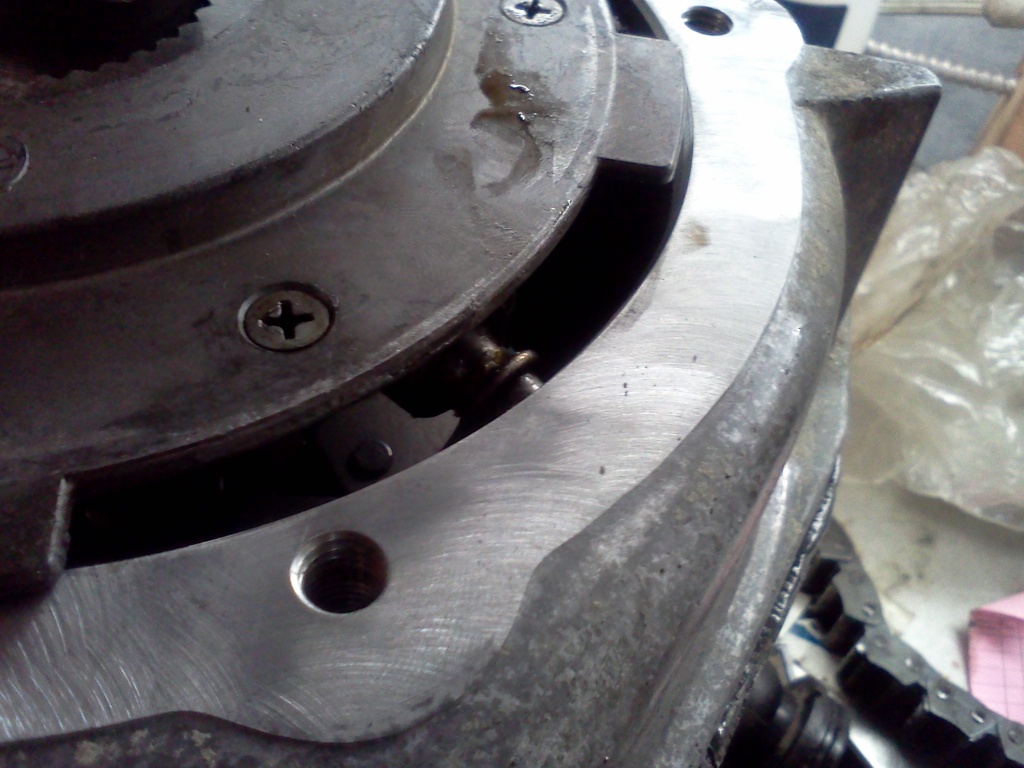

apply RTV to the speedo housing.
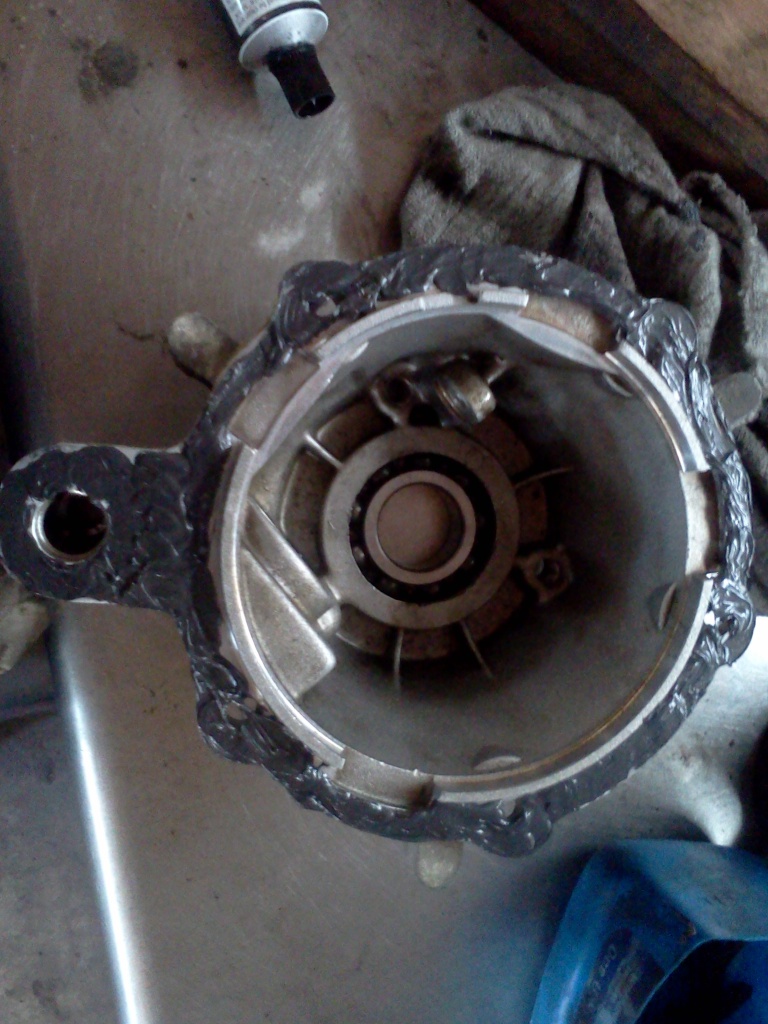
install and bolt on
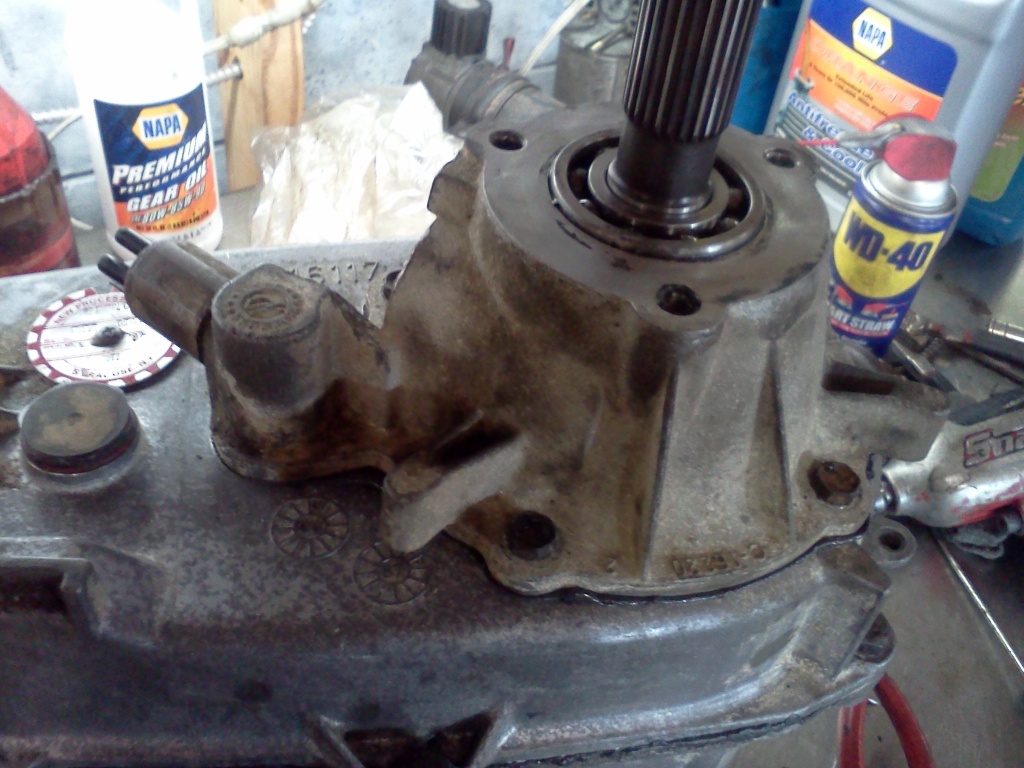
now install that c-clip
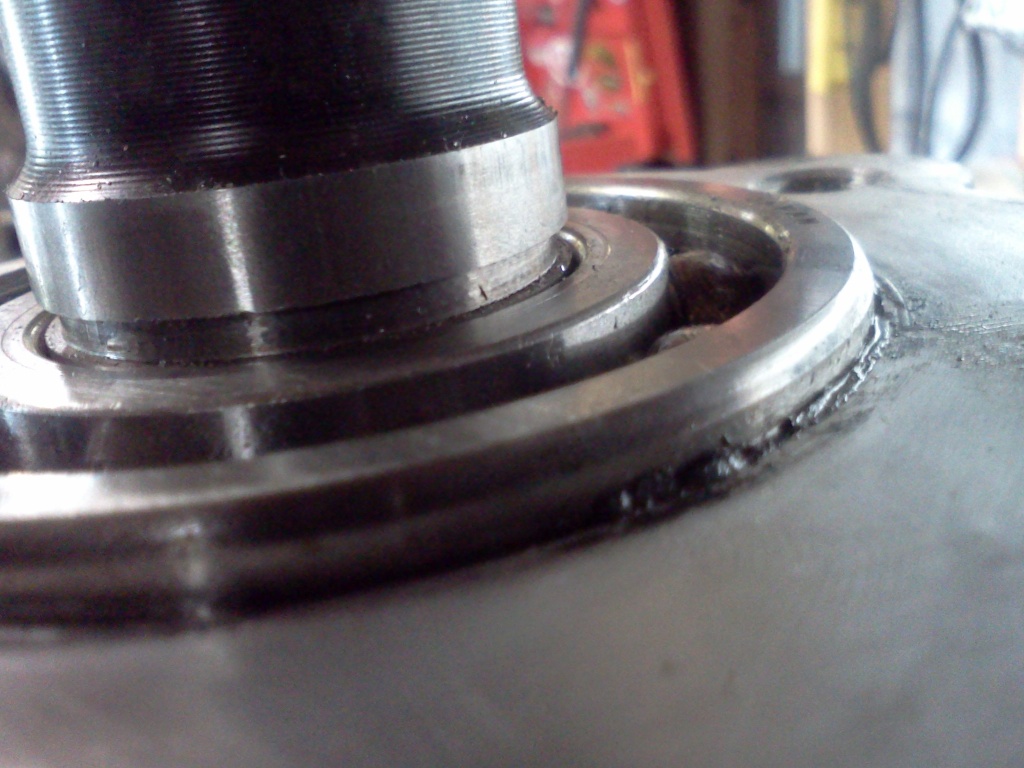
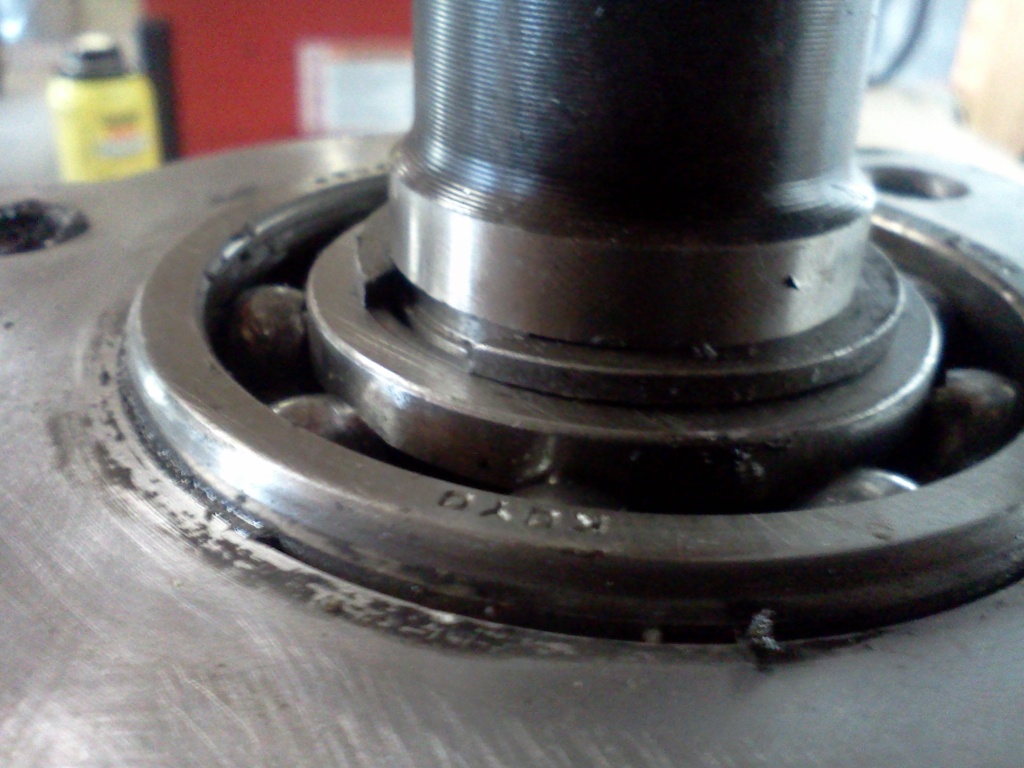
apply RTV to the housing and install and bolt on the tail cone housing

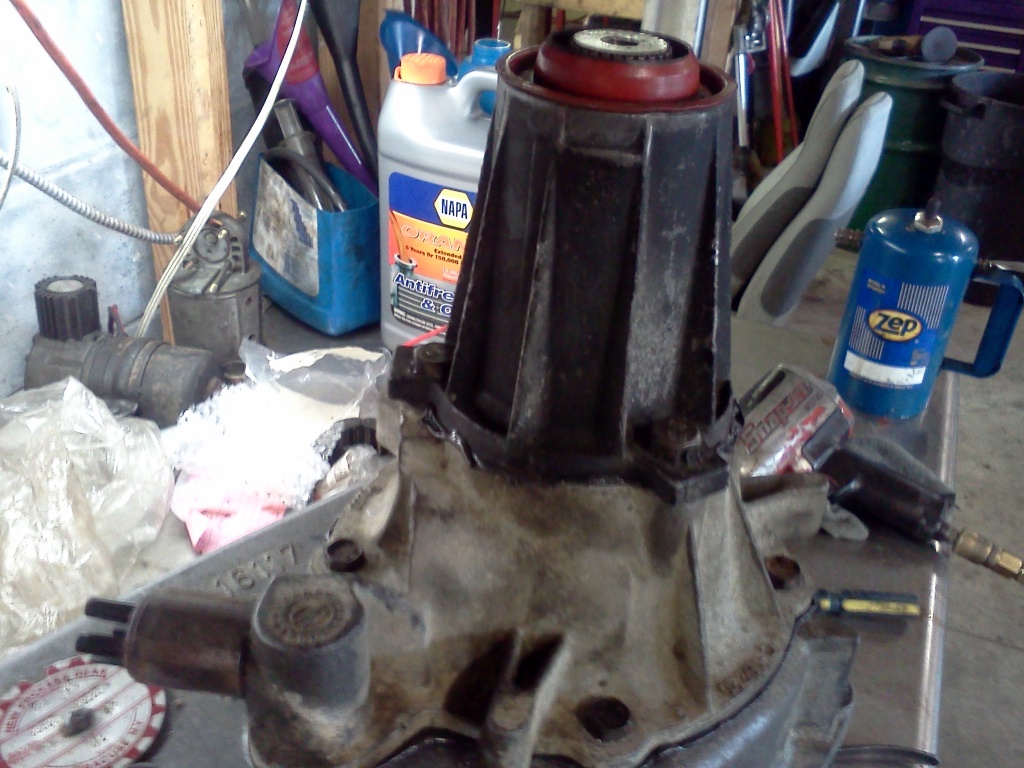
install the front yolk
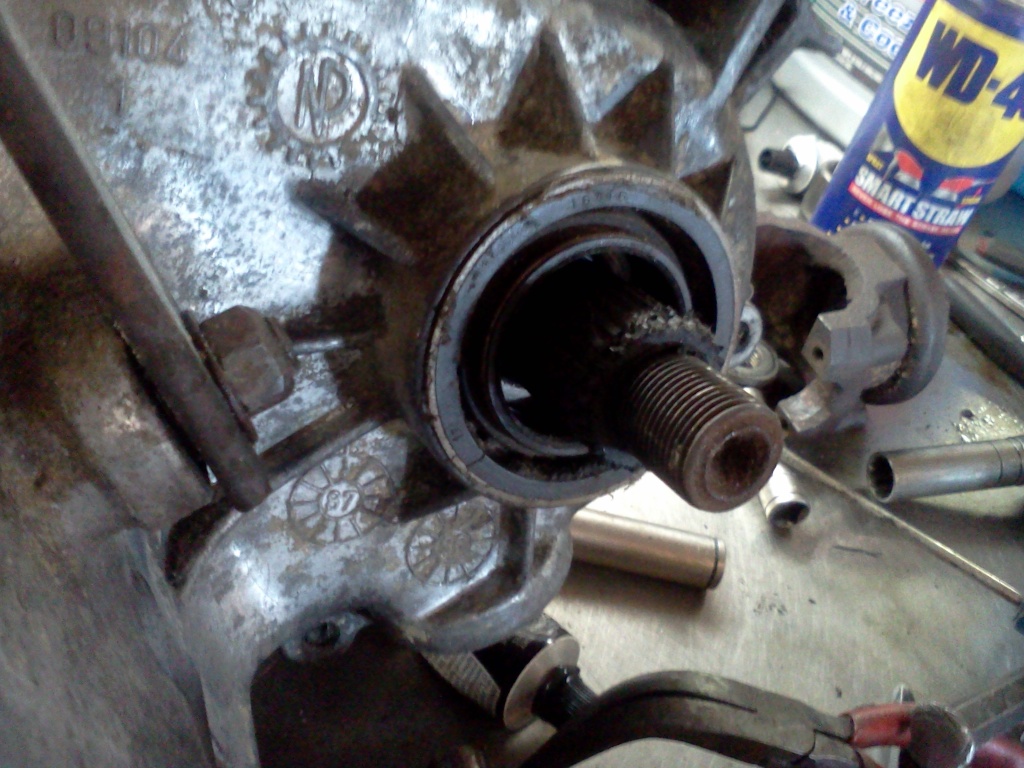
install speedo gear in original position
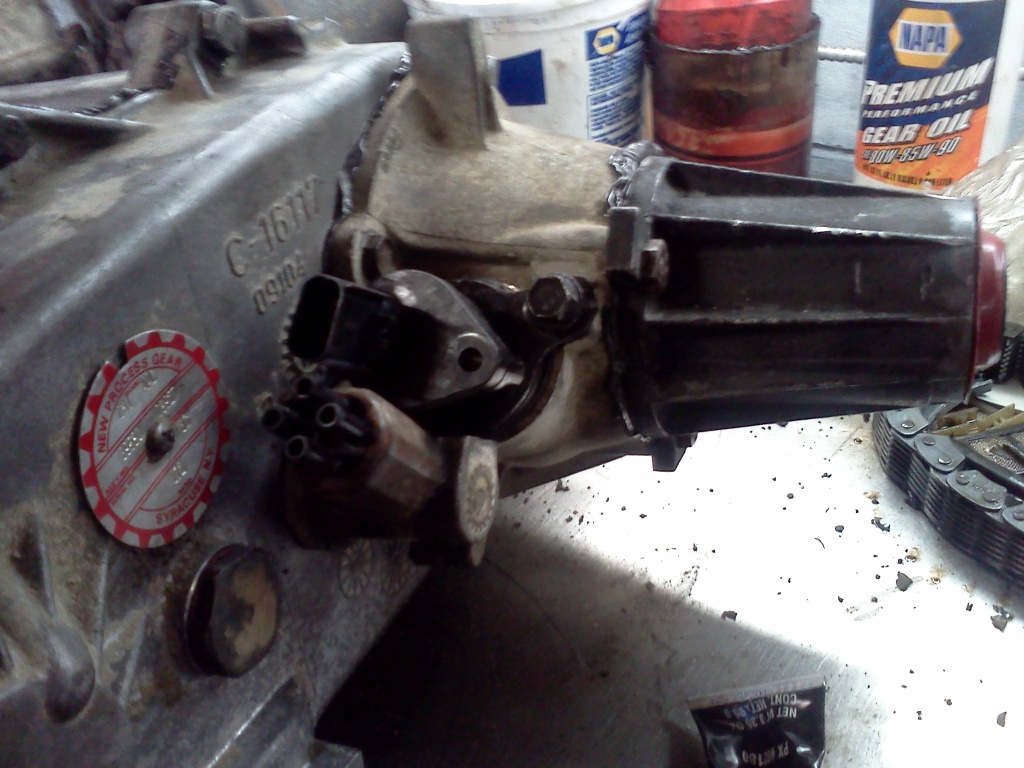
now you should move the shift lever by hand to make sure everything moves and engages the right gear selections.
now would also be a good time to replace the tcase input seal if needed

now your tcase is done, and you're ready to reinstall back into the jeep.
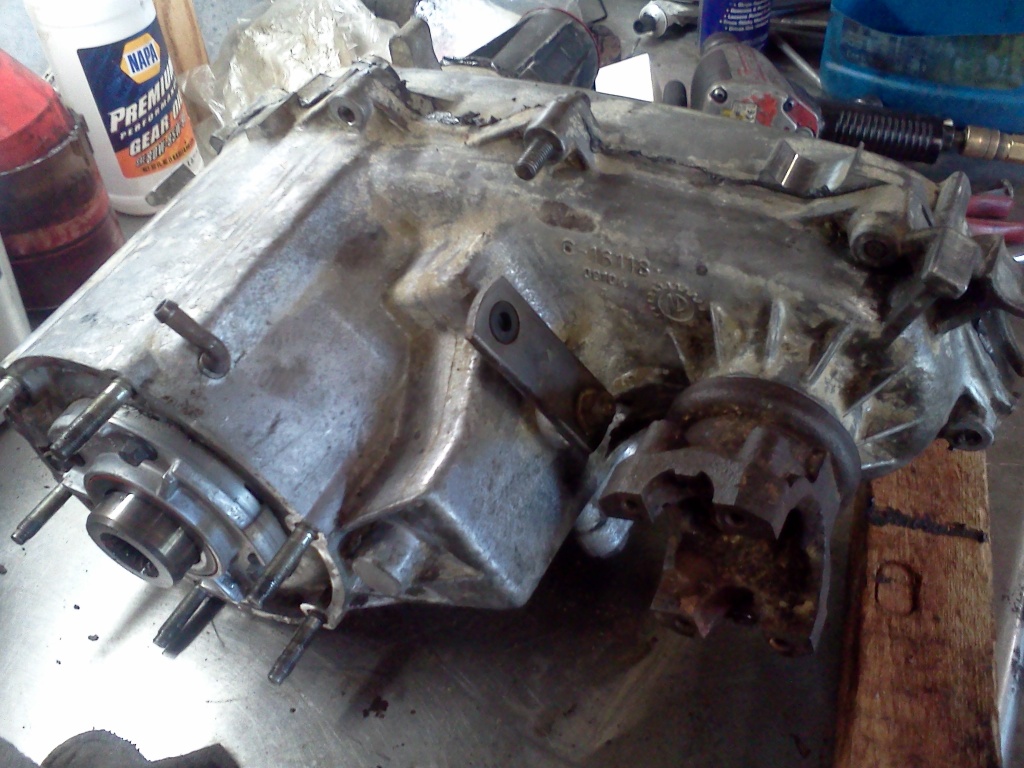
so here's the how to.
drain and remove the tcase from the jeep and set it on a workbench (or ground if needed). you can do the whole job with the tcase still in the jeep if you want. but its more comfortable and easier to work on out of the jeep....and besides, its only 6 more nuts to remove the case.
step one: remove the front output shaft yoke.
then turn the case over and remove the 3 15mm bolts to remove the rear output shaft housing. ( later model NP231's will not have this housing, so skip this step.)
Next, remove the speedometer gear. 13mm bolt. remember which way it is clocked when you remove it, as you will need to put it back in the same way.
now, remove the c-clip from the mainshaft. (later model NP231s will need to remove the output shaft seal to get to the clip)
then, unbolt the 5 15mm bolts that hold the housing on, the housing may require a little prying and some light tapping with a hammer. but dont get to rough, it is only aluminum
remove housing and you will see the oil pump.
remove the oil pump
now, remove all of the bolts that connect the 2 halves, one of them is a 12point 10mm socket, you can use a wrench...but i suggest getting the socket.
there are 2 pry points for the case halves that you can put screw drivers into. pry the case apart.
now you will see the chain and gears, and if you're like this one the chain will have a TON of slack
lift up on the front output shaft and the mainshaft until you can get the front shaft to come out so you can remove the chain.
and because of the severity of how badly this chain was worn it ate into the case and tore up pickup filter. will need to be replaced
this one also had worn out fork sleeves which will also need to be replaced
this is also a good time to check over everything else in the case for damage or excessive wear. and also to give everything a good cleaning.
heres the case parts all cleaned up.
and heres all the new parts going in
new sleeves installed
and now to start putting everything back in, remember to put the spring back on the end of the selector fork!
and also make sure the magnet goes back in its place
now put the chain on the front output shaft
and lift up on the mainshaft like you did to remove the chain, and install.
and make sure eveything is seated in place
i installed the new pump filter onto the old tube, and set it into place on the back case half
apply RTV around the edge of the case half
let the RTV sit for a minute or two, then put the other half onto the case, now bolt it back on.
install the oil pump, and use a screwdriver or a pick to insert the pickup tube into the pump
apply RTV to the speedo housing.
install and bolt on
now install that c-clip
apply RTV to the housing and install and bolt on the tail cone housing
install the front yolk
install speedo gear in original position
now you should move the shift lever by hand to make sure everything moves and engages the right gear selections.
now would also be a good time to replace the tcase input seal if needed
now your tcase is done, and you're ready to reinstall back into the jeep.


Senior Member
Joined: Dec 2008
Posts: 564
Likes: 0
From: Aldergrove,BC,Canada
Year: 1989
Model: Wagoneer
Engine: 4.0L I6

Junior Member
Joined: Sep 2014
Posts: 31
Likes: 0
Model: Cherokee
Is there a chance that the sprockets for the chain can be worn down or even have teeth broken off? I've used my 4 wheel drive a lot with the chain slipping.. I need to replace it and I'm afraid my sprockets will be stripped
Trending Topics



CF Veteran


Joined: Nov 2015
Posts: 2,863
Likes: 201
From: syracuse ny
Year: 1997 230,000 miles
Model: Grand Cherokee (ZJ)
Engine: 4.0, new lifters valve job with new springs and exhaust valves, preload set with shims
200k on mine, won't be long, thanks! my case is leaking too.

Member
Joined: Jun 2010
Posts: 235
Likes: 9
From: Bloodymore Murderland I am a Preacher of the Good news of JESUS CHRIST ,a Bad Actor ,Metal Bass play
Year: 1997
Model: Grand Cherokee (ZJ)
Engine: 4.0
N20JEEP , In the pic where it shows your left hand on the gear that turns the front wheels and shows the main shaft on the right. .I cant see in the pic to good ,but there are gears on the main shaft. When in 2WD does the top gear spin free until you put it into 4x4 . I am having problems putting mine back to gather. It looks like the position of the main shaft bearing will allow the shat to be placed high or low.

Thread
Thread Starter
Forum
Replies
Last Post
Blackcherokee290
Stock XJ Cherokee Tech. All XJ Non-modified/stock questions go here
28
Jan 8, 2025 11:36 PM
Bluelight
Other Vehicles. Other Jeep models & cars and trucks of other makes
2
Sep 1, 2015 12:11 AM
Zeke P. Lucas
Stock XJ Cherokee Tech. All XJ Non-modified/stock questions go here
8
Aug 30, 2015 05:42 PM
David Chauncey Clothier
Stock XJ Cherokee Tech. All XJ Non-modified/stock questions go here
2
Aug 29, 2015 09:31 PM
Currently Active Users Viewing This Thread: 1 (0 members and 1 guests)

