Jeep Grand Cherokee: How to Change Automatic Transmission Fluid
As long as you don't mind getting a little icky stuff running down on you, changing the transmission fluid is an easy task. Continue reading for the step-by-step instructions.
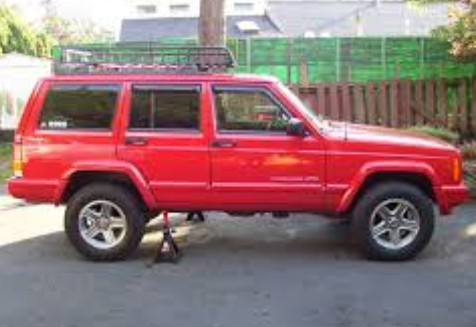
This article applies to the Jeep Grand Cherokee ZJ (1993-1998).
Your automatic transmission is lubricated and cooled by transmission fluid. Much like engine oil in your engine, the transmission fluid also requires periodic servicing and replacement. Changing the transmission fluid is not hard, plus it is one of the best maintenance items you can do. It is a straightforward process, but it is messy. Things clean up, though! See what you need, then you can grab the stuff and settle in for a job that will pay you in the end.
Materials Needed
- Light
- Large catch pan
- Rags
- Scraper
- 3/8" drive ratchet and extensions
- 13mm socket
- Torx bit and driver
- Large adjustable pliers (Channelocks)
- Funnel
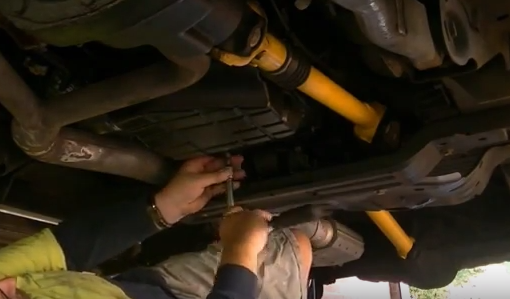
Step 1 – Lift vehicle up
You might be able to squeeze under your Jeep, but it is going to be much easier if it is lifted up in order to have more clearance to work. If you jack it up, always use jack stands and be safe.
Pro Tip
Automatic transmission fluid is a petroleum product that must be recycled. Your auto supply store will take it.
Step 2 – Drain and remove transmission pan
The pan on your transmission does not have a drain plug. It is easy to drain, but you need to have a large catch pan, rags, and maybe cardboard under it to catch the fluid. Clean up will be much easier if you prep well now. Remove the pan bolts except for one on each corner. The pan has either 13 or 15 bolts, depending on which style it is. Place the drain pan under the transmission pan.
Judge which corner of your Jeep is lowest. Loosen the bolts one quarter inch or so and gently pry the pan down if it does not drop. Some fluid may come out, so be ready.
Remove the corner bolt that is lowest. Loosen the other corner bolts except the one opposite that you you removed. More fluid will come out. When the pouring has slowed, remove the bolts you just loosened. Now go to the remaining bolt and slowly loosen it, but don't remove.
When the fluid is mostly drained, hold the pan up and remove that last bolt. Now lower the pan. There will still be some fluid in it. Take the pan out from under your Jeep.
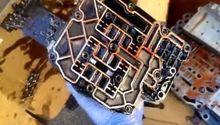
Step 3 – Inspect and clean pan
The pan will be pretty dirty, but it is supposed to be. There should be a round magnet in the bottom. It will have very fine metal particles on it, which is also normal. What is not normal are chunks of metal or pieces of clutch. Clean the magnet and replace where it came from. Clean the inside and outside of the pan well and set aside.
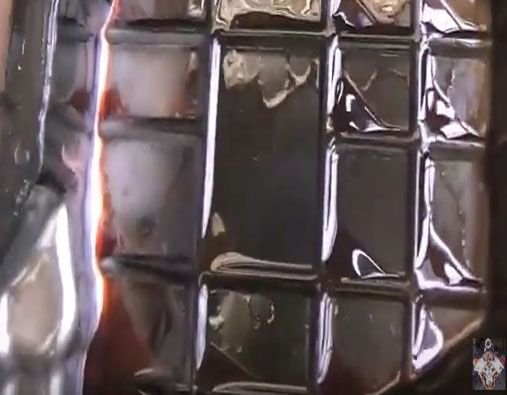
Figure 6. Trans pan removed. 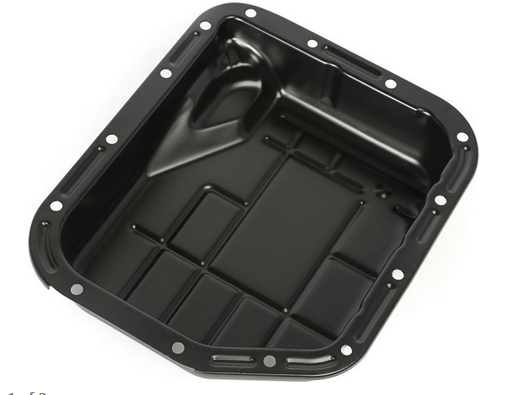
Figure 7. Clean trans pan.
Step 4 – Remove filter
The exact filter or filters that are used in your transmission depend on what style it is. All of them have a flat filter. It is held on by two long Torx head screws. Remove the screws, then twist the filter around until the rubber seal lets go and the filter pulls down. Fluid will drain so keep your drain pan close. Some also have a screw on filter. When you order your exact transmission filter kit, you will know. You can remove the spin on with a large pair of adjustable pliers.

Figure 8. Flat filter (1), can filter (2). 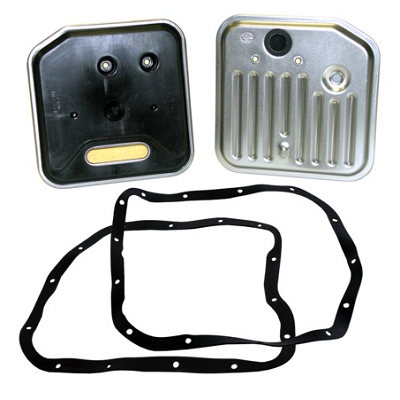
Figure 9. Flat filter kit. 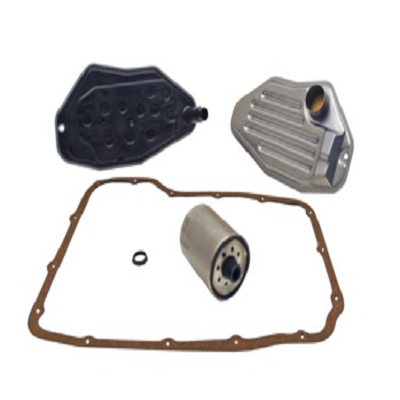
Figure 10. Trans filters.
Step 5 – Replace filter
Slip the rubber seal on the flat filter. Press it up firmly into the transmission and line the screw holes up. Install the two screws, being careful to start them and tighten them carefully. These are small screws and can not take a lot of tightening. If you have a spin on filter, fill it with transmission fluid and then tighten by snugly hand. Now is a good time to clean the surface on the transmission where the pan seals. It needs to be clean and dry.
Pro Tip
If you have the spin on filter, DO NOT use any tool on it only your bare hands.
Step 6 – Install gasket and pan
Lay the pan gasket on the clean pan and check for fitment. Most gaskets have bolt holes that are slightly smaller than the bolt, so it will stay in once you push it through. Lift the pan up on the transmission with the bolts pushed through. Using a 13mm socket on an extension, tighten the bolts by hand only. Once they are all started, snug them up with the ratchet. Tighten them from side to side and front to back. Torque them to 15 ft/lbs. Treating these bolts like lug nuts will almost certainly result in leaks.
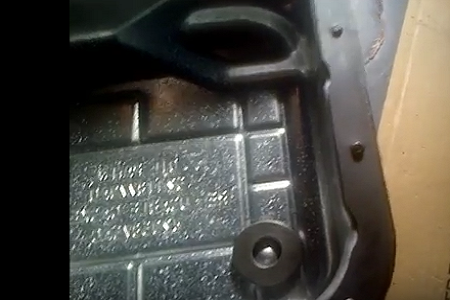
Figure 12. Trans pan ready to install. 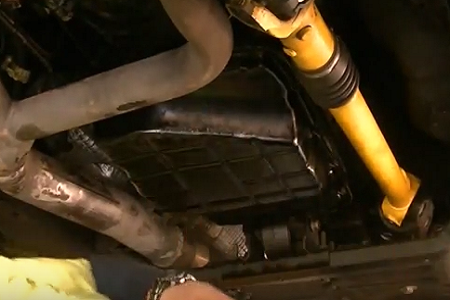
Figure 13. Trans pan reinstalled.
Pro Tip
No sealer is needed if you follow these steps. I do not recommend silicone or any other sealer.
Step 7 – Install fluid
Refill with the recommended trans fluid. Most use four quarts except for V8's, which take five. You can not accurately check the level until it is warm. Do not overfill, as it causes fluid foaming.
You have now treated your trans to new life blood and saved some serious coin. Congrats!
Featured Video: How to Change Transmission Fluid
Related Discussions
- Trans Filter and Fluid Change - CherokeeForum.com
- Trans Fluid Change and Band Adjustment - CherokeeForum.com
- Grand Cherokee Won't Shift - CherokeeForum.com
- Grand Cherokee Stock Specifications - CherokeeForum.com