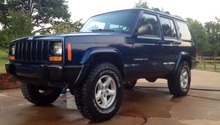
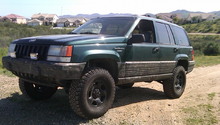
Jeep Cherokee 1984-2001: How to Install Lift Kit
Whether it's a simple spring upgrade or the full shebang with longer shocks and control arms to match, this article will show you how to install a lift kit to get your Cherokee out of the weeds and into the sky.
This article applies to the Jeep Cherokee XJ (1984-2001).
So you have a Jeep, and you want to lift it. Why wouldn't you? Jeeps are just asking to be lifted, and the plentiful number of parts floating around the aftermarket make it easy as well as affordable to do so. Lifting your Jeep not only makes it look cool, but it greatly improves your off-road ability and allows you to fit bigger tires underneath. The biggest down sides are a drop in fuel economy and a loss of ride quality. If that sounds like a reasonable trade off for awesome looks and more fun in the mud or rocks, keep reading and we'll walk you through the installation of a lift kit on a Jeep Cherokee.

Materials Needed
- Ratchet and assorted socket sizes
- Socket extensions
- Air wrench (optional, but makes the job much easier)
- Floor jack and four jack stands
- C-clamp
- Hammer
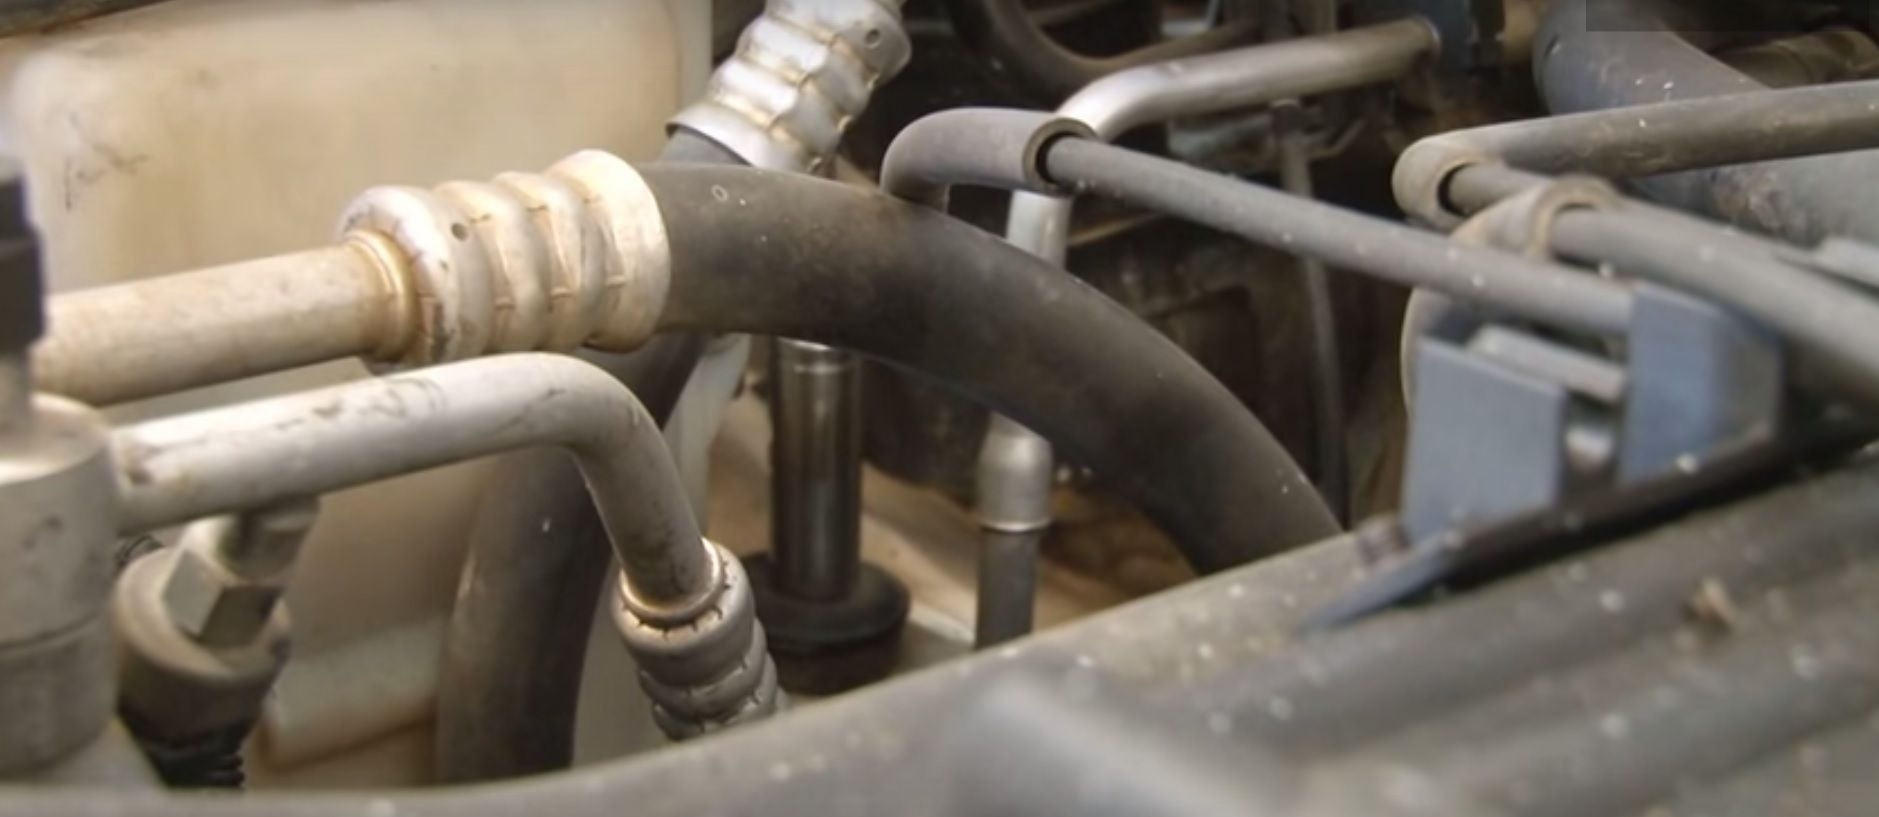
Step 1 – Remove front suspension components
Before lifting the truck off the ground, remove the upper shock bolts from underneath the hood. This is difficult to get to once the truck is lifted. Lift the front and rear of the truck with a floor jack, then place it on jack stands using the frame rails to hold it up. Remove the front wheels and tires. Remove the lower shock bolts and remove the shocks. Remove the sway bar bolts and sway bar.
(Related Article: How to Jack Up Your Car - CherokeeForum.com)
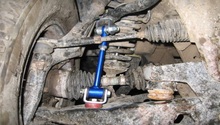
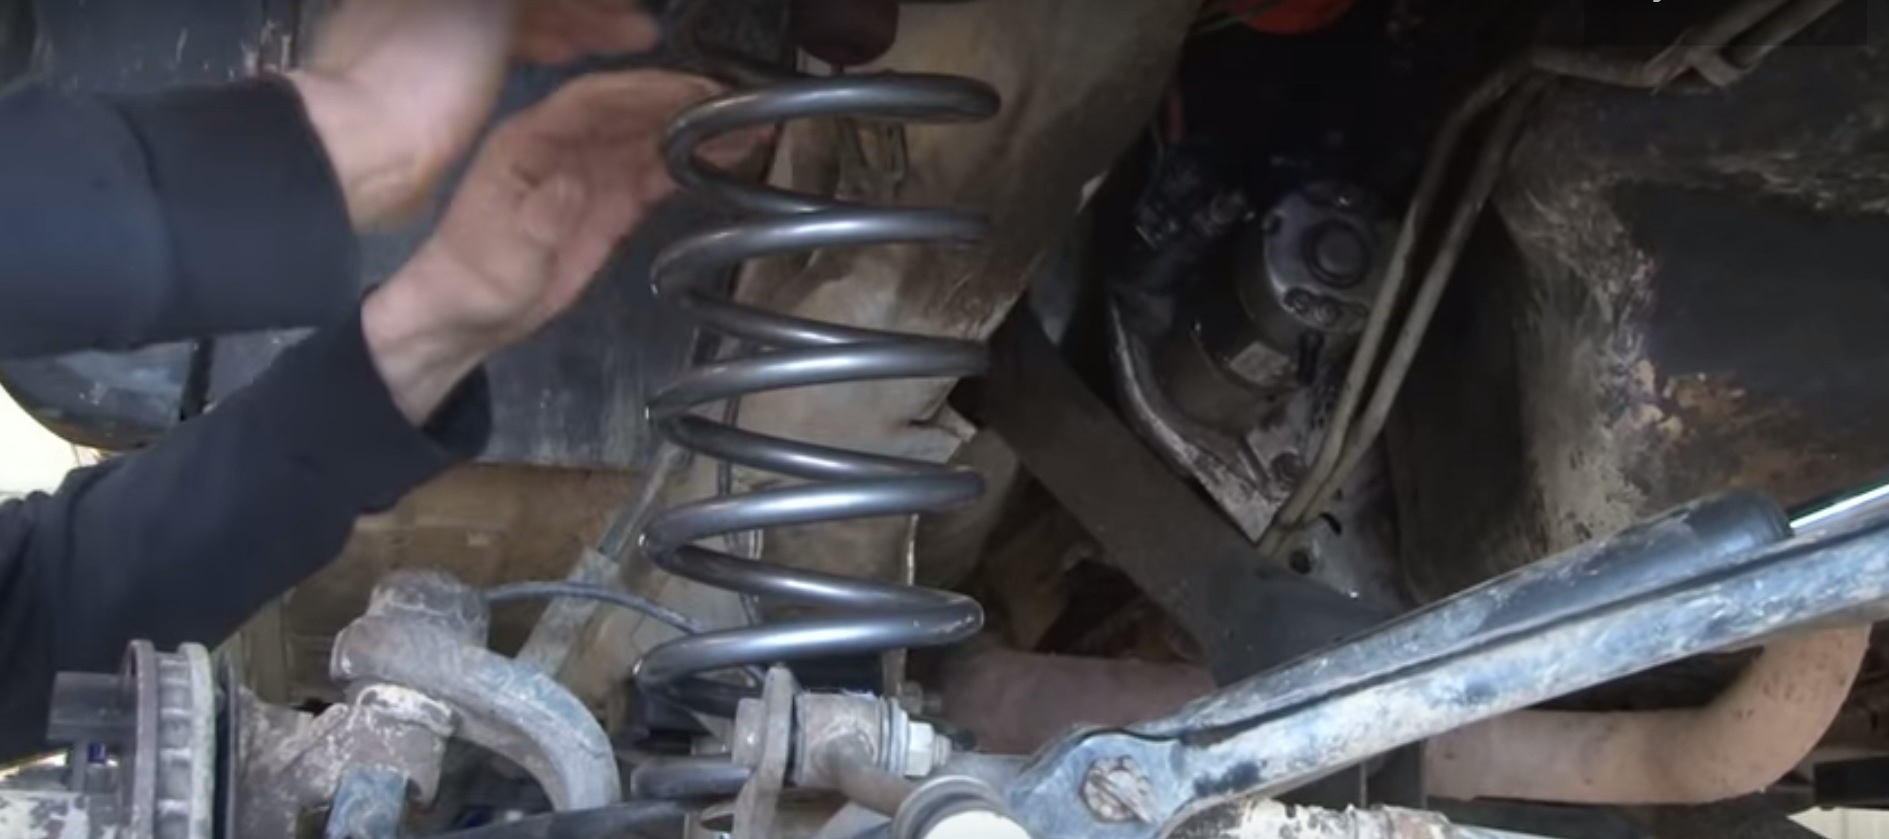
Step 2 – Install front lift kit components
Install the sway bar drop brackets and bolts, but don't tighten them all the way just yet. Remove the spring retaining bolt. Remove the lower control arm's upper bolt and swing the control arms down, then remove the lower bolt. Install the new lower control arm and bolts. Pull out the factory control arm springs and slide in the new ones. Reinstall the spring retainer bolt and the sway bar, then tighten the bolts. Install the new shocks by first installing the lower bolts, then the upper bushings, washers, and bolts. Once the bushing just starts to squeeze, stop and don't put anymore pressure on it.
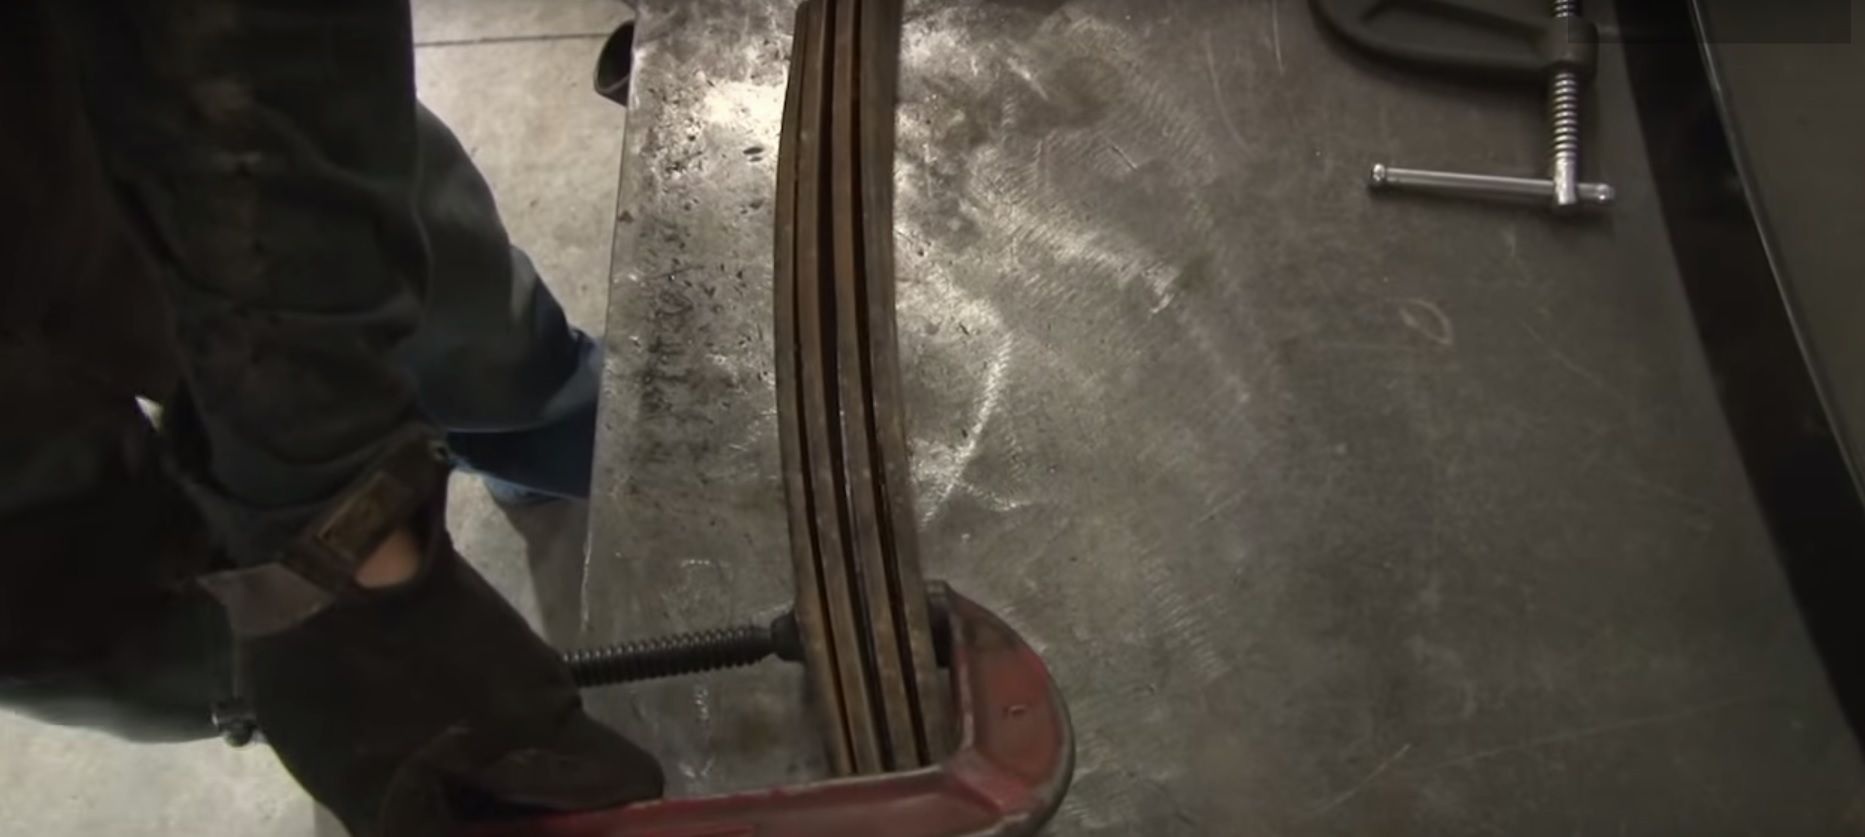
Step 3 – Install add-a-leaf on leaf springs
Remove the U-bolts and spring plate from the rear leaf springs, as well as the rear sway bar. Remove the spring eye bolts and the leaf springs. Remove the rear shocks by removing the upper and lower bolts. Take each leaf spring to a workbench. Remove the spring clips from the leaf springs. There are two to three on each leaf. Remove the center pin and use a C-clamp to slowly release the pressure from the leaf spring. Place the add-a-leaf in the leaf spring and reinstall the center pin. Install the new spring clips and reinstall the leaf springs. Reinstall the spring eye bolts, U-bolts, spring plate, sway bar, and shocks.
Featured Video: Jeep Cherokee Three Inch Lift Kit Installation
Related Discussions
- Body Lifting an XJ - CherokeeForum.com
- Pros and Cons of Having a Lift Kit - CherokeeForum.com
- Rough Country Lift Write Up - CherokeeForum.com
- How to Install Lower Control Arms - CherokeeForum.com
- How to Install Lift on XJ - CherokeeForum.com