Well, I guess it's finally time to get around to making a thread about my bumper install. I've been trying to get my timelapse video together, but everything in GoPro's editing software takes SO EFFING LONG to do, I figure I'll just add the video as another post in this thread once I'm done figuring it out.
Also, because text is boring, and I figure if you're anything like me, you'll probably have stopped reading by now, here's a pic from their website... OOooOOOoo, shiny!
I'm doing this install as a separate thread for a couple reasons. RockHard 4x4 seems to be very under-represented in the Cherokee crowd, and I wasn't able to find another install thread before taking the plunge and buying this thing. Hopefully by making this it's own thread, it'll show up in searches better. Also, it's going to be easier to answer questions and get follow-up pictures of different parts if requested.
Ok, now on to the fun stuff! The instructions don't list required tools.... So let me just go over some of what you'll ACTUALLY need.
LOTS of sockets
1/2", 3/8", 1/4" drive ratchets
Variety of adjustable wrenches
Big f***ing hammer
Bigger f***ing hammer
Beer
Angle grinder
Pry bar (If you're as bad at things as I am)
More beer (again, I'm typically not great at things)
Grease gun
Torque wrench
Drill with a variety of drill bits
Some other stuff I'm not remembering.... Because of the beer.
Now, pictures! Really, why else would you be looking at this?
I was really impressed with the packaging. The bumper and swing came in separate boxes with weird compressed padding that looked to be heat shrunk around the bumper.
Below are pics to show some of the overall build quality.
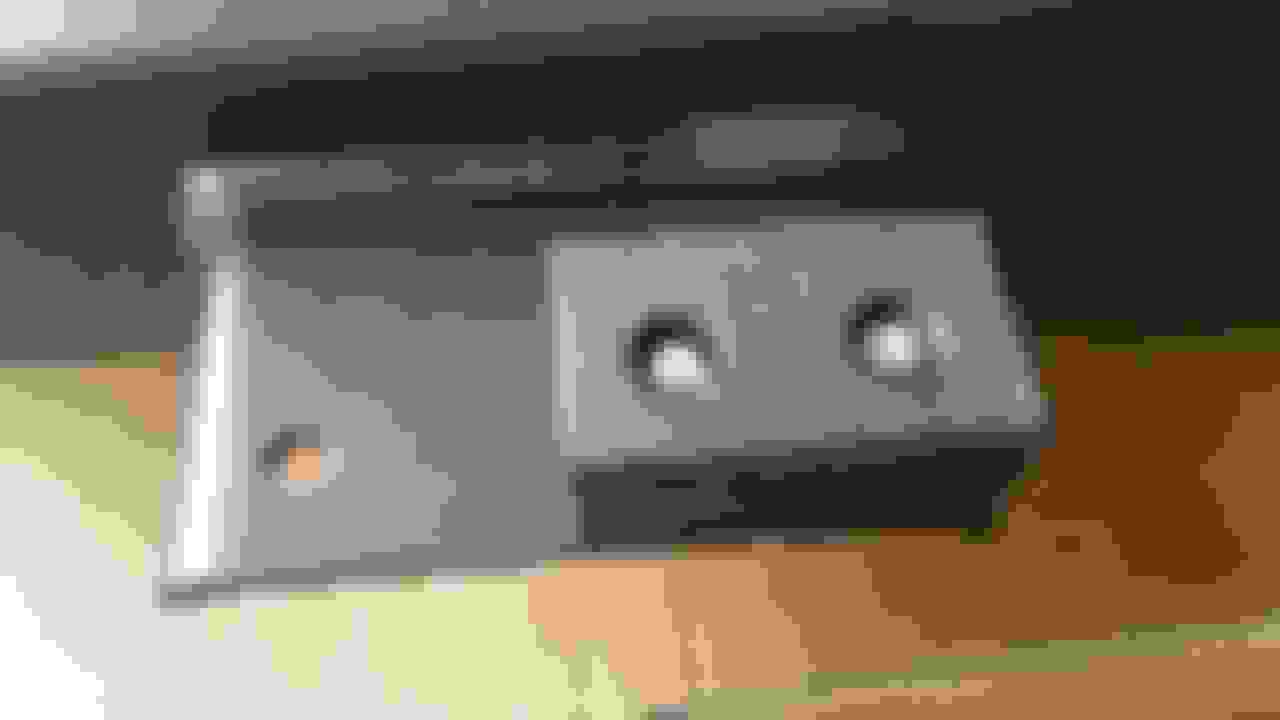
I had an issue with two parts upon inspection. They did not turn out to be problems, but are worth noting none-the-less. First, one of the brackets connecting the bumper to the Jeep had a bent corner.
Second, the rod that goes into the bearings for the swing arm was quite rusty. It could have used a protective coating to keep the rust off. This isn't a problem because it's just that the inside of the bearing sits against and just needed a little cleaning, but I don't like rust on new parts.
So overall, I give the build quality a solid 9/10. Had those two issued cause trouble with the install, it would have been lower, but since they are only cosmetic, and not visible once installed, they are really non-issues.
The install went pretty well overall. The removal of the factory bumper went quick! Don't mind the crap in the back. I forgot to clean it out and wash it and stuff before the install... Nothing a little beer won't make you overlook!
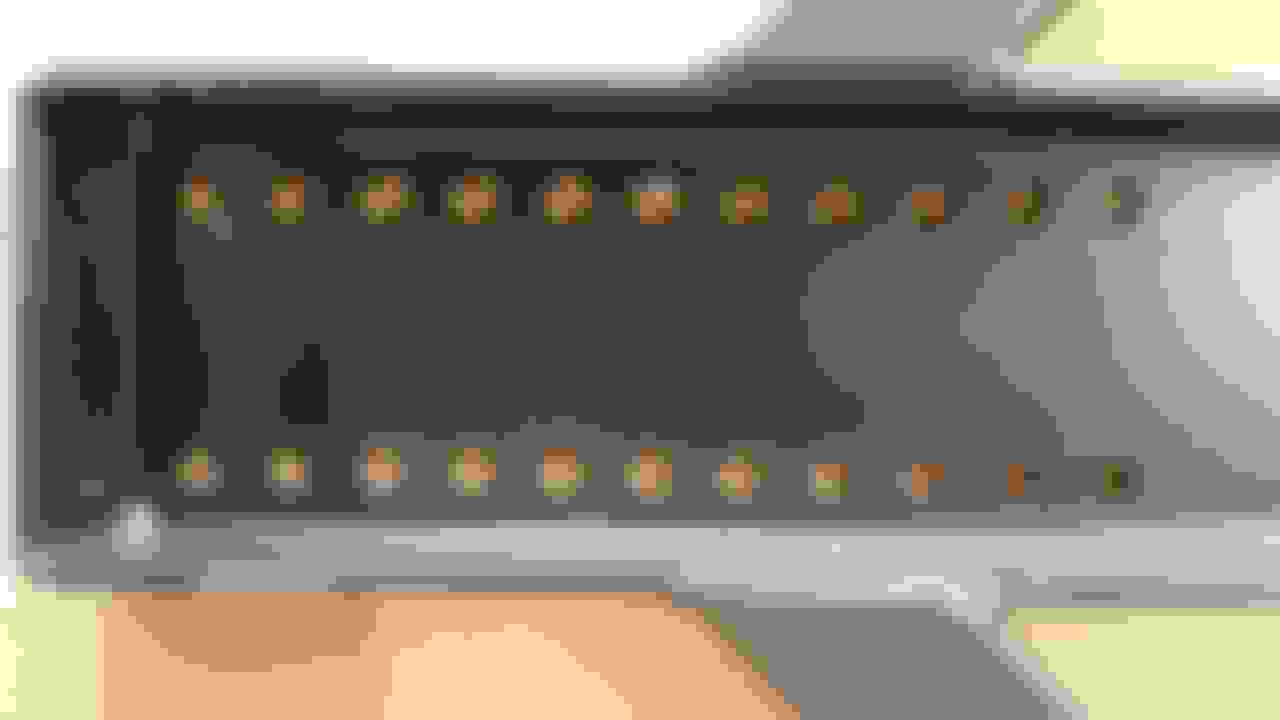
Install the supplied nut strip thingies.
If your Jeep came with the nut strip on the passenger side, I suggest just leaving that one in, it saves time, and lots of headache. The only thing you'll need to do is cut off the part that comes out of the frame rail, it will get in the way.
If you're a ******* like me, and decide to try and remove the factory nut strip, you'll have to drill out these rivets. The punch like I'm holding just won't do the trick.
Lay the bumper out, stand back, and appreciate the fine American craftsmanship!
You'll also have to remove these little dohickeys. They hold on the factory plastic end caps.
Voila!
Now you gotta test fit the bumper. This hunk of steel is heavy, so lifting it into place isn't fun with two people, and shouldn't be attempted by one unless you're the hulk or a lumberjack or something.
When test fitting, you're lining things up to figure out where you gotta make some cuts. The brackets for the part of this bumper that go into the factory mounting location require you to notch the rear crossmember. Kinda hard to tell from the pic, but yeah... it'll make sense the first time you try putting this thing on.
Because I have the attention span of a squirrel on speed, I forgot to take a picture of the notches I cut. Sorry!
But hey look it fits we're done! ....We were not done, little did we know, this was about to get irritating!
It was at this point that I got so frustrated I forgot to take pictures again. When installing the screws for the brackets that slide under the frame rails, 8 in total, I managed to cross thread one on the passenger side. This required the removal of the bumper so I could take the nut strip out, and re-install the factory nut strip and try again.... VERY CAREFULLY! It was at this time that beer and pizza became a requirement. I had spent way too long trying to bolt this thing in and the idea of stepping backwards was not fun, so this is why beer is REQUIRED for this install.
A note to the next person to install this thing. It is a *****, and will always be a ***** to line up a floating nut strip with the holes in the unibody frame rail, the holes in the heat shield between the exhaust and the gas tank, the holes in the exhaust bracket, and the holes in the bumper's bracket. That's right, 5 layers of holes to line up, 4 of which wanna move around on you!
The rest of this build went very fast, and very smooth. Really nothing to it, and the instructions make it quite easy.
Pop the swing arm on and assemble the latch.
Install the tire
PRESTO!
Yeah yeah so the end of it doesn't have enough pics, I was tired, had beer, irritated about the nut strip, and wanted it to be done with. Can I make up for it with a couple poser shots!?
Overall, I'd say this is a fantastic bumper. Installation really wasn't that hard except for the parts that I screwed up, so I can't blame RH4x4 for that. I'd have no problem recommending this to anyone who wants the spare tire out of their cargo area, isn't afraid to spend a good bit of money on it, and want a quality bumper that was designed and built entirely in the USA.
Ok well that's about it. If you have questions, or would like additional pictures of anything just let me know and I'll do my best to get them for ya.
PEACE!
-Scott
P.S. - Sorry if I have any (or lots) of spelling/grammar errors. It's been a really long day and I didn't feel like proof reading this thing.
Very nice bumper and review. This is definitely going on my short list of bumper/tire carriers options if I can ever make my mind up on which one I want.
Very nice bumper and review. This is definitely going on my short list of bumper/tire carriers options if I can ever make my mind up on which one I want.
Thanks for the kind words. Honestly, I did lots of research and this was the best quality/value to price ratio I could find. The folks over at RH4x4 responded to a lot of emails from me and answered all of my questions throughout the process.
They actually held up the shipment of it for a few weeks because I wouldn't be at work to accept the delivery.
Anyways, I'll be interested in seeing what you decide on!
I won't lie i don't like their front bumper because its modular and everything bolts on.But everything else they offer looks good to me.
I actually have somewhat of the same gripe about their front bumper. The winch system bolts onto the front and puts the winch directly in front of the grill. I'm still not sure what I'm going to do about my front bumper at this point. I don't like bumpers that hang off the front really far, but also not sure how good I'd be at fab work for a hidden winch.
Quote:
Originally Posted by rzldzl
deets on lic plate light install
License plate light is actually a cheap universal light and bracket on amazon. The plastic part of it came gray so I painted it black. It's a simple single positive wire system, and grounds through the bolts holding it on. I drilled 2 small holes in the hatch to accommodate it. To power it, I just spliced in some wire to the factory license plate light and ran it to the new one. I'll see if I can get more detailed pics soon if needed.


 And timely, I've been planning on ordering this bumper, and can finally pull the trigger on it this week!