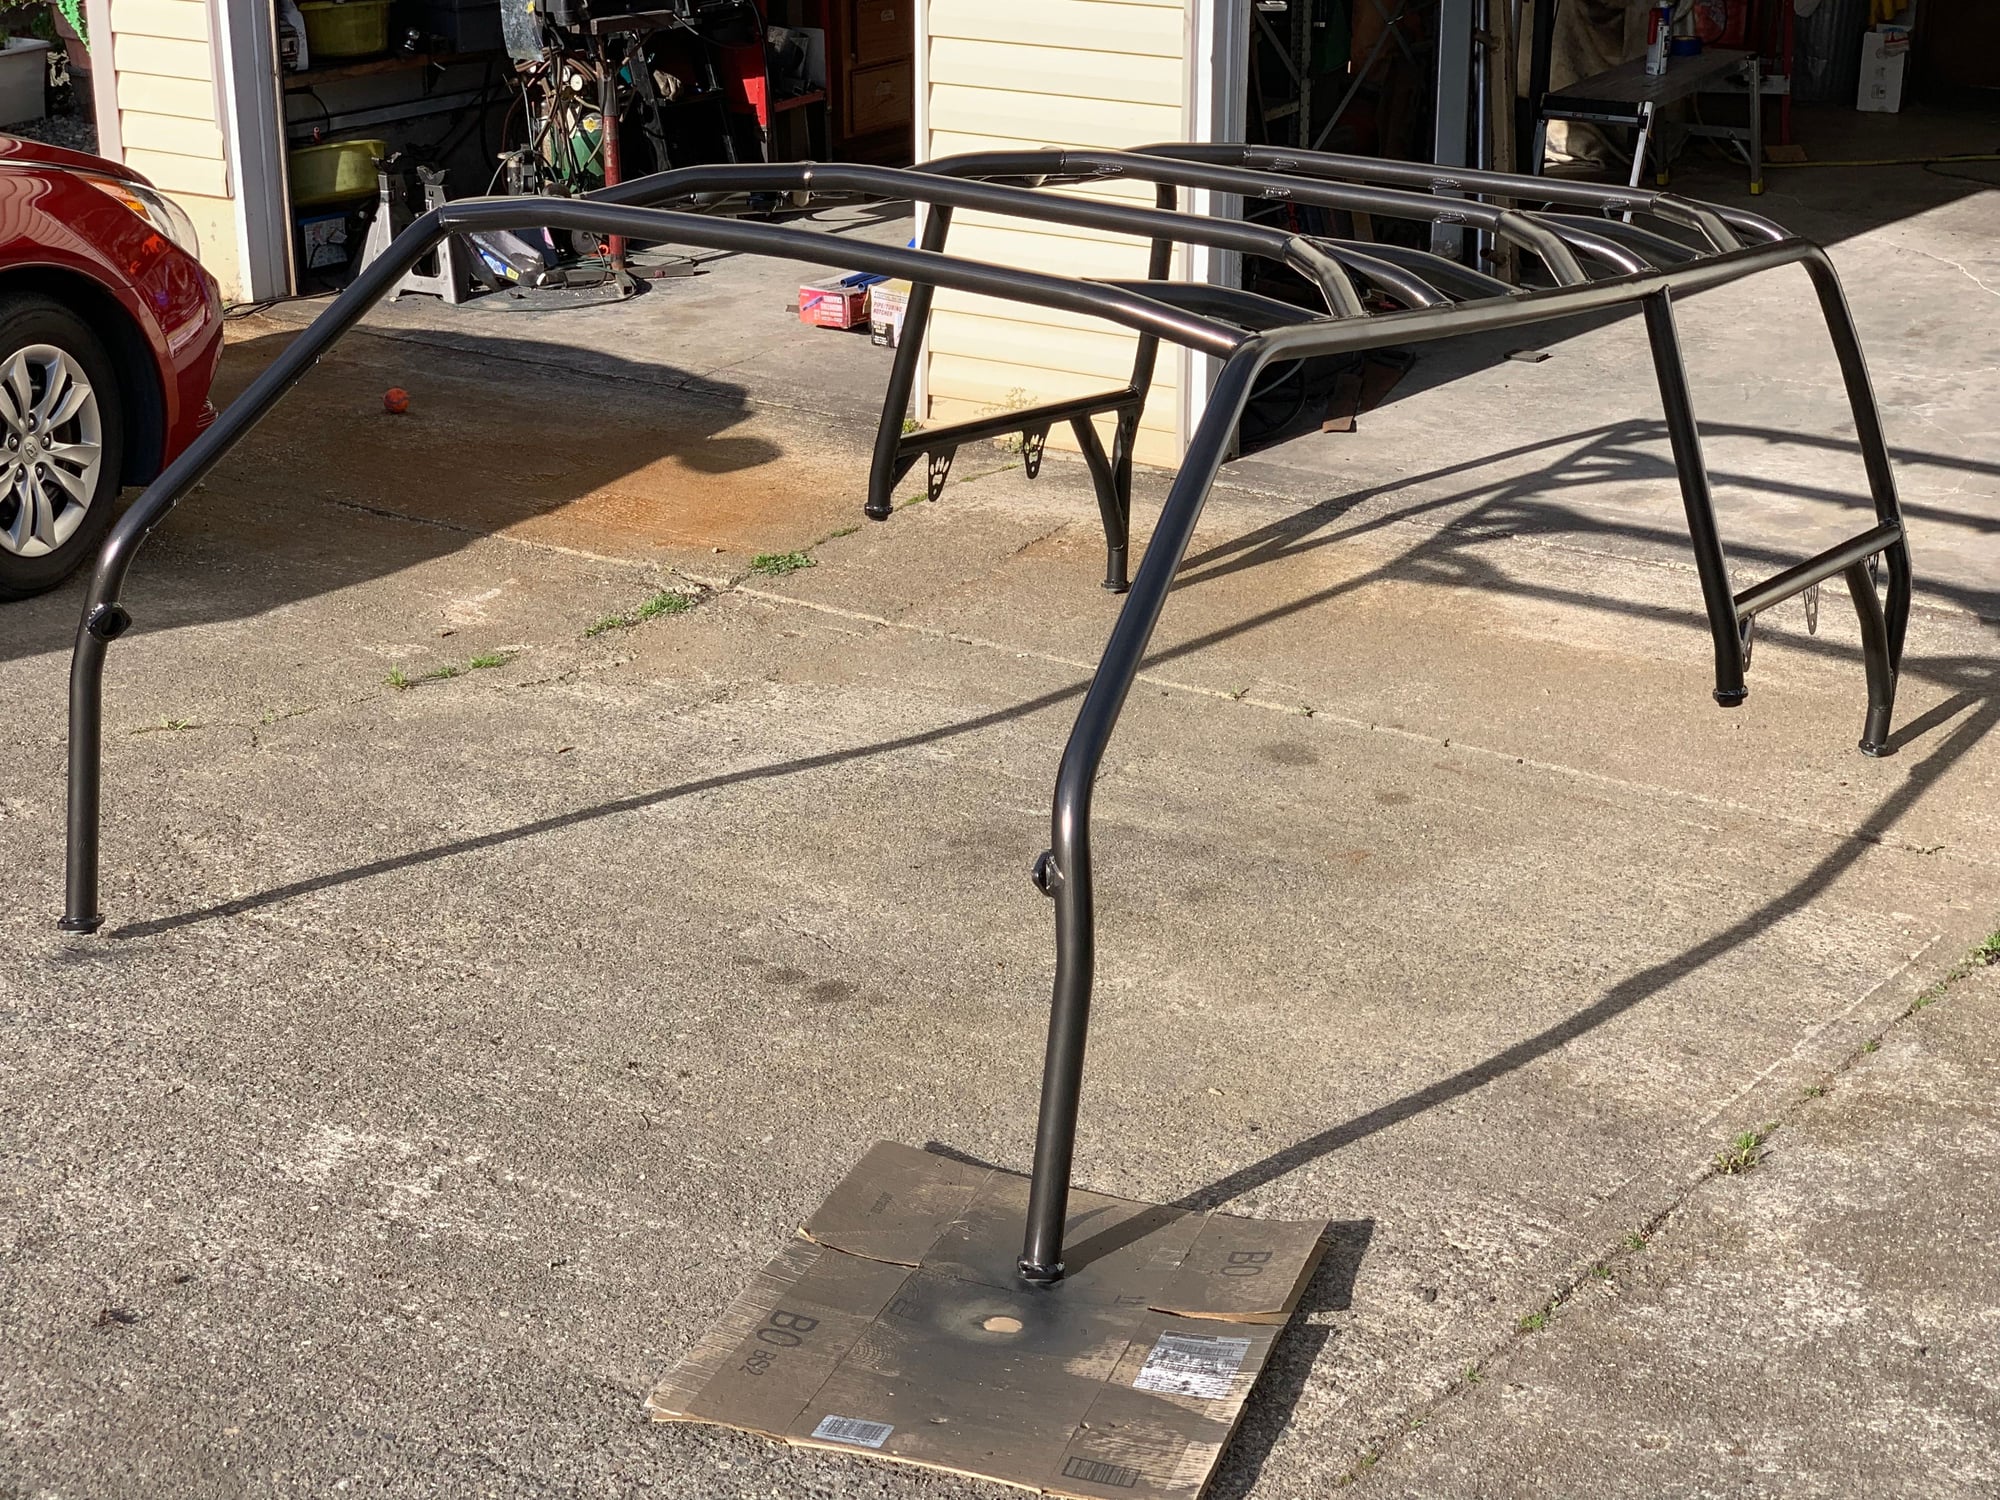
Exo-Cage; bolt in style
#1
Seasoned Member
Thread Starter
So I want an exocage, but, I still want to be able to service my Jeep. You know, things like replace the windshield, body work, maybe paint some day... Things that my buddy’s with welded in cages have had trouble doing. I did some research and found several weld in bungs to allow tubing to be bolted in but, they were $20-40 each! Being the cheap *** that I am, I came across some flanges from Kartek.
https://www.kartek.com/parts/heavy-d...bing-each.html
I know, I know... these aren’t meant to hold a cage together but, I’ll show you my solution later. At about $10 per joint, they fit my budget.
My goals with this cage is to protect myself and passengers in case of a roll over on the TRAIL. It’s not intended to survive the Baja 1000 or King of the Hammers! Therefore I used 1.75”x.120 HREW tubing throughout this build. If I was building a rig for competition or high speed running, I would have built it much differently. This is a trail rig, not a race rig.
That said, here’s what I did;
#2
Seasoned Member
Thread Starter

I want the cage to be as tight to the body as possible. The more I looked at other designs, most create a halo then uprights to give it support. This works we’ll strength wise but is difficult to keep super tight to the body. A loop front to rear with cross bars over the roof would allow me to keep the cage extra tight to the body.
#4
Seasoned Member
Thread Starter
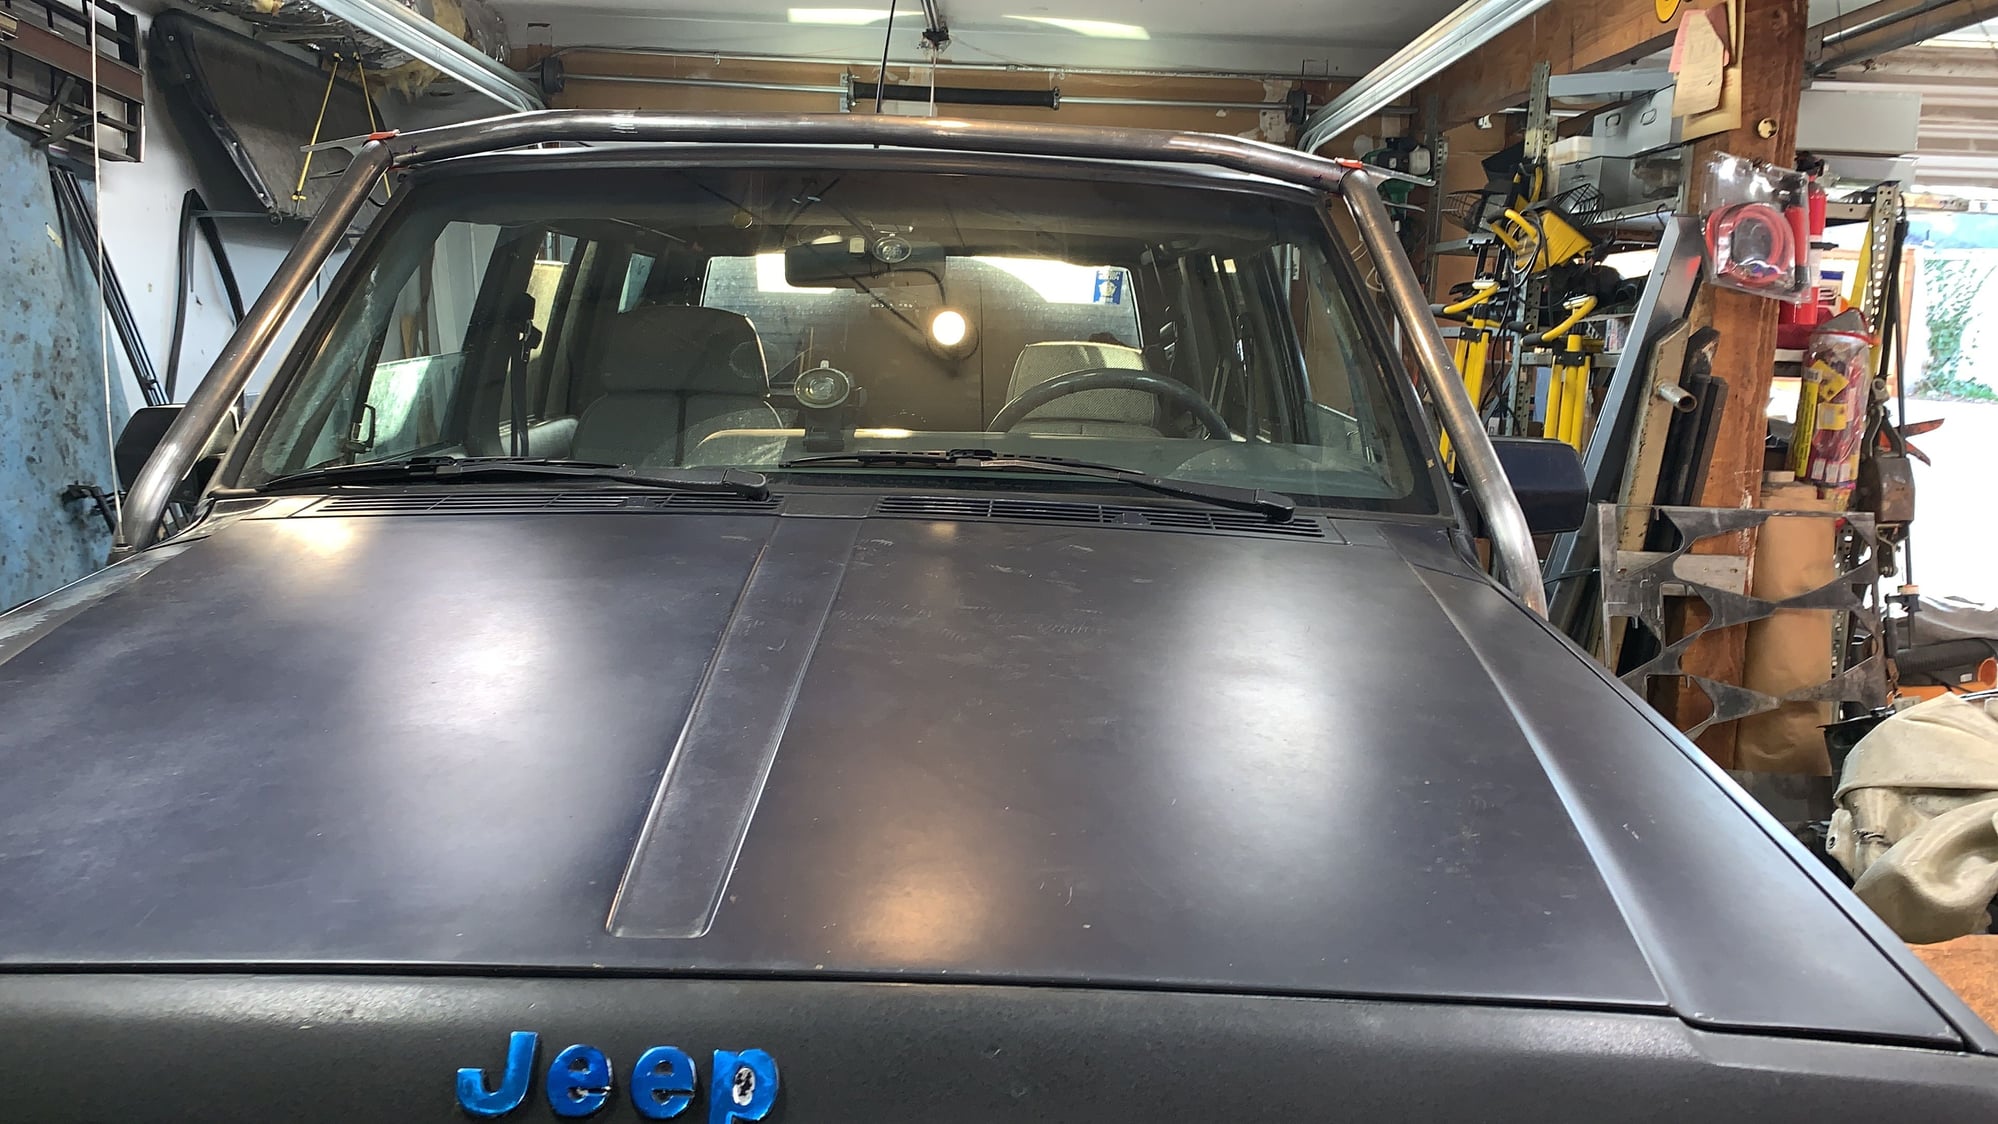
After doing the passenger side, time to start on the cross bars. Doing this design allowed me to place the front and rear bars exactly where I want them. Far enough up and back that it’s not in my line of sight and doesn’t impede windshield servicing.
#5
Seasoned Member
Thread Starter

Then on to the rear wheel well hoops. The front of the hoop ties into my 2x6 (plus 1”) rock sliders. The rear into my rear bumper.
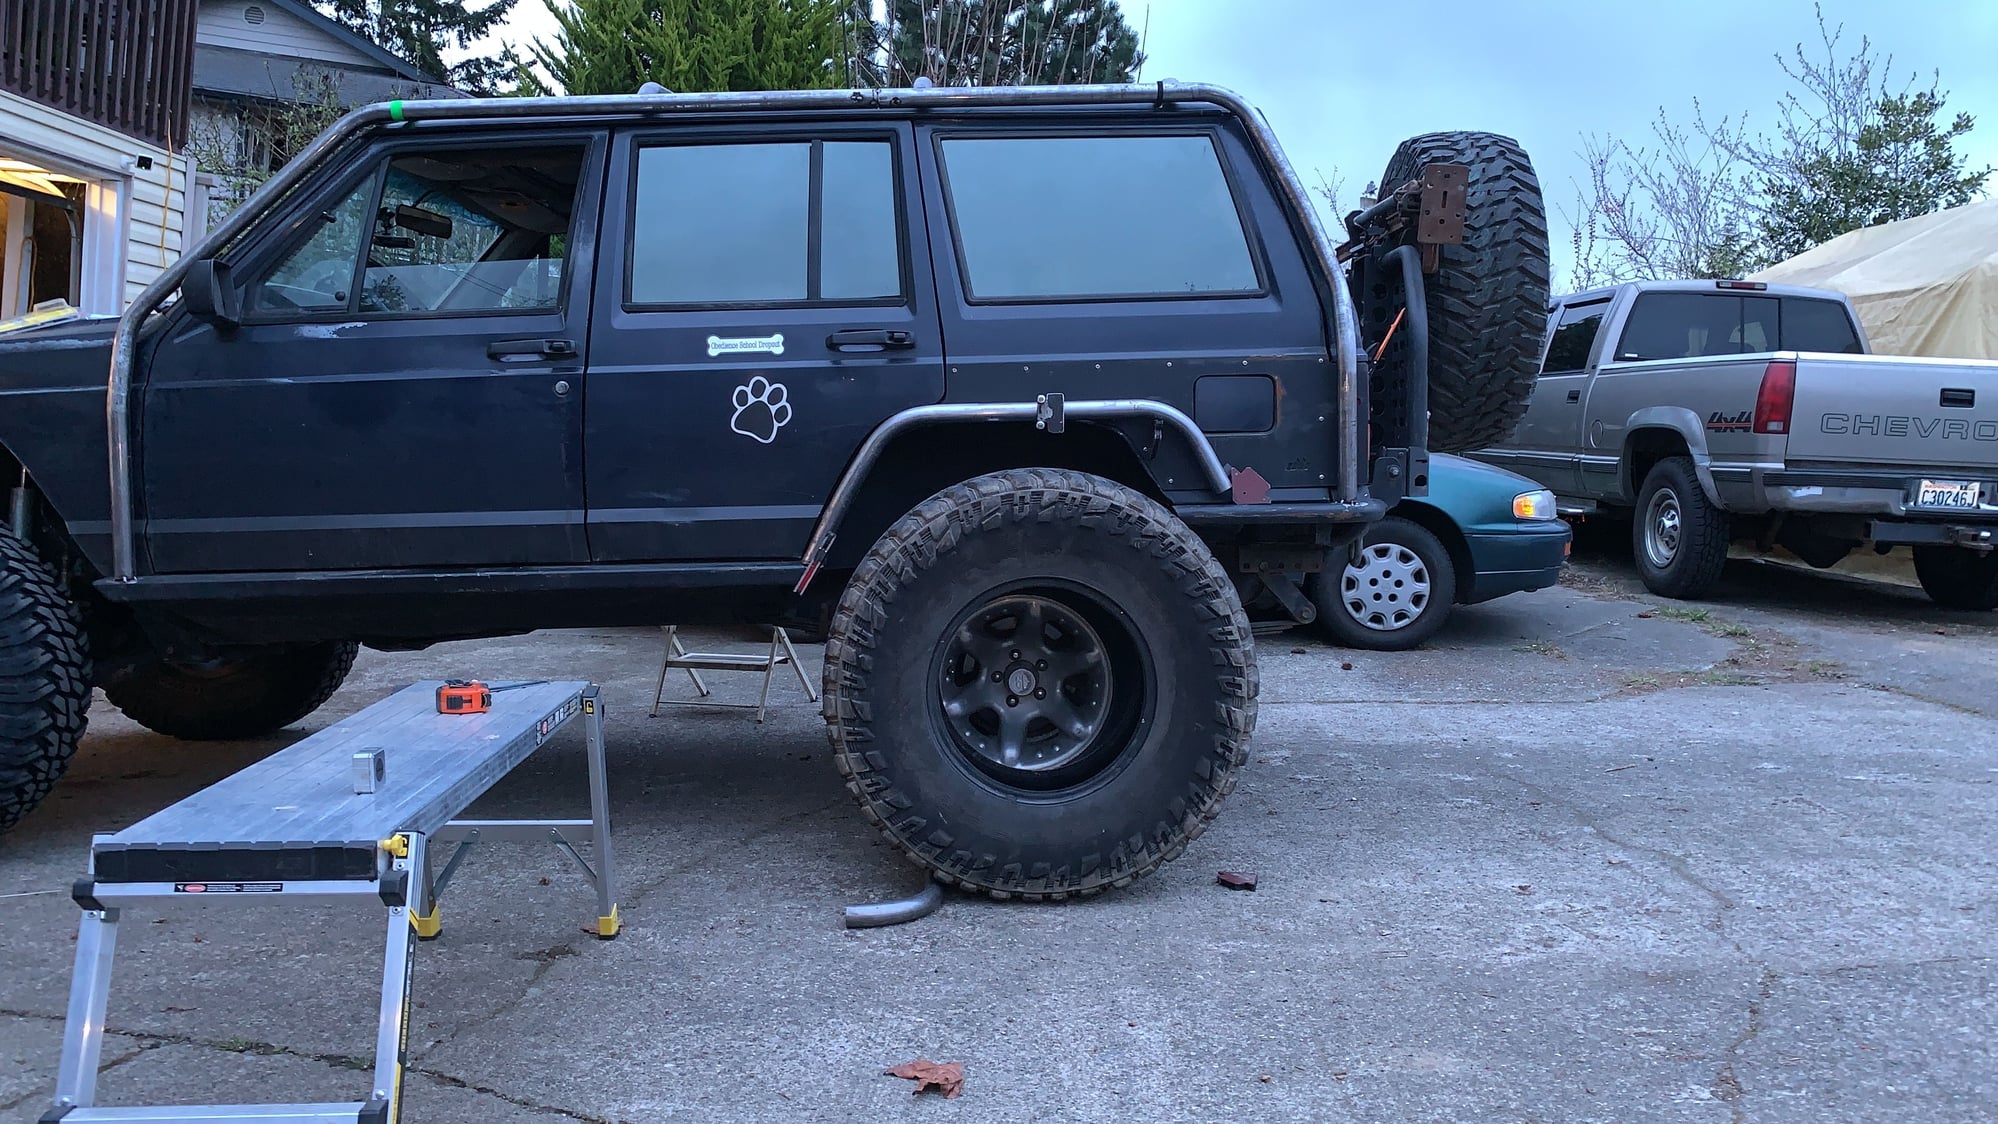
Left the hoops a little big to the rear so I can fit 37’s later 😋
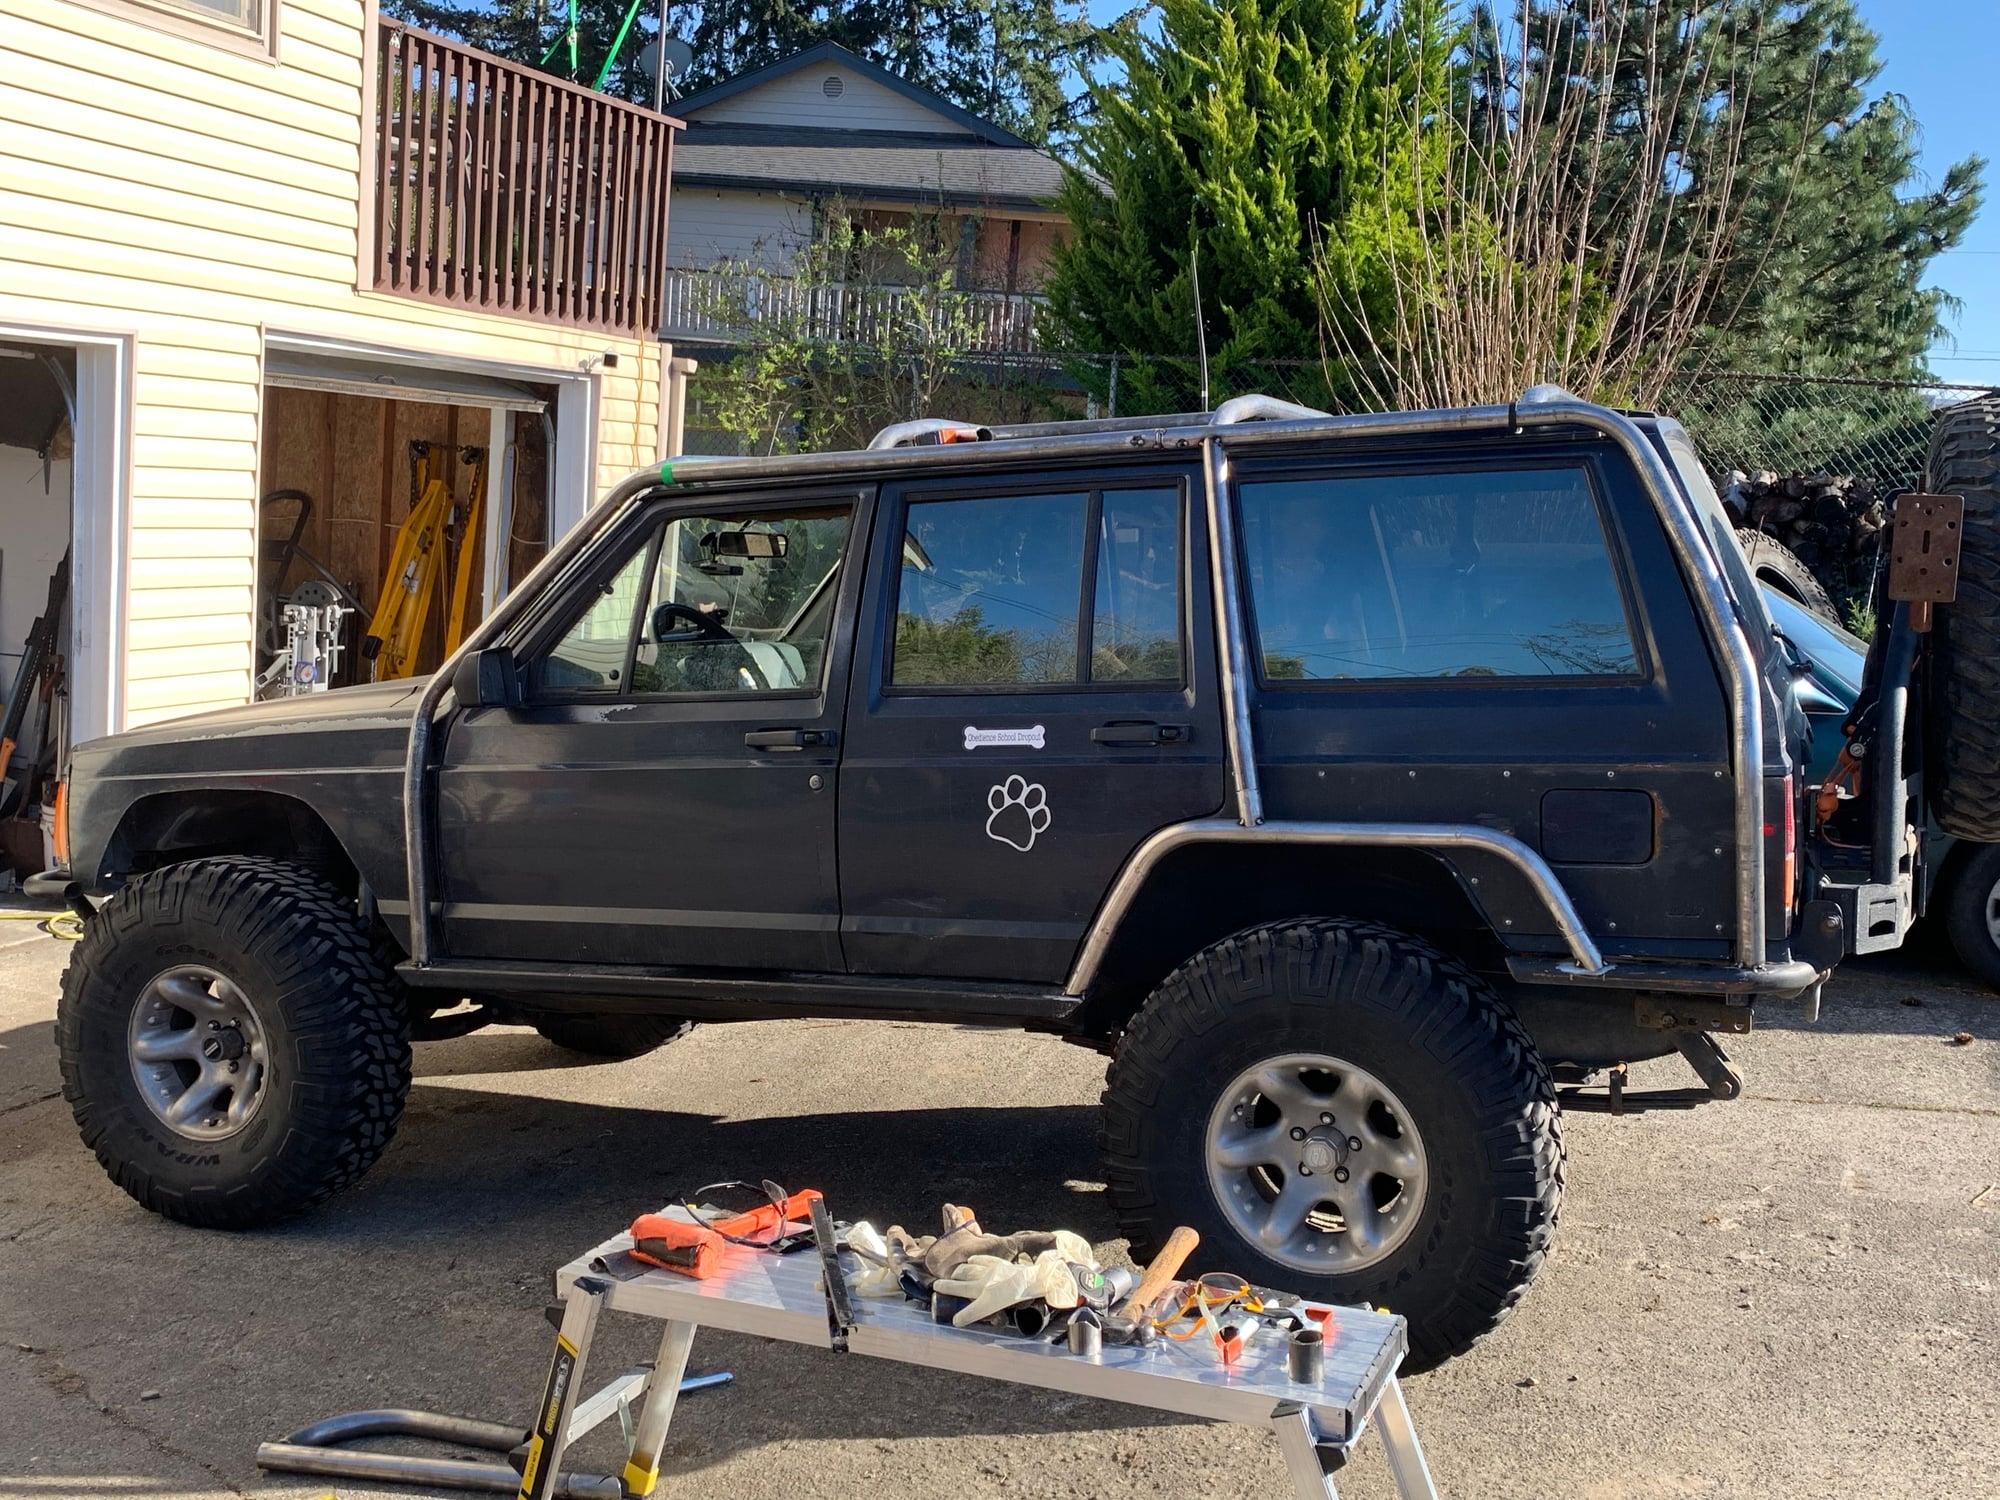
Then the upright to the top. It’ll line up with the cross bar.
#6
Seasoned Member
Thread Starter

Next, the “B” pillar. Decided to put it thru the roof to preserve the function of my doors 😋
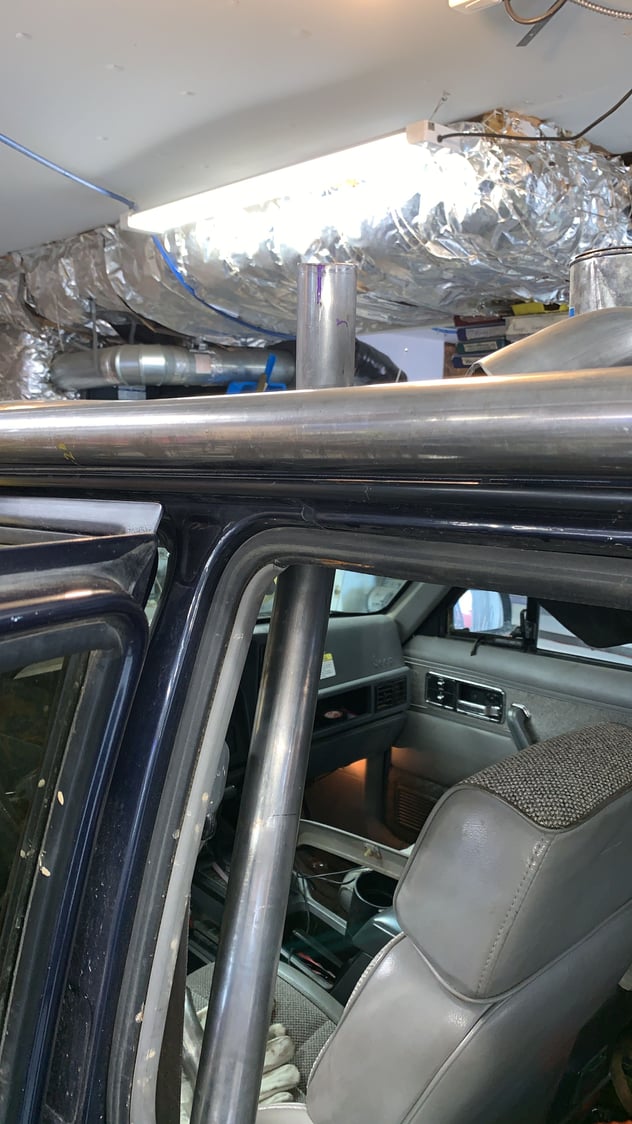
Something like this.

Mine was a bit more of a challenge as I have the factory moon roof. The mounts for the moon roof caused me some issues, but I eventually found a good spot.
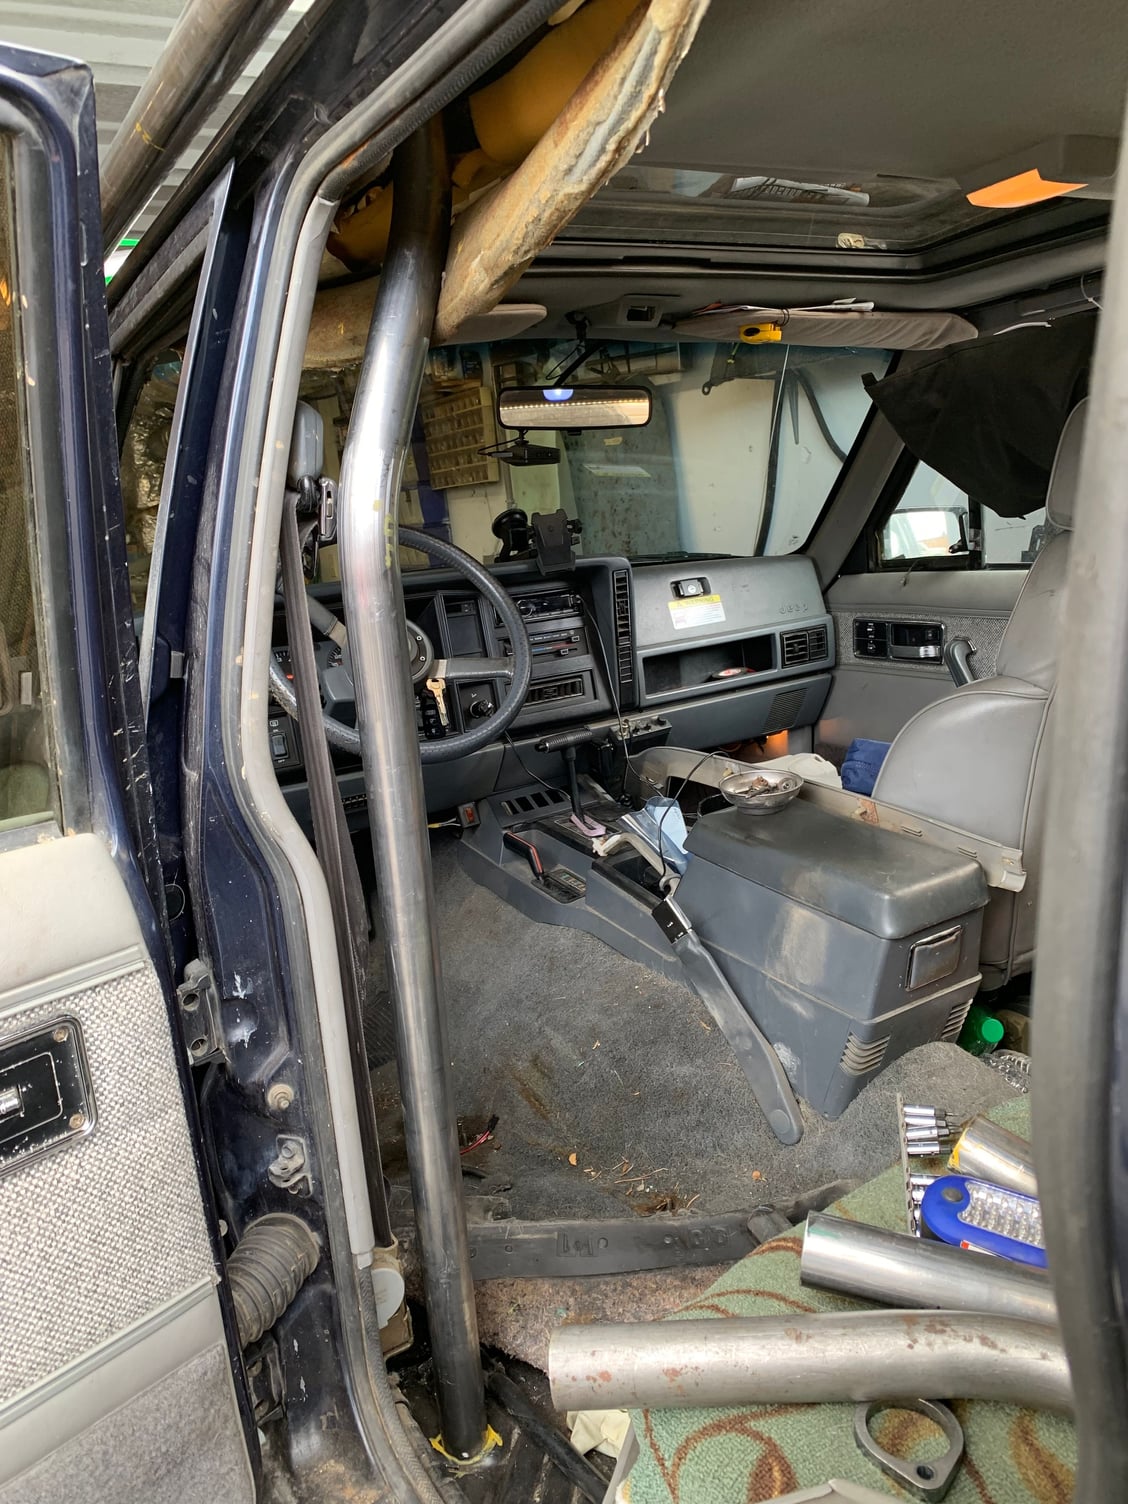
Here it is mocked up.
#7
Seasoned Member
Thread Starter

Here’s the completed “B” pillar bar.

The bottom mounts to a 1/4” plate on the floor board that is welded to 2 of the rock slider supports.
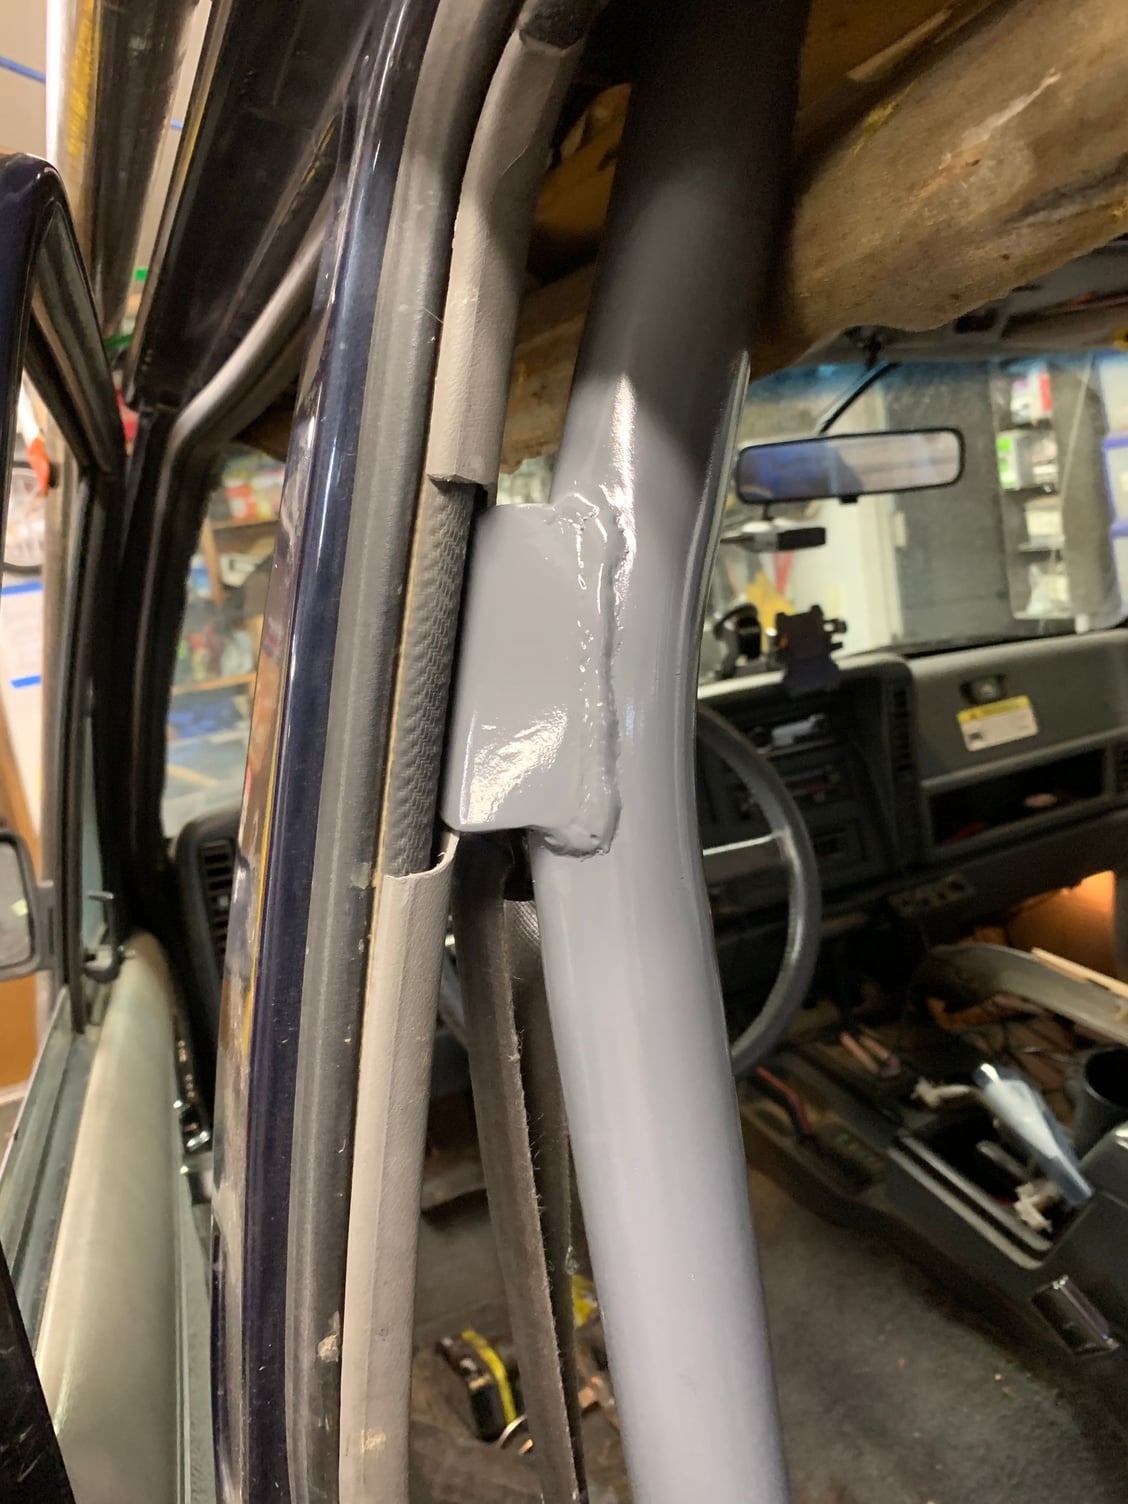
This bracket bolts to the upper seatbelt mount. Had to trim the plastic trim a bit.

The position allows me to recline my seat fully.

And/or fold up the back seat.
Trending Topics
#8
Seasoned Member
Thread Starter

This is how it’ll attach thru the roof.
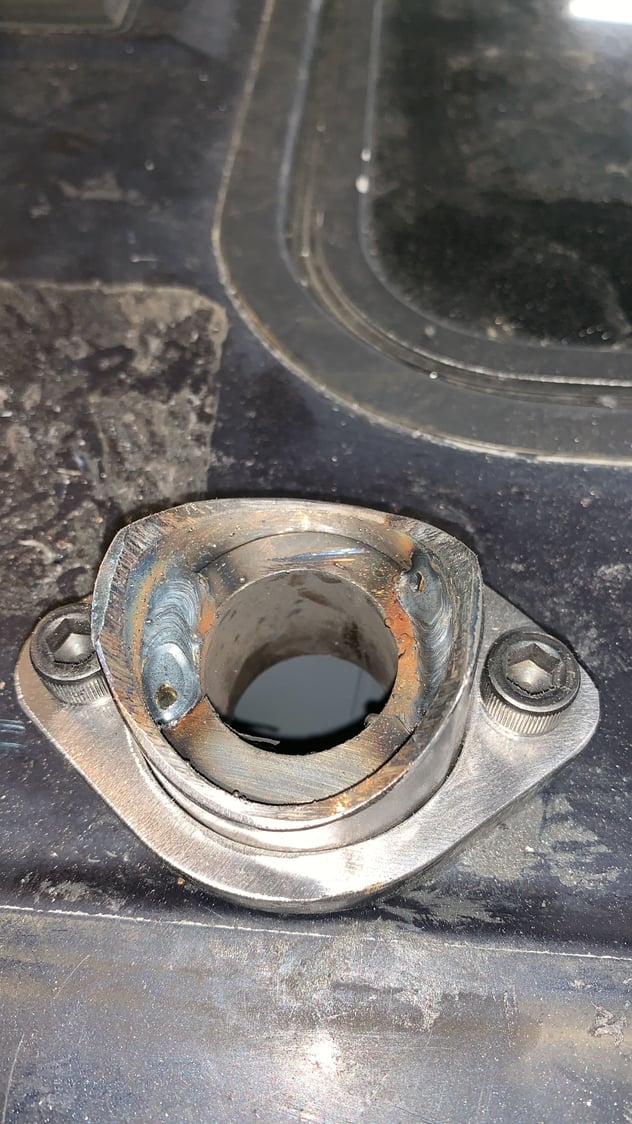
The mount is flanged with 3/8” wall x 1.5” diameter dom tube.

This is how it looks apart. The top of the “B” pillar bar has a 3/8” thick plate that is tapped for the grade 8, 5/16” Allen bolts. The bolts serve to clamp the joint together, the flange provides the strength.
The following users liked this post:
ijeeep (02-20-2021)
#9
Seasoned Member
Thread Starter

This is the mount for the front of the rear wheel well hoops. It’s 3 pierces of 1/4” plate. The slider is drilled and taped for attachment bolts. The triangle shape “hugs” the slider providing a ton of strength.

Here’s how the tube will be welded to it.
#10
Seasoned Member
Thread Starter
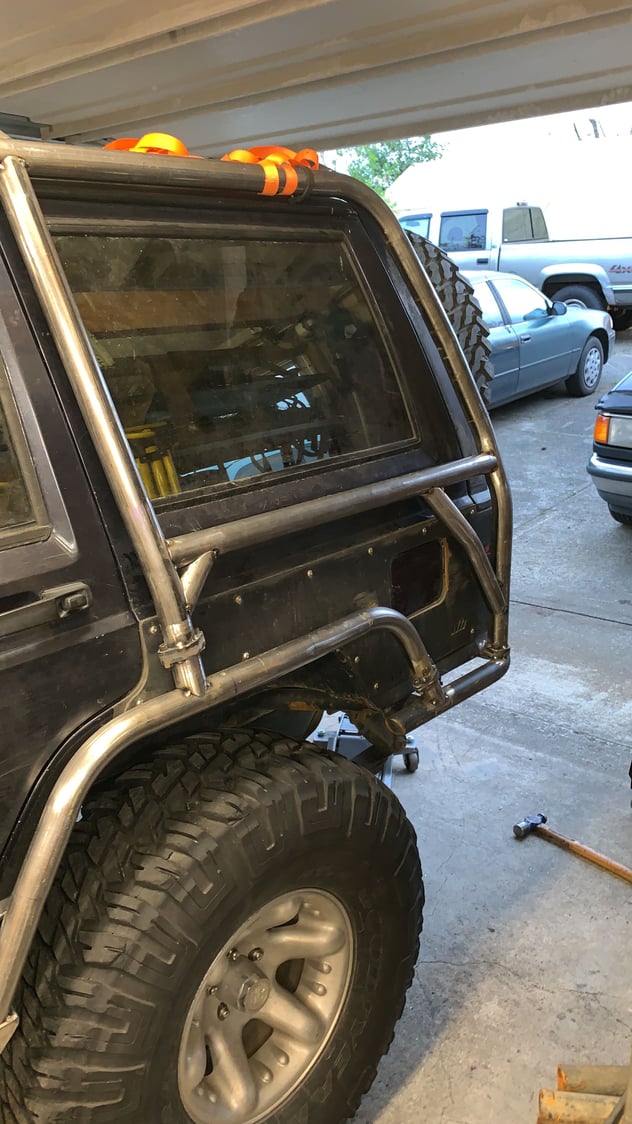
Here’s how I did the sides. The braces provide triangulation without interfering with the window or gas cap.

I wanted to tie in the cage to the body as much as possible. Made these tabs to the body armor attach points.
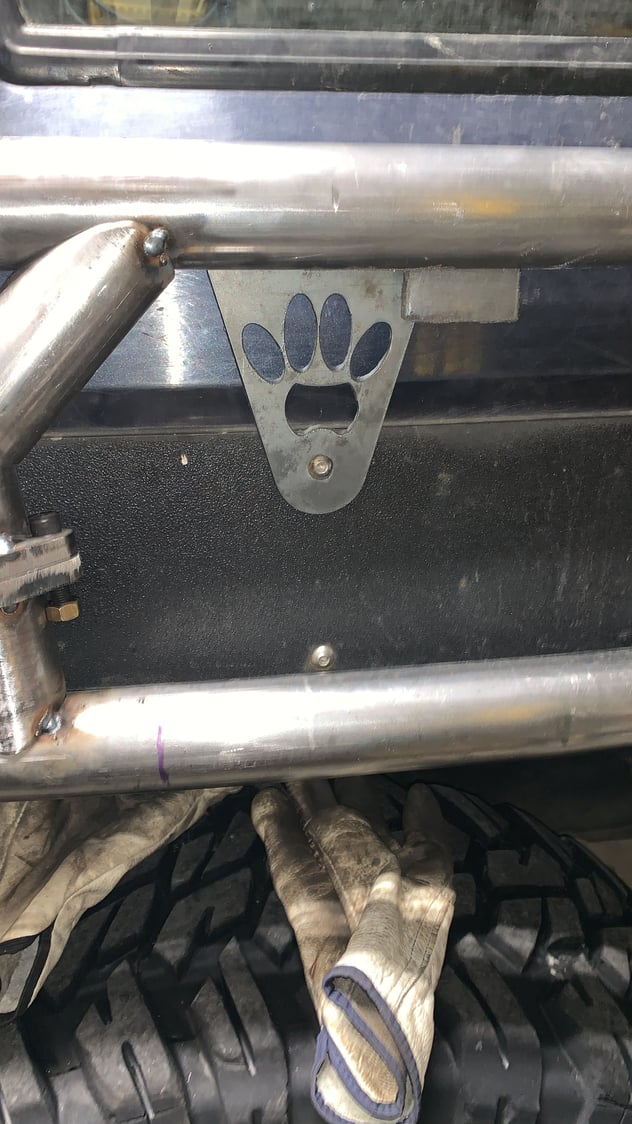
I decided they looked to plain so fired up the cnc plasma and cut these out. The center pad is a bottle opener so I’ll never be without one 😋

I think Daisy approves!
#11
Seasoned Member
Thread Starter
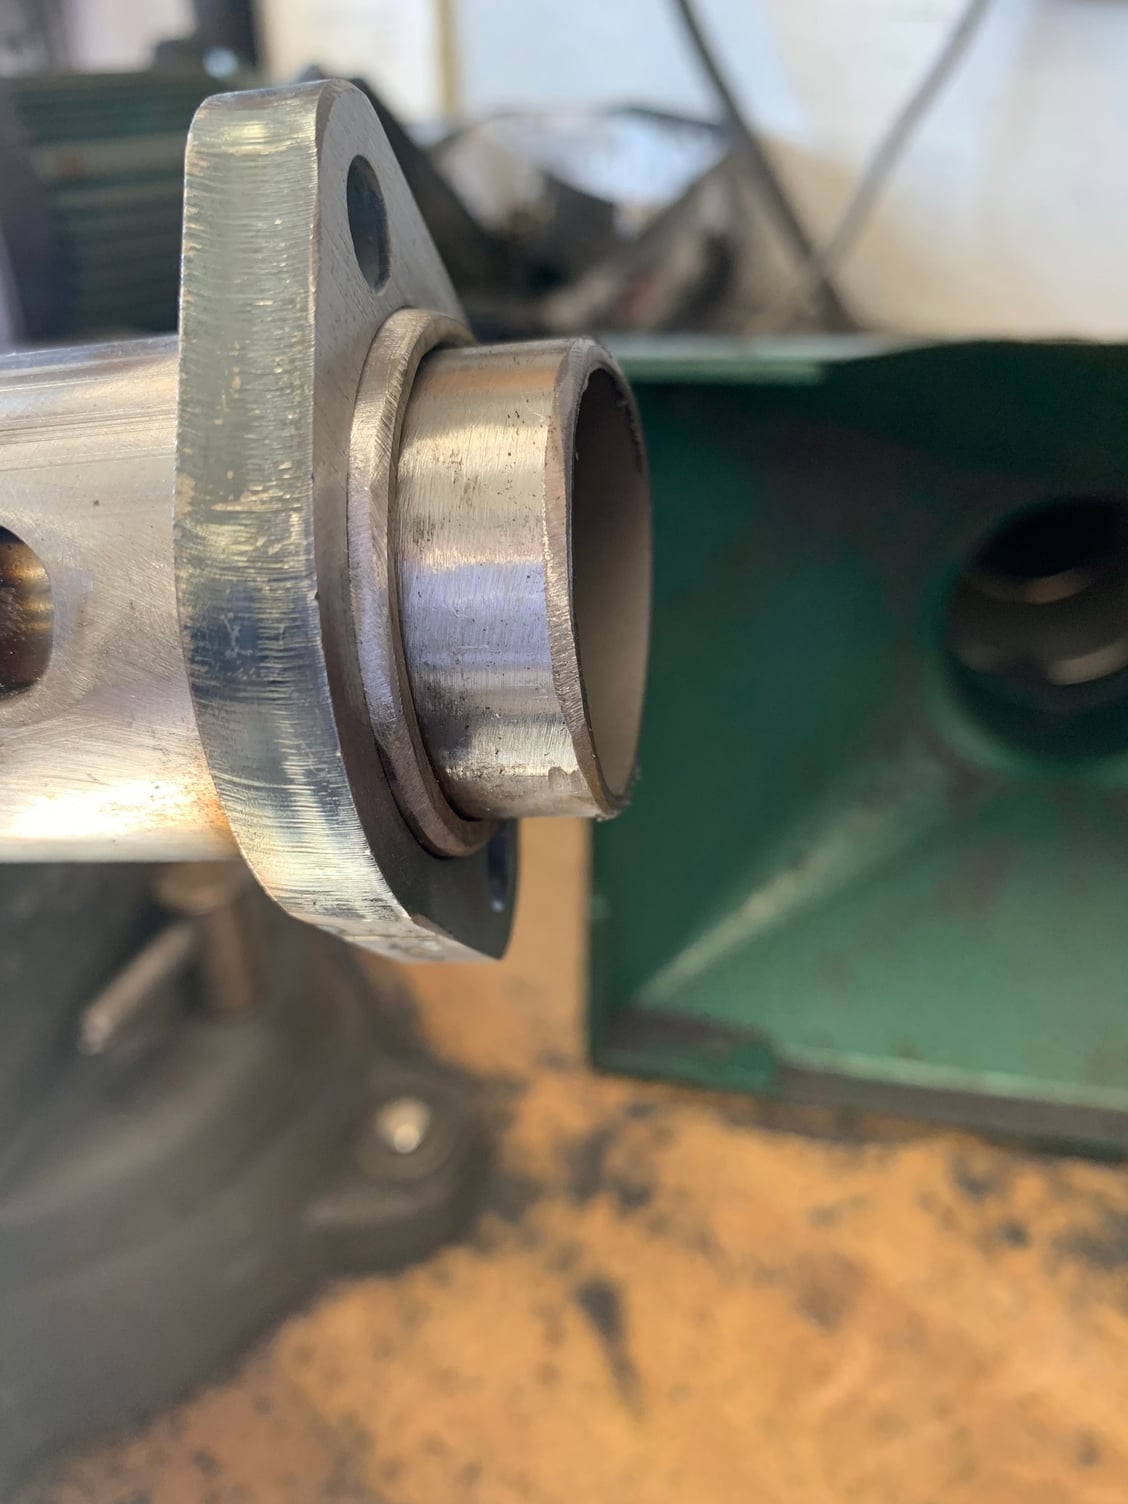
So here is the detail on the mounting points. They are all double flanged with 1.5” DOM sleeve.

This is how it goes together.

The bolts just serve to clamp the joint together. The double flange provides the strength.
#12
Seasoned Member
Thread Starter
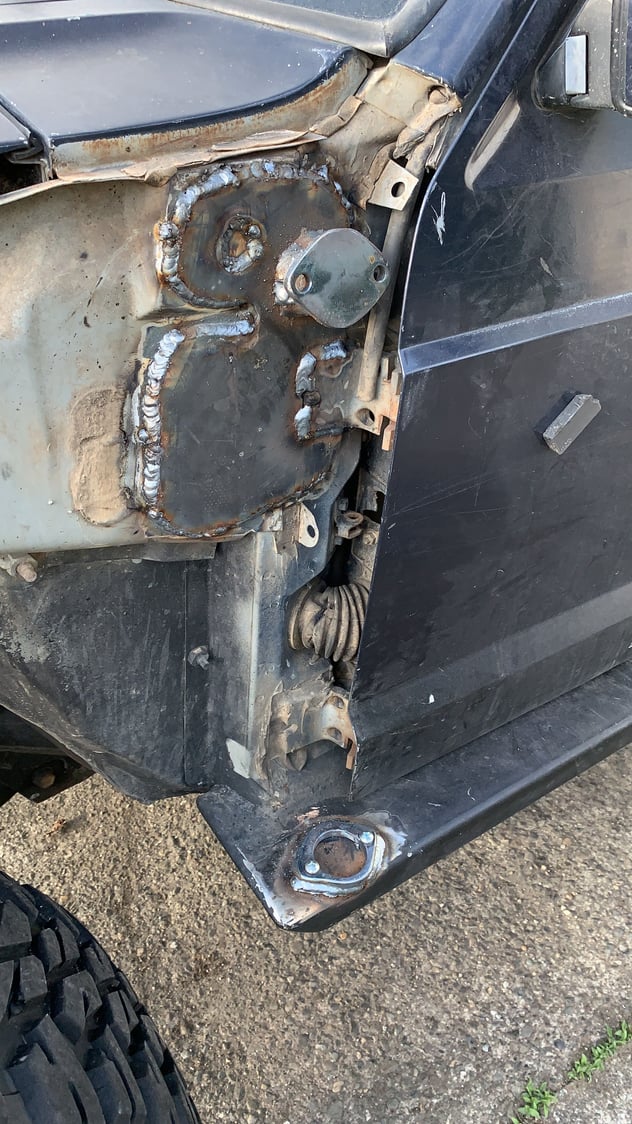
This is the mount for the “A” pillar support. I didn’t want a cross bar blocking my view, restricting access to the windshield and wipers, and the air intake for the heater intake. This is fully welded to the strongest part of the firewall/“A” pillar.
#13
Seasoned Member
Thread Starter

This is how I triangulated the roof cross bars.

The cage is also tied into the factory roof rack mounts. I believe spreading the load is very important on our unibody structures.


