
Another custom fabbed Ford 8.8 swap


Thread Starter
Junior Member
Joined: Sep 2012
Posts: 65
Likes: 0
From: Alberta
Year: 1994
Model: Cherokee
Engine: 4.0L
I upgraded to 33's over christmas, and decided that I was past the usefulness of the D35.
So in comes a ford 8.8.
I paid $69 for it at the local JY, came from a late '90s explorer (3.55gearing and disk brakes). I didn't want to find a 4.10 ratio because I will be eventually going to 4.88s and 3.55 matched my D30 already.
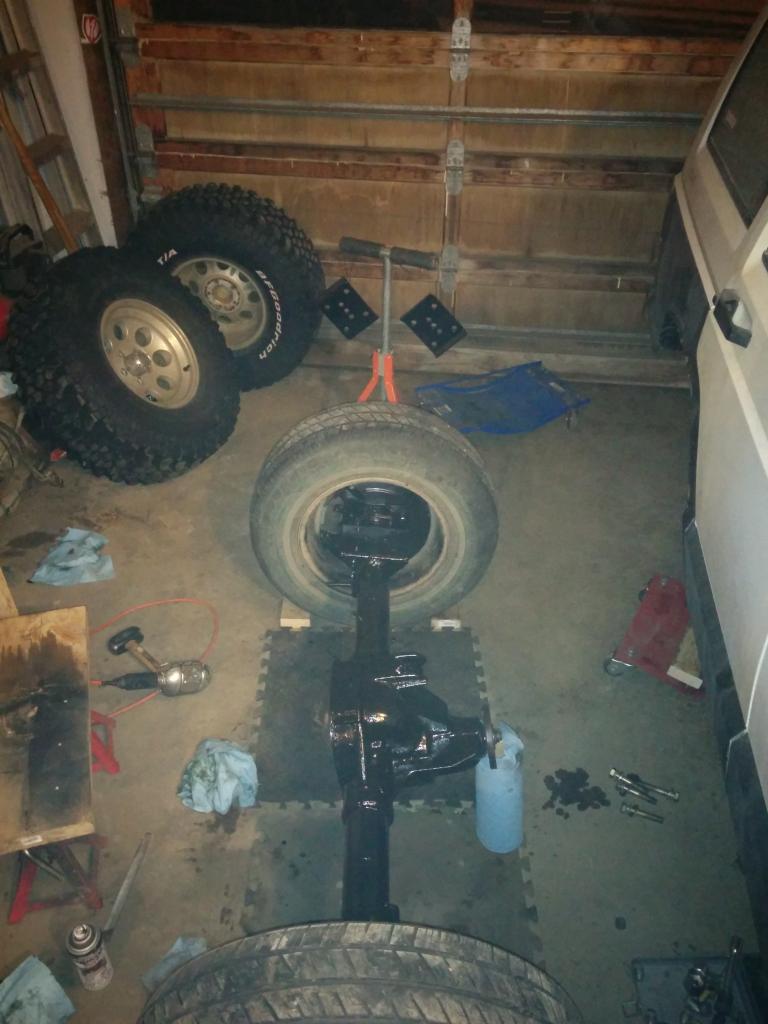
When I brought it home:
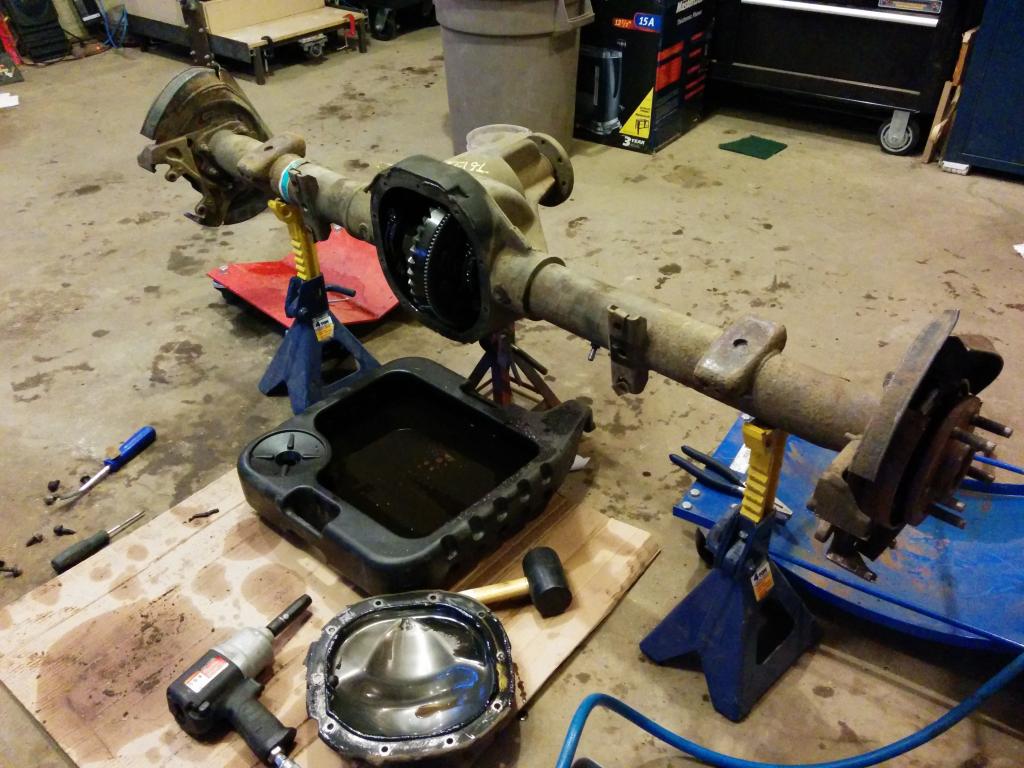
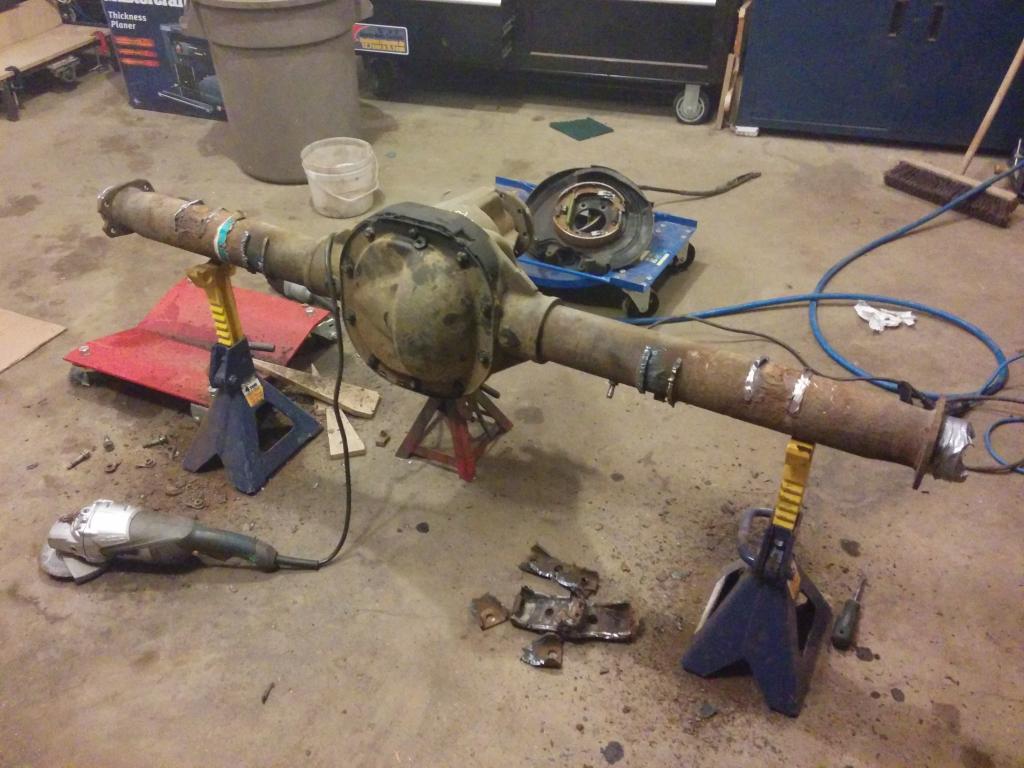
Everything looked good when I drained it and pulled the axles, so I started to cut off the brackets.
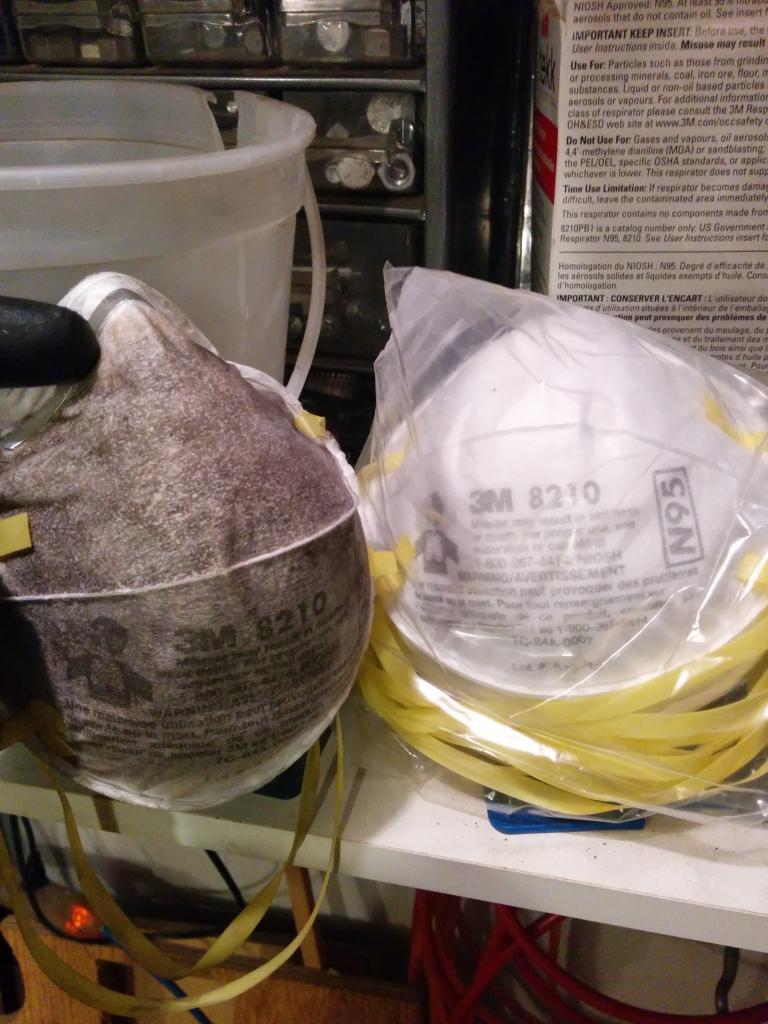
Where a mask!
Next was to get some brackets... I was about to order stuff from ruffstuff, but I'm a student, in canada. So between not having a ton of cash, and trying to get stuff shipped here, I figured I'd make my own.
Now the issue was if I made my own perches, I still had to buy u-bolts. The cheapest I could get for a ford 8.8 around here was about $70.
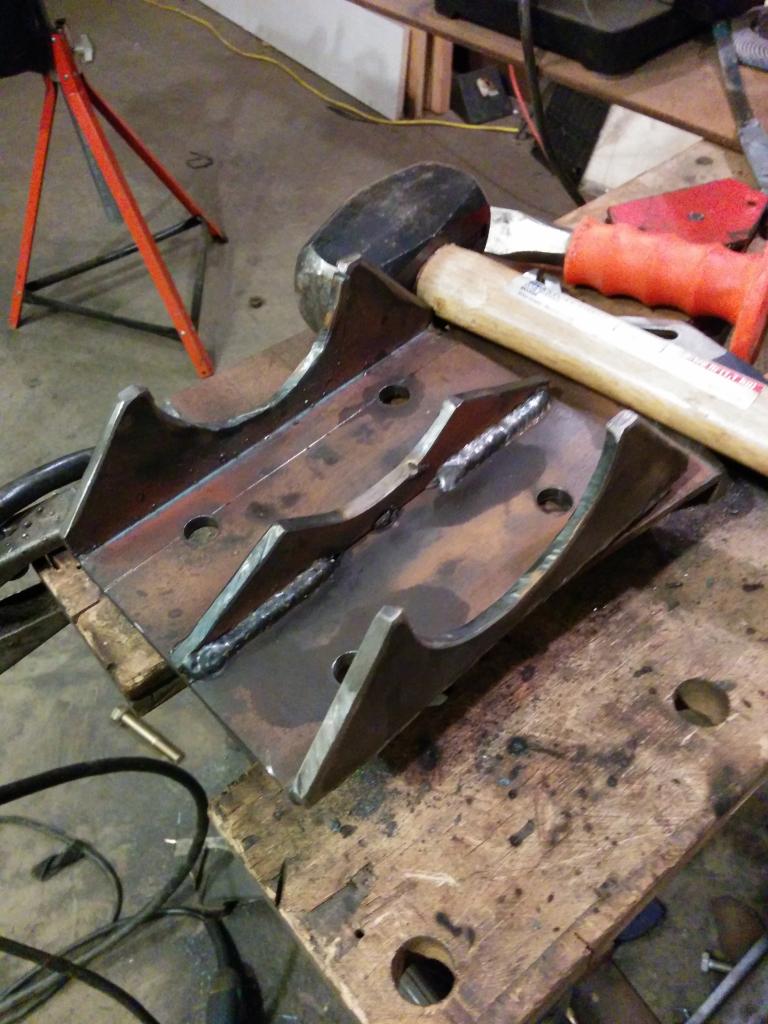
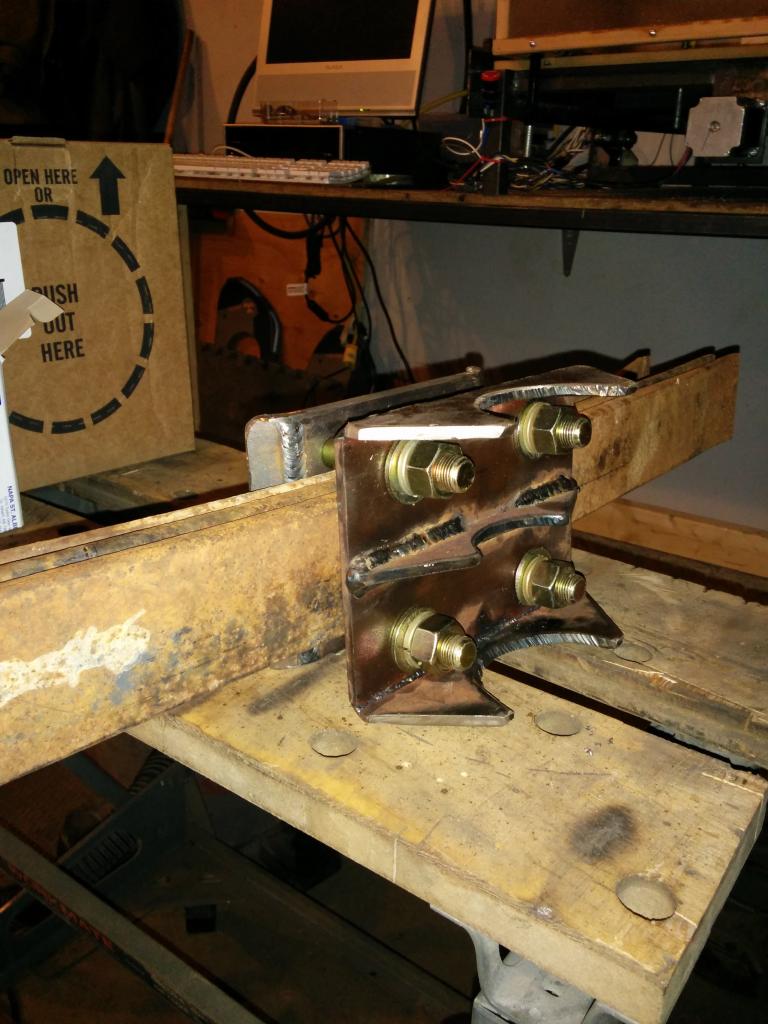
The obvious solution was to get some grade 8, 5/8" fine-thread bolts for cheap from friends at Napa, and make my own u-bolt eliminators.
Without a press / press brake, it took way too long. But I have the time and tools, and I only paid total ~$20 + $25 for all the metal and bolts for this project, so whatever.
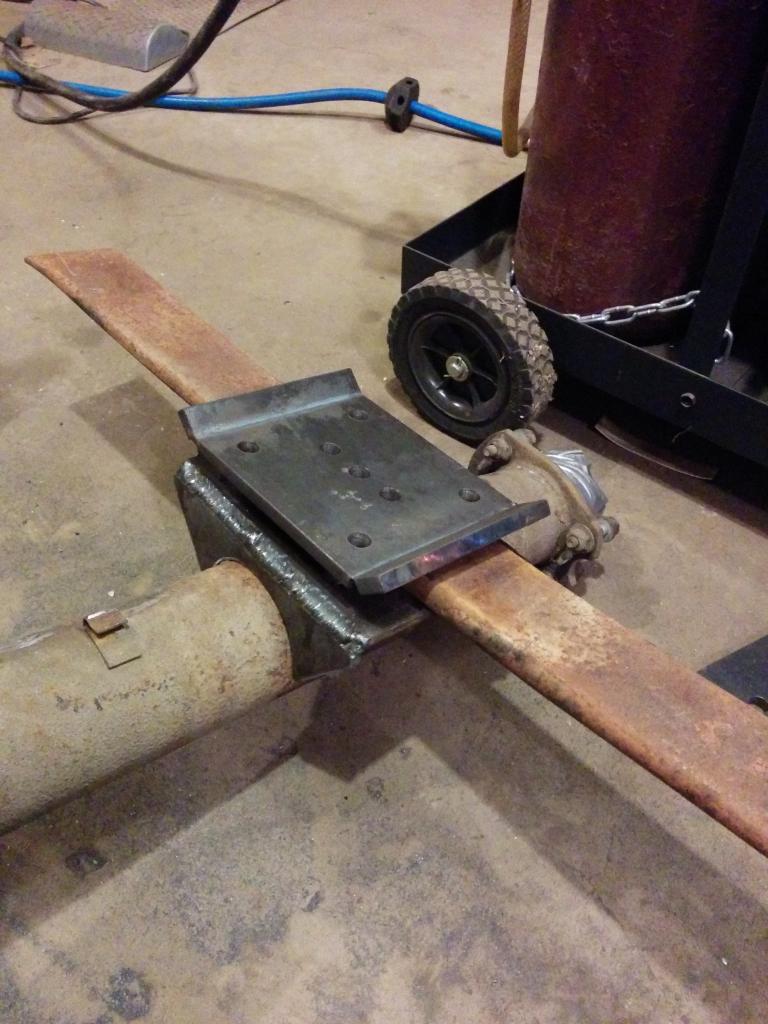
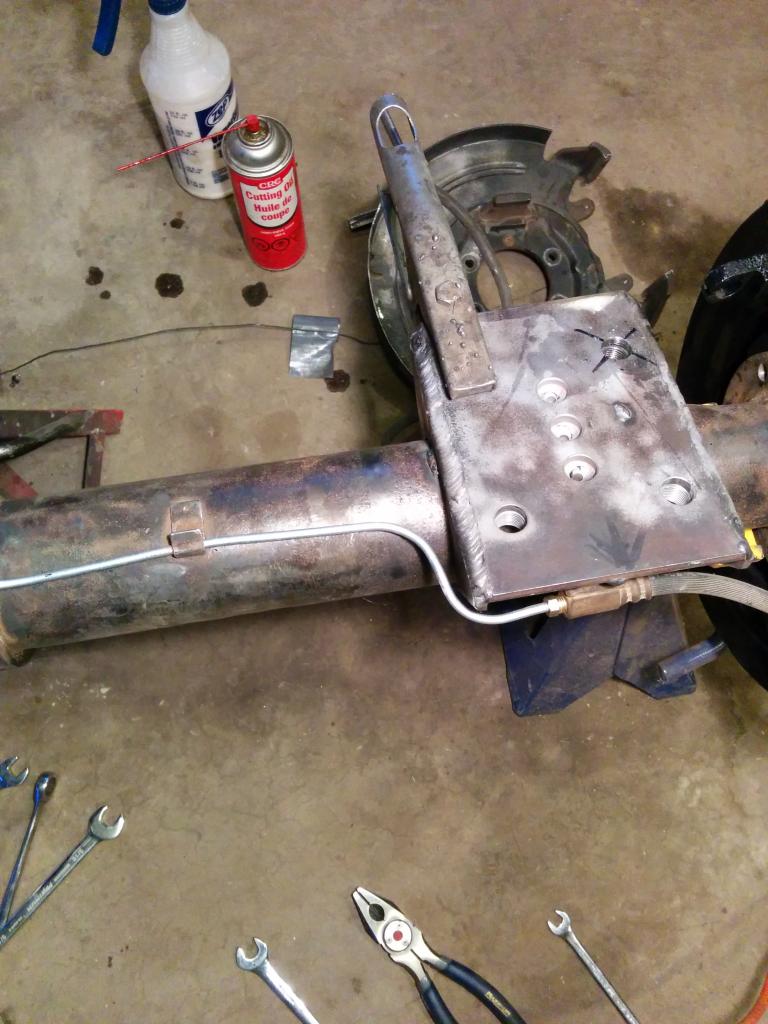
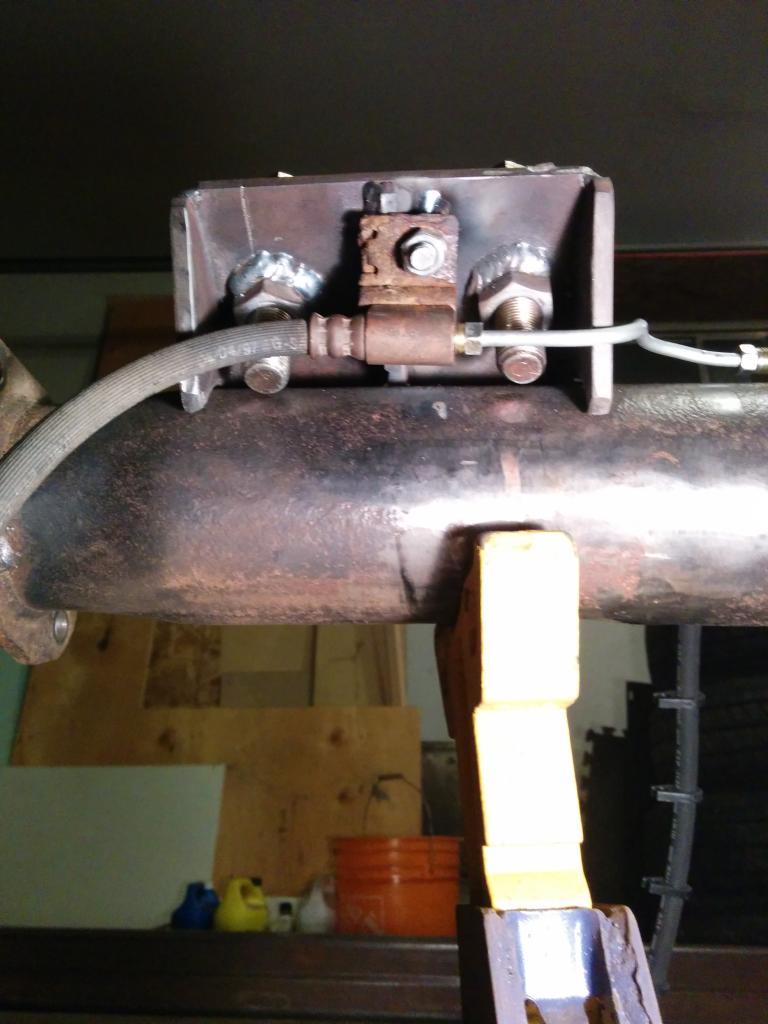
Once the UBEs where done, I tacked them on at 15� and began to bend up some brake lines and softline mounts.
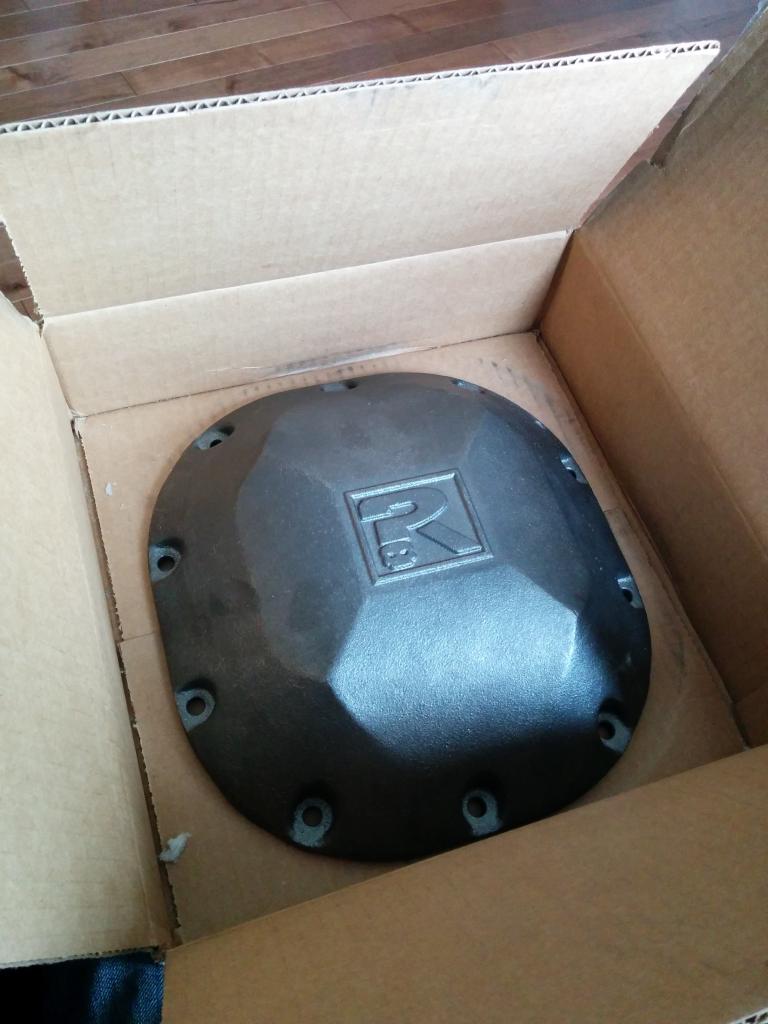
Got a riddler diff cover
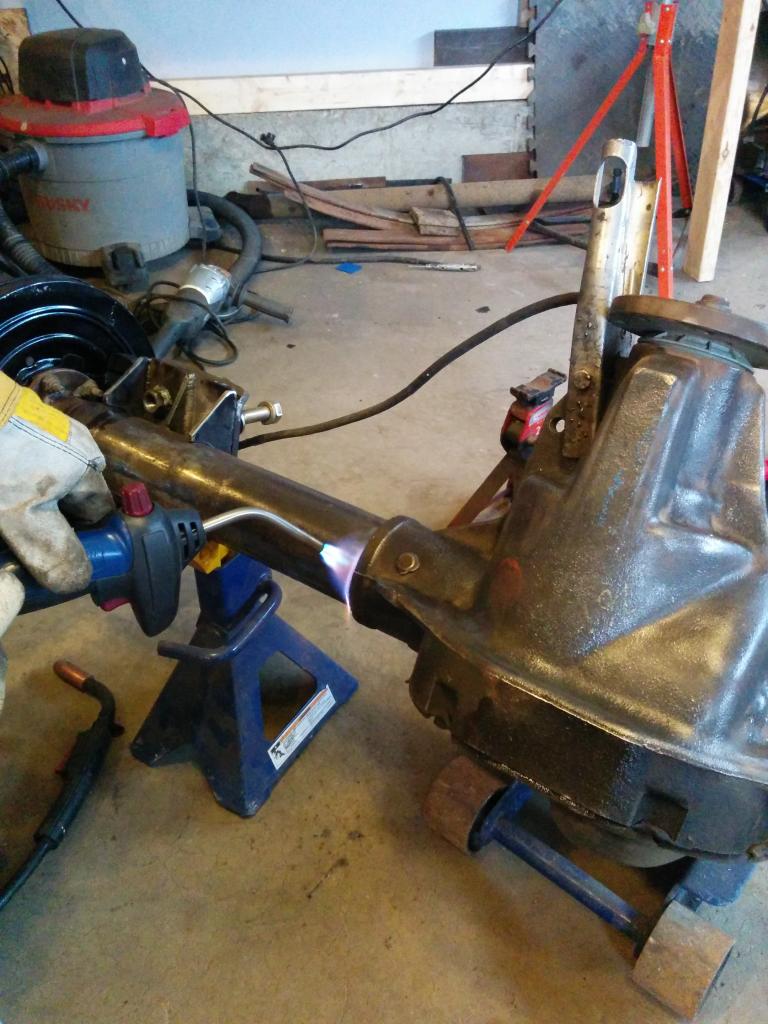
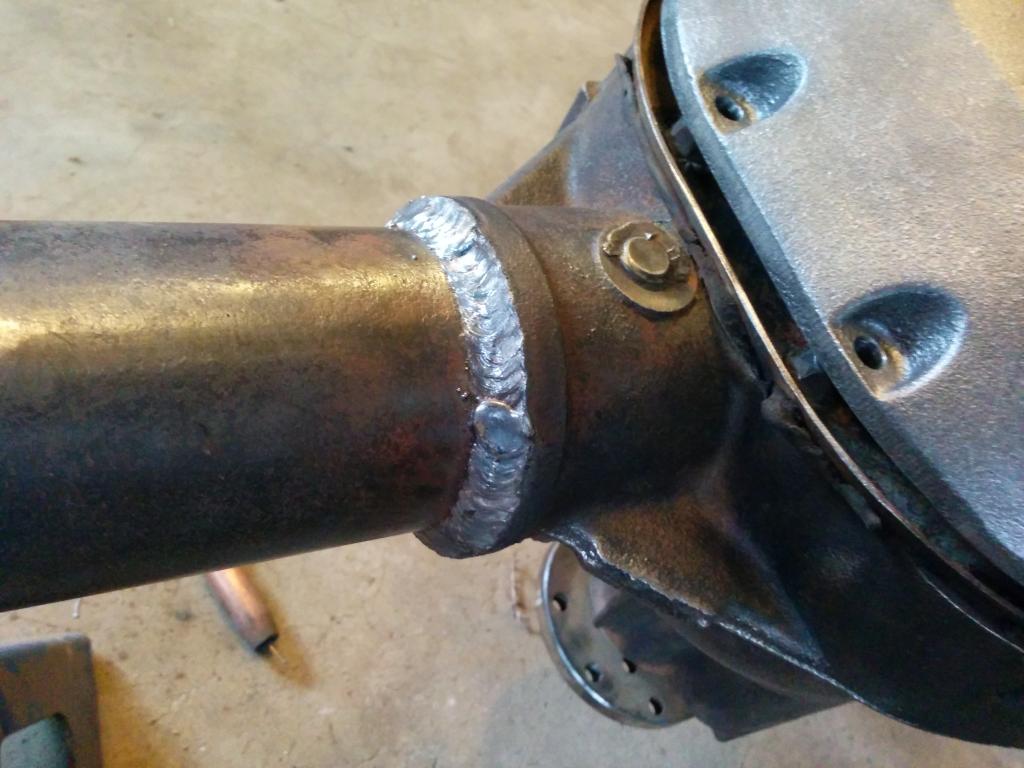
Welded the tubes to the housing. The ford 8.8 has a cast steel housing, so it is much easier to weld to than cast iron. Pre-heat some, weld 1.5" bead, post-heat, cover with extra welding gloves to cool, rotate 180�, repeat.
I got no cracks or issues with the welds. I'm pretty happy with them.
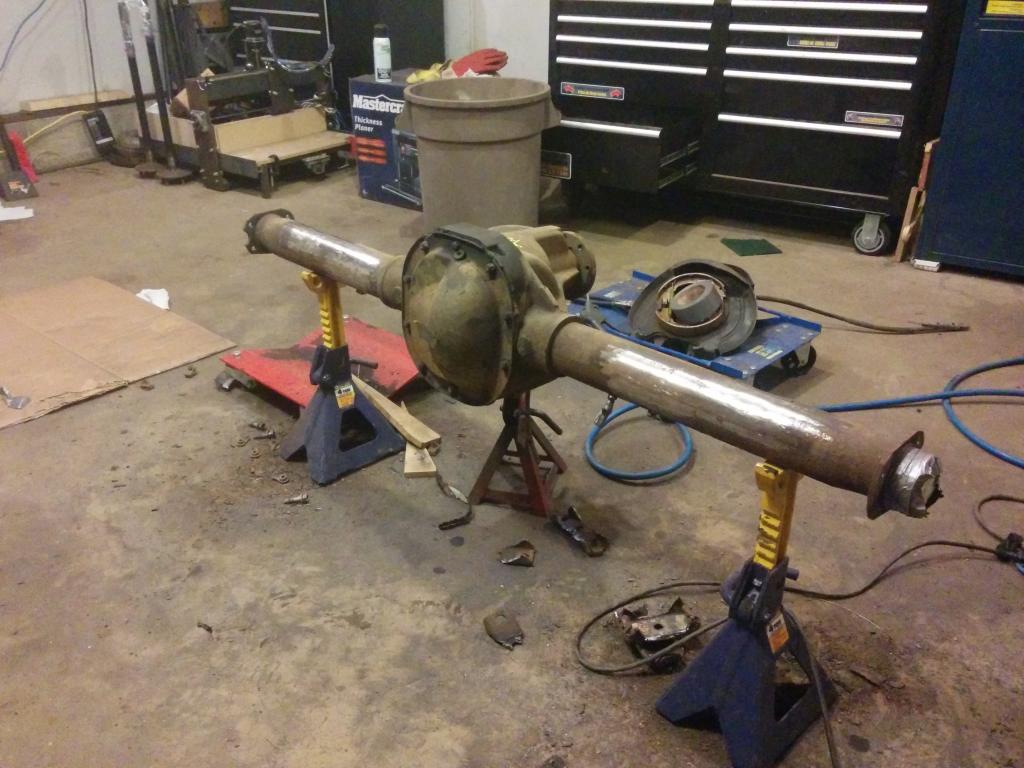
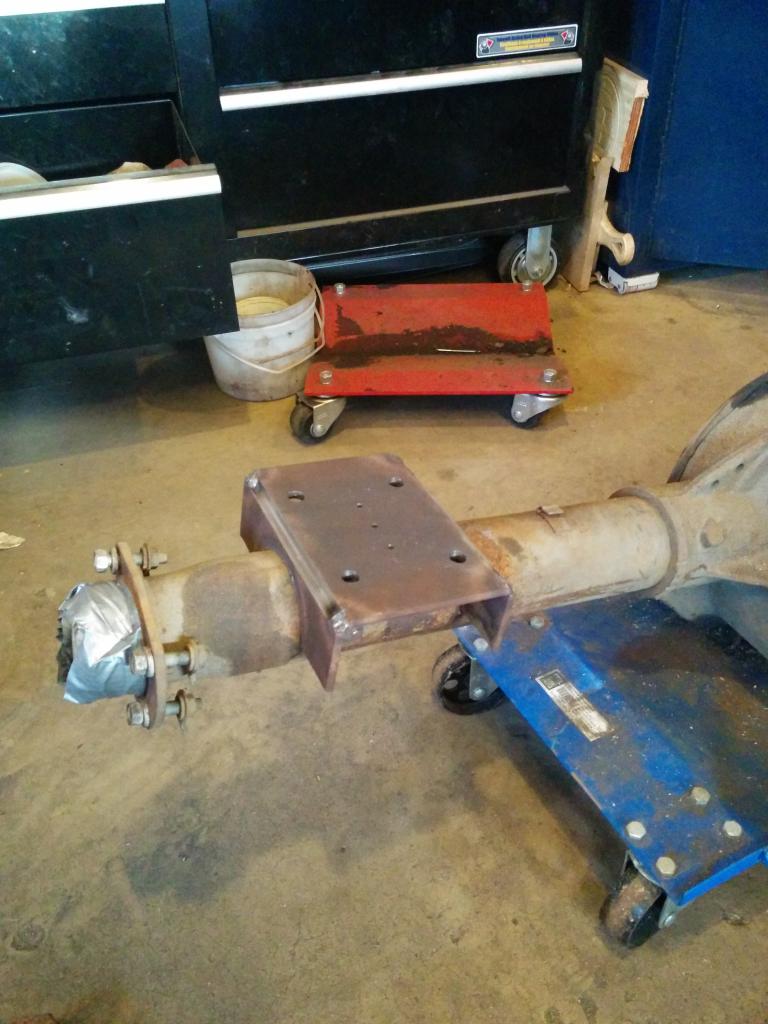
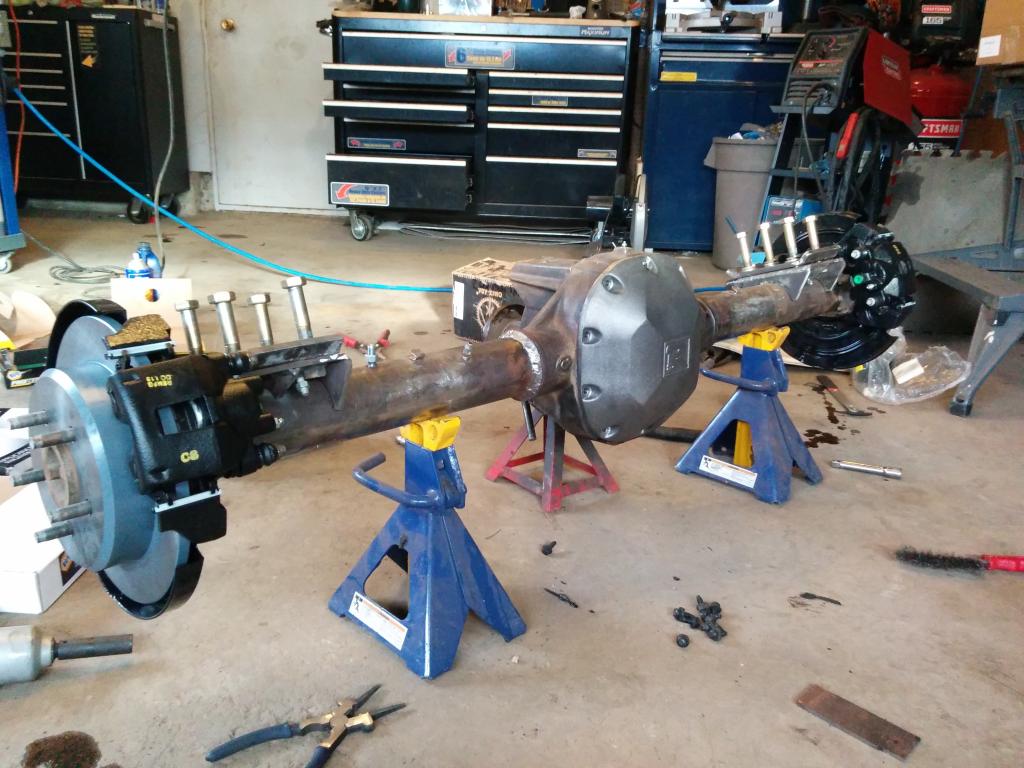
Finally, ready for mock-up
The most expensive part of this whole build was the brakes ($300). Other than that I have ~$50 in metal, bolts and hardlines, and the $69 for the original axle. Plus $160 for the diff cover.
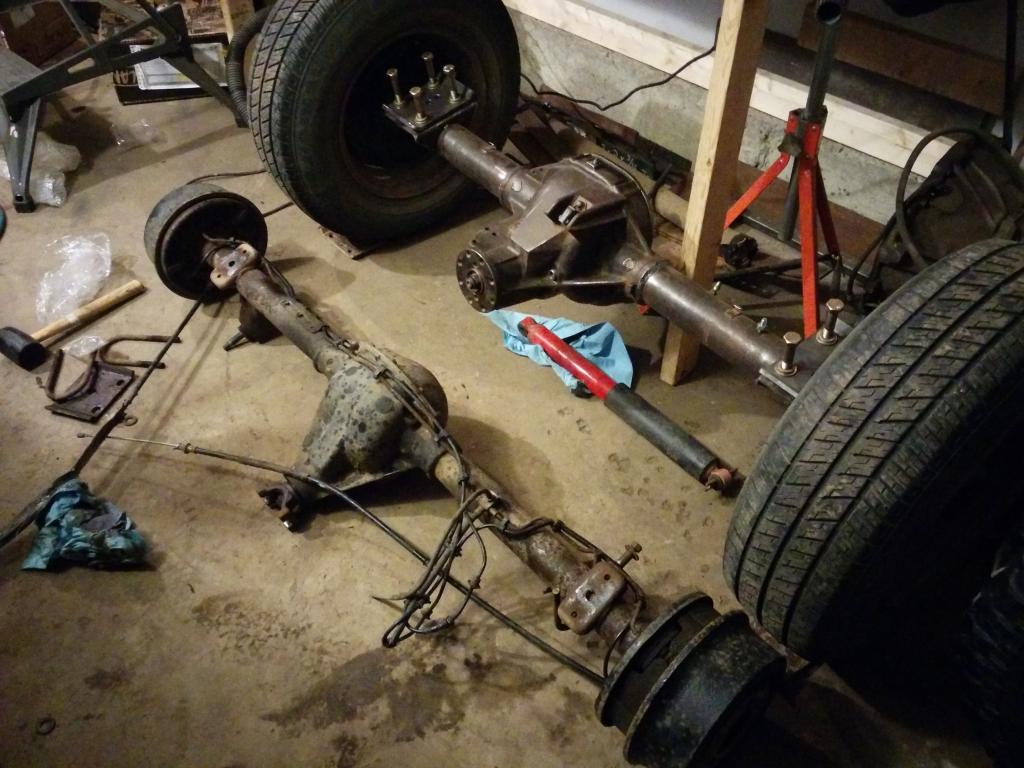
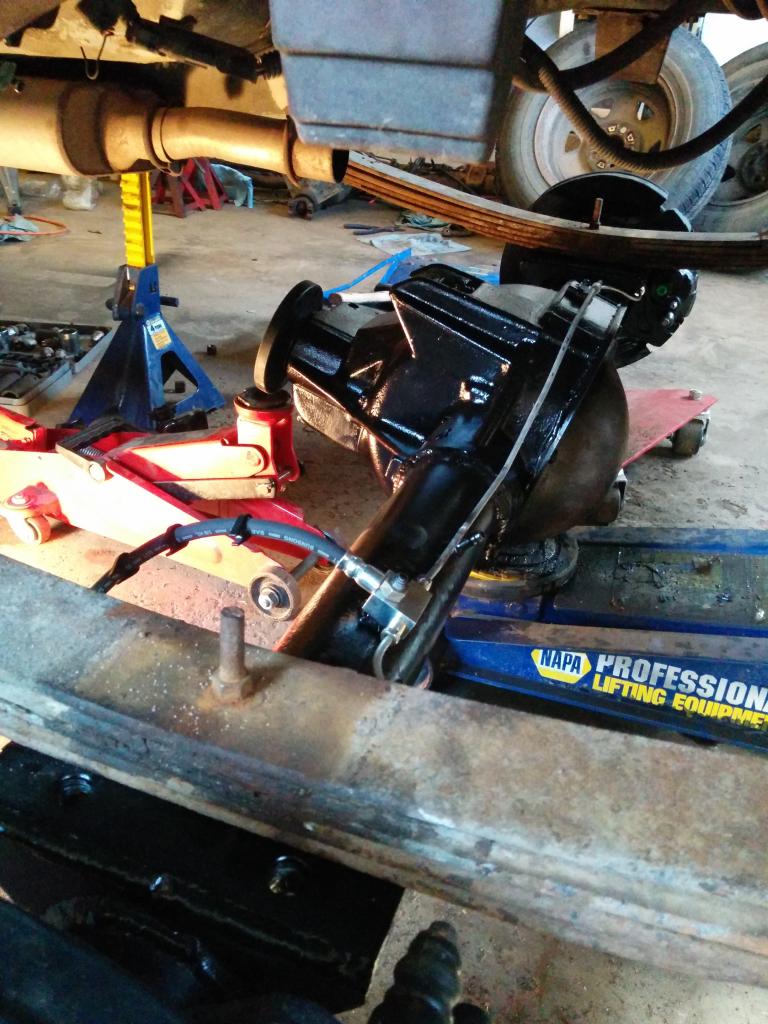
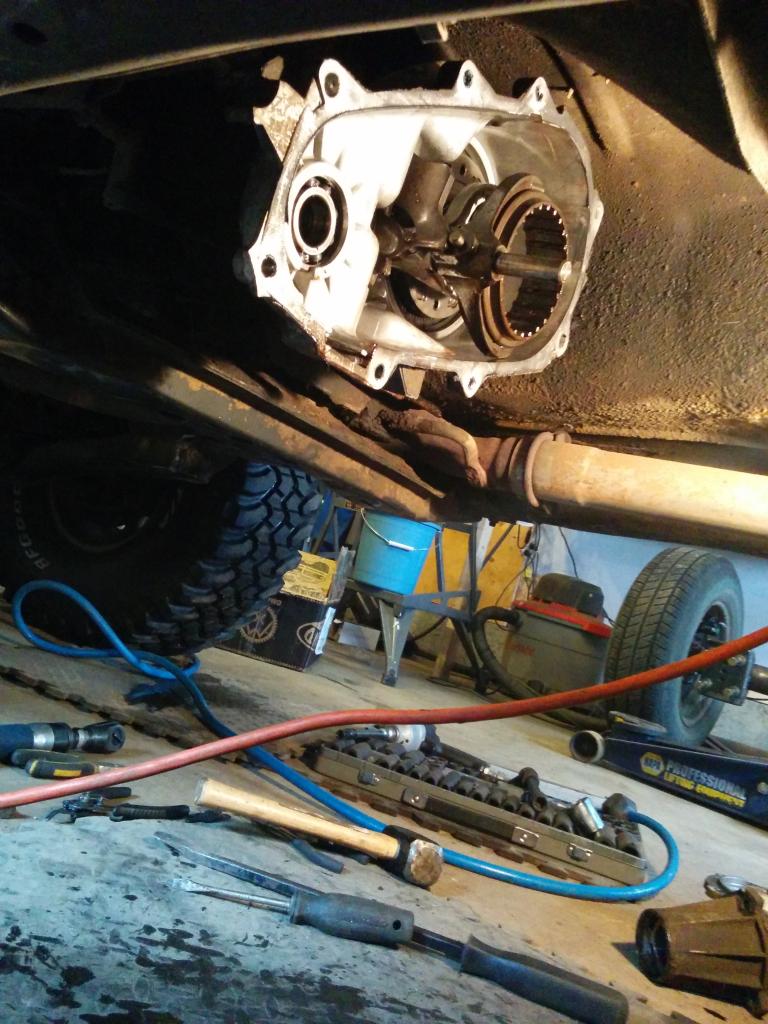
Next was to pull the D35 out. Way smaller than the ford 8.8!
Get the ford 8.8 in and measure pinion angle. I needed 15� on the mark! Pretty good guess when I tacked the perches on I guess
I didn't get pictures of final welding... but I welded all three 'legs' of the perches inside and out, and made very basic shocks tabs by welding a bolt to a piece of metal with the sides shaped to fit the tubing.
Then paint! Got a weird flash with the camera... My bad.
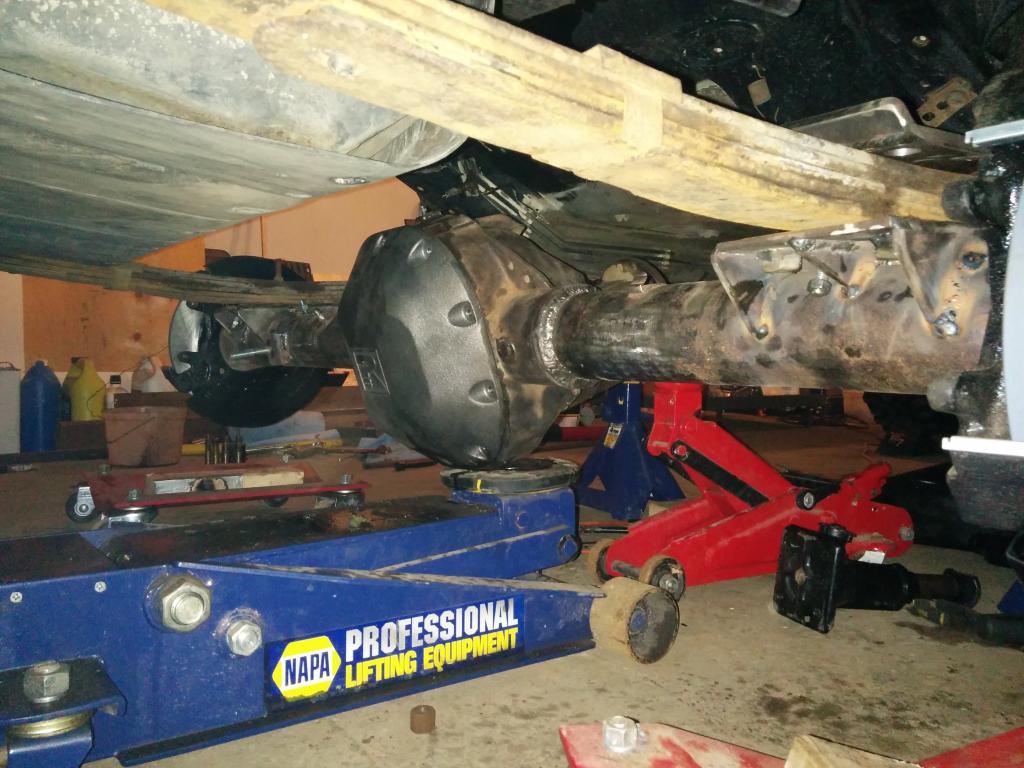
Final install!
This is the shock mount... Kinda dark, but you can see it.

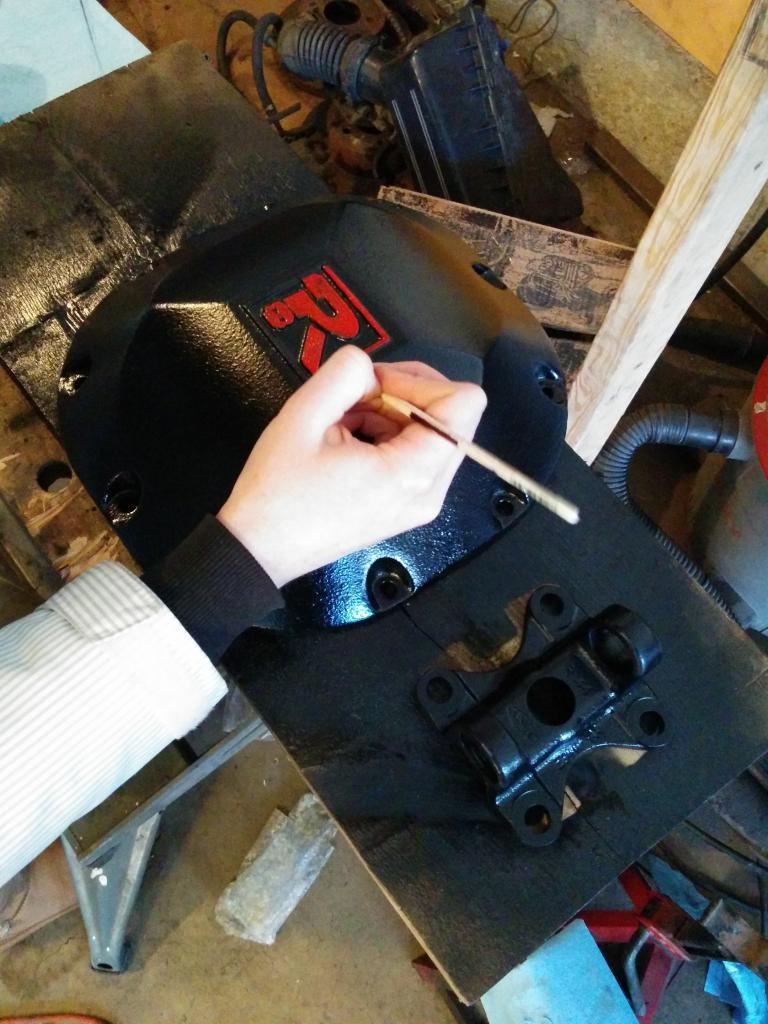
Then paint the cover: Thanks to my GF for the final painting on the logo
Almost done
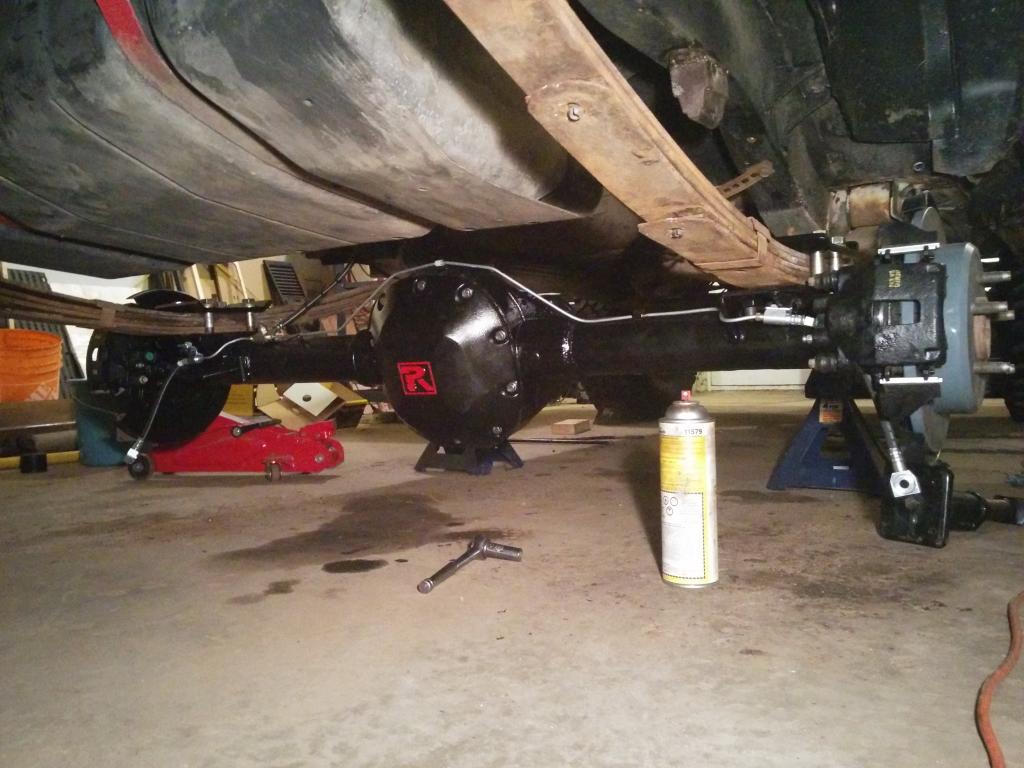
And bang!

I still need to get shocks installed. I measured and I need 13" collapsed and 19" extended. I was surprised how little shocks travel there actually is... My rear flexes pretty good with 3.5" lift and shackle relocation brackets. So I picked up some super cheap stock monroe shocks (12.2" collapsed and 20" extended). Eventually I will be building shocks towers and running longer shocks. But this works perfect for now.
For a driveshaft, I also did a SYE install
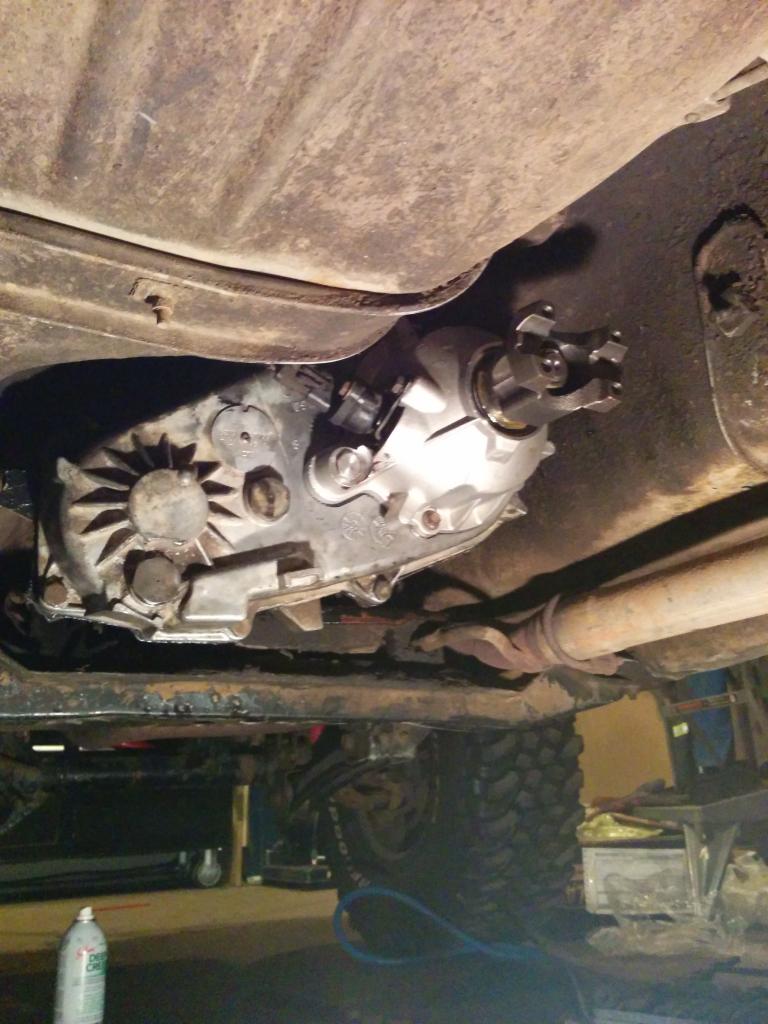
Then mated that up with the stock flange from the 8.8 with a 1330/1310 u-joint installed into a stock front driveshaft from an auto XJ. I still have plenty of spline engagement, but will have to keep an eye on it if I go higher (I plan on it)
As for the drum to disk conversion, I will be swapping in the internals of a ZJ proportion-valve. Many have said to just pull the o-ring / seal. Others have said pull the spring AND o-ring. After some research, it seems that pulling the o-ring can and still using a spring from the drum-style prop-valve can result in residual fluid pressing the rear brakes (like a drum brake it supposed to). This results in excessive wear and high wheel temps.
So the easiest solution is to just go to a JY, and with a 3/4 or 19mm wrench, pull the guts out of a ZJ prop-valve and simply install the internals into the XJ valve already in the jeep.
For handbrake cables, I have yet to purchase any, but will be doing that soon. Other threads mention OEM cables from other vehicles working, so I will go that route and purchase them from Napa.
In the near future, I'll be installing a Detroit locker, but for now it stays open. It feels amazing to have a sturdy axle under the back-end though... Now I'll need to find some 35s I guess
So in comes a ford 8.8.
I paid $69 for it at the local JY, came from a late '90s explorer (3.55gearing and disk brakes). I didn't want to find a 4.10 ratio because I will be eventually going to 4.88s and 3.55 matched my D30 already.
When I brought it home:

Everything looked good when I drained it and pulled the axles, so I started to cut off the brackets.


Where a mask!

Next was to get some brackets... I was about to order stuff from ruffstuff, but I'm a student, in canada. So between not having a ton of cash, and trying to get stuff shipped here, I figured I'd make my own.
Now the issue was if I made my own perches, I still had to buy u-bolts. The cheapest I could get for a ford 8.8 around here was about $70.
The obvious solution was to get some grade 8, 5/8" fine-thread bolts for cheap from friends at Napa, and make my own u-bolt eliminators.
Without a press / press brake, it took way too long. But I have the time and tools, and I only paid total ~$20 + $25 for all the metal and bolts for this project, so whatever.


Once the UBEs where done, I tacked them on at 15� and began to bend up some brake lines and softline mounts.


Got a riddler diff cover

Welded the tubes to the housing. The ford 8.8 has a cast steel housing, so it is much easier to weld to than cast iron. Pre-heat some, weld 1.5" bead, post-heat, cover with extra welding gloves to cool, rotate 180�, repeat.
I got no cracks or issues with the welds. I'm pretty happy with them.


Finally, ready for mock-up

The most expensive part of this whole build was the brakes ($300). Other than that I have ~$50 in metal, bolts and hardlines, and the $69 for the original axle. Plus $160 for the diff cover.
Next was to pull the D35 out. Way smaller than the ford 8.8!

Get the ford 8.8 in and measure pinion angle. I needed 15� on the mark! Pretty good guess when I tacked the perches on I guess

I didn't get pictures of final welding... but I welded all three 'legs' of the perches inside and out, and made very basic shocks tabs by welding a bolt to a piece of metal with the sides shaped to fit the tubing.
Then paint! Got a weird flash with the camera... My bad.

Final install!

This is the shock mount... Kinda dark, but you can see it.

Then paint the cover: Thanks to my GF for the final painting on the logo

Almost done

And bang!

I still need to get shocks installed. I measured and I need 13" collapsed and 19" extended. I was surprised how little shocks travel there actually is... My rear flexes pretty good with 3.5" lift and shackle relocation brackets. So I picked up some super cheap stock monroe shocks (12.2" collapsed and 20" extended). Eventually I will be building shocks towers and running longer shocks. But this works perfect for now.
For a driveshaft, I also did a SYE install


Then mated that up with the stock flange from the 8.8 with a 1330/1310 u-joint installed into a stock front driveshaft from an auto XJ. I still have plenty of spline engagement, but will have to keep an eye on it if I go higher (I plan on it)
As for the drum to disk conversion, I will be swapping in the internals of a ZJ proportion-valve. Many have said to just pull the o-ring / seal. Others have said pull the spring AND o-ring. After some research, it seems that pulling the o-ring can and still using a spring from the drum-style prop-valve can result in residual fluid pressing the rear brakes (like a drum brake it supposed to). This results in excessive wear and high wheel temps.
So the easiest solution is to just go to a JY, and with a 3/4 or 19mm wrench, pull the guts out of a ZJ prop-valve and simply install the internals into the XJ valve already in the jeep.
For handbrake cables, I have yet to purchase any, but will be doing that soon. Other threads mention OEM cables from other vehicles working, so I will go that route and purchase them from Napa.
In the near future, I'll be installing a Detroit locker, but for now it stays open. It feels amazing to have a sturdy axle under the back-end though... Now I'll need to find some 35s I guess
Thread Starter
Junior Member
Joined: Sep 2012
Posts: 65
Likes: 0
From: Alberta
Year: 1994
Model: Cherokee
Engine: 4.0L
If they do, I'll move the soft lines connector up to the axle tube beside the perch. But I don't wheel rocks. Mostly snow wheeling, so I'm not worried. Plus there so tucked up, a rock would have to land directly there to hit them at all.
CF Veteran
Joined: Jul 2009
Posts: 1,839
Likes: 7
From: West Deptford, NJ
Year: 97
Model: Cherokee
Engine: 4.0
 i just wanna know where this glorious junkyard is at! $69... ill take 20 and build em and sell em
Thread Starter
Junior Member
Joined: Sep 2012
Posts: 65
Likes: 0
From: Alberta
Year: 1994
Model: Cherokee
Engine: 4.0L
I was very tempted to pull a second one and build / sell it to one of my local club members. But I figured by the time I got brakes, and all that jazz, its not really worth my time. Soon as I get a press and brake press to bend the 1/4" and 3/8" plate... maybe lol.

Junior Member
Joined: Dec 2012
Posts: 96
Likes: 0
From: CT
Year: 2000
Model: Cherokee
Engine: 4.0L
If you're into making your own tools, a press brake isn't too complicated to throw together. It's actually something I've wanted to do, but don't need one often enough haha. Awesome job too, it looks great!

Thread
Thread Starter
Forum
Replies
Last Post
Currently Active Users Viewing This Thread: 1 (0 members and 1 guests)