When you click on links to various merchants on this site and make a purchase, this can result in this site earning a commission. Affiliate programs and affiliations include, but are not limited to, the eBay Partner Network.
Before I started this mod I searched ALOT here and other sites for details on how to do it. Tips, issues that arose, ideas for modifying the doors, etc. we’re hard to find. So I figured I’d make a post on how I did it, so here we go!
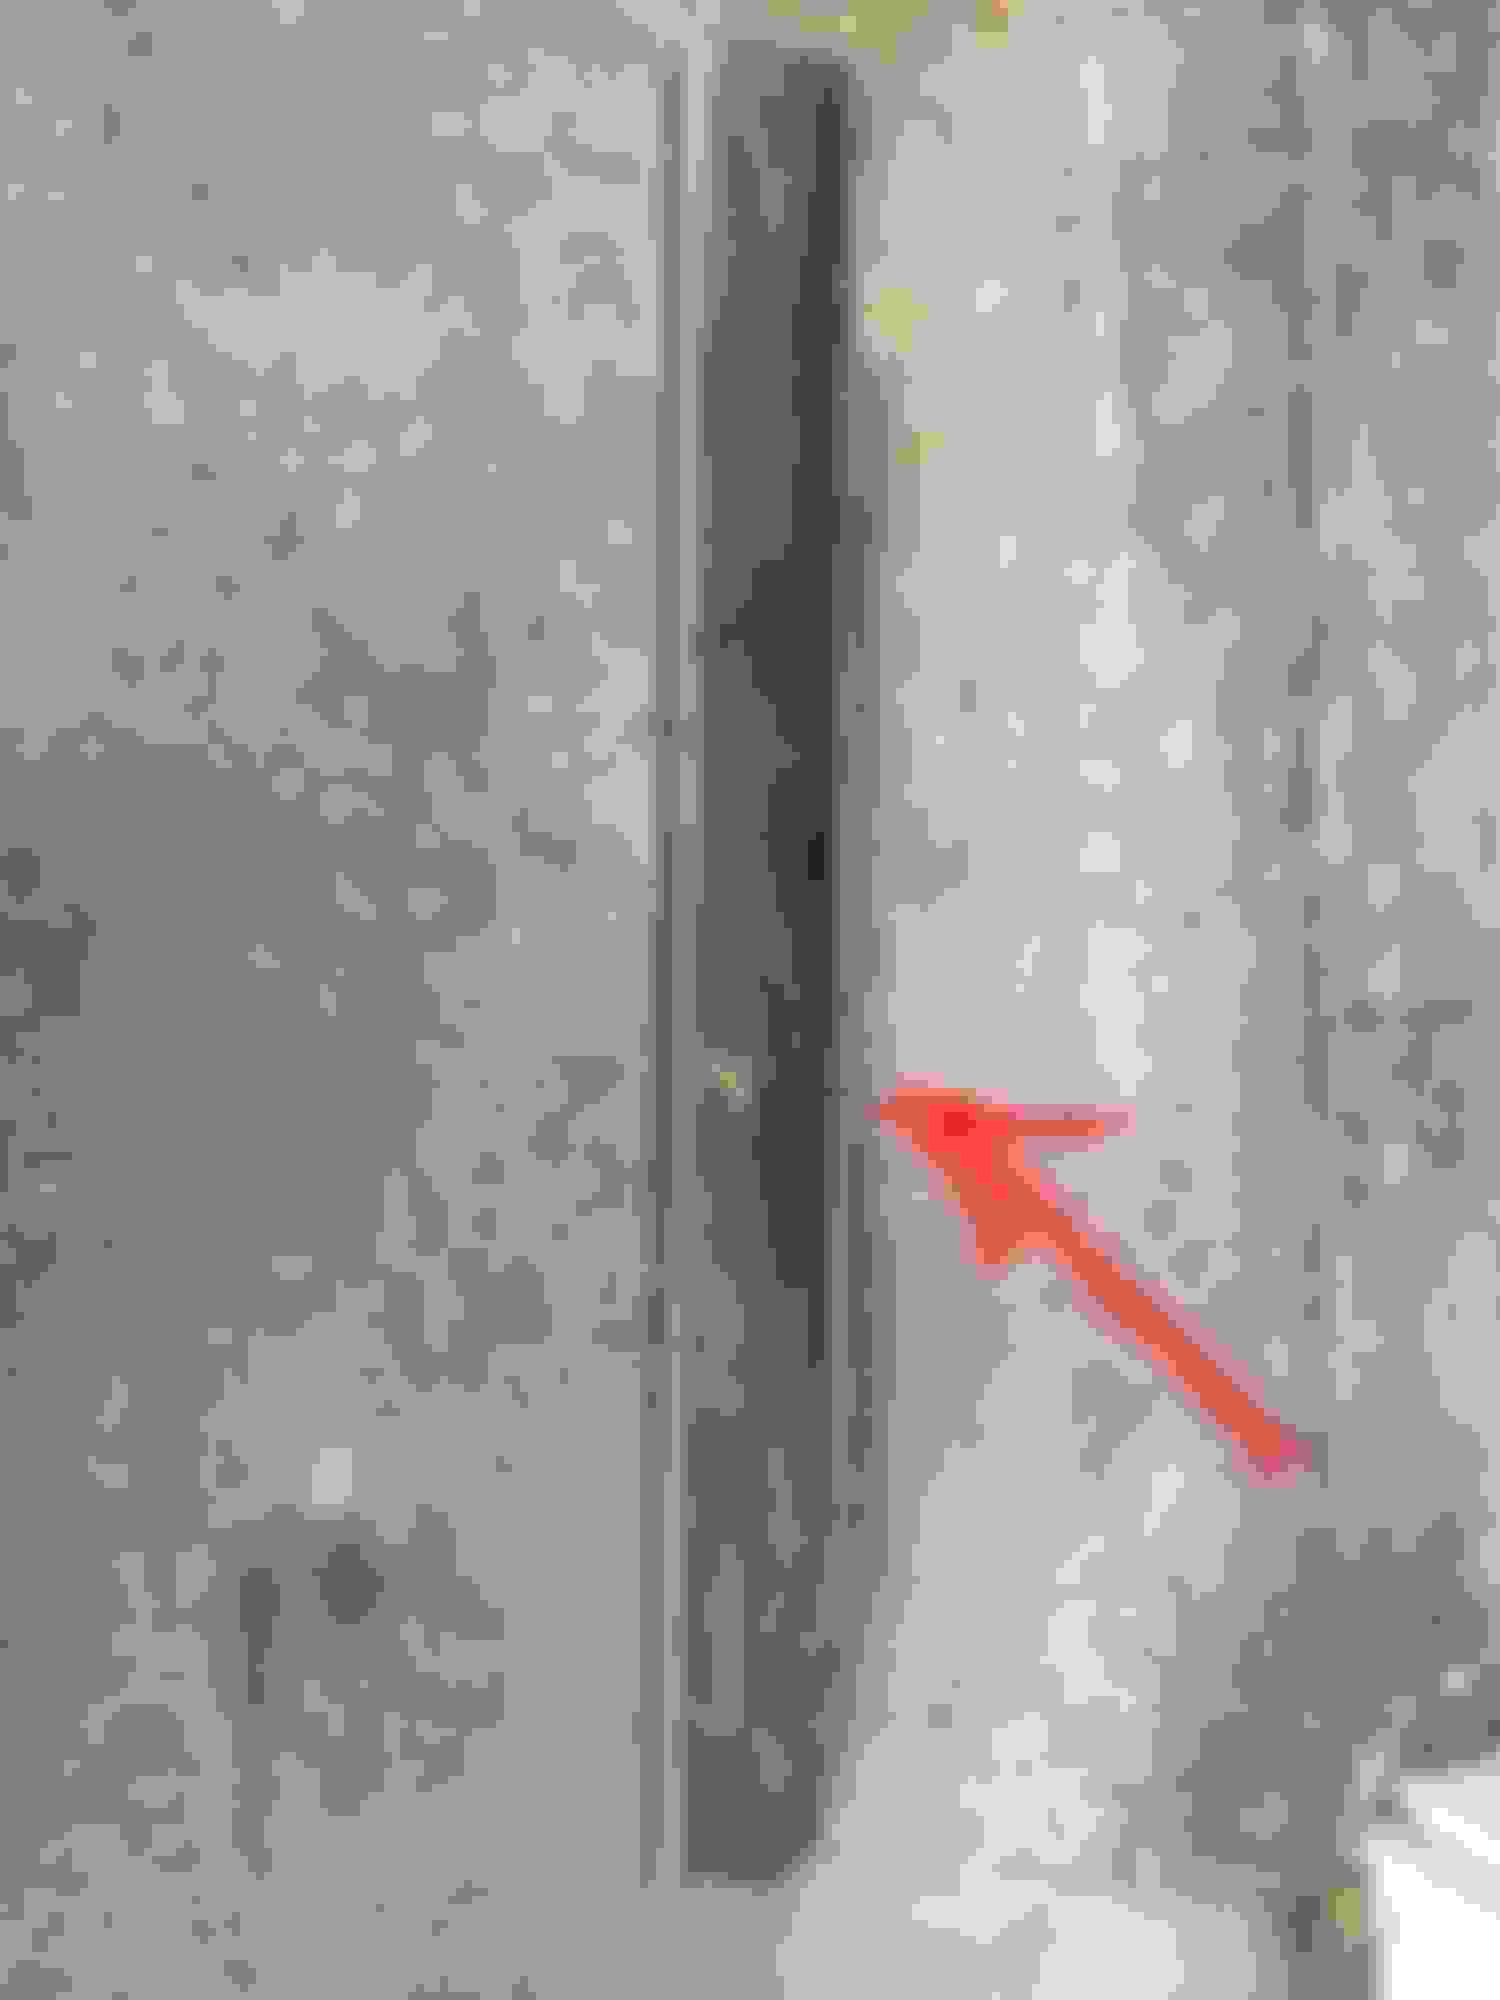
First I removed my doors, seats, interior trim and just the rear of the front fender. Also removed the tires for working room. I marked where I wanted to cut. Note that the cut line in the door sill area is approximately 1 1/4” from the seam that supports the door seal. More on why later.
Take your time marking your cut lines. It’s far easier to cut more than to add more! Rear wheel well cut lines. Front wheel well cut lines Rear wheel well cut lines. Front wheel well cut lines
Initial cut Note the “lip” I left just inboard of where the seam was. I left the fender on for a reason. I’ll be able to mark and cut it in place for better accuracy.
I used a flappy disc to make the cut flush with this “pan” area.’ There is a downward lip after the cut that you want smooth and flush. Look for and grind smooth any protruding welds, bumps, etc. so the tube will fit flush with the upper “pan” area. The rear wheel well area is the most challenging to get flat and flush with the rest. Use a straight edge and some patience... This is how ya want it.
Next I trimmed the 2x6, 3/16” wall tube. 64” long was perfect for mine. I’m doing a multi angle cut on the rear for maximum tire clearance. I’m currently running 35’s with a 3.5” lift and only very light rubbing at full flex. I need all the room I can get! This is what the cut looks like done. The front will get a simple 45 deg angle cut. I will be enclosing both ends. That’s as far as I got today.
Ok, now we start on the +1” part. I will be tieing my exocage into these so I needed enough room to anchor a 1.75” tube to it. The 2x6 tube doesn’t stick out far enough for that. The 2x8 sticks out to much. They don’t make a 2x7, so....
The tube index’s against this body line below the doors. Since I needed one more inch... I welded a 1x1 piece of tubing to space out the 2x6. This is how it fits up. Make the tube as long as the body line it index’s to. This also allows more room for seatbelt bolts and such. It’ll be just as strong as the 2x6 as only a portion of the 2x6 actually contacts this area. Plus I’ll be adding bracing to the frame stiffeners and mini boat sides later. Front fit is a little harder to see.
All clamped into position and ready to start fabbing up the braces to the frame stiffeners. Look close and you’ll see why I cut the door sill 1 1/4” out from the door seal seam. That way it’ll help cover the seam between the 2x6 and 1x1 tubes. I’m hoping to install the sill covers if I have enough room when I’m done 🤞