
Thresholds for ZJ

Thread Starter
Senior Member
Joined: Aug 2008
Posts: 855
Likes: 0
From: Locust Grove, OK
Year: 1994
Model: Grand Cherokee
Engine: 5.2 V8
Here is a write up for the Grand Cherokee (ZJ) Threashholds From Howler GT.
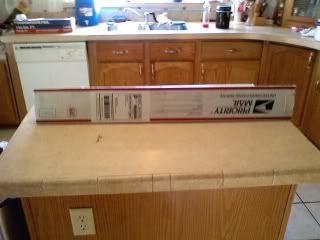
Packing was very good I might add!!!
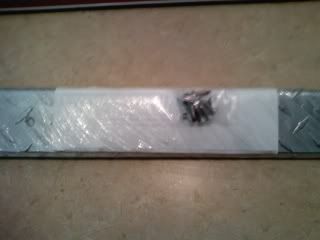
Here are screws provided. Thats alot of wrapping by the way. lol.
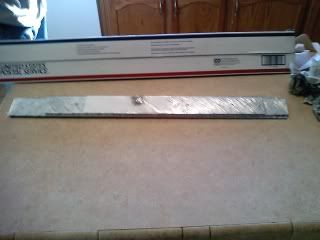
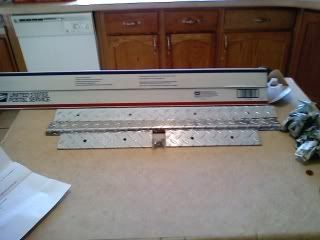
Here is everything I need.
Tools Needed:
-Drill
-7/64" drill bit
-Sharpie
-Phillips Screwdriver
-Flat Head Screwdriver
(These are tools I used, Product come with other directions and tools needed)
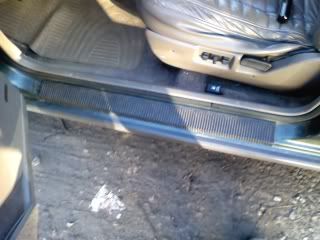
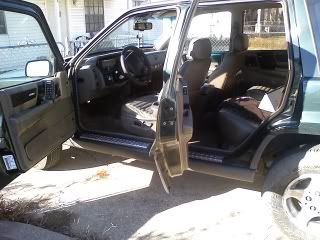
This is before:
Front
Back
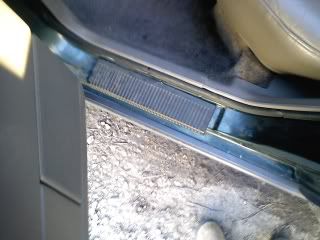
Remove old seal with screw driver just by placeing flathead screwdrive under the seal and pry up in several places.
Repeat for real seal too.
Here is what it looks like after remove of seal:
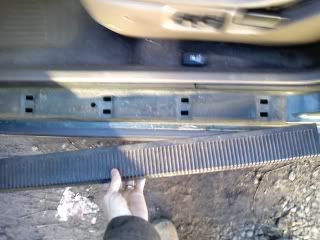
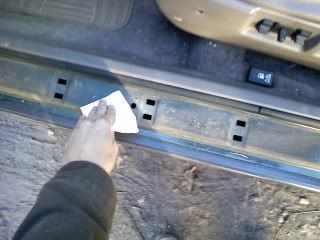
Clean area while you have it apart(why not, right?)
Repeat for rear seal
Area after cleaned:

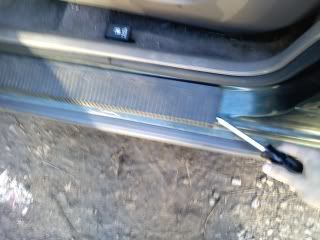
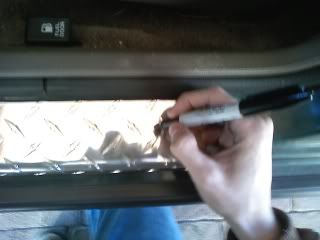
Place NEW seal down in place of old one. Mark with sharpie while new seal is down. Mark holes were you will drill your holes.
(Drill holes must be smaller than screws)
Like this:
Repeat for real seal
Now drill only were holes are marked.
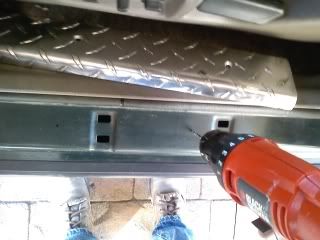
Repeat for rear seal
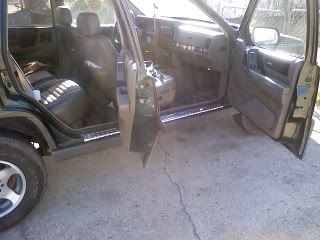
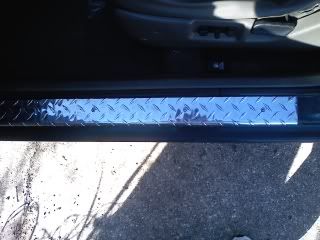
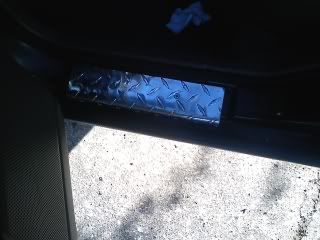
Place NEW seal back in place and screw down with screws provided.
Repeat for rear seal.
Will have finished pictures tmrw. I ran out of daylight and pictures with flashlight are not very good.
I am very very happy about my purchase. These stand out quiet well. They will look dang good with doors off over summer.
P.S. I do not recremend Black&Decker products. lol
Packing was very good I might add!!!
Here are screws provided. Thats alot of wrapping by the way. lol.
Here is everything I need.
Tools Needed:
-Drill
-7/64" drill bit
-Sharpie
-Phillips Screwdriver
-Flat Head Screwdriver
(These are tools I used, Product come with other directions and tools needed)
This is before:
Front
Back
Remove old seal with screw driver just by placeing flathead screwdrive under the seal and pry up in several places.
Repeat for real seal too.
Here is what it looks like after remove of seal:
Clean area while you have it apart(why not, right?)
Repeat for rear seal
Area after cleaned:
Place NEW seal down in place of old one. Mark with sharpie while new seal is down. Mark holes were you will drill your holes.
(Drill holes must be smaller than screws)
Like this:
Repeat for real seal
Now drill only were holes are marked.
Repeat for rear seal
Place NEW seal back in place and screw down with screws provided.
Repeat for rear seal.
Will have finished pictures tmrw. I ran out of daylight and pictures with flashlight are not very good.
I am very very happy about my purchase. These stand out quiet well. They will look dang good with doors off over summer.
P.S. I do not recremend Black&Decker products. lol

Thread
Thread Starter
Forum
Replies
Last Post
Blackcherokee290
Stock XJ Cherokee Tech. All XJ Non-modified/stock questions go here
28
Jan 8, 2025 11:36 PM
Howler_GT
Stock XJ Cherokee Tech. All XJ Non-modified/stock questions go here
6
Aug 19, 2008 06:58 PM
Currently Active Users Viewing This Thread: 1 (0 members and 1 guests)

