
8.8 Swap Write-up

Thread Starter
Member
Joined: Sep 2007
Posts: 111
Likes: 1
From: Detroit, Mi
Year: 1992
Model: Cherokee
Engine: 4.0
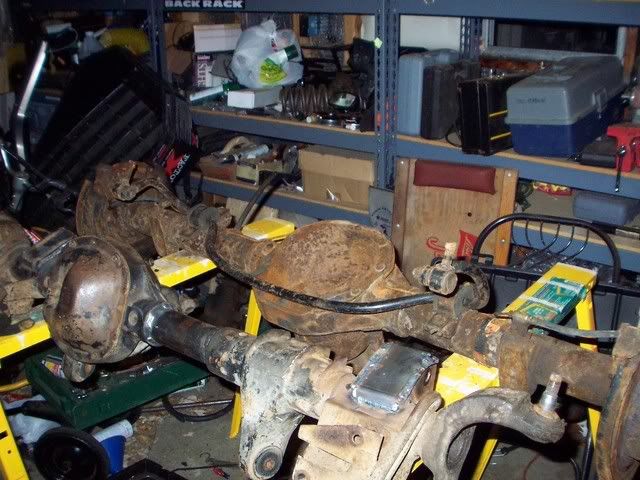
1. Find a decently priced 8.8, $250 or so is the usual for a complete axle assembly. Obviously find it in the gear ratio that you want, I chose 4.10's and regeared my front to 4.10 as well for the 33" tires I'm running. I'm sure I'll end up at 4.88's somewhere down the road.
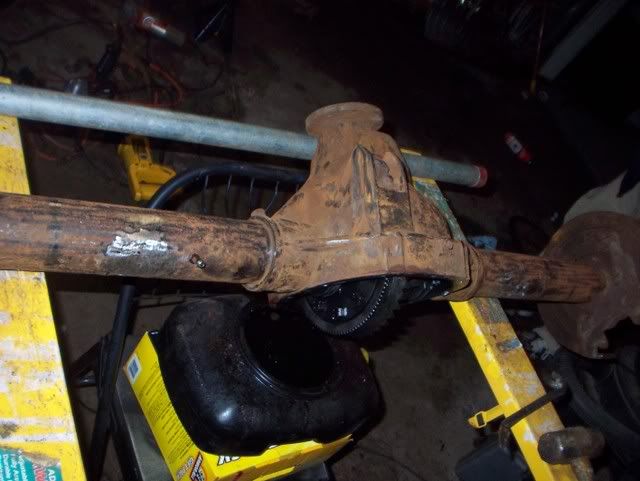
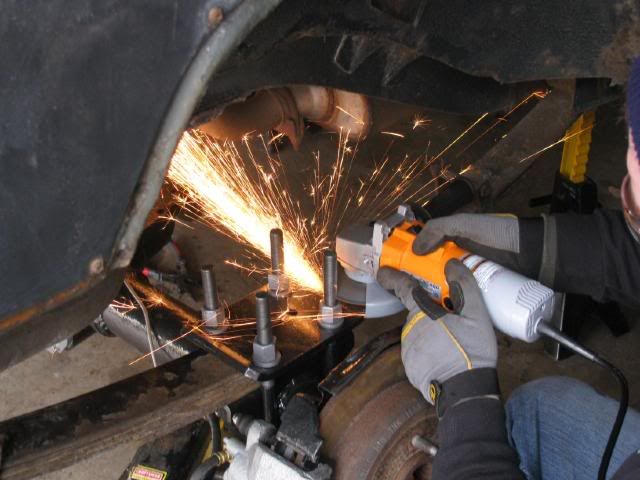
2. Cut off the swaybar brackets and spring under leaf spring mounts. Fill any grooves you may have accidentally cut into the axle tubes with weld and grind smooth.
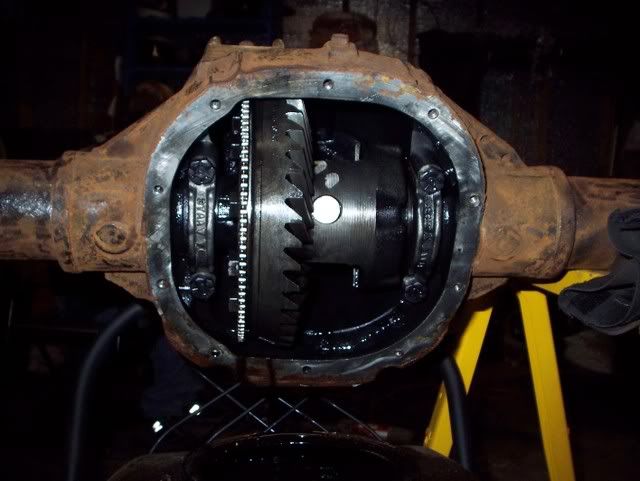
3. Drain the diff fluid(which could very well be the fluid put in there from the factory, i think mine was. oke
oke
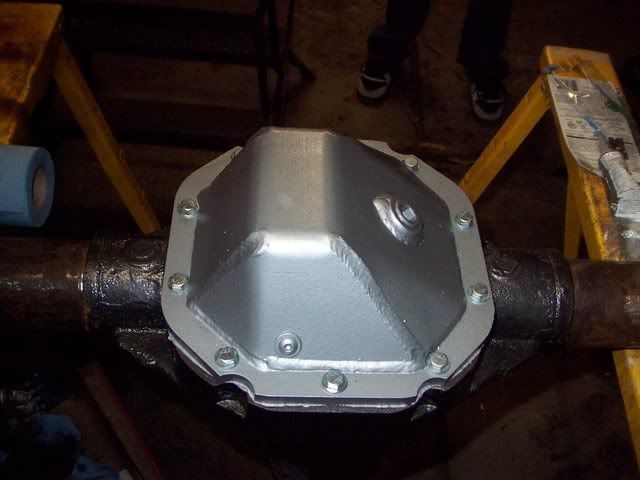
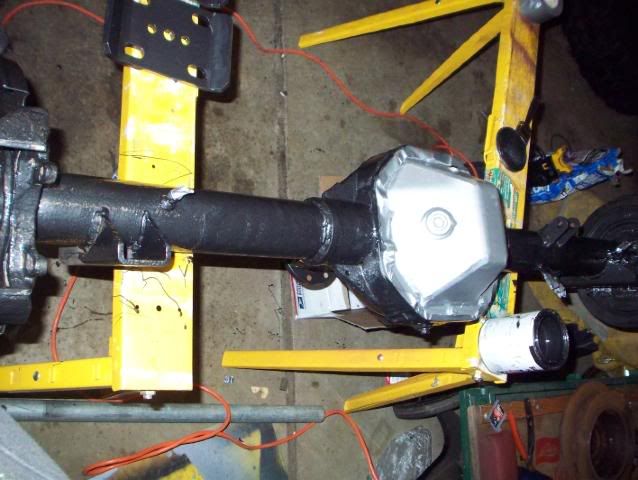
4. Order a beefy differential cover from www.ruffstuffspecialties.com. You might as well order their 8.8 swap kit while you're at it.
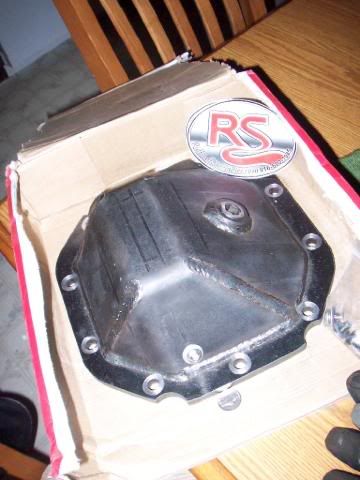
5. Paint, seal, and install said differential cover:
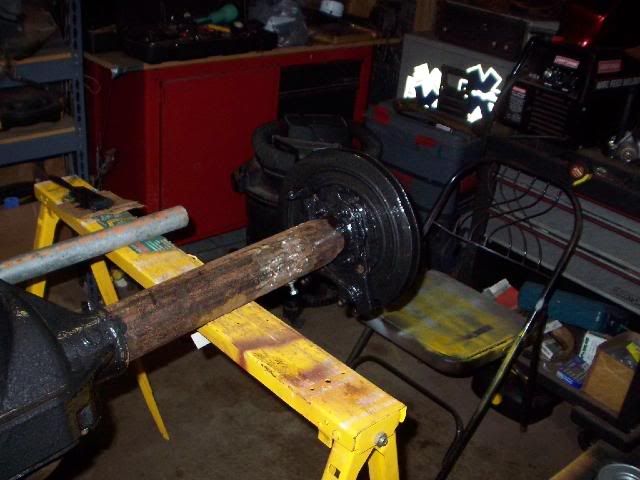
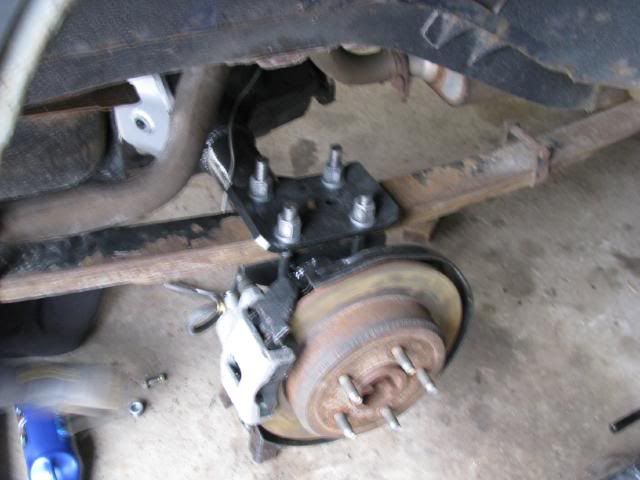
6. Bend up hard brake lines, and I welded a 7/16" bolt upside down on the axle for the distribution block to go on to. I also mocked up the disc brake soft lines and welded 5/16" bolts in place for this near where the spring perches ended up. I used rear passenger brake hoses(the soft lines) for both sides, since the explorer drivers side soft line IS the distribution block on the explorer. I'm sure you could use this if you want, but I already spent money on my braided extended brake line. Don't have alot of pictures, but here you can see one of the soft line bolts welded to the tube.
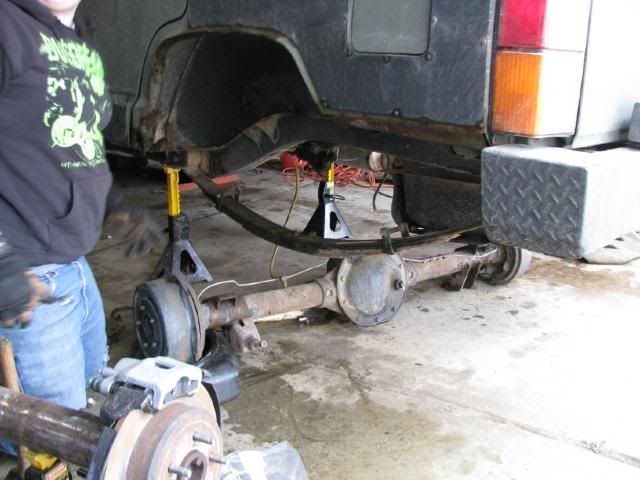
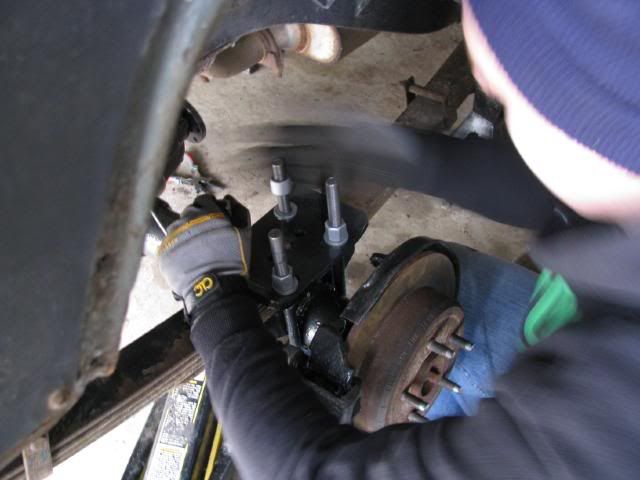
7. Remove the old axle, which involves removing the 4 total u-bolts, the shocks, and brake lines/breather tube.
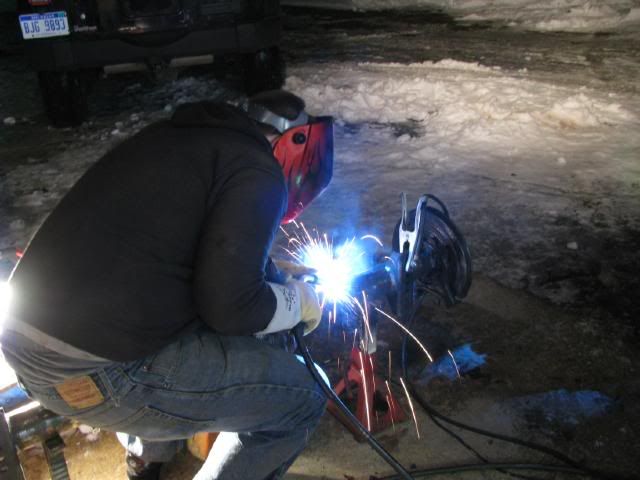
8. Place the spring perches on the 8.8 and install the u-bolts/plates and the shocks for position. Be sure to measure a few times to make sure it's all right with the correct pinion angle(about 2� below being straight at the transfer case if you have a SYE. If you're still running the stock slip yoke, the pinion should be pointed level with the ground). Tack on the perches and shock mounts on in the right position.
9. Remove axle and weld on everything for real. Also weld the tubes to the pumpkin as the tubes like to spin on these axles. This part kind of sucks.

10. Paint everything and make it looks pretty.
11. Install back in the vehicle permanently, and trim the u-bolts.
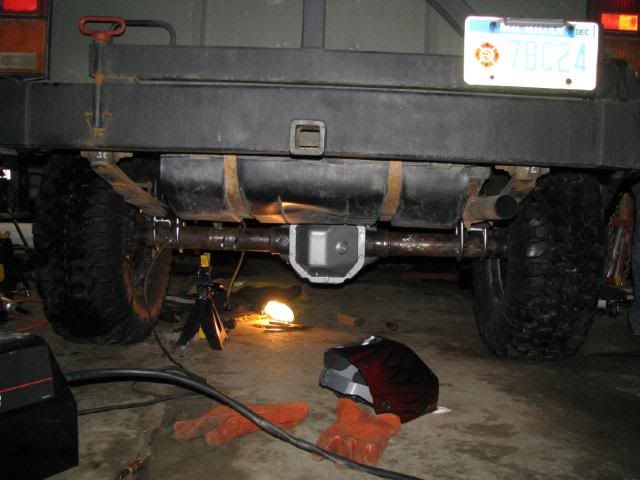
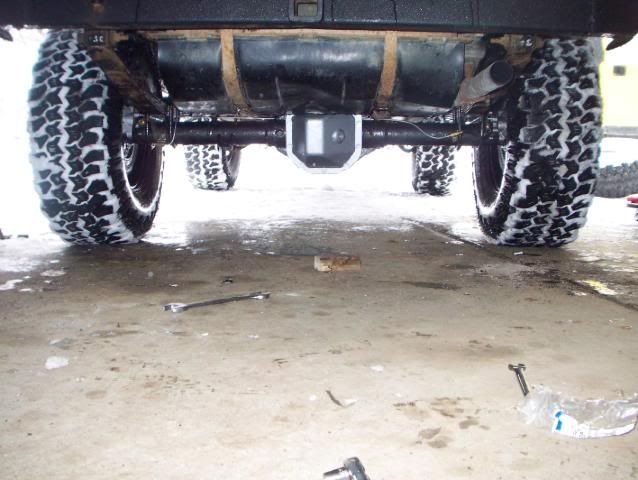
12. Bleed the brakes and put the wheels back on and take it for a test drive. Looks right at home in there.
A few miscellaneous notes:
2. Cut off the swaybar brackets and spring under leaf spring mounts. Fill any grooves you may have accidentally cut into the axle tubes with weld and grind smooth.
3. Drain the diff fluid(which could very well be the fluid put in there from the factory, i think mine was.
oke4. Order a beefy differential cover from www.ruffstuffspecialties.com. You might as well order their 8.8 swap kit while you're at it.
5. Paint, seal, and install said differential cover:
6. Bend up hard brake lines, and I welded a 7/16" bolt upside down on the axle for the distribution block to go on to. I also mocked up the disc brake soft lines and welded 5/16" bolts in place for this near where the spring perches ended up. I used rear passenger brake hoses(the soft lines) for both sides, since the explorer drivers side soft line IS the distribution block on the explorer. I'm sure you could use this if you want, but I already spent money on my braided extended brake line. Don't have alot of pictures, but here you can see one of the soft line bolts welded to the tube.
7. Remove the old axle, which involves removing the 4 total u-bolts, the shocks, and brake lines/breather tube.
8. Place the spring perches on the 8.8 and install the u-bolts/plates and the shocks for position. Be sure to measure a few times to make sure it's all right with the correct pinion angle(about 2� below being straight at the transfer case if you have a SYE. If you're still running the stock slip yoke, the pinion should be pointed level with the ground). Tack on the perches and shock mounts on in the right position.
9. Remove axle and weld on everything for real. Also weld the tubes to the pumpkin as the tubes like to spin on these axles. This part kind of sucks.
10. Paint everything and make it looks pretty.
11. Install back in the vehicle permanently, and trim the u-bolts.
12. Bleed the brakes and put the wheels back on and take it for a test drive. Looks right at home in there.
A few miscellaneous notes:
- The core charge for the calipers is as much as the caliper itself, so get some junkyard calipers for cores if possible.
- To hook up the driveshaft, you'll need a flange adapter. The spicer number for this is 2-2-1379 and can usually be had for cheaper at drivetrain places than anywhere online. You'll also need 12 point metric bolts(12mm x 1.75 thread 12 point) to hook the flange up to the axle, the ford part number for these is N800594-S100.
- This is a heavy axle, definitely don't try moving it around alone.
Last edited by ddeadserious; Mar 8, 2008 at 06:33 PM.

Thread
Thread Starter
Forum
Replies
Last Post
TNXJsleeper
Stock XJ Cherokee Tech. All XJ Non-modified/stock questions go here
1
Oct 2, 2015 08:04 PM
sjm79902
Stock XJ Cherokee Tech. All XJ Non-modified/stock questions go here
2
Sep 30, 2015 11:14 PM
Currently Active Users Viewing This Thread: 1 (0 members and 1 guests)