When you click on links to various merchants on this site and make a purchase, this can result in this site earning a commission. Affiliate programs and affiliations include, but are not limited to, the eBay Partner Network.
Time to get started on a build thread for our 1999 Classic.
I started the build before I started the business so there's some parts on it that we don't carry for better or worse. I won't trash talk anything just because we don't carry it in the store but hey, if it's not all that great I'm going to point that out.
Let's start with some specs.
1999 Cherokee Classic
Engine: 4.0L I6 (of course) Airaid Intake, El Cheapo Header to replace the cracked stock manifold and a Dyno-Max cat back system with turbo muffler
Transmission: AW4 Auto
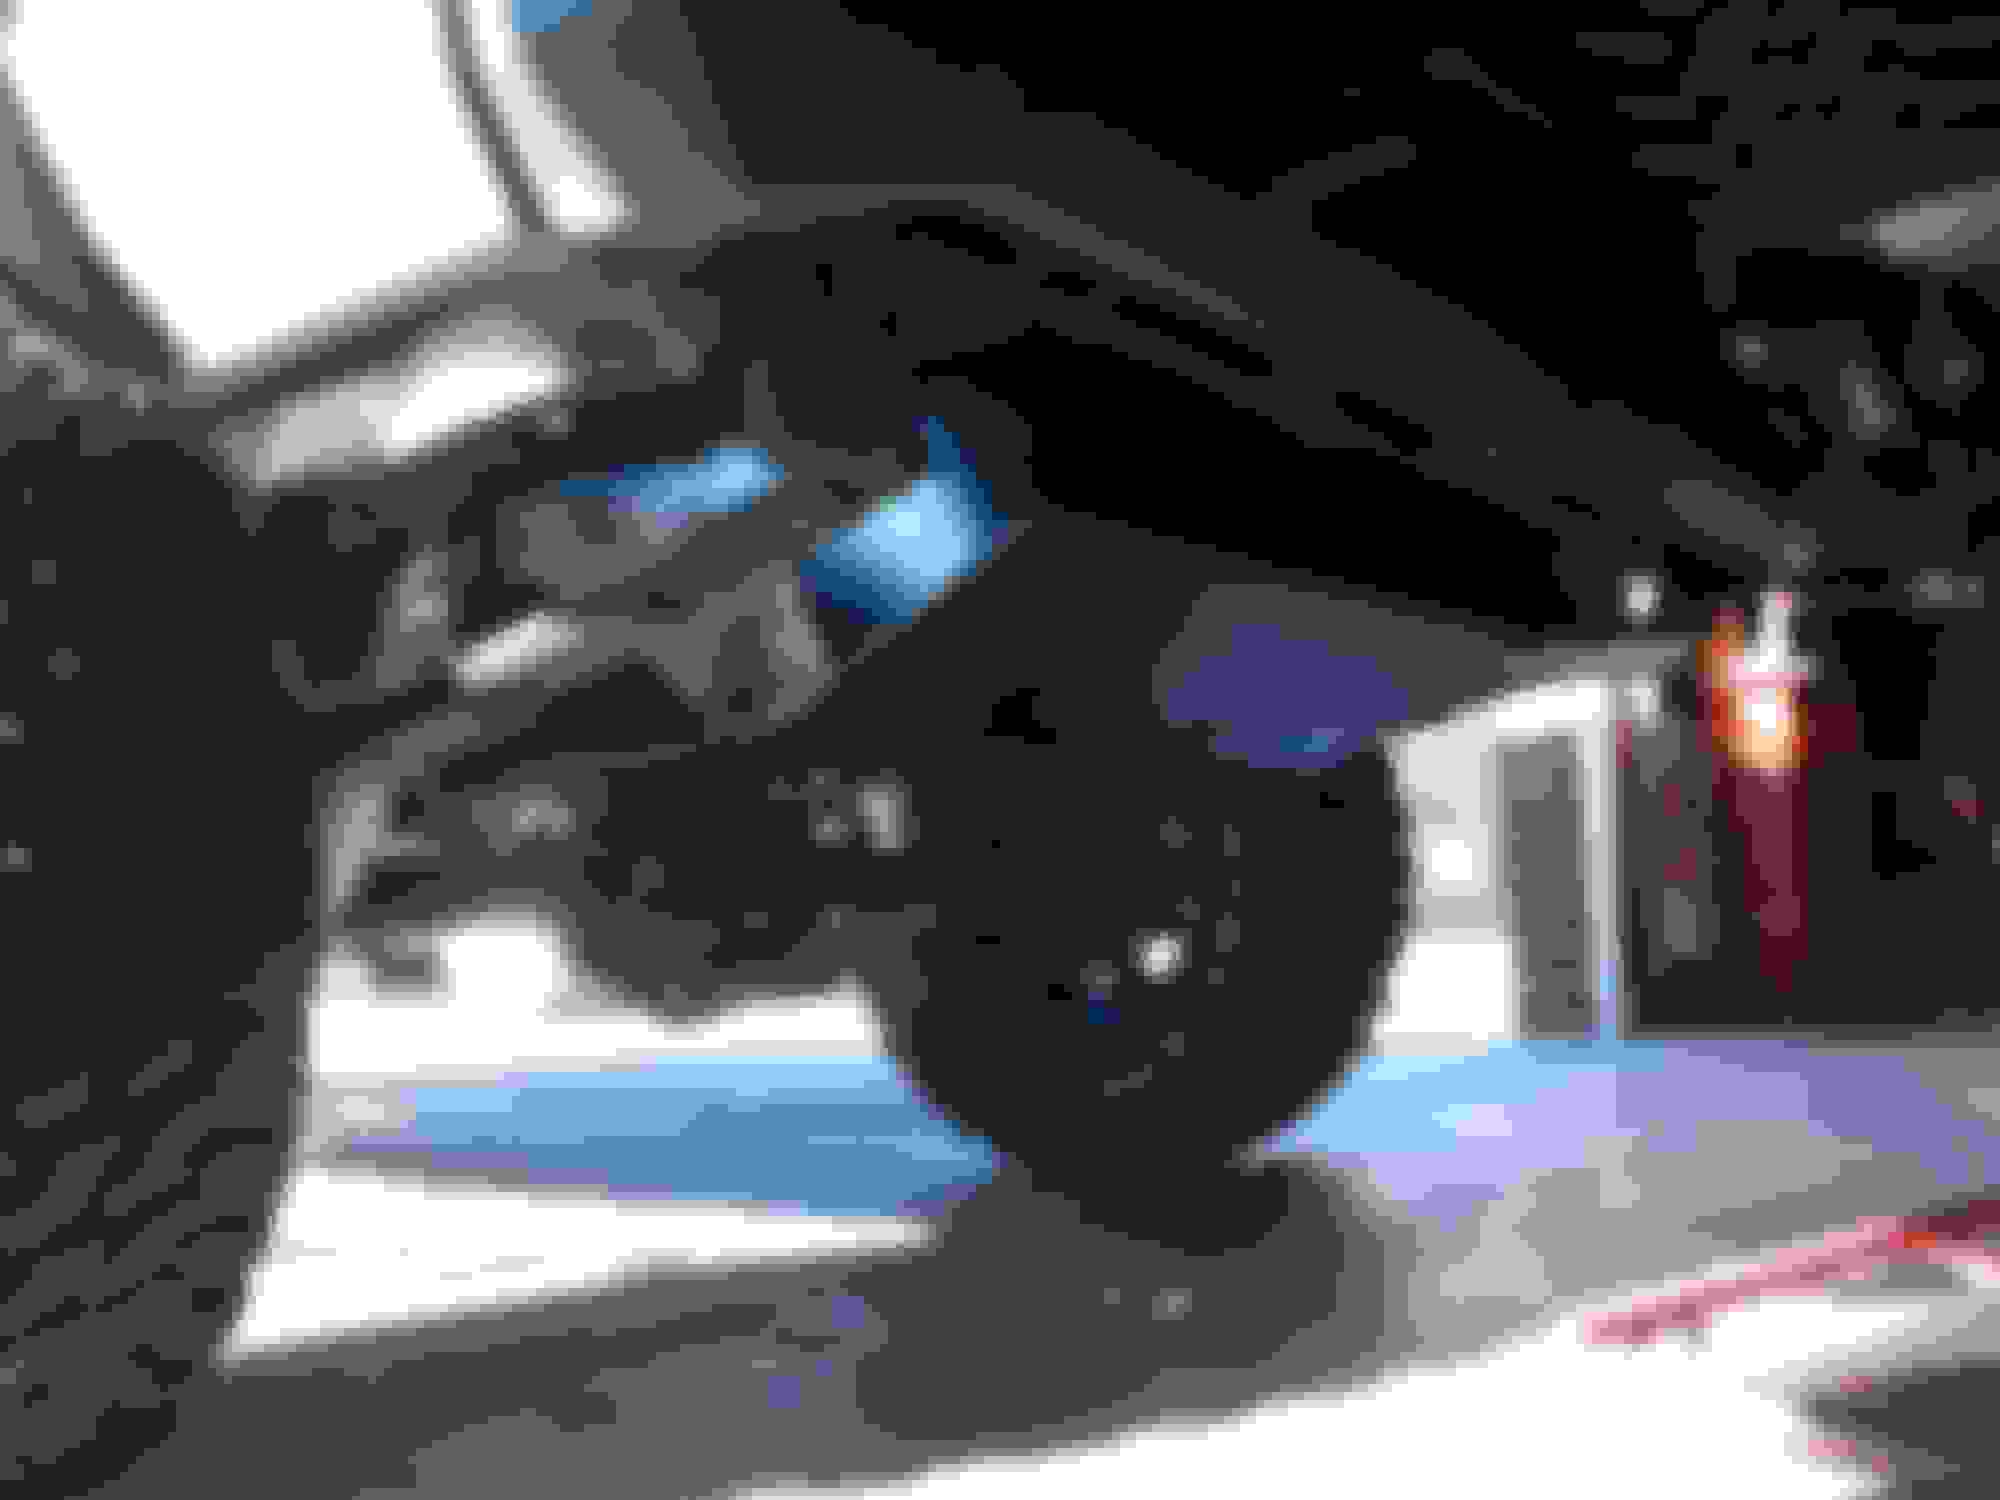
Front Axle: HP D30 - 4.56 gears, ARB Air Lockers and 30 spline chromoly shafts.
Rear Axle: Dana 44 - 4.56 gears, ARB Air Lockers and 30 spline chromoly shafts and disc brake upgrade.
Transfer Case: NP231 with a 4:1 Tera-Low kit and Advance Adapters SYE
Lift Kit: Rusty's 4.5" Extreme Flex Long Arm kit with Rubicon Express boomerang shackles adding another 1" to the rear.
Wheels and Tires: 16x8 Ion Alloy Aluminum wheels wrapped in Cooper Discovery STT LT285/75-R16
Misc: Viair constant duty on board air, custom rear bumper, Bushwacker Flat Flairs, Warn M8000-s with synthetic rope sitting on the bench for now.
Future plans: Currently working on a custom tire carrier. In the next couple months I'll be building rock sliders, engine/transmission, transfer case and gas tank skid plates as well as a new front bumper to get that winch off the shelf.
On to some pictures.
The day I brought it home.
Thinking I need a little lift.
Just one of the many shipments that filled half my garage with boxes.
Out with the old....
Serious rake.
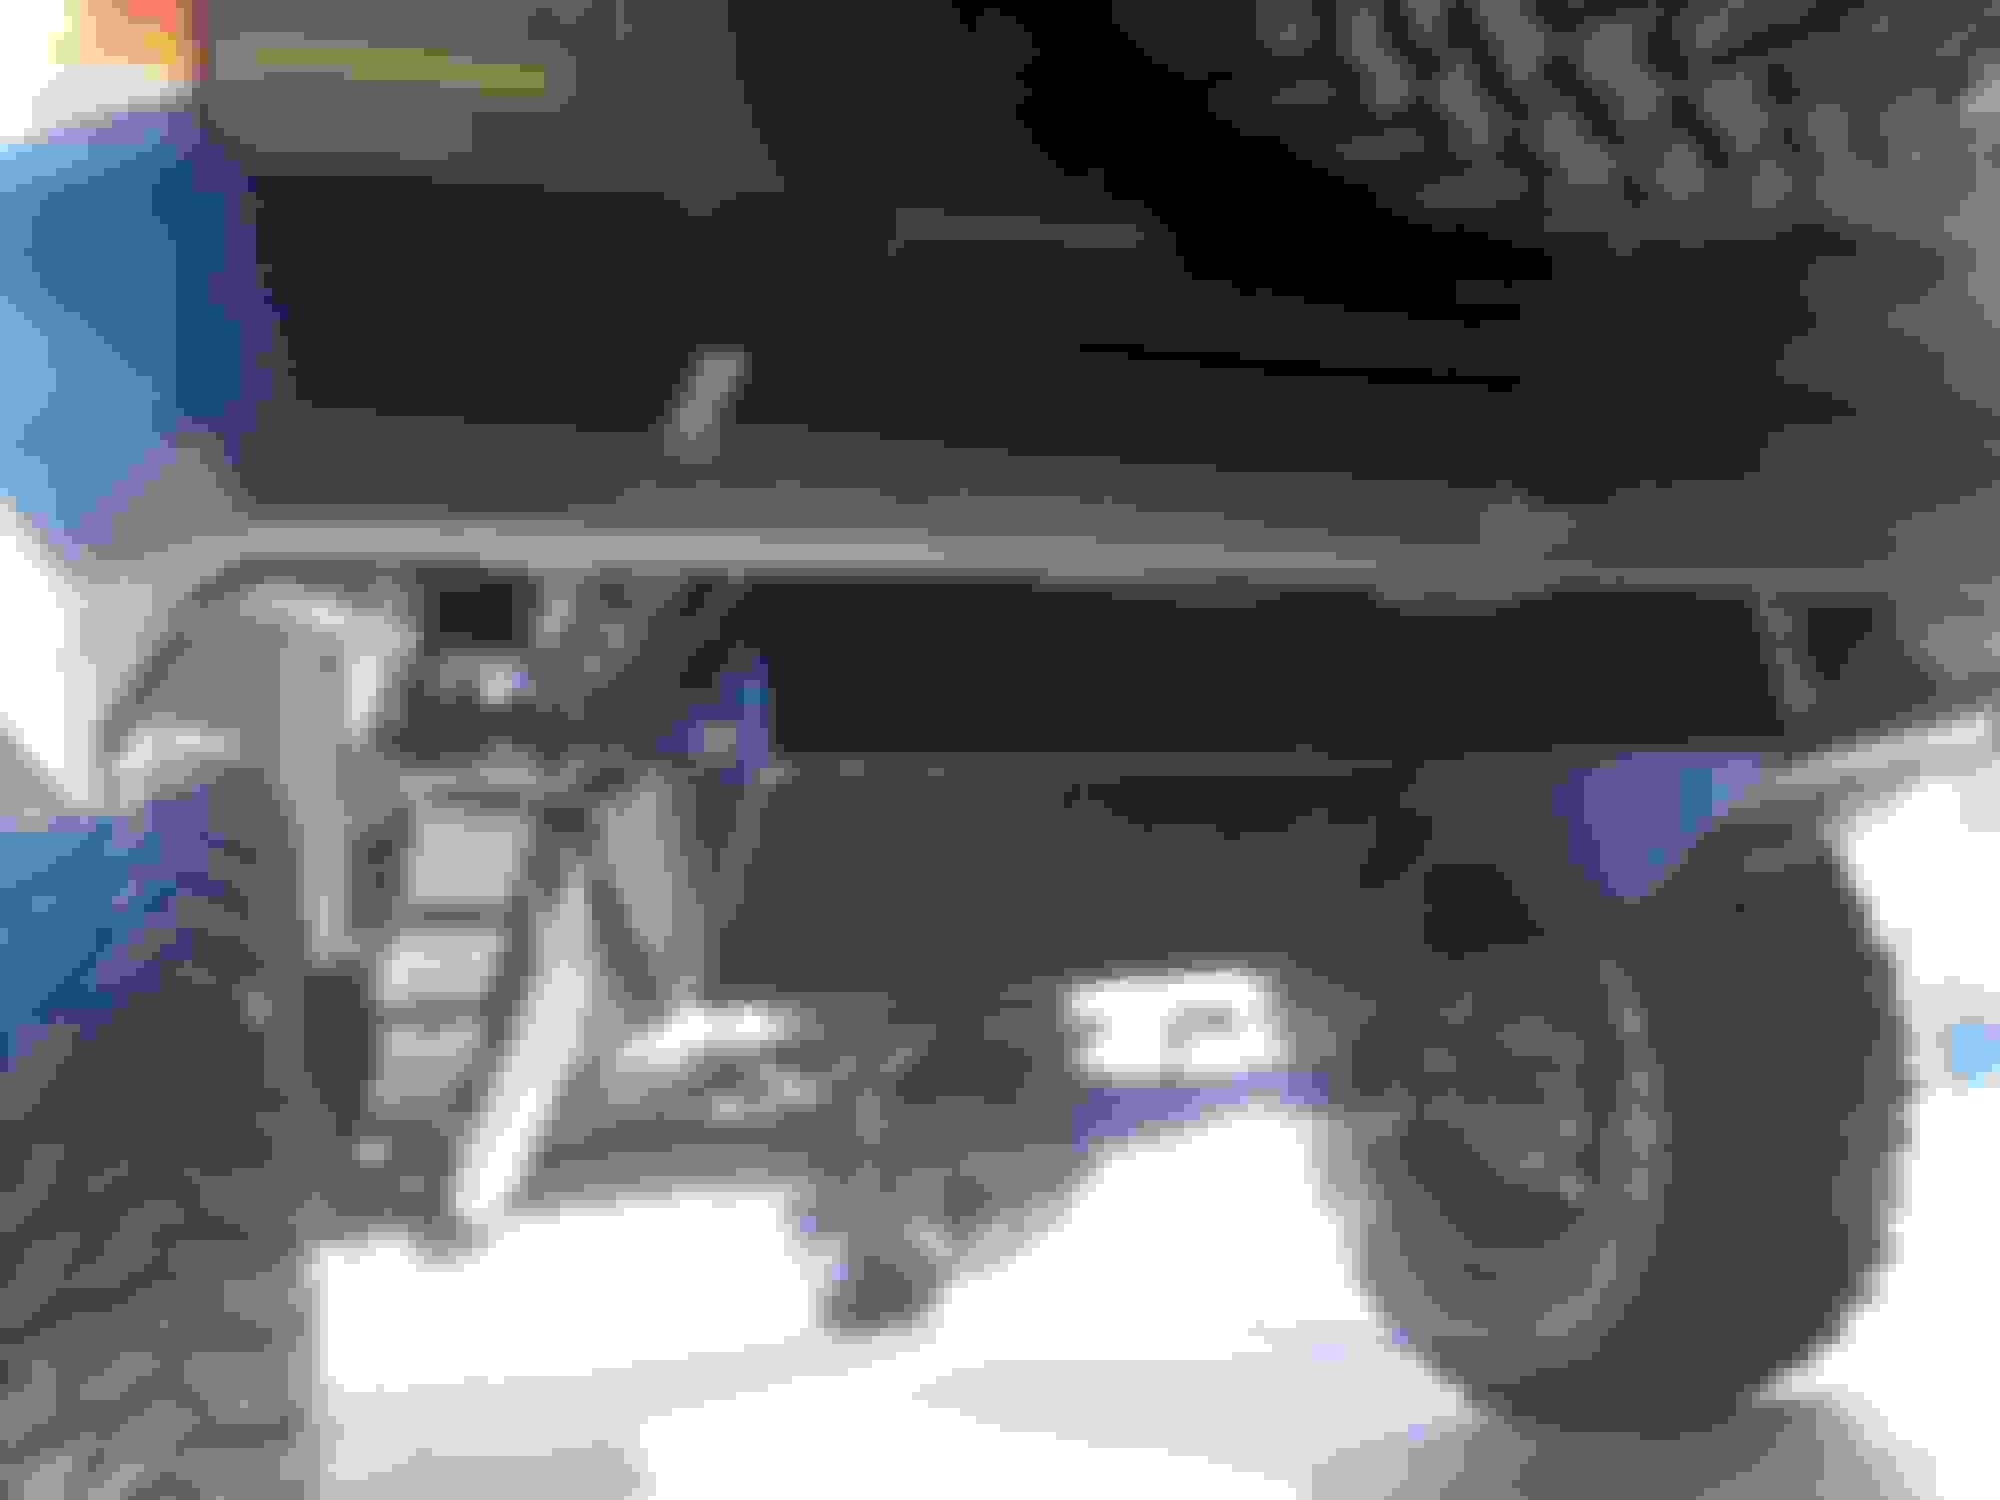
NP231 with the Tera-Low kit and SYE installed
New lower control arm mounts compared to the stock sheet metal pieces I cut off.
Improvised $10 case spreader. Worked pretty well for one axle but if I do any more it will need some updates.
The heads of the wheel studs were rubbing on the e-brake spring making a chirp sound that took quite some time to find.
Had to get the front flares on to pass inspection. Tire wouldn't turn too far without rubbing the uncut fenders.
More trouble with the studs on the rear axle. The studs they installed were too short. I eventually had to pull the shafts and replace them because even with extended thread nuts I trashed some of the threads.
All the pieces for the air system and the locker connections.
Working on the mount for the compressor inside the passenger rear cubby.
ARB switches and Air Pressure Gauge. I wired the ARB's so they work independent of each other but only when the compressor power switch (mounted in the dash) is on. Not sure why they want you to hook them up so the front won't work without the rear.
Regulator, dryer/filter and ARB solenoids inline. Working to get the plastic cut to fit around it all.
I built legs for the tank. I plan on building out a drawer system in the rear later on and will probably remove them and mount the tank on or in that system.
Here's the bumper I built. I'll make a separate build thread for that when I get time.
Heading out for some cold winter camping. The trailer was built to match our old white TJ. I had to build a goose neck for it to reach the bumper. It was 8" short.
All set up at camp. I ended up sleeping in the Jeep instead since it was 9 degrees with 20-30 mph winds in the valley that night.
First trail run. Everything worked pretty well. This is when I knew I had to have the boomerang shackles.
Good, Bad and For What It's Worth.
So far I'm happy with most of what I've done. It rides well and flexes well now. I haven't hit any hardcore trails yet without much under armor but I foresee it being extremely capable.
The lift kit had it's issues with installation. Some instructions seemed to be for older versions and I had to wing it at times. It took forever to get the cross member in. You have to drill 1" holes in the frame right where the fuel and brake lines are. I found some sort of claylike substance inside the rails that is probably a sound deadener of sorts. Really hard to get through. I thought it was coming with brake lines since all of their other long arms seem to but it didn't and I had to order them in the middle of the project.
I ended up needing the boomerang shackles because the stock units move so much more with a 4.5' lift spring that they hit the back of the frame long before the spring is flexed out. It as a slight annoyance on big hard bumps until I flexed it out and softened things up. Then it was a constant banging that was tearing the sheet metal up. After the new shackles it runs very even at speed on some washed out dirt roads with some little jump/bumps.
What I'd do different knowing what I know now.
Knowing how much room cutting out for the flares would allow me I might have only gone with a 3" kit. I like it low and slow but it's hard to tell from pictures how much you can really stuff the tires. I think it will settle down more though with the skids/ bumpers, tire carrier and all my gear so I may change my tune there. Just seems sooo tall after running a TJ on 33's with only 2.5" of lift.
I went to a 16" wheel because I read about how terrible the brakes are and I wanted to leave room for future big brake kit if needed. I should have remembered that they say that about the TJ and I never had a problem with them. Sticking with 15's would have saved hundreds on tires and wheels and I could have stuck with my C rated flexible sidewalled 33x12.50" tires that I loved. The brakes are fine. Maybe I just don't know what good brakes feel like.
4.56 gears puts me in the drone zone on the highway. I ran the numbers for tire size vs stock gearing and it put me between 4.10 and 4.56. Never having an automatic I didn't want to make it a dog so I went lower. With the 4:1 kit it would have been fine with 4.10's off road. Not sure about on road. Haven't had many miles since the header swap but it did seem to run a lot better and hopefully I'll get some mileage back. 10-12 is not so good when I know the TJ got 16-20 with 4.10's and a stick.
So that's where I stand now. I'll get some build threads going for the bumpers and stuff when I have time.
Thanks all. It's a work in progress. But what isn't?
I got a little more done on the carrier last night so here's another teaser for the bumper thread.
The tire mount was just tacked on at this point. I actually cut it off and raised it up close to 2". The bottom of the tire was almost on the top of the receiver. Now I'll be able to hook the pintle up and slide it into the receiver with plenty of room.
Finally got the tire carrier painted and installed yesterday. Turned out pretty good I think. I wanted it tucked in tight to the body but I cut it a little close on the hatch opening so there's no chance of adding a rack over the tire. I really only ever used my old one for a chain saw so I'll probably build a bolt on chain saw mount off the driver's side when I need it.
If it bothers me too much I'll pull out the plasma cutter and angle the part of the bumper that it hits fully opened which was my original design anyway. Not sure why I changed that along the way.
PTFE block lines up the latch pin and acts as a seat when closed. There's another one inside machined to draw it in tight and lock the handle closed.
I used a rubber grommet on the pin to hold tension on it when closed. We'll see how long it holds up. I saw some rubber washers I may replace it with.
You should make a flush transfer case skid plate. I love JCR and DPG http://dpgoffroad.com/products/dpg-r...ly-skidplates/ but find that they both don't offer a good way to drain the case without taking it off. Also, DPG has a good price but would rather pay someone such as yourself who's getting involved in the forum. Cheers!
You should make a flush transfer case skid plate. I love JCR and DPG http://dpgoffroad.com/products/dpg-r...ly-skidplates/ but find that they both don't offer a good way to drain the case without taking it off. Also, DPG has a good price but would rather pay someone such as yourself who's getting involved in the forum. Cheers!
Well here's what I got done tonight. Just needs some holes and and a little clean up before the paint. Looked at going all the way across like that one but that runs right through the cat and I dont want to trap all that heat in.
I did get it all welded after I took the pics.