
Project Glacier

Thread Starter
Seasoned Member
Joined: Nov 2016
Posts: 304
Likes: 5
From: Idaho
Year: 1990
Engine: Renix 4.0
Project Glacier
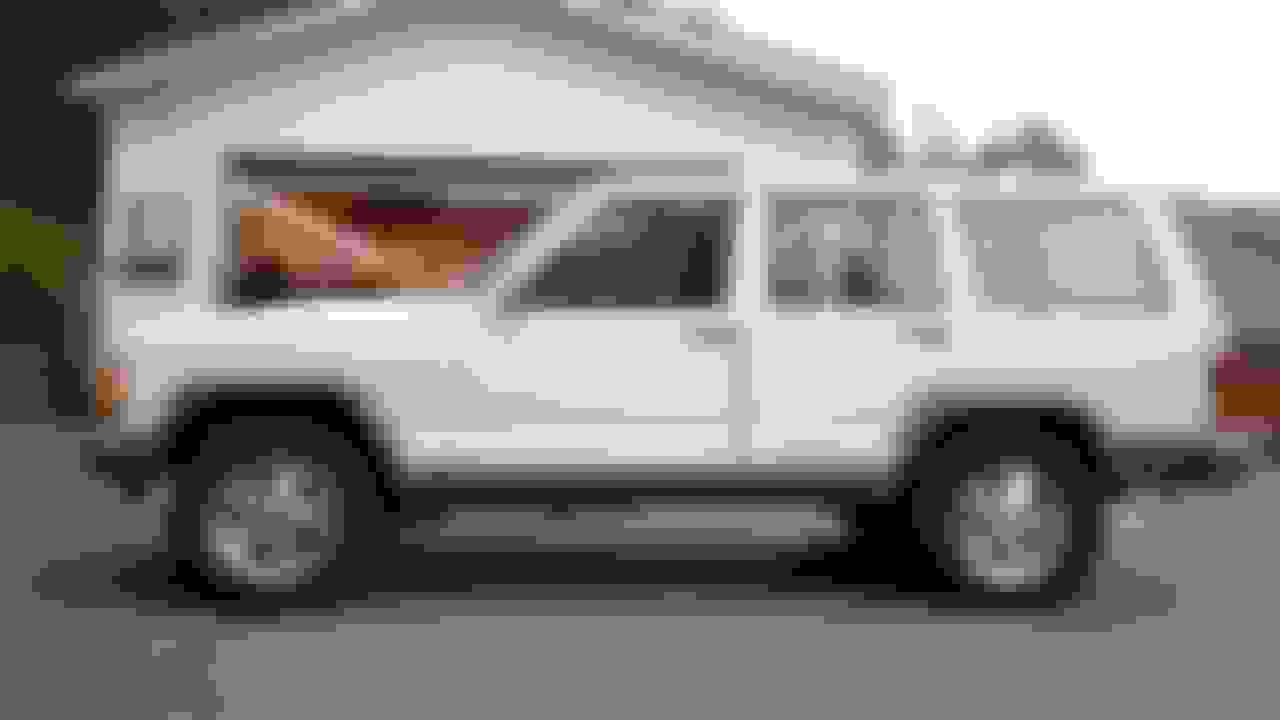
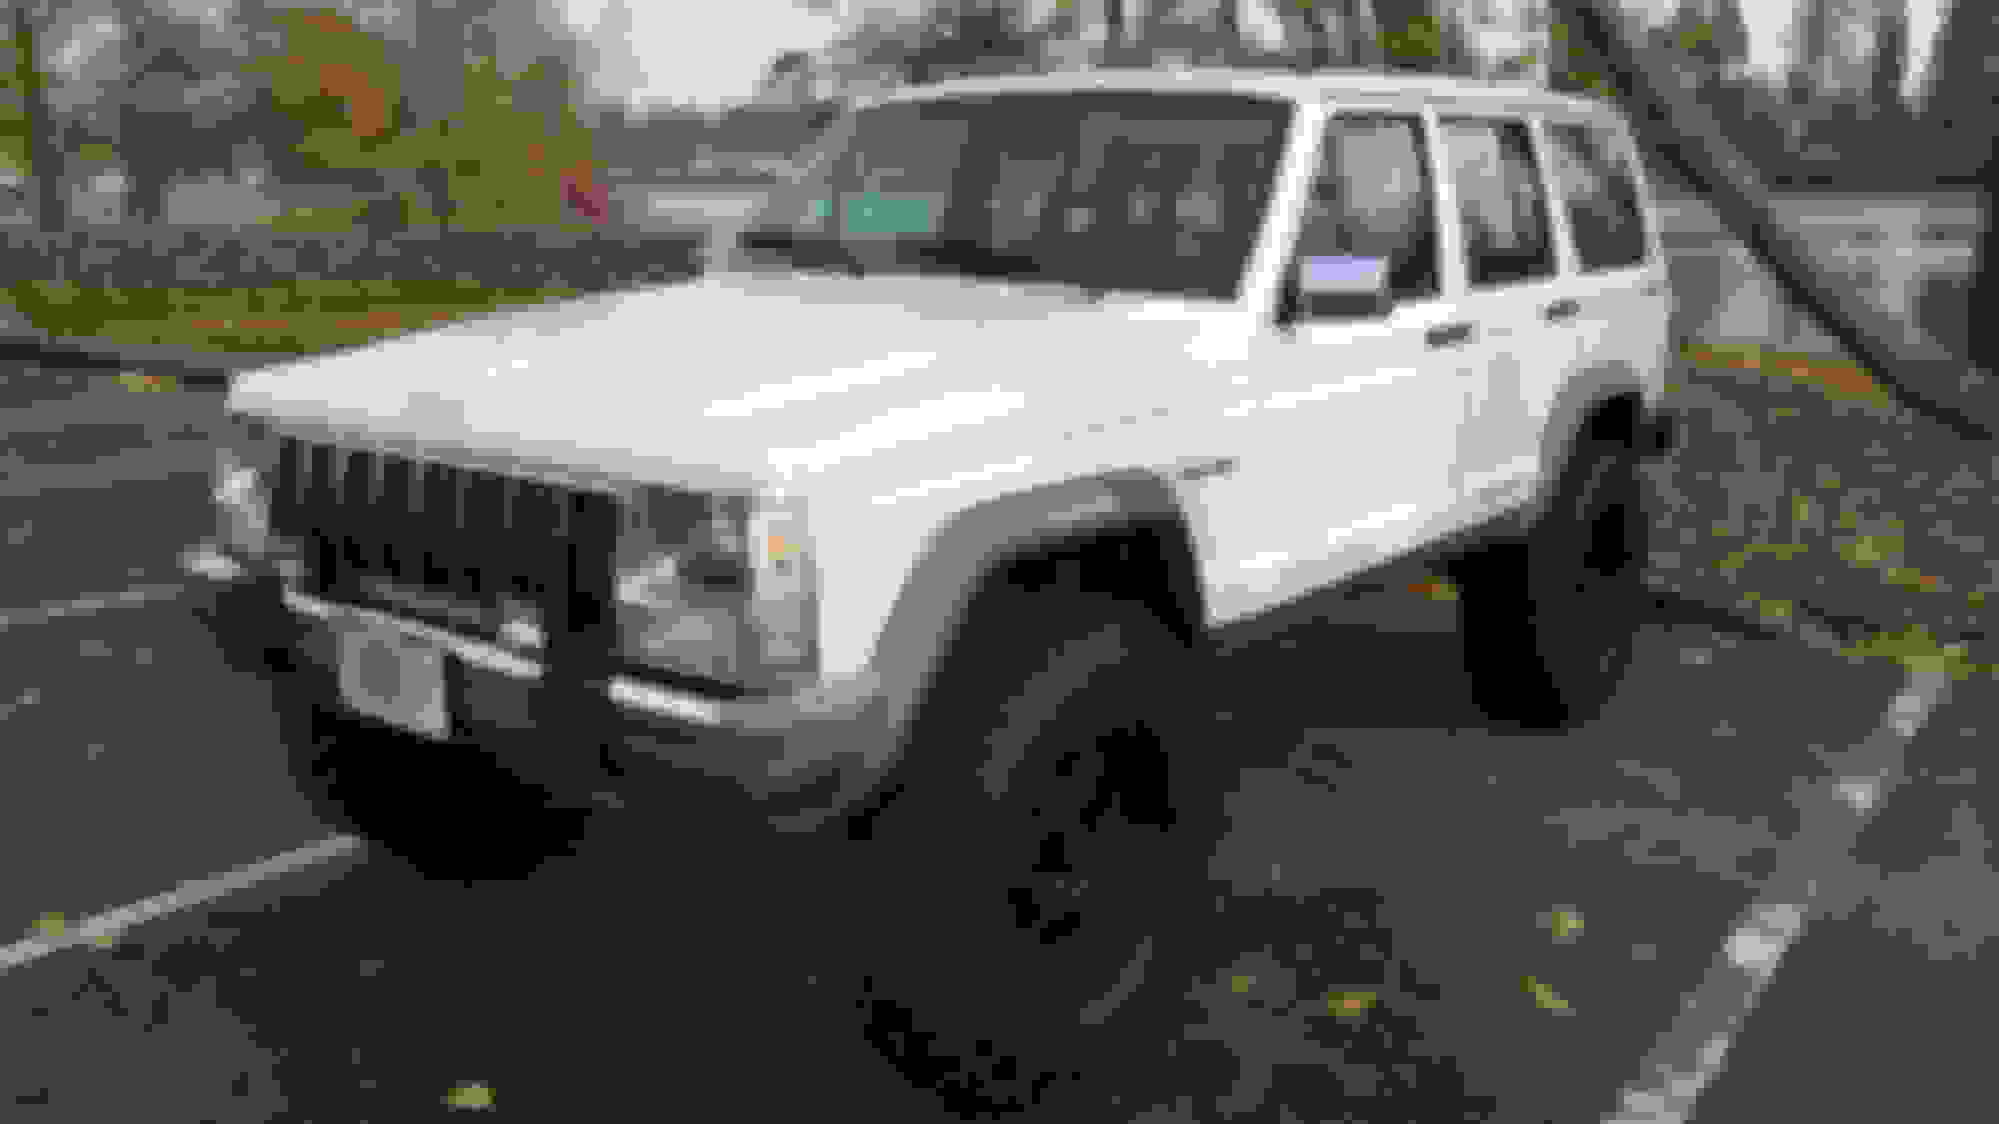
Here I will be documenting the build of a 1990 Jeep Cherokee Laredo.
Most of the modification and restoration will be focused on creating a very capable, comfortable, and reliable vehicle for winter driving.
I plan to have most of the restoration completed by the end of 2020 with a total budget of $20,000. The interior could take another year or so.
First on the list was find a rust free, running, and driving XJ with a clean title.
I was looking for something that would get through the following months of snow and ice, as well as provide a good platform for the build.
This one was purchased at a public auto auction in November 2016 for $1000.

It had to sit through the summer months while I set up the new shop, purchased tools, and gathered enough parts to start making some real progress.
As of October 2018


Last edited by craigjacob1; Nov 24, 2018 at 09:12 PM.
Thread Starter
Seasoned Member
Joined: Nov 2016
Posts: 304
Likes: 5
From: Idaho
Year: 1990
Engine: Renix 4.0
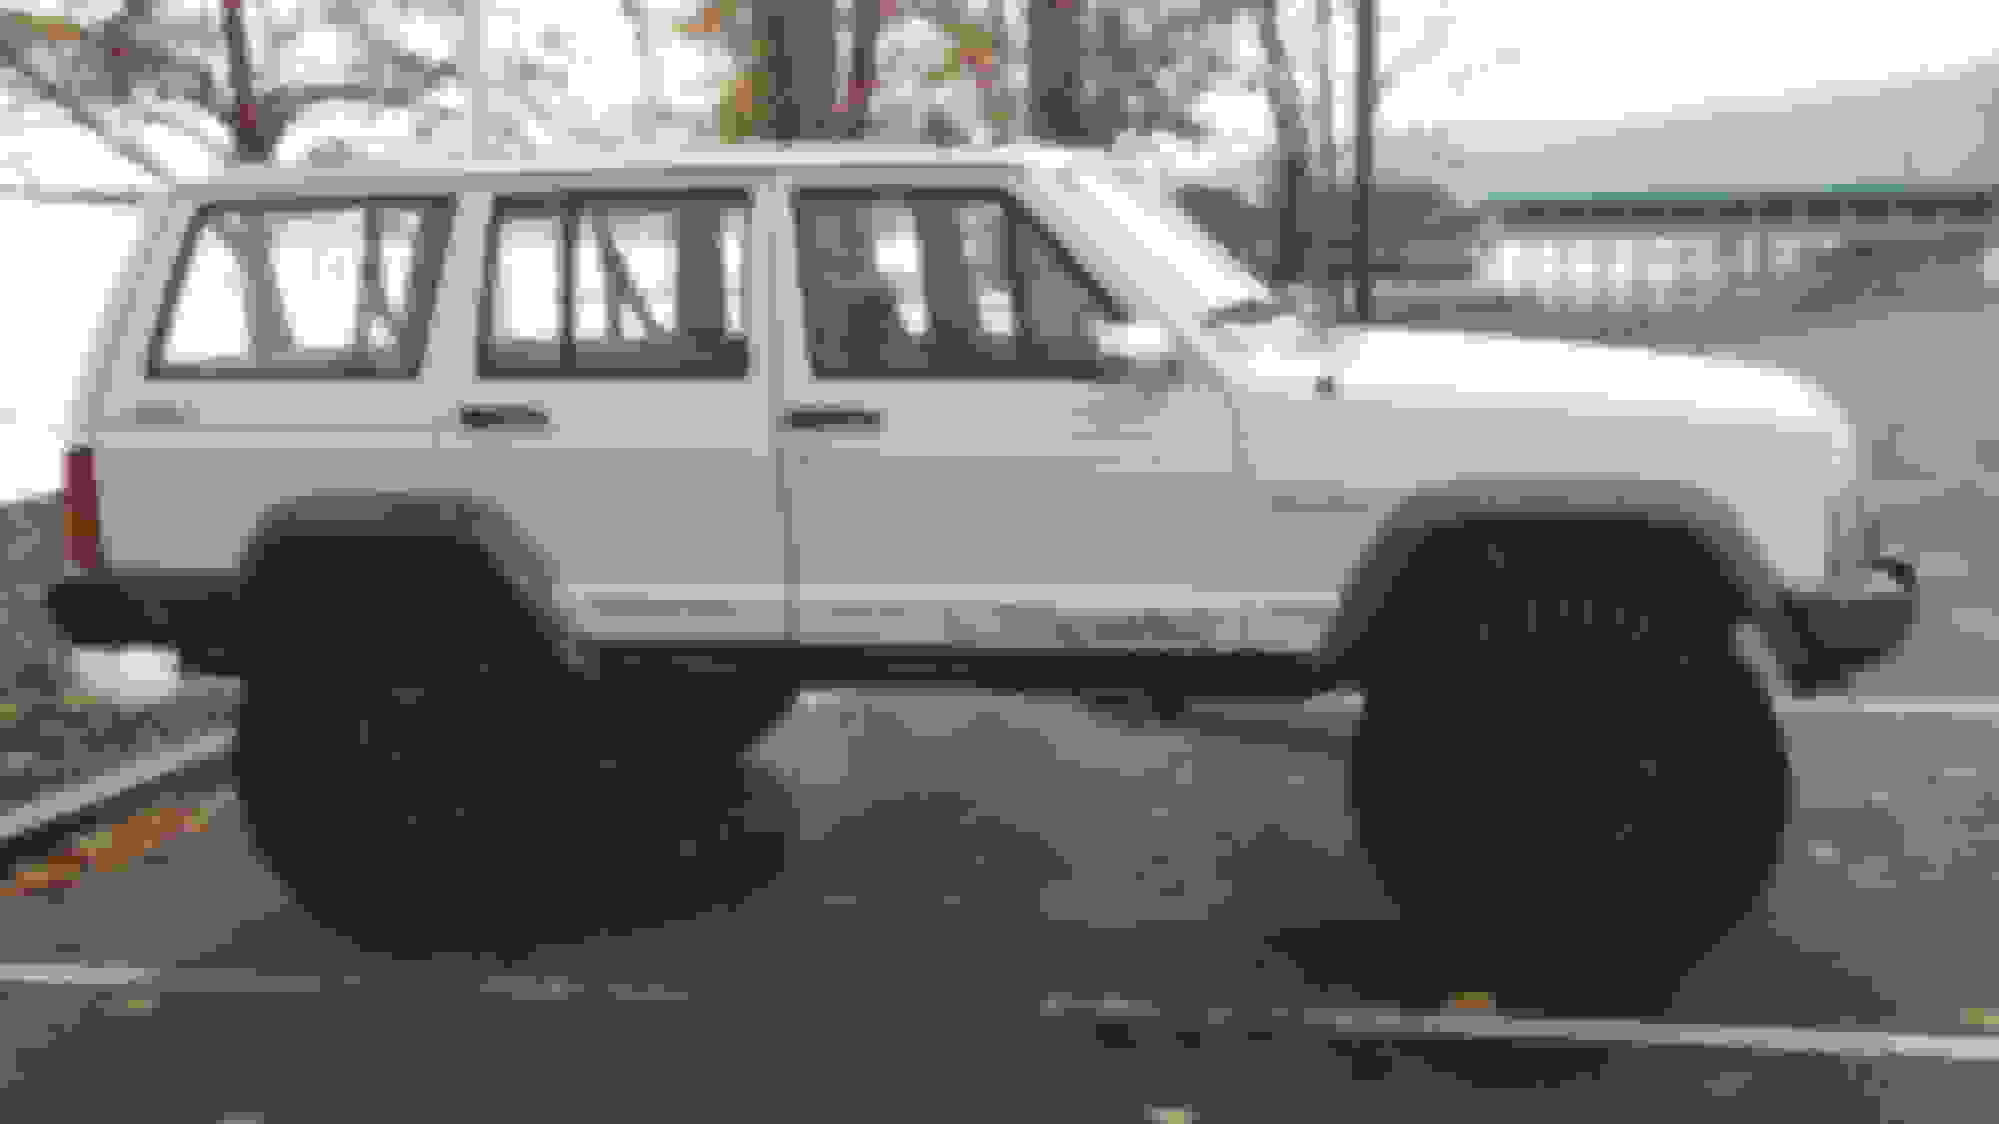
I will be keeping the best recent pictures here.
11/21/18
3.9" Lift / General Grabber 33.3" x 11.8" On 17" Wheels

Here will be listed all parts used (including shipping) as well as associated costs. I will be leaving out shop supplies and tools.
The estimated retail is also listed.


11/21/18
3.9" Lift / General Grabber 33.3" x 11.8" On 17" Wheels


Here will be listed all parts used (including shipping) as well as associated costs. I will be leaving out shop supplies and tools.
The estimated retail is also listed.


Last edited by craigjacob1; Nov 26, 2018 at 01:47 AM.
Thread Starter
Seasoned Member
Joined: Nov 2016
Posts: 304
Likes: 5
From: Idaho
Year: 1990
Engine: Renix 4.0
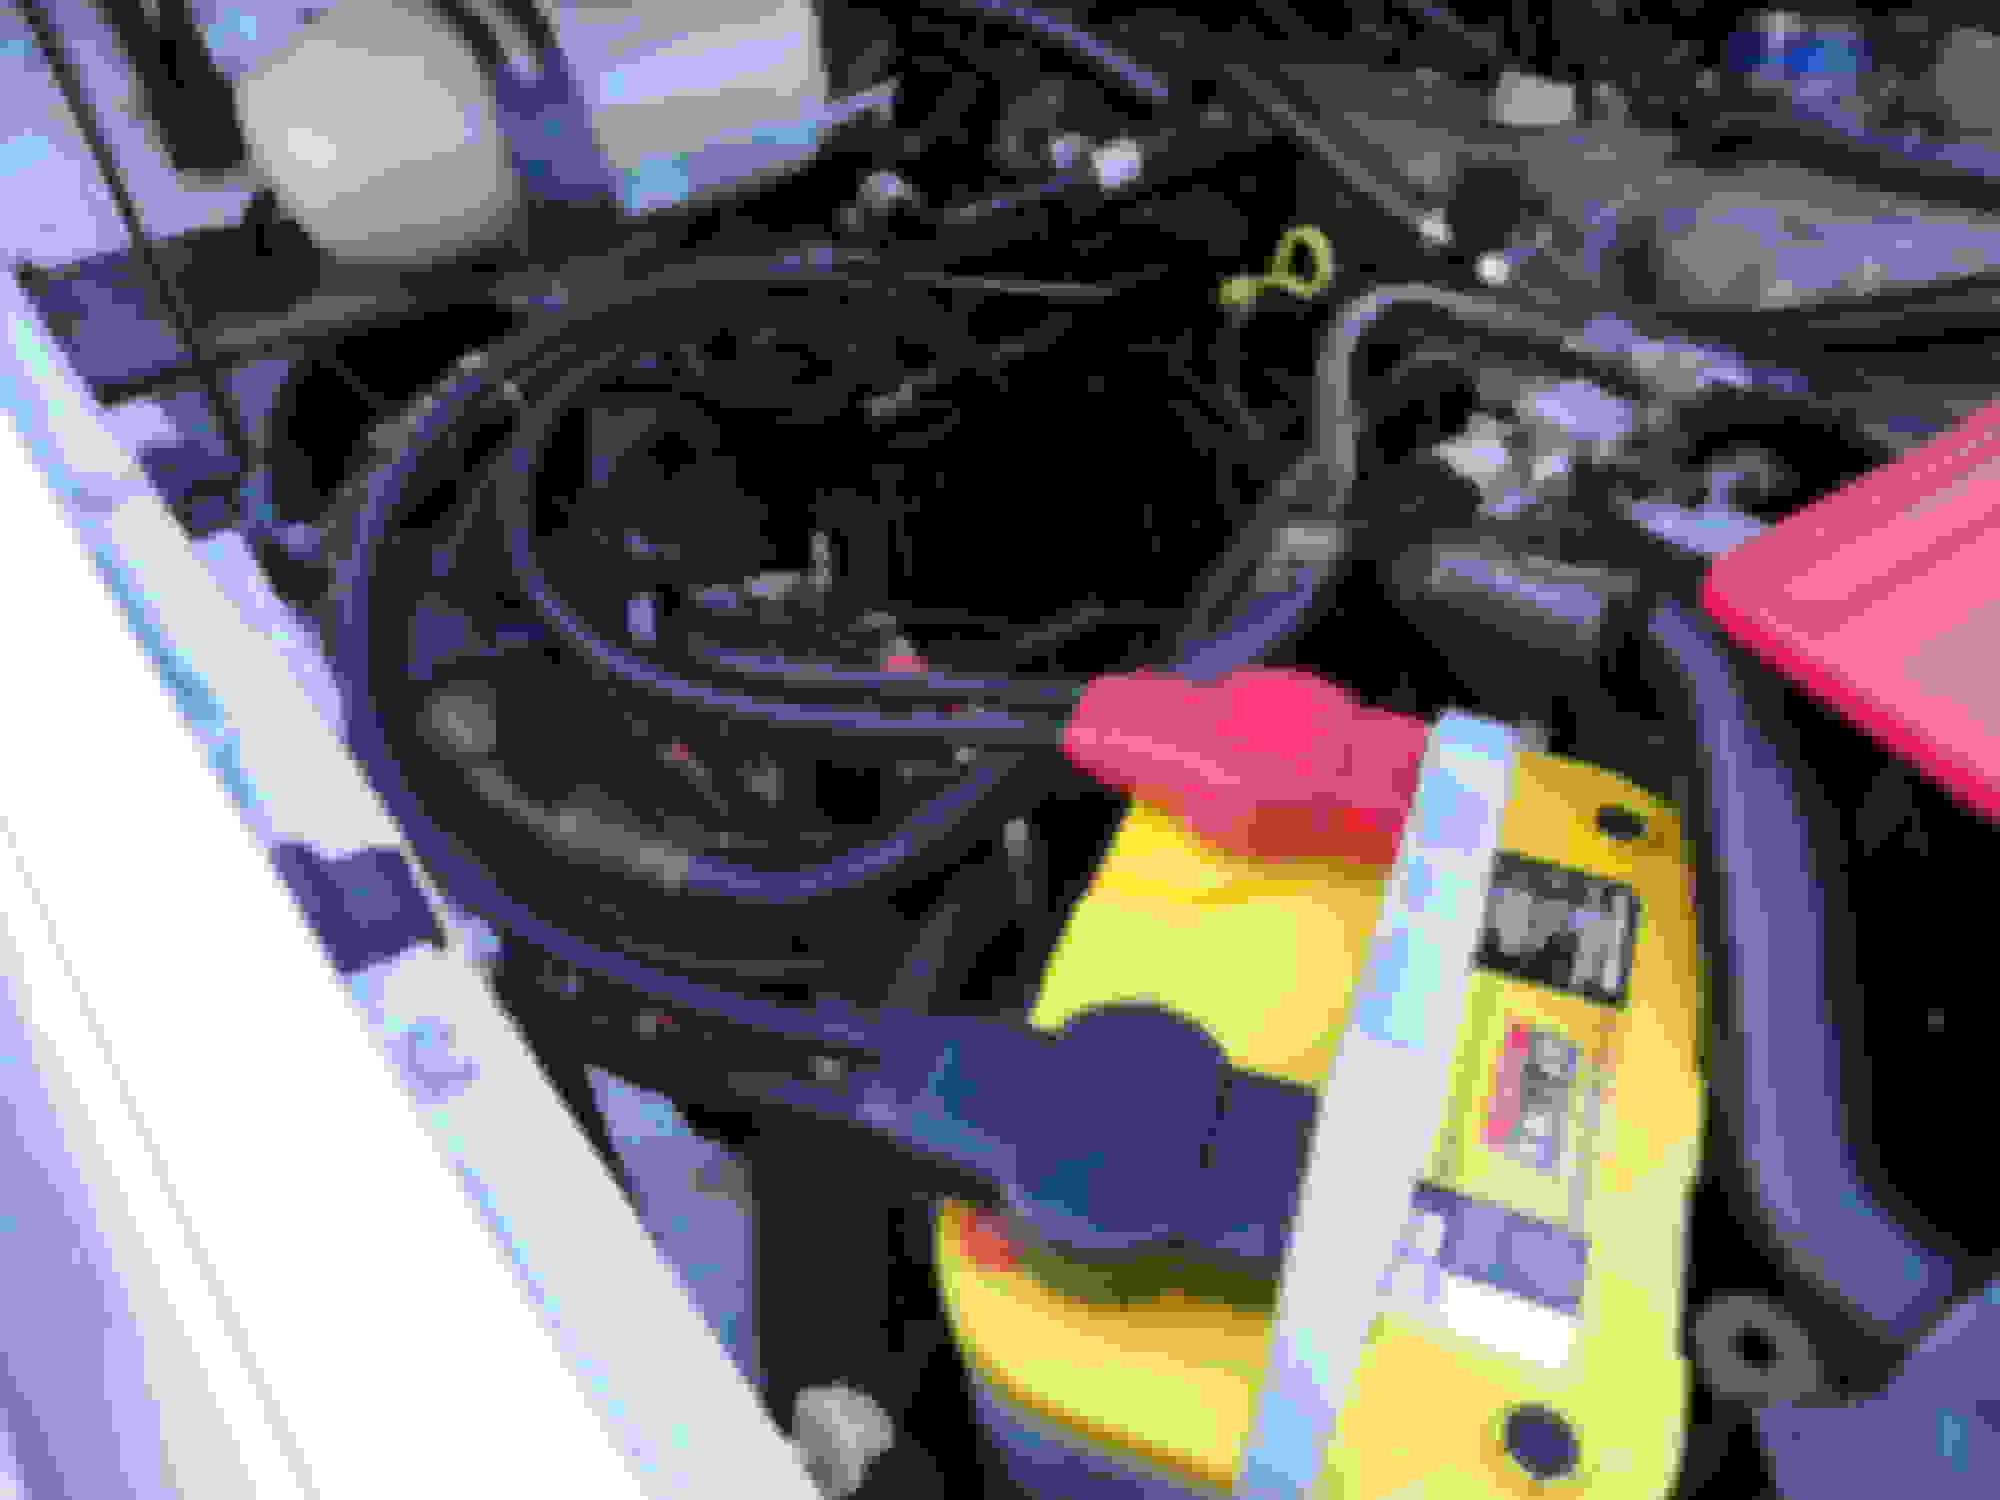
First up: New battery and cables
This was a set of cables I made some time ago. They will eventually be switched out with one of my newer sets.
Old Wires

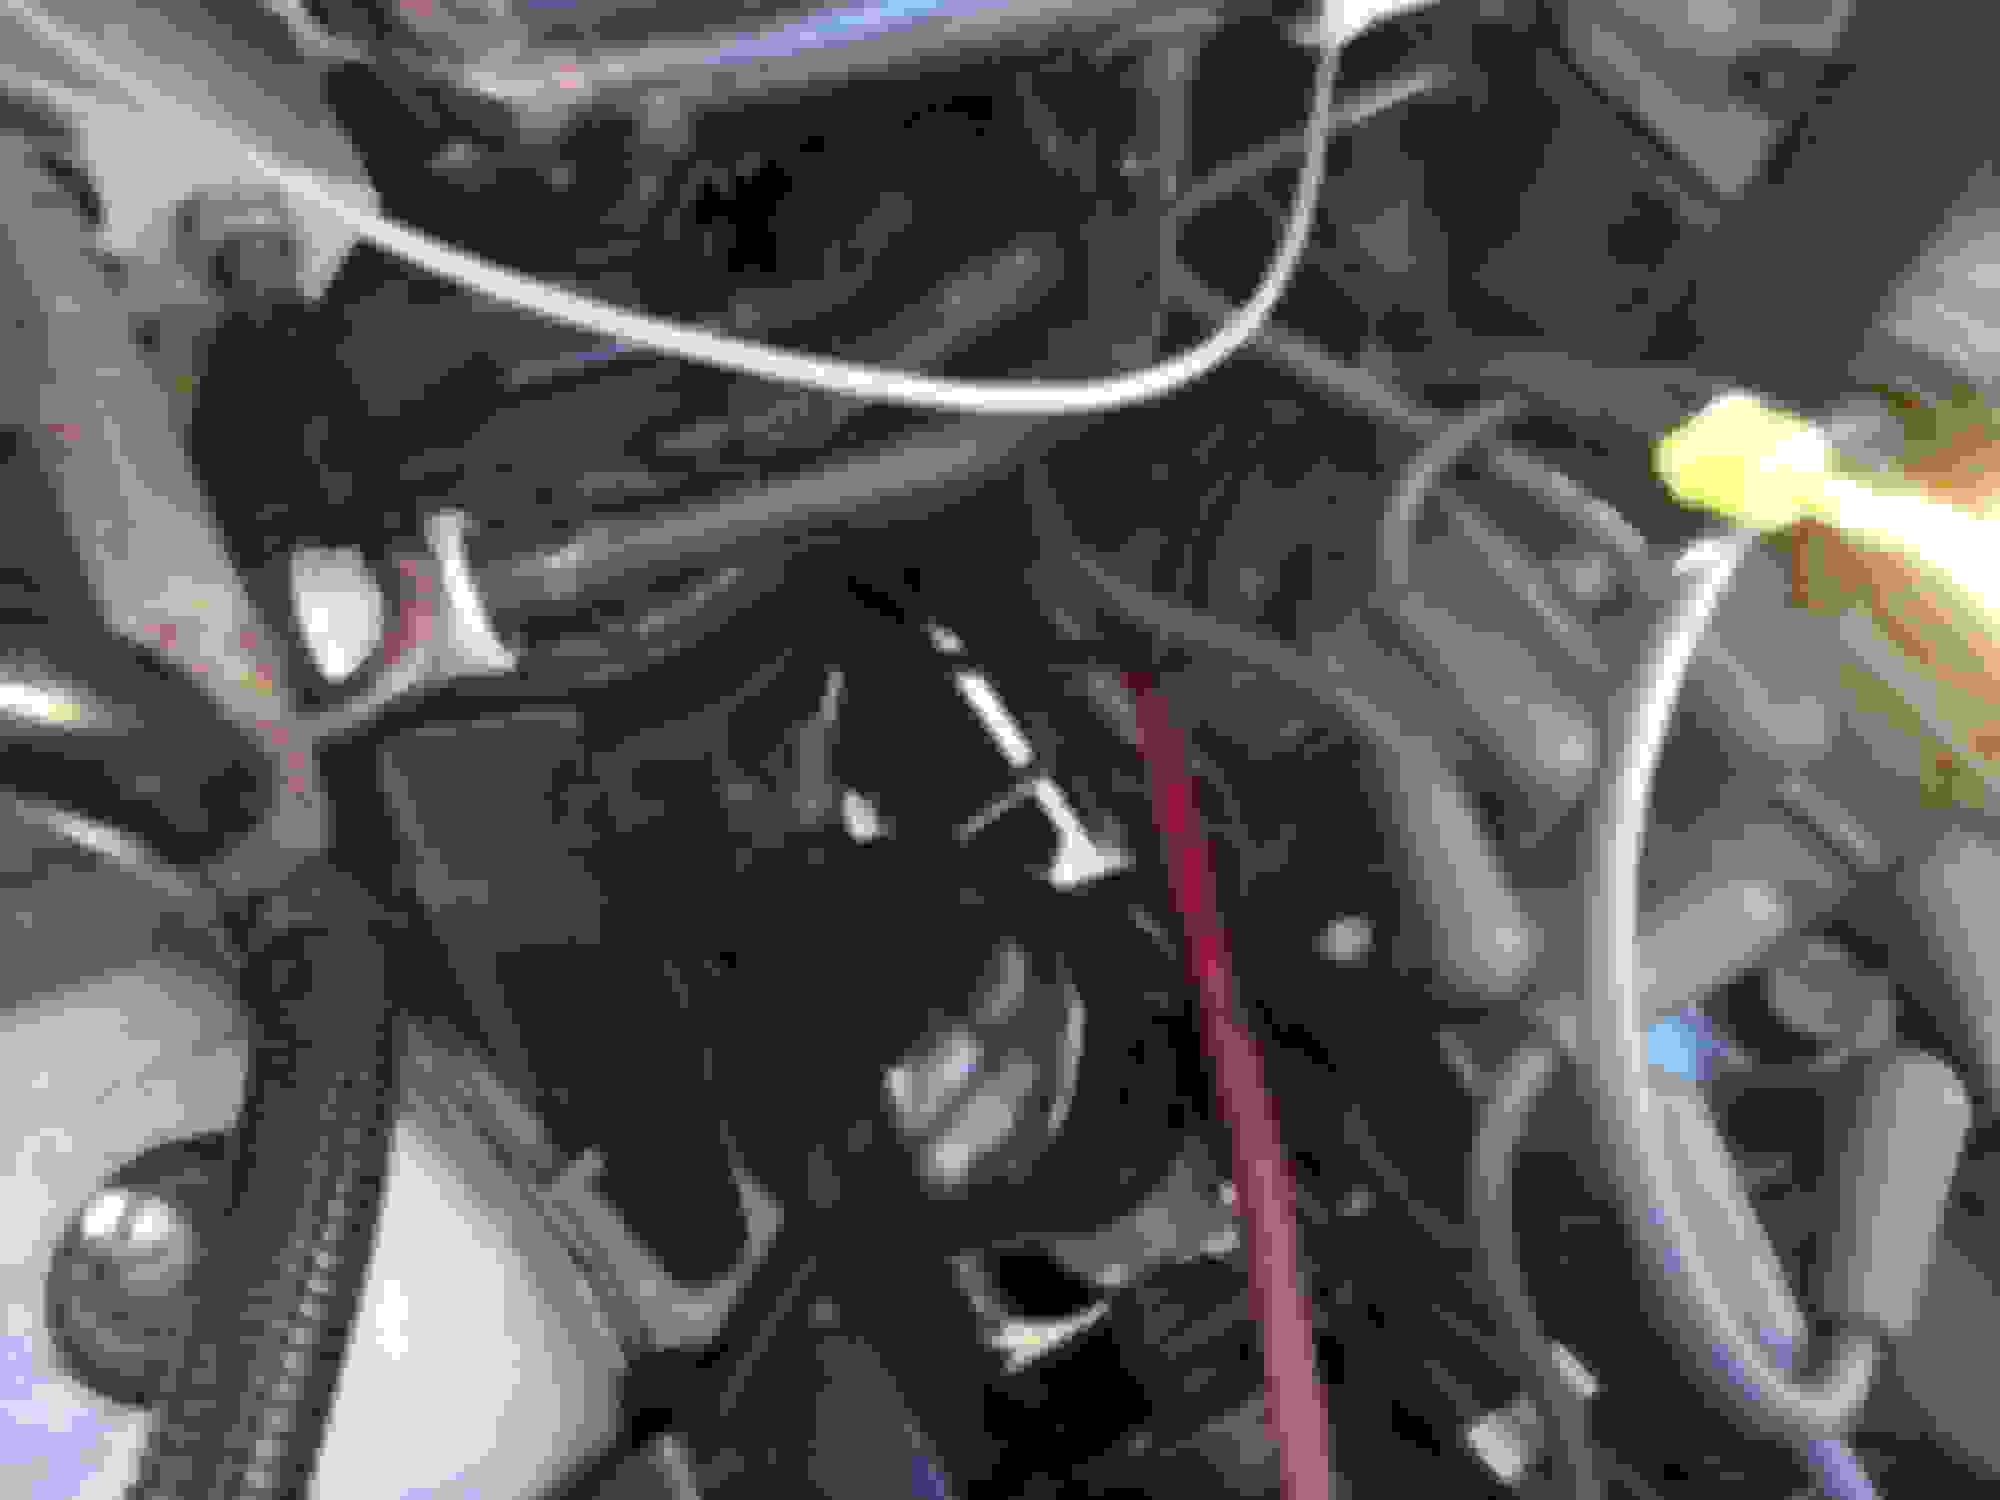

Connections Cleaned
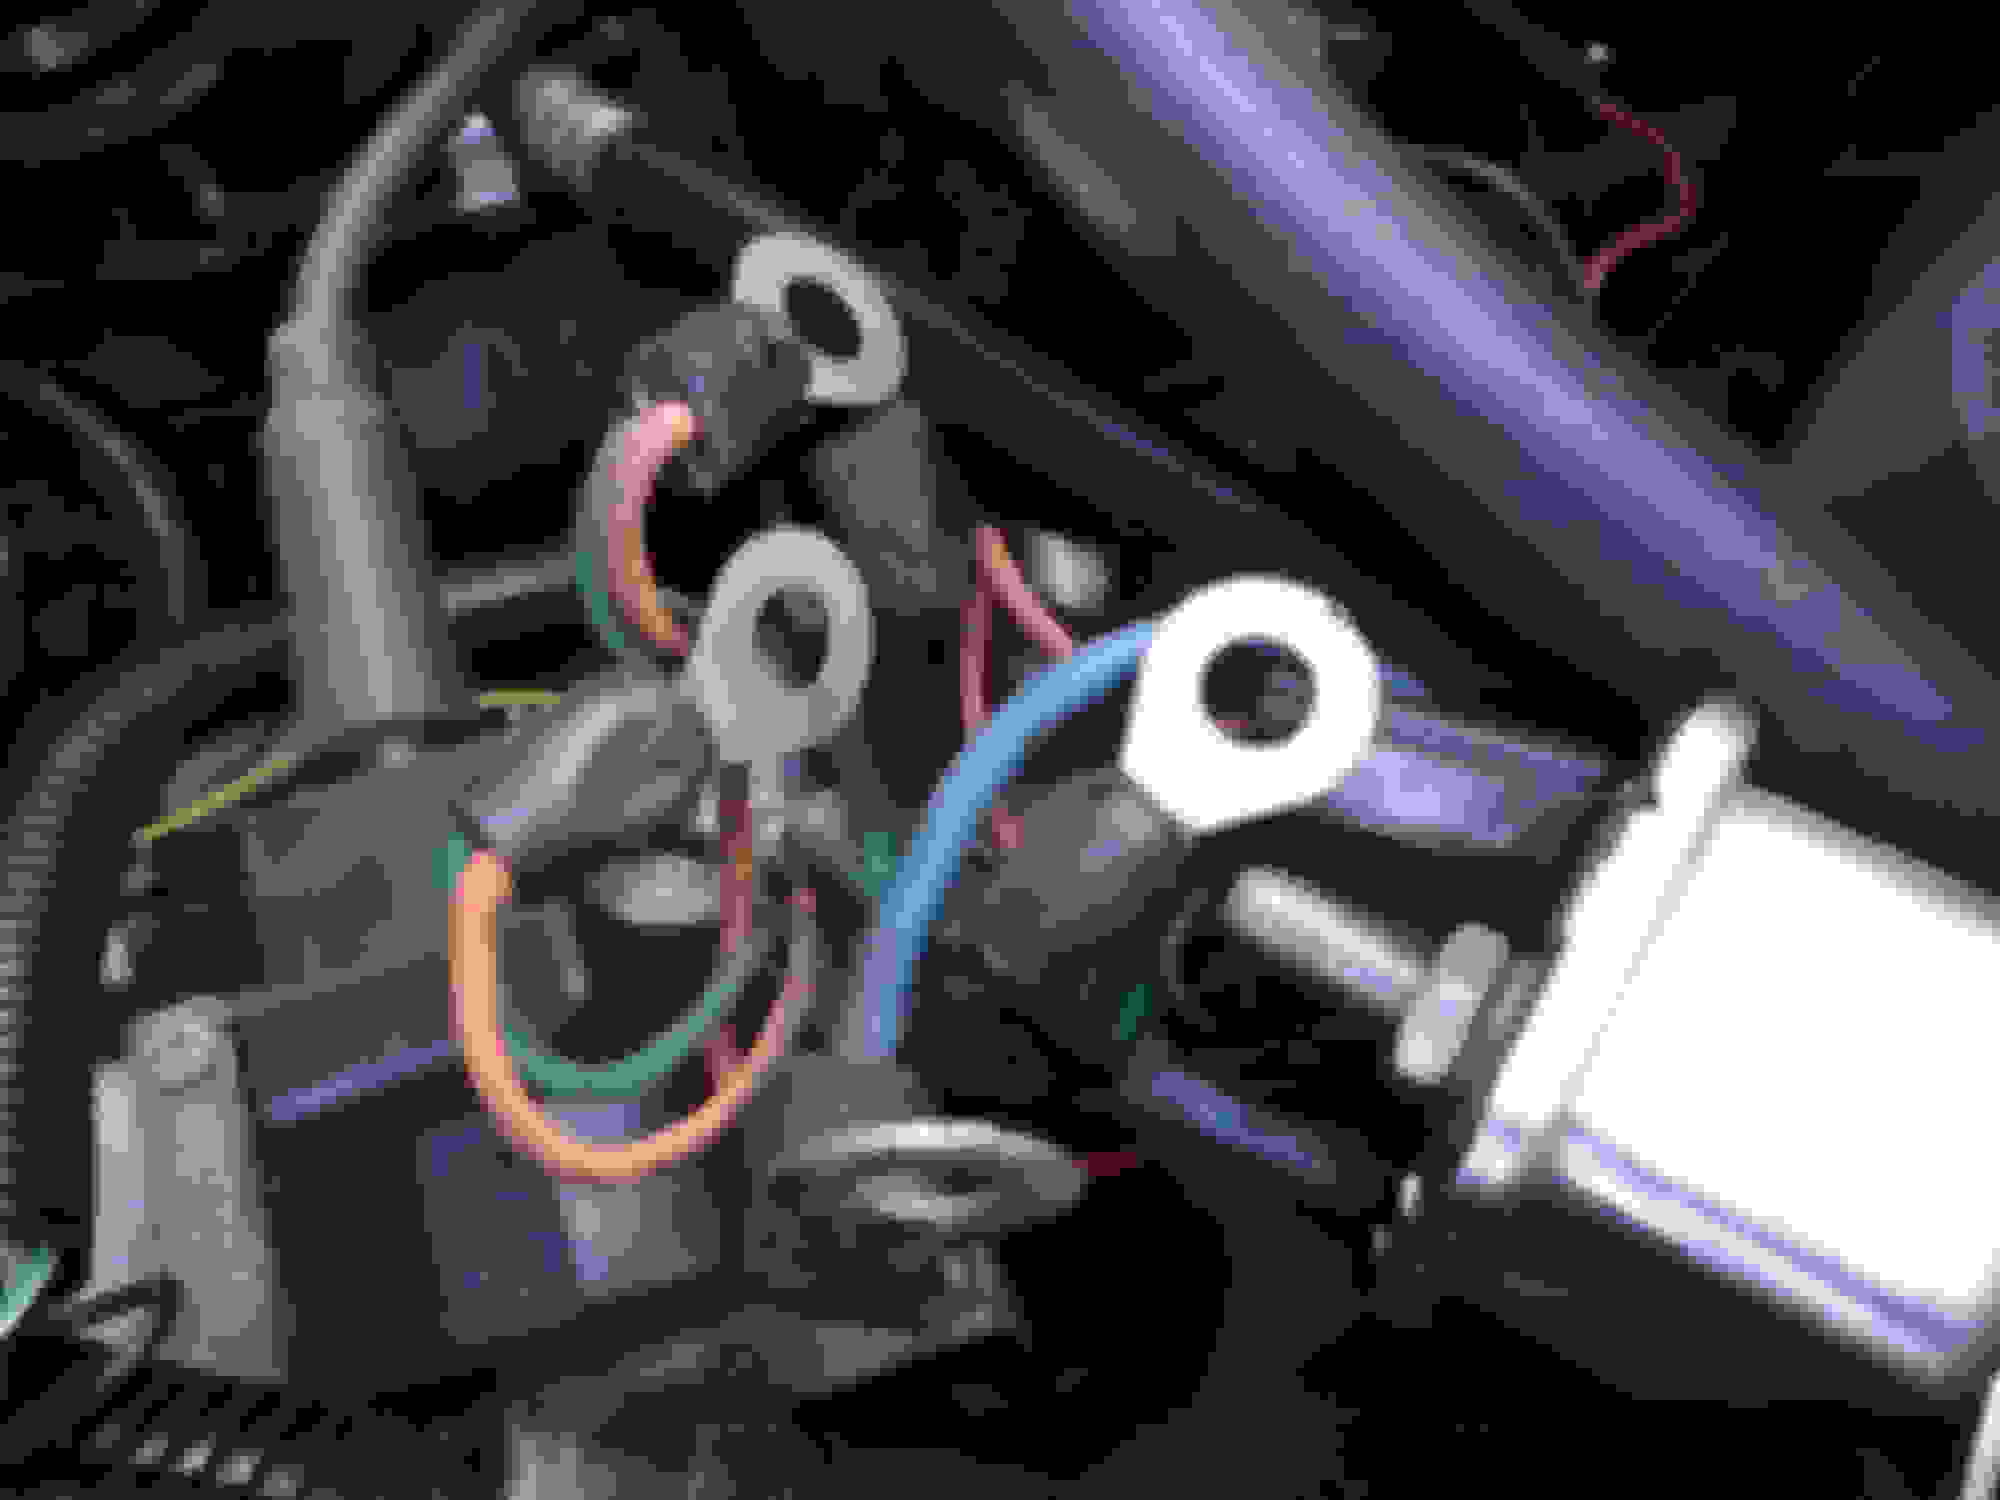
New Cables


This was a set of cables I made some time ago. They will eventually be switched out with one of my newer sets.
Old Wires


Connections Cleaned


New Cables


Last edited by craigjacob1; Nov 20, 2018 at 11:39 PM.


Thread Starter
Seasoned Member
Joined: Nov 2016
Posts: 304
Likes: 5
From: Idaho
Year: 1990
Engine: Renix 4.0
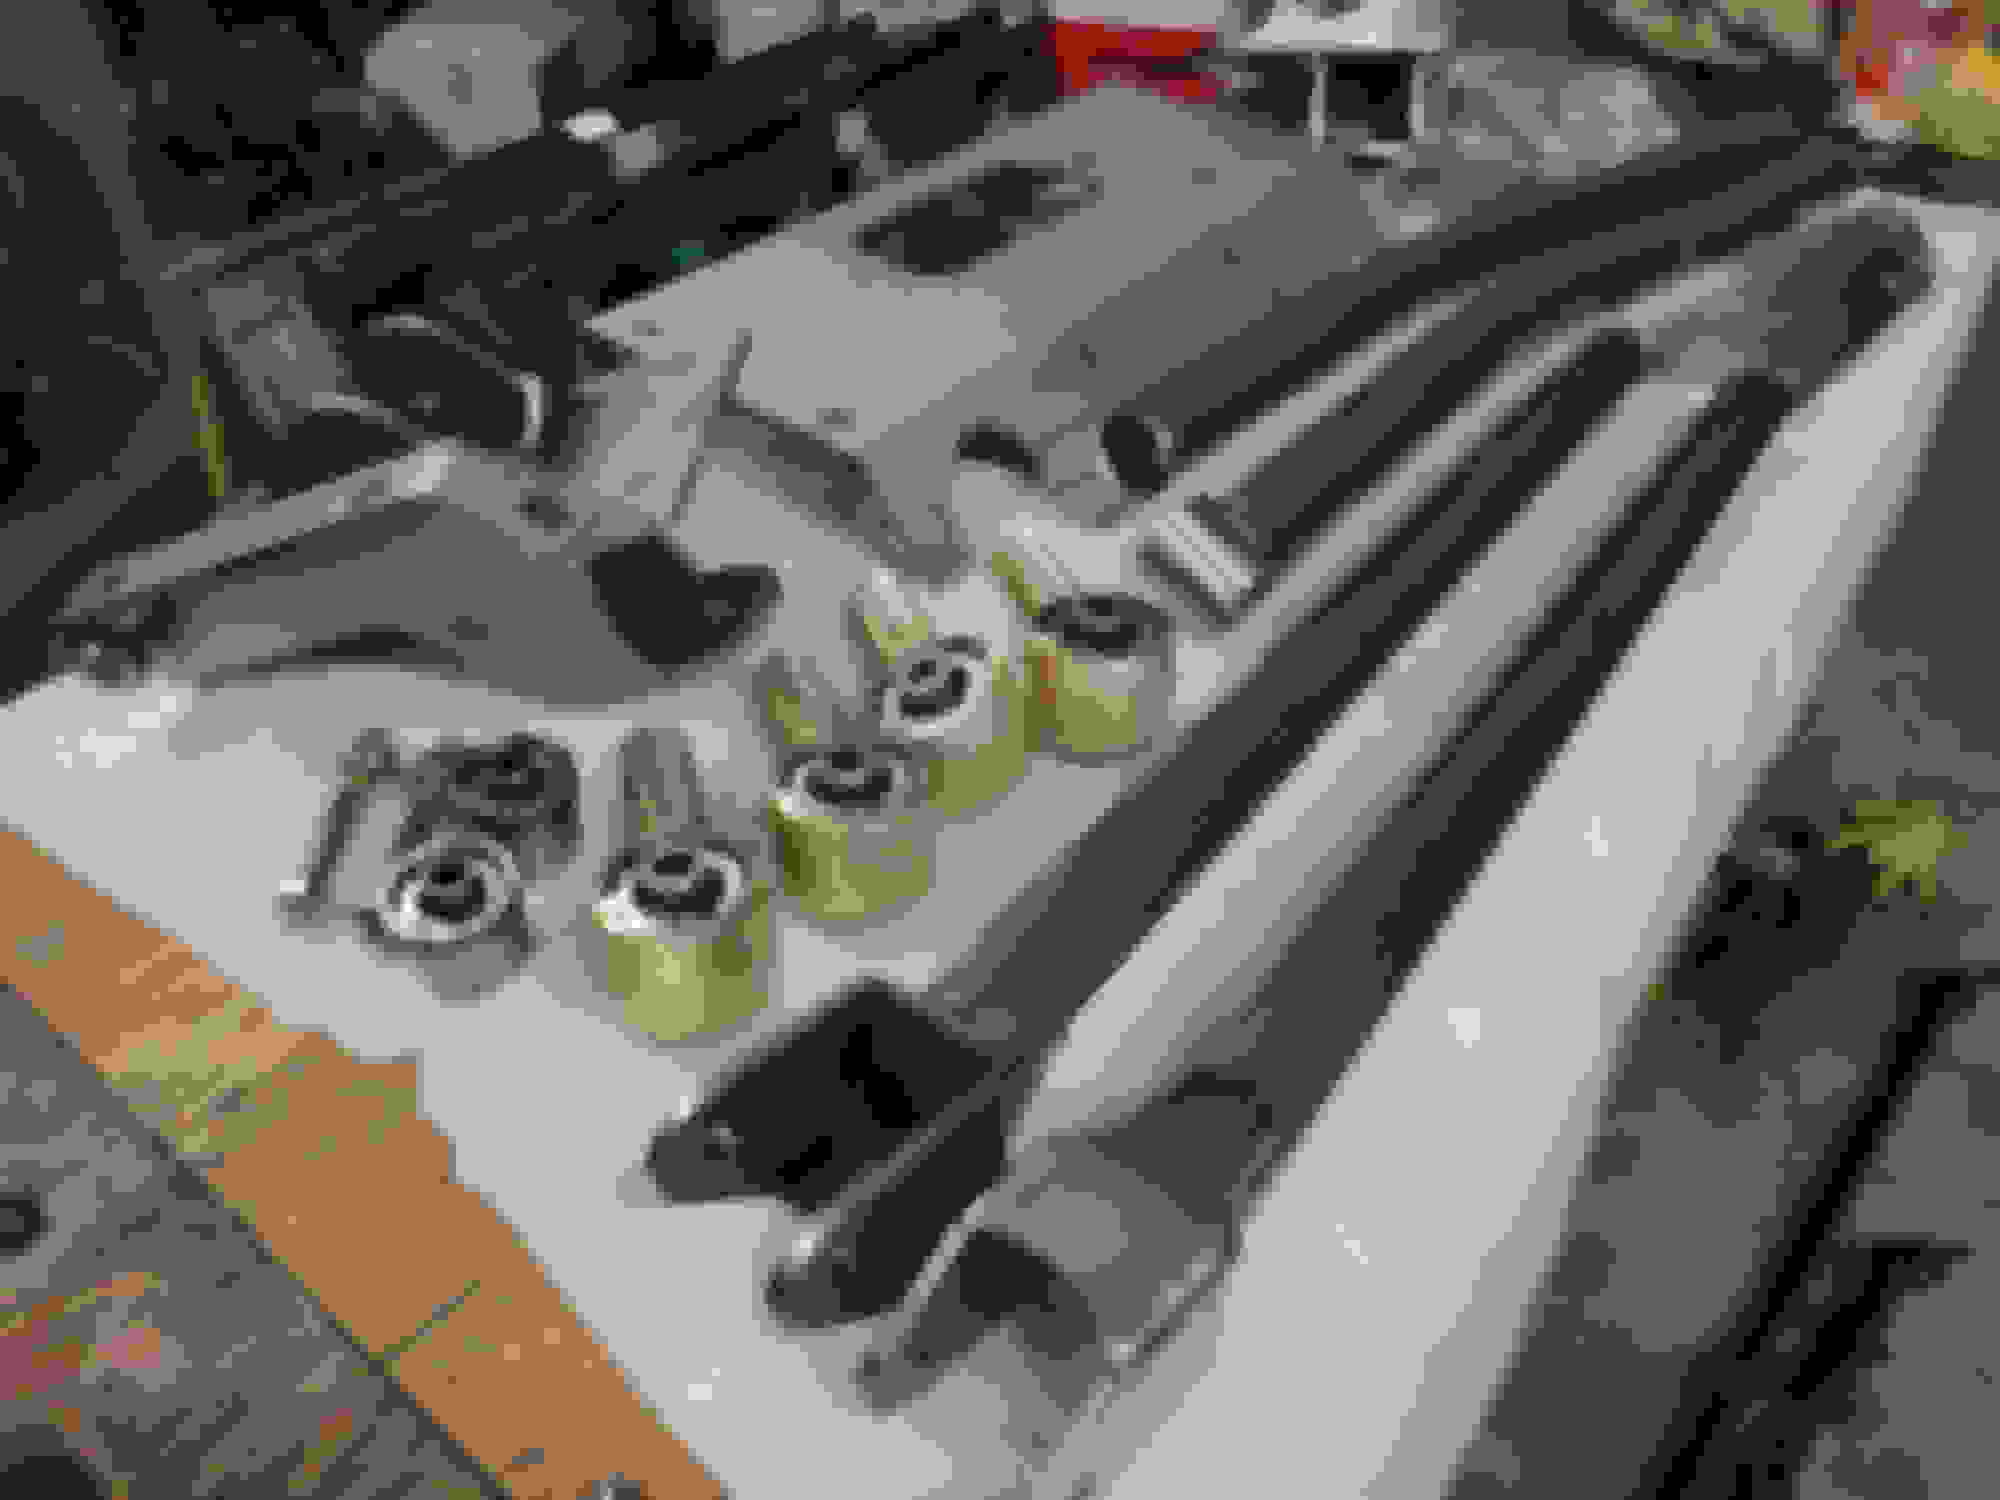
Getting The Cav Fab Alpha 4-Link Ready For Install


Prepped & Scuffed With A 360 grit Pad

The Control Arms Were Sprayed With Dupli-Color Gloss Clear.
I was going to spray the entire kit clear, however there was too much welding spatter. The control arm mounts just didn't look right.
Next time the set comes off it will likely be re-done with Cerakote Titanium colored ceramic paint.

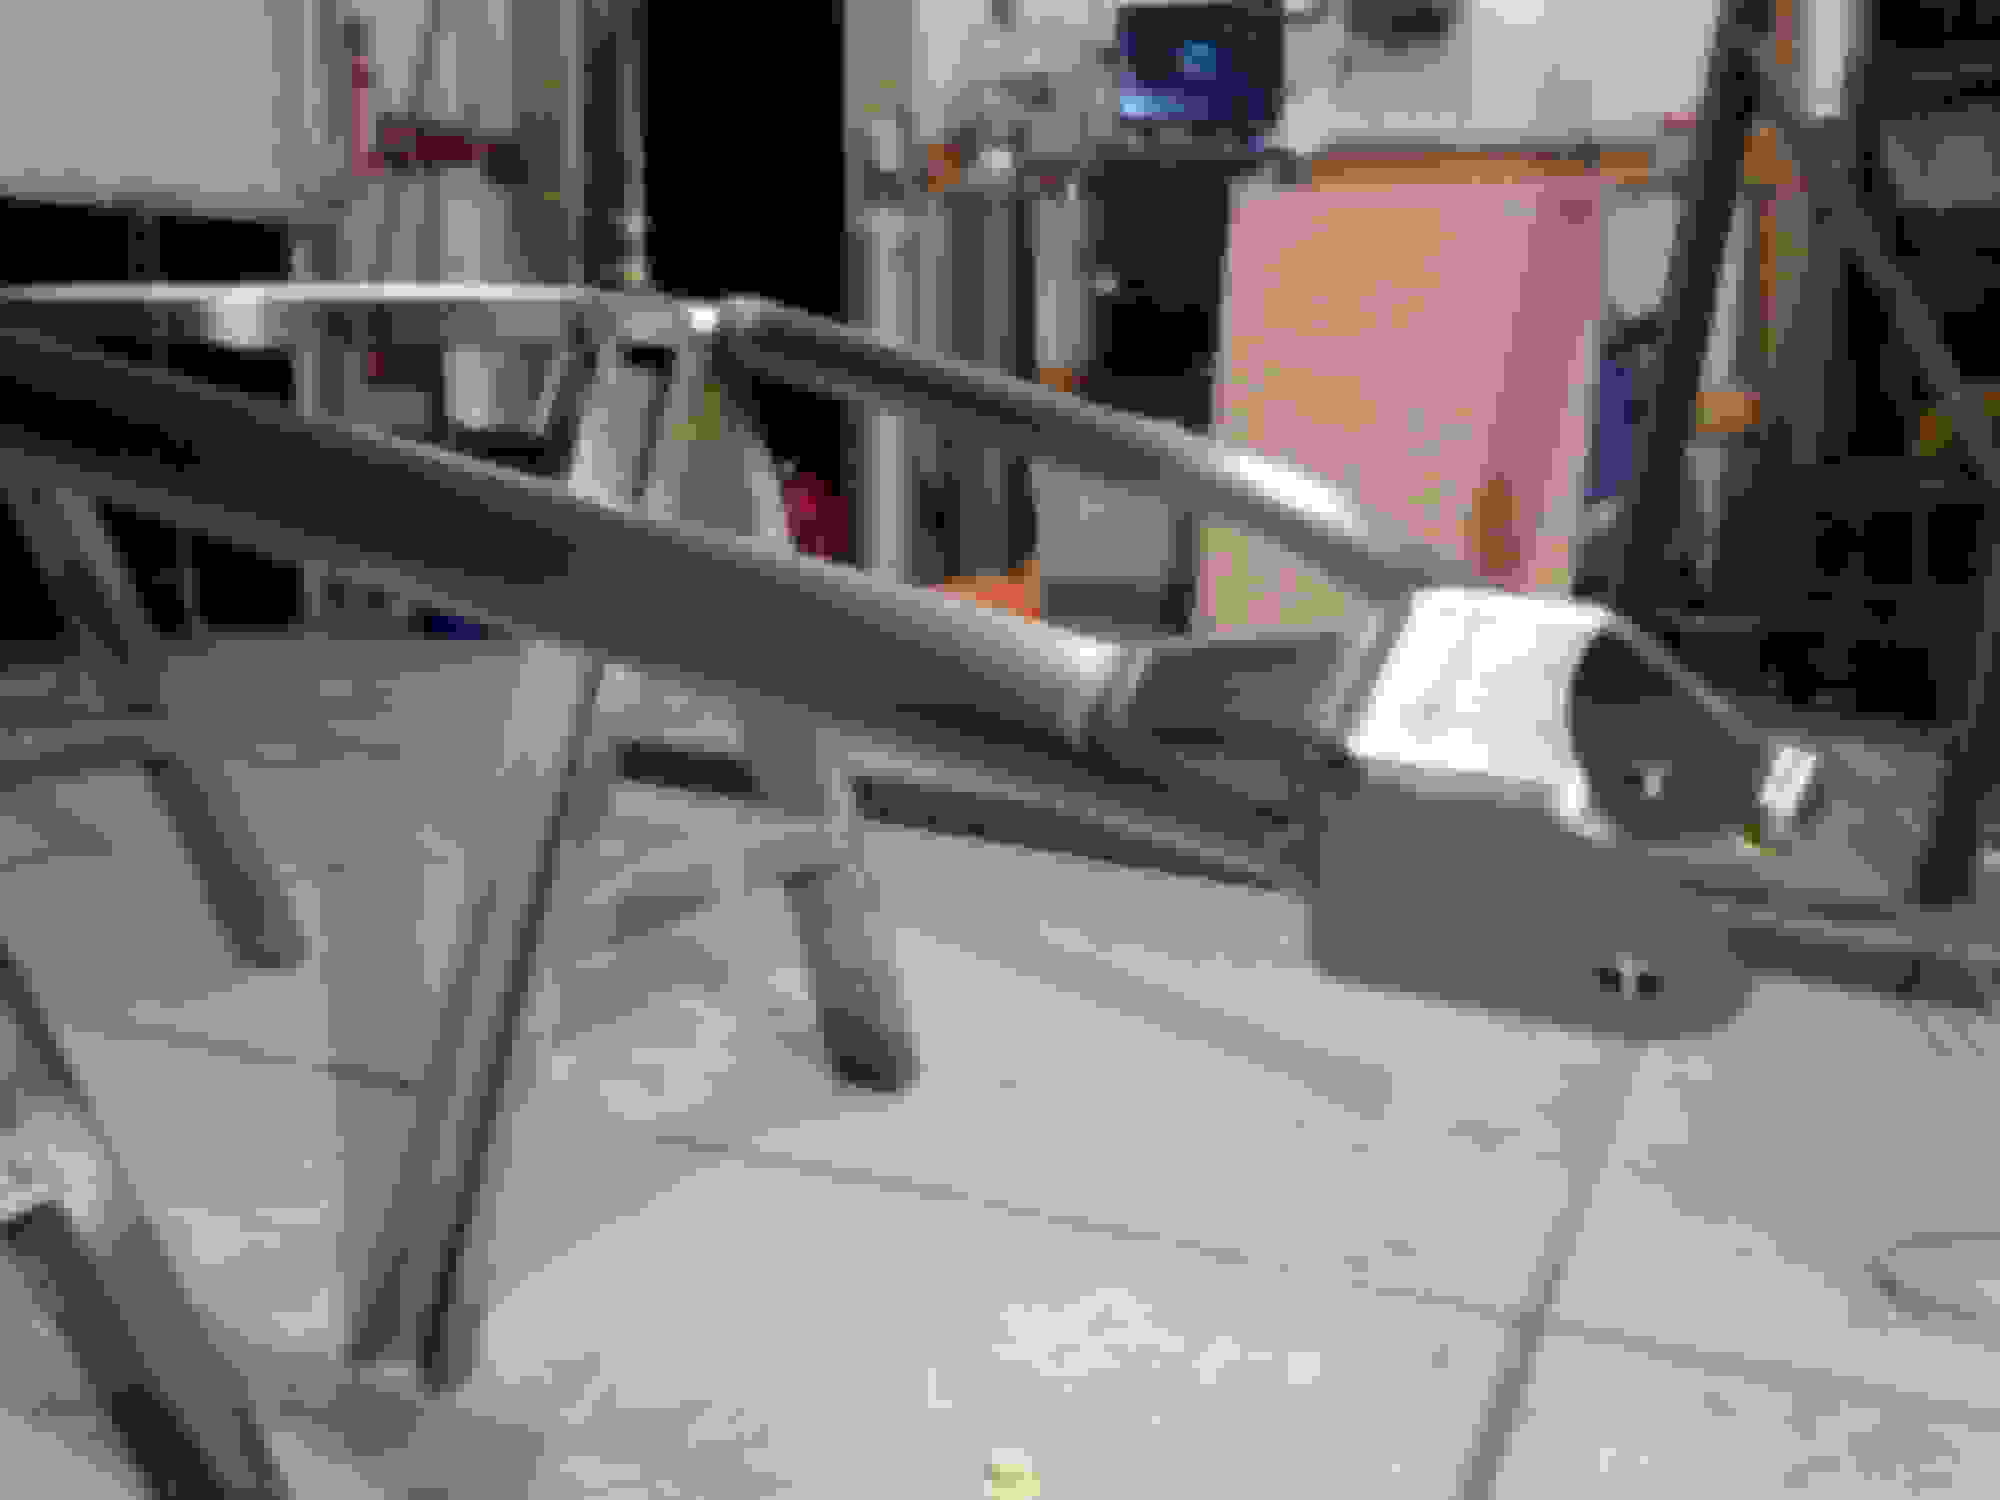


And here's where my memory card went corrupt. Unfortunately I lost a lot of the prep and tear down pictures here.


Prepped & Scuffed With A 360 grit Pad


The Control Arms Were Sprayed With Dupli-Color Gloss Clear.
I was going to spray the entire kit clear, however there was too much welding spatter. The control arm mounts just didn't look right.
Next time the set comes off it will likely be re-done with Cerakote Titanium colored ceramic paint.


And here's where my memory card went corrupt. Unfortunately I lost a lot of the prep and tear down pictures here.


Last edited by craigjacob1; Nov 20, 2018 at 10:15 PM.
Thread Starter
Seasoned Member
Joined: Nov 2016
Posts: 304
Likes: 5
From: Idaho
Year: 1990
Engine: Renix 4.0
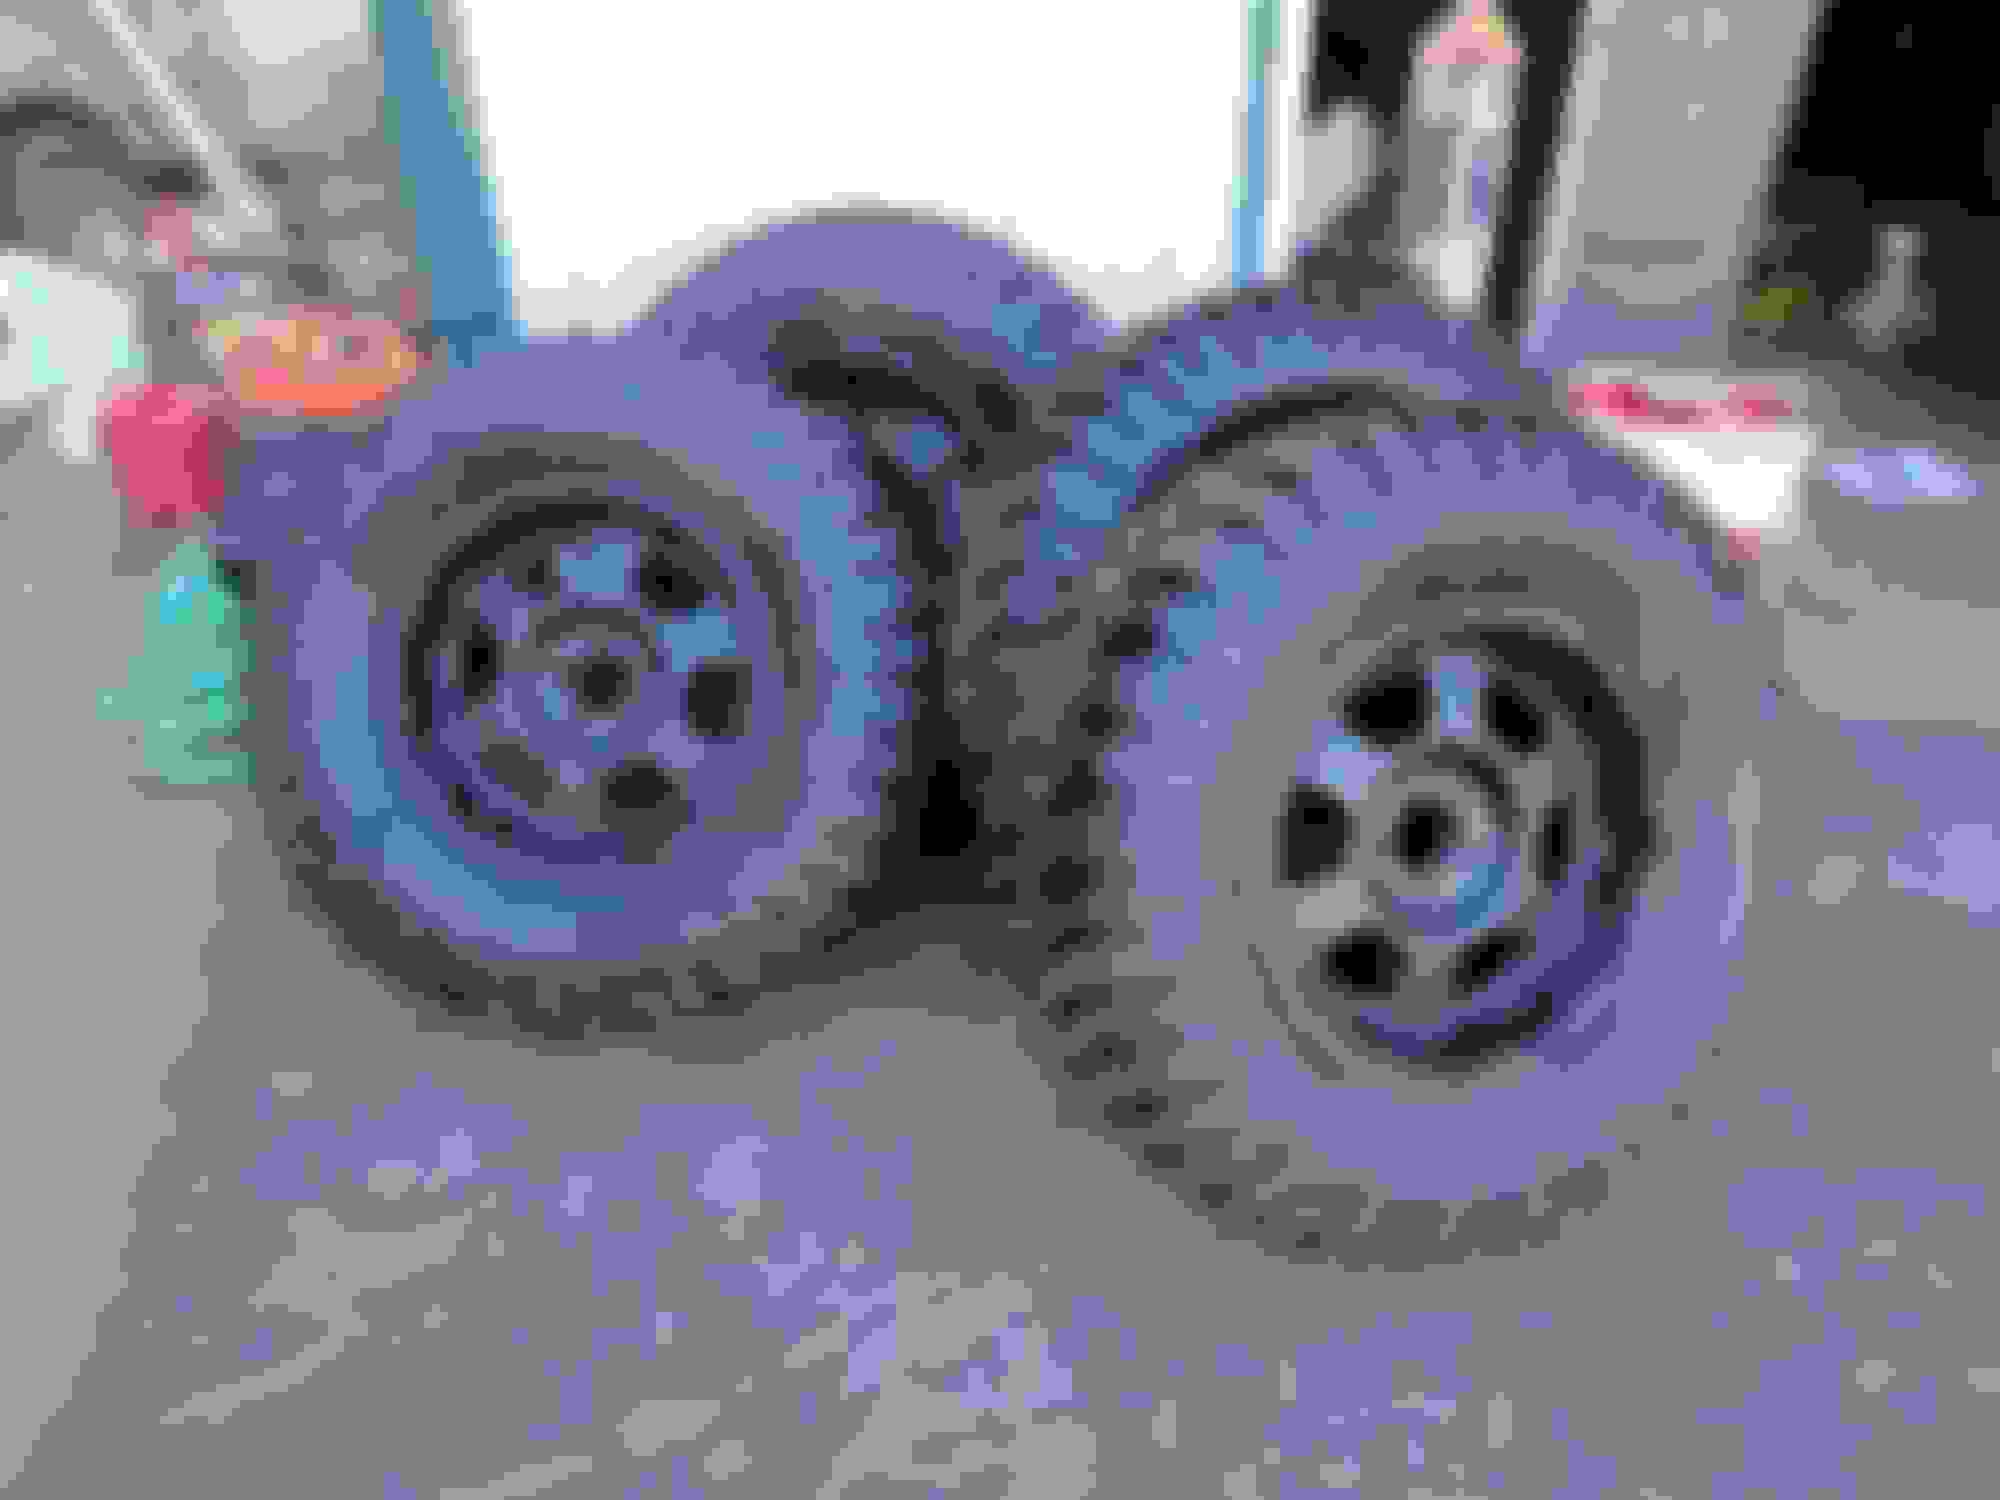
New 295/70-17 General Grabber X3 Tires Mounted on Used Pro Comp Series 7089-7865 Wheels.
Wheel Specs:
17"x8" With 5" X 4.5" Bolt Pattern - 4.5" Backspace - Flat Black
Wheel Specs:
17"x8" With 5" X 4.5" Bolt Pattern - 4.5" Backspace - Flat Black

Trending Topics


Thread Starter
Seasoned Member
Joined: Nov 2016
Posts: 304
Likes: 5
From: Idaho
Year: 1990
Engine: Renix 4.0
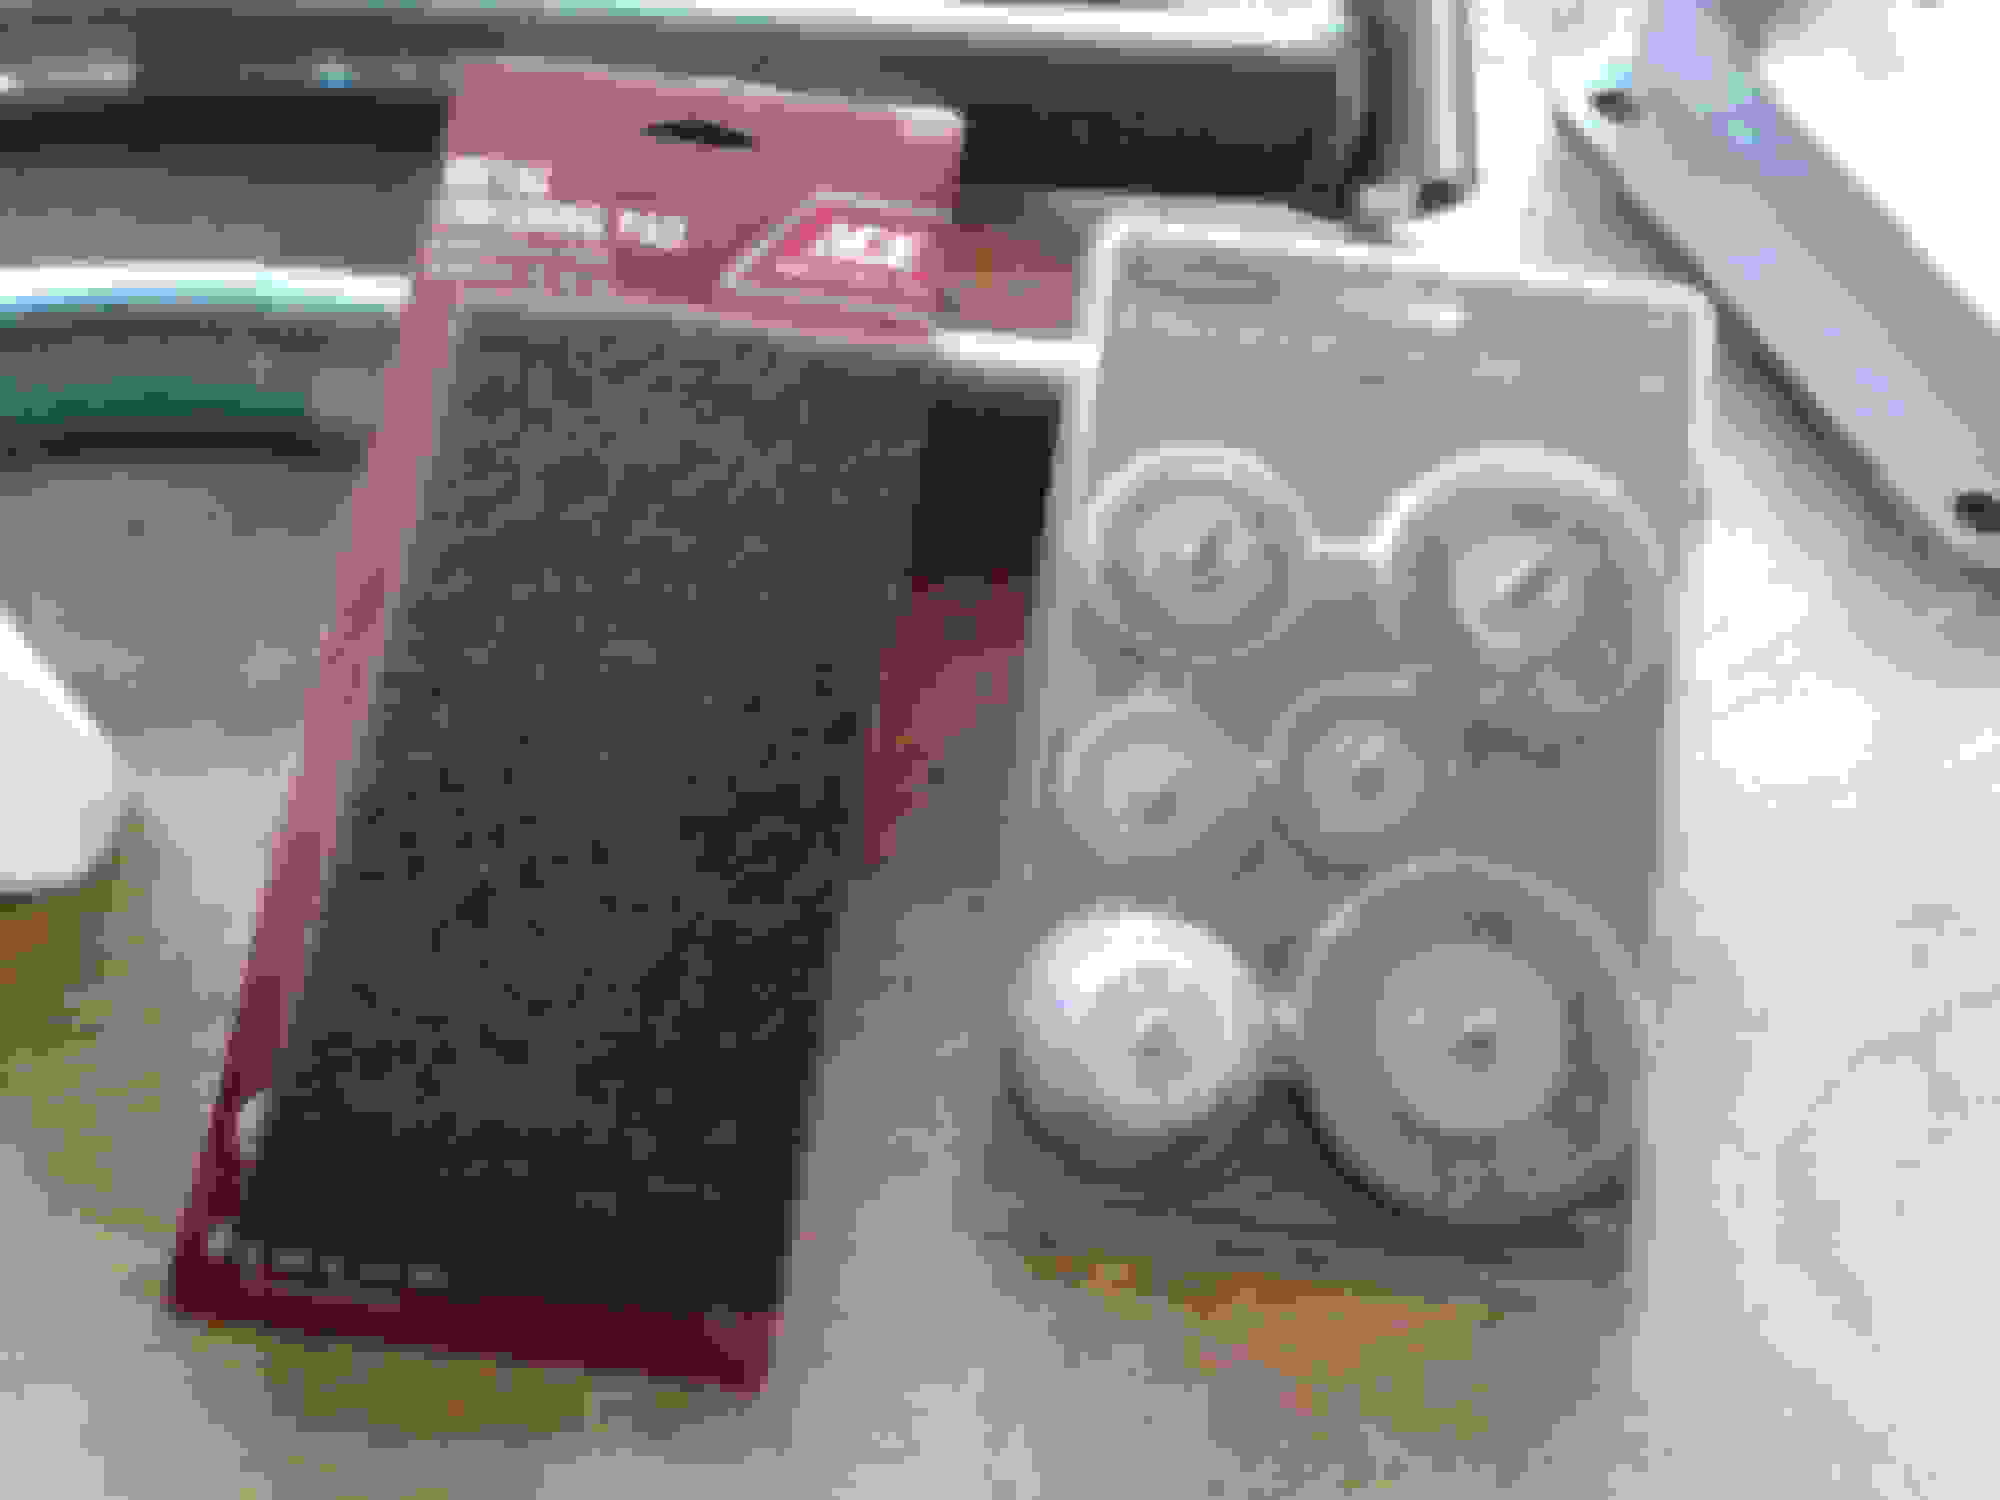
Drilling For The Front Bump Stop Spacers.
I wanted the JKS spacers, but their price is outrageous.
I picked up a set of round stock plates on ebay: 6 2.75" Inch Diameter 1" Long 6061 Aluminum
Then got some 1/2" 13 X 3.5" Stainless bolts and hardware from lowes.
The total cost was around $35.00

Drilling And Tapping For Spacers


Spacers Drilled, Cleaned, And Clear Coated.

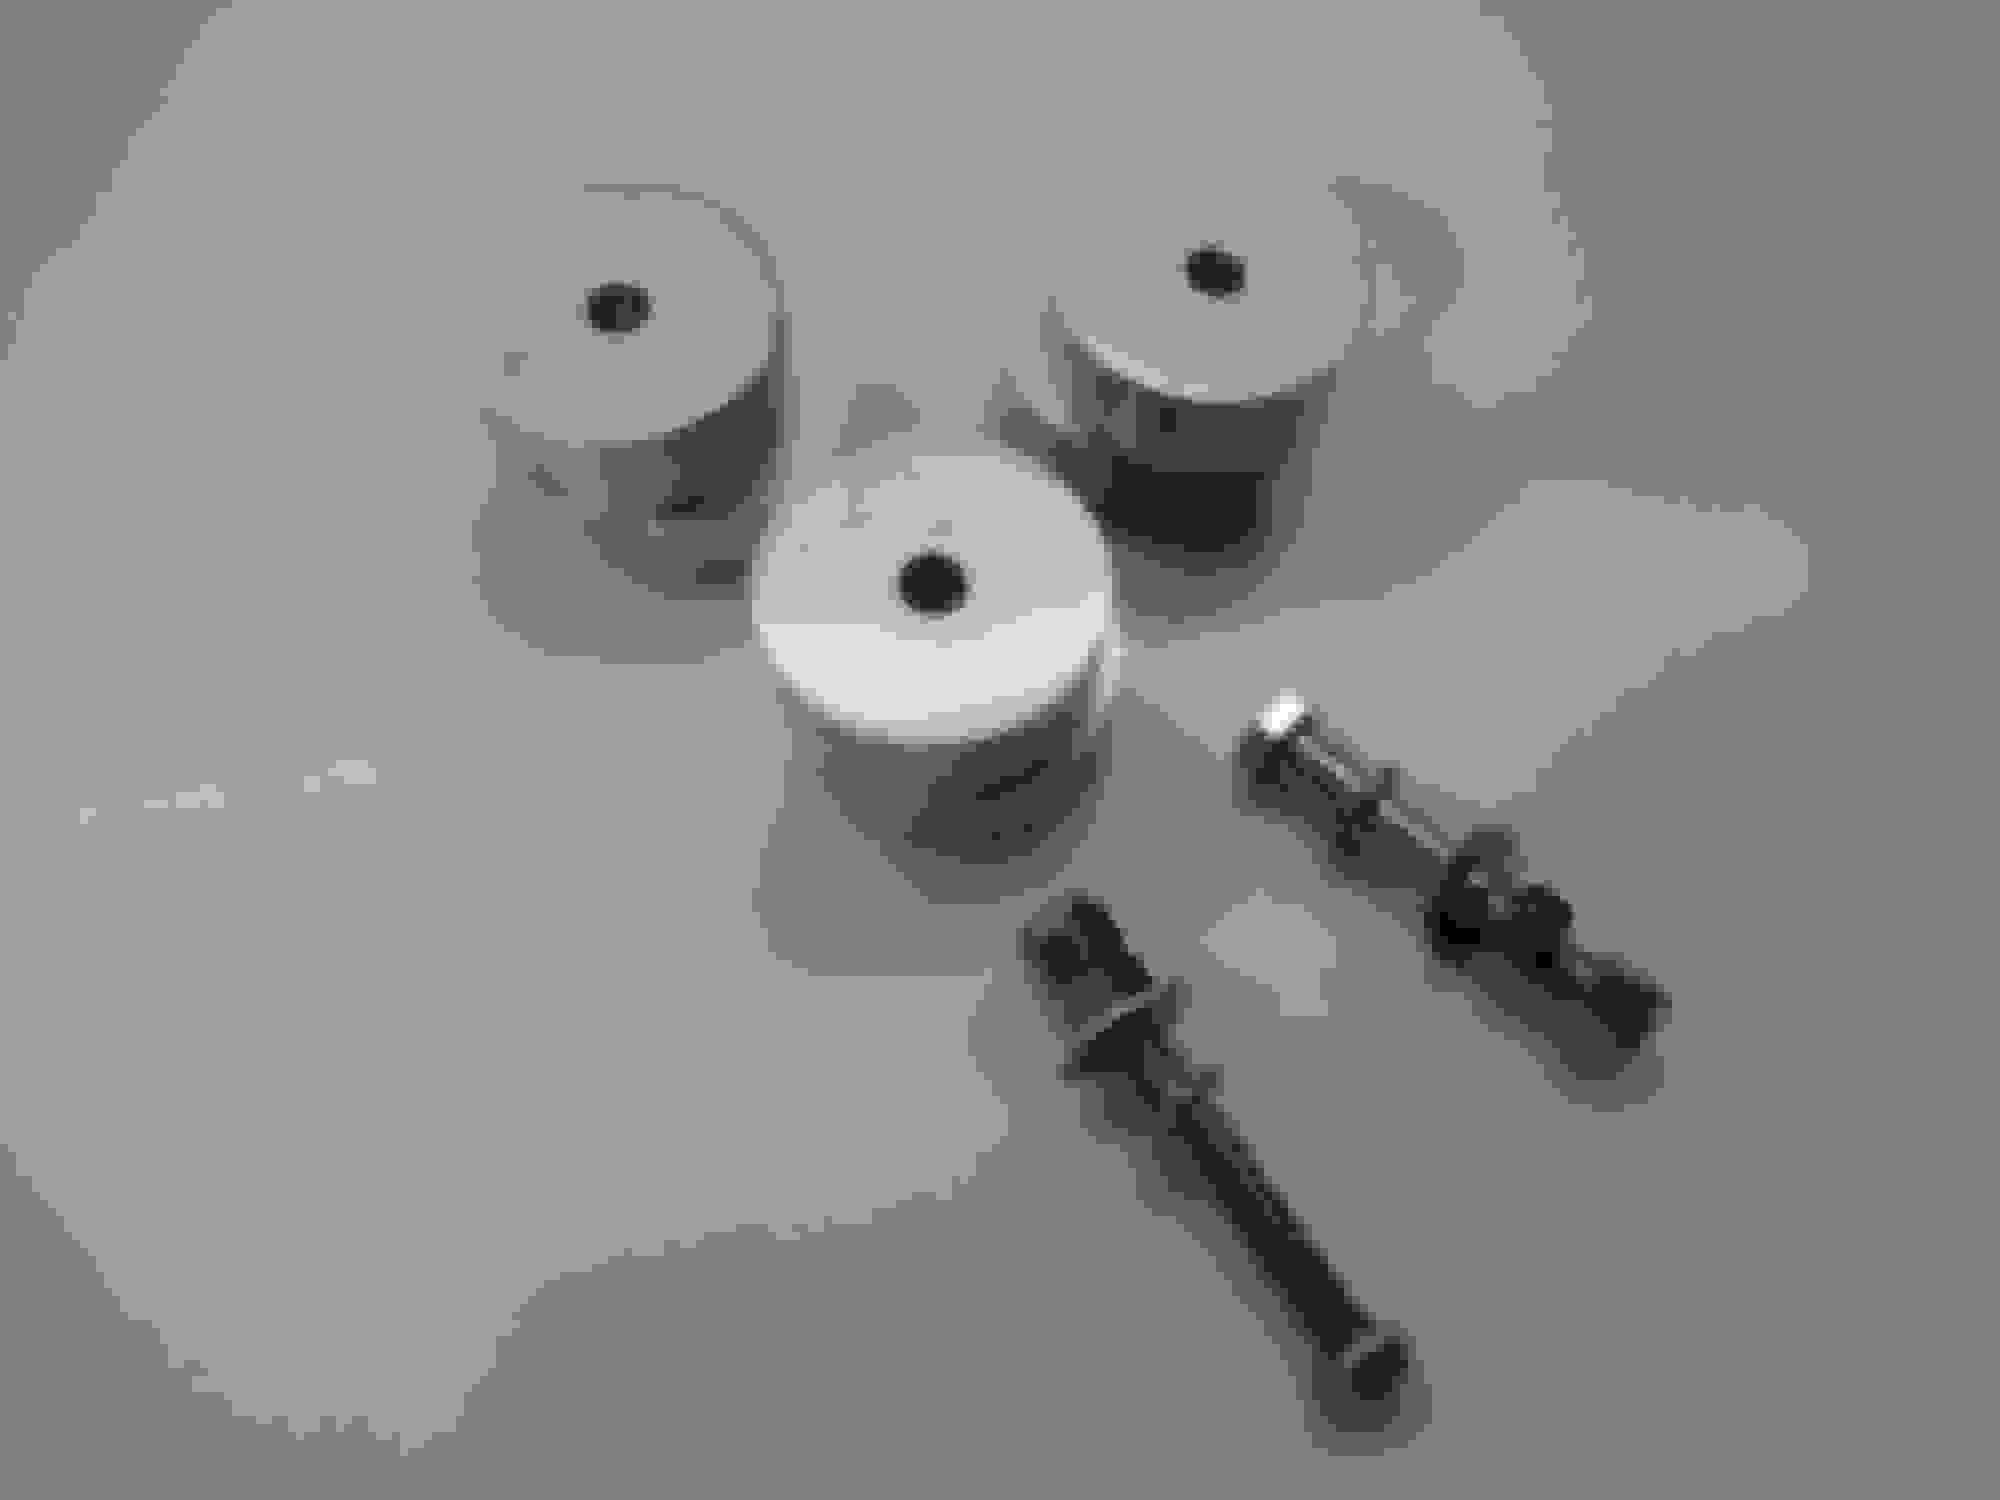

The Top Plate Was Finished With A Step Drill


I wanted the JKS spacers, but their price is outrageous.
I picked up a set of round stock plates on ebay: 6 2.75" Inch Diameter 1" Long 6061 Aluminum
Then got some 1/2" 13 X 3.5" Stainless bolts and hardware from lowes.
The total cost was around $35.00

Drilling And Tapping For Spacers


Spacers Drilled, Cleaned, And Clear Coated.


The Top Plate Was Finished With A Step Drill


Last edited by craigjacob1; Nov 21, 2018 at 01:40 AM.
Thread Starter
Seasoned Member
Joined: Nov 2016
Posts: 304
Likes: 5
From: Idaho
Year: 1990
Engine: Renix 4.0
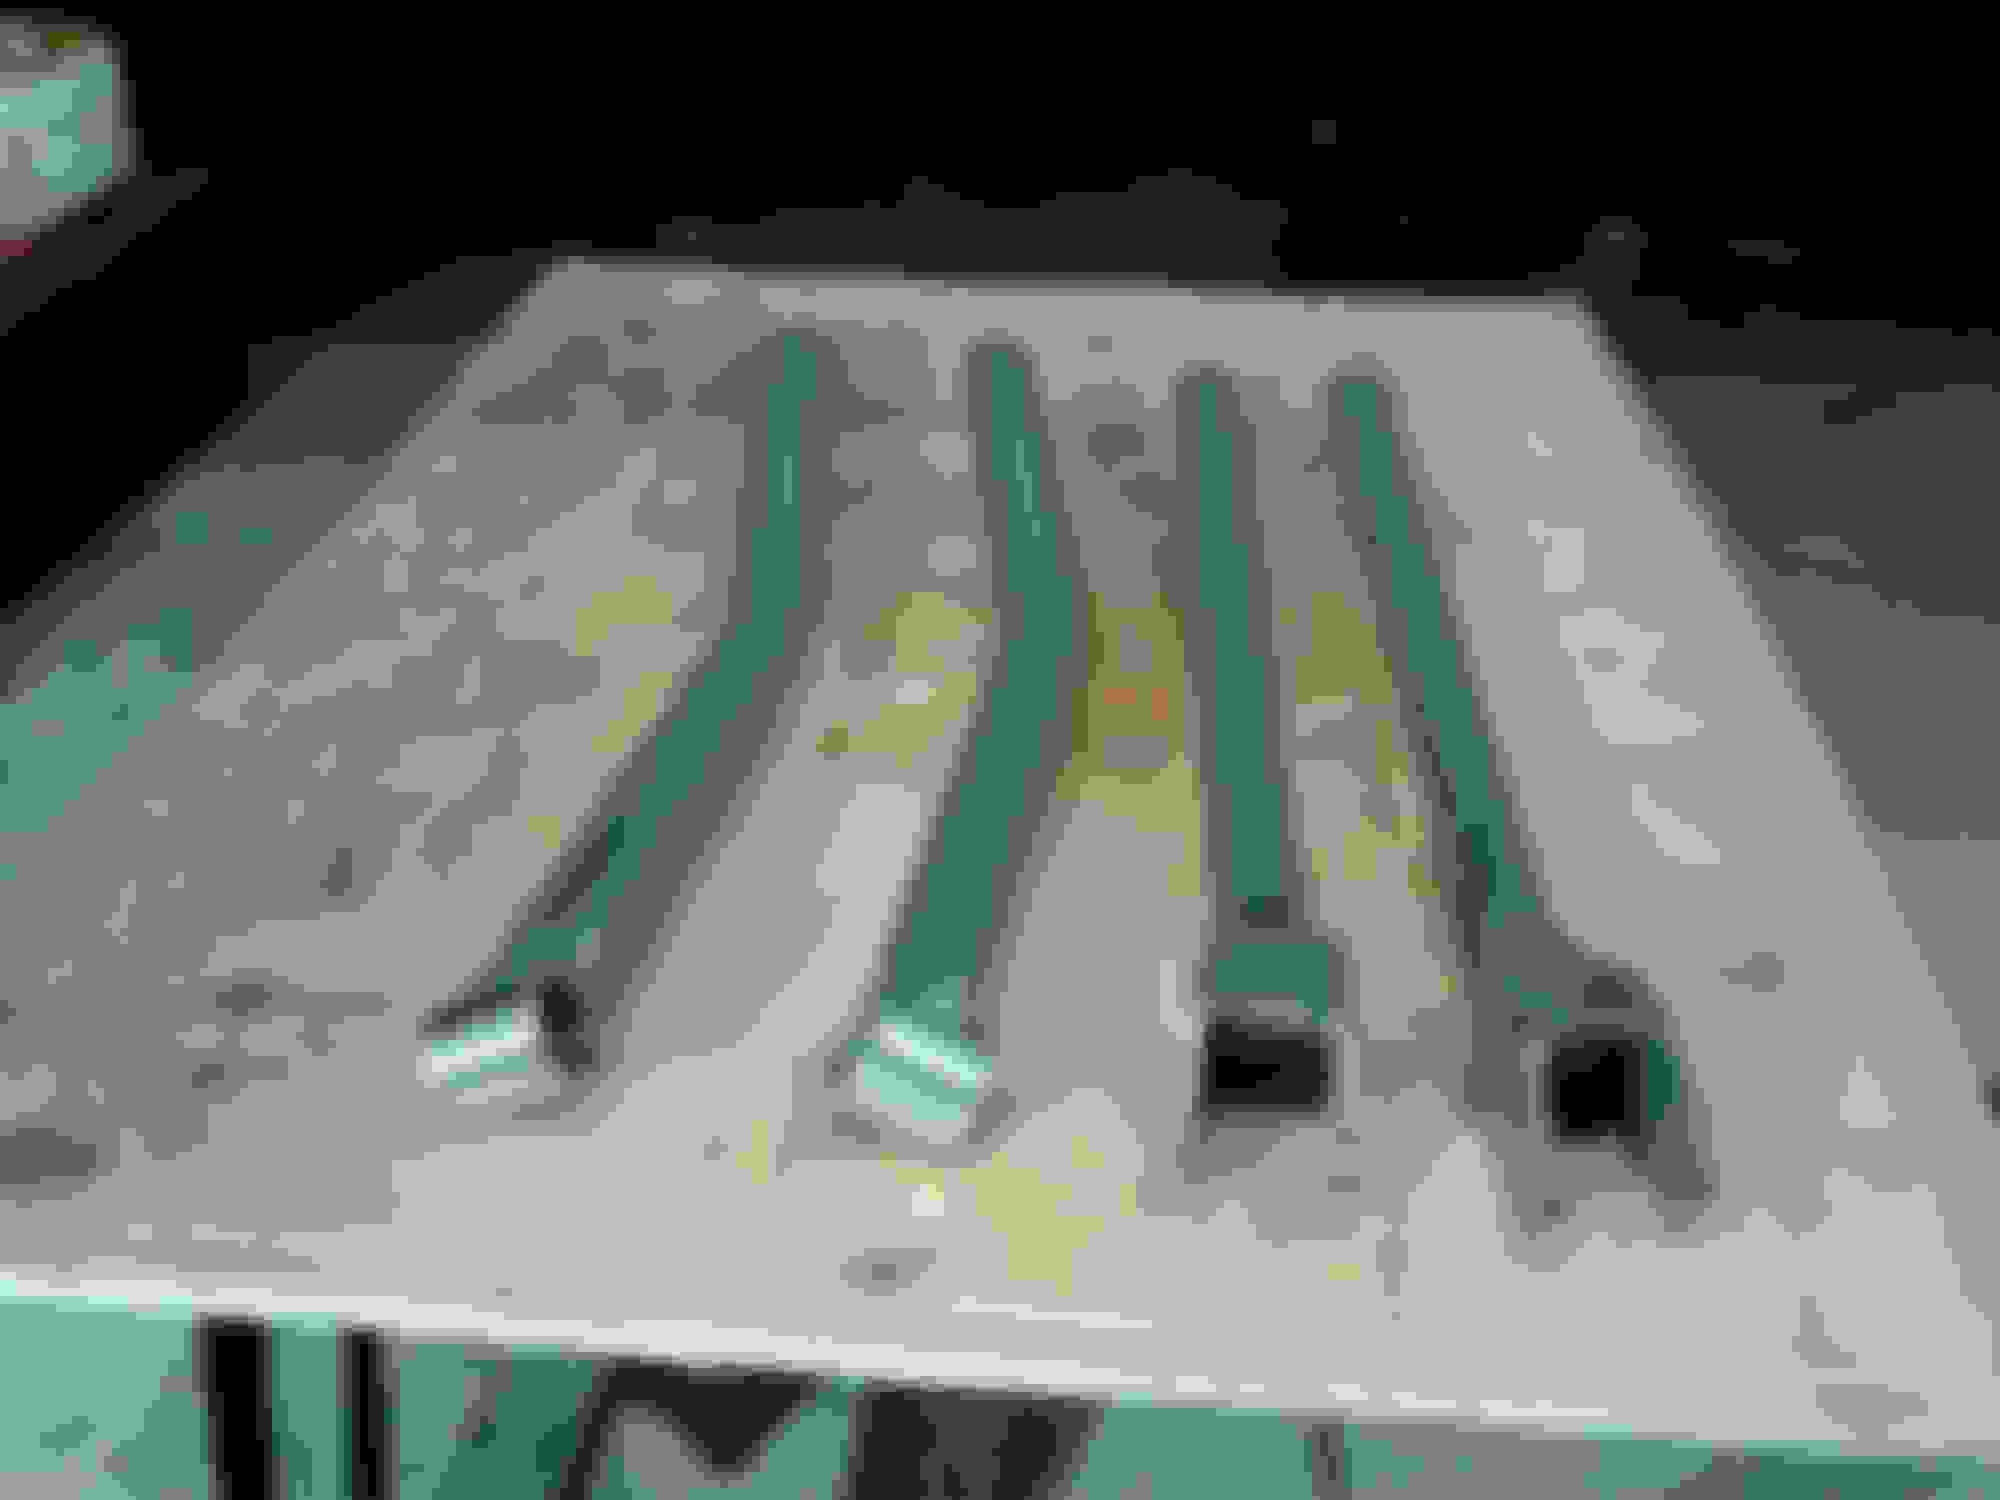
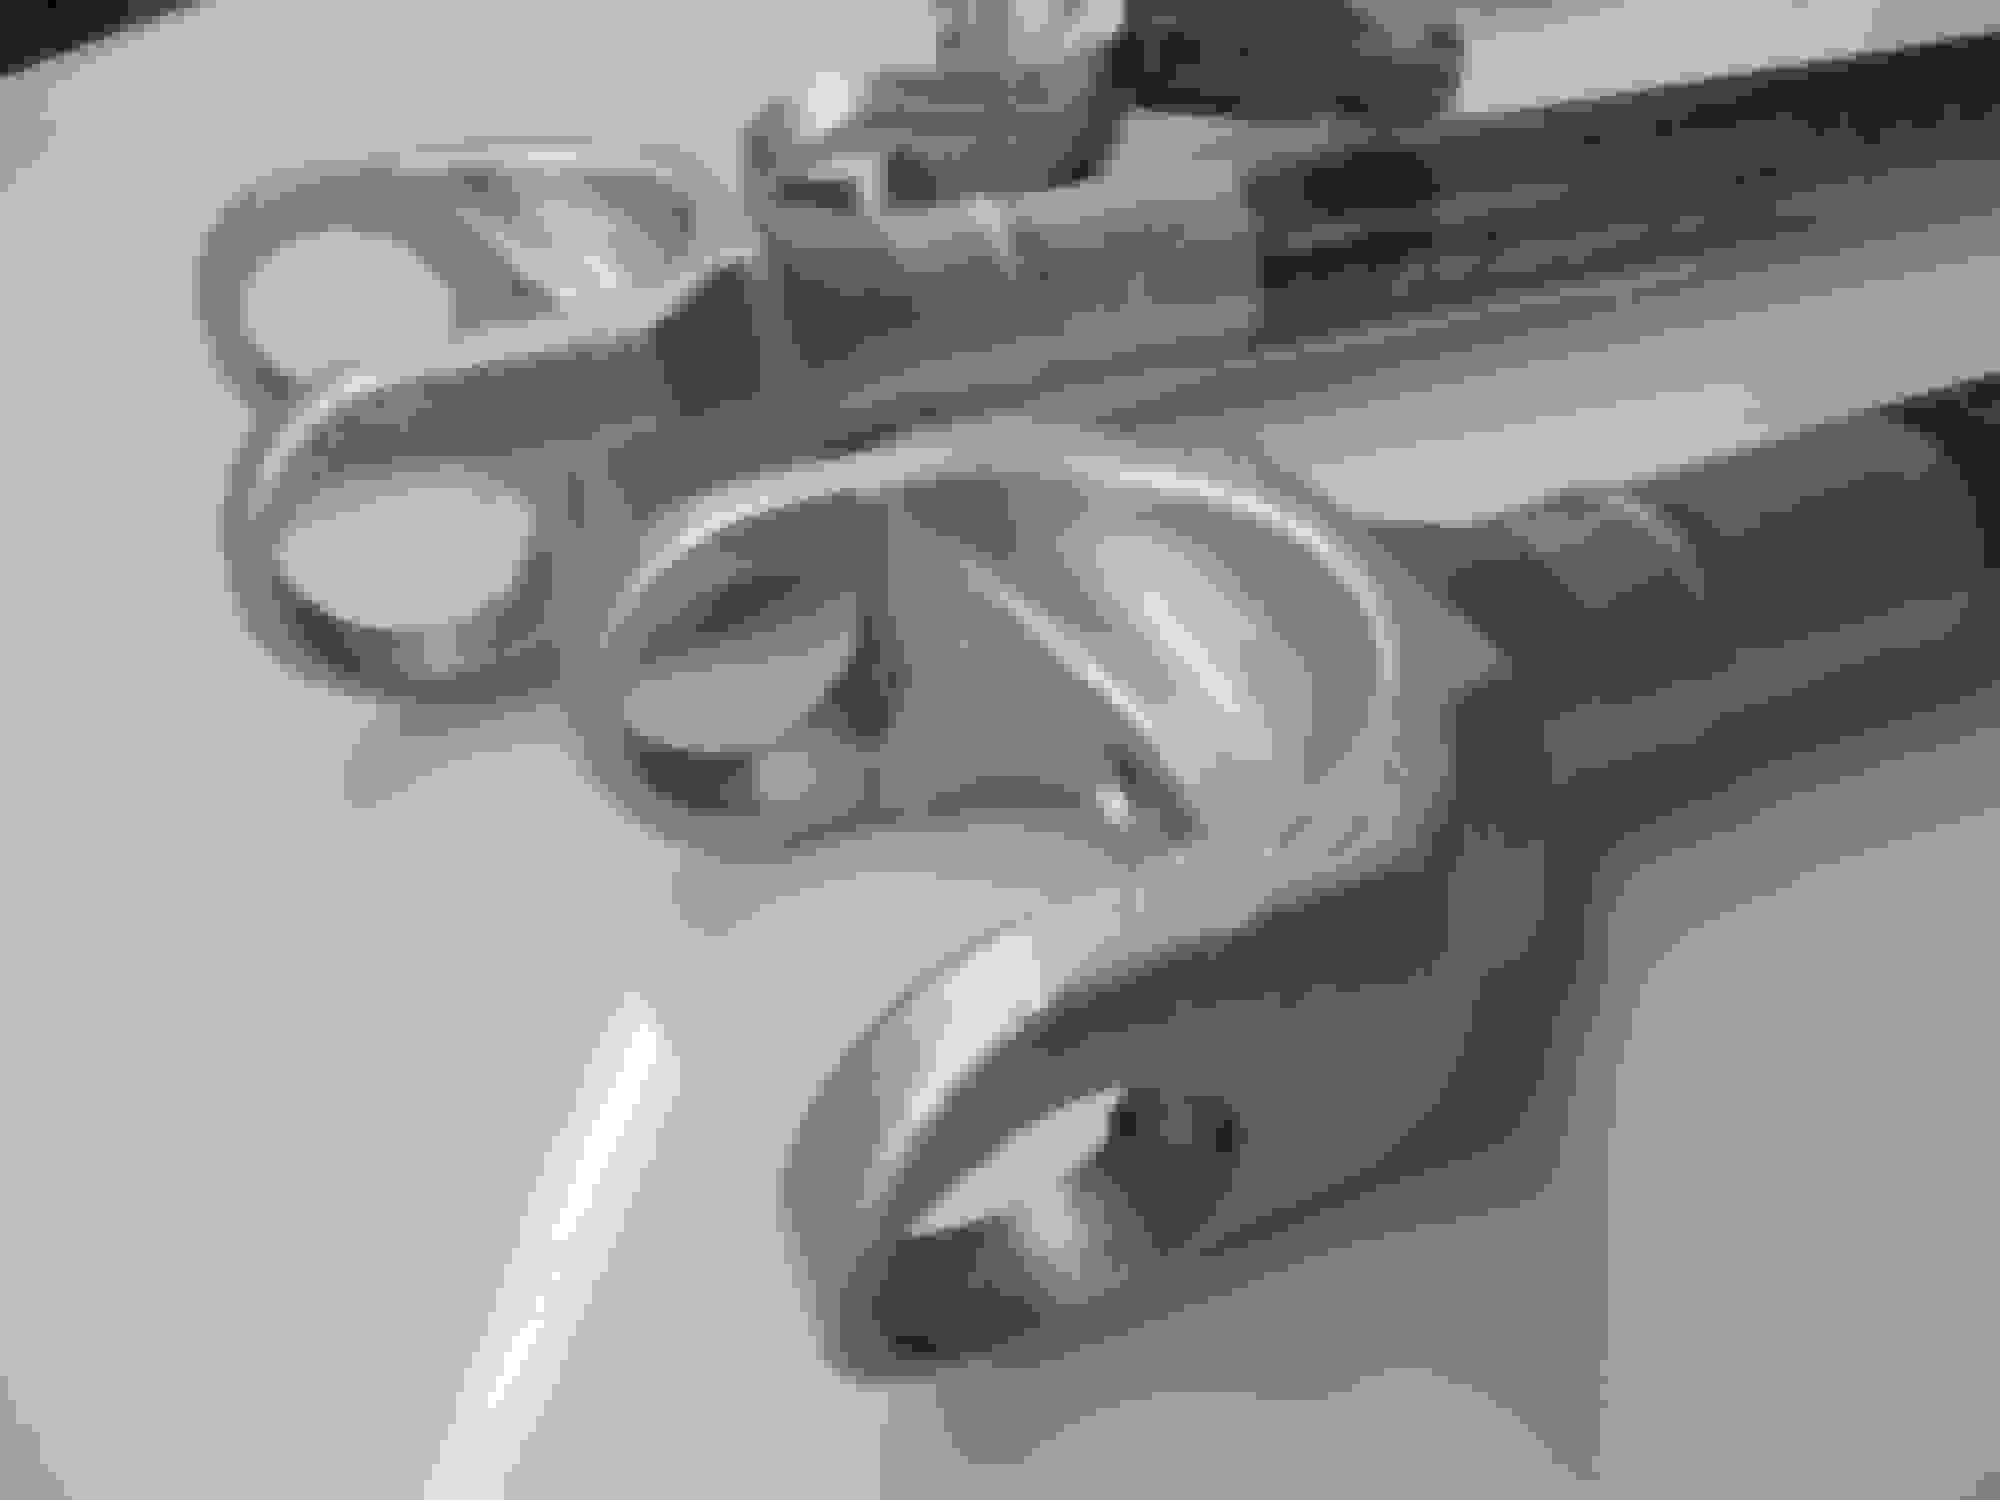
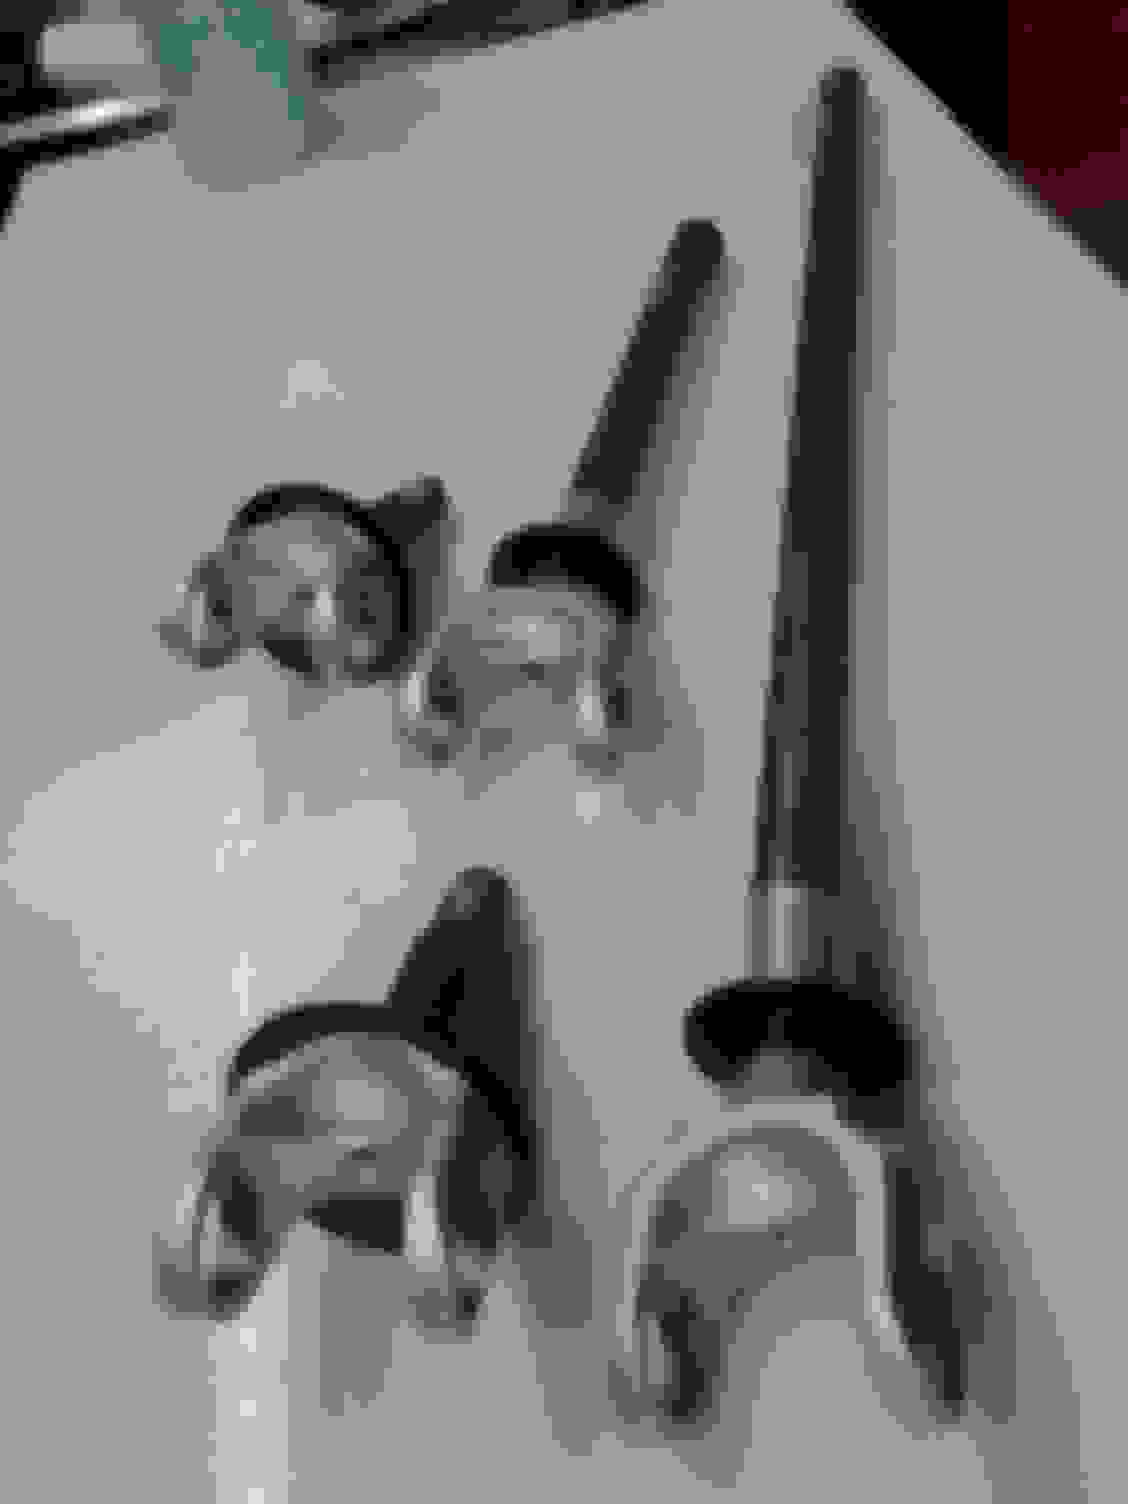
Cleaning The Axle Shafts
Side Note: Don't use a hammer to remove your u-joint unless you like dents in your axle shafts.
I quickly found out that a vise works just fine.


Side Note: Don't use a hammer to remove your u-joint unless you like dents in your axle shafts.
I quickly found out that a vise works just fine.


Last edited by craigjacob1; Nov 20, 2018 at 11:40 PM.
Thread Starter
Seasoned Member
Joined: Nov 2016
Posts: 304
Likes: 5
From: Idaho
Year: 1990
Engine: Renix 4.0
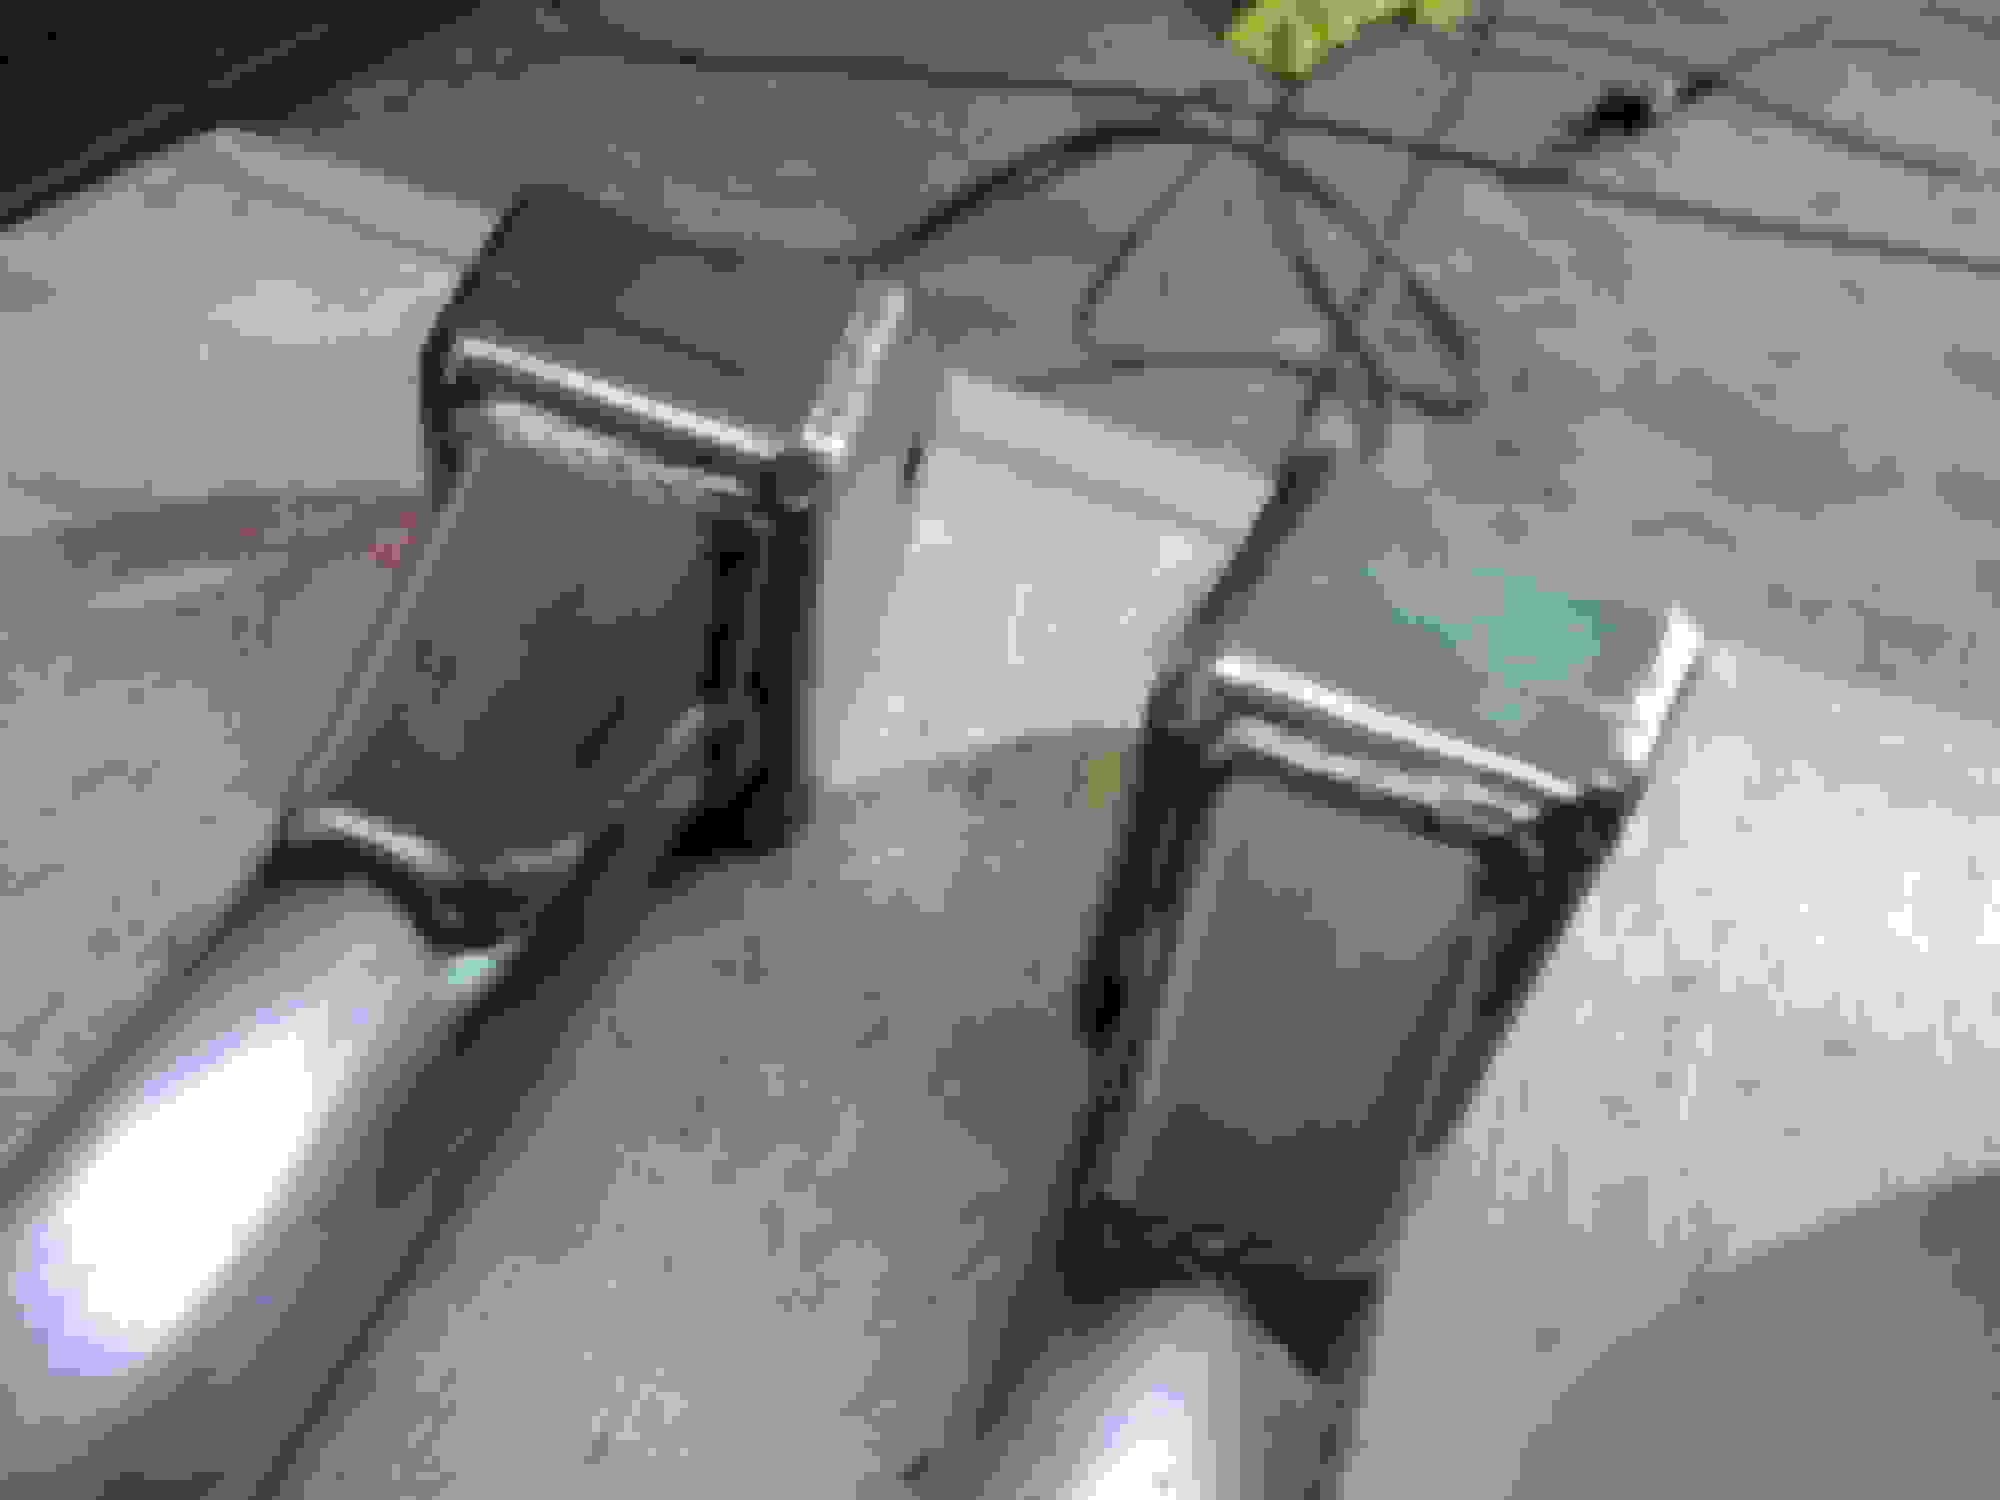
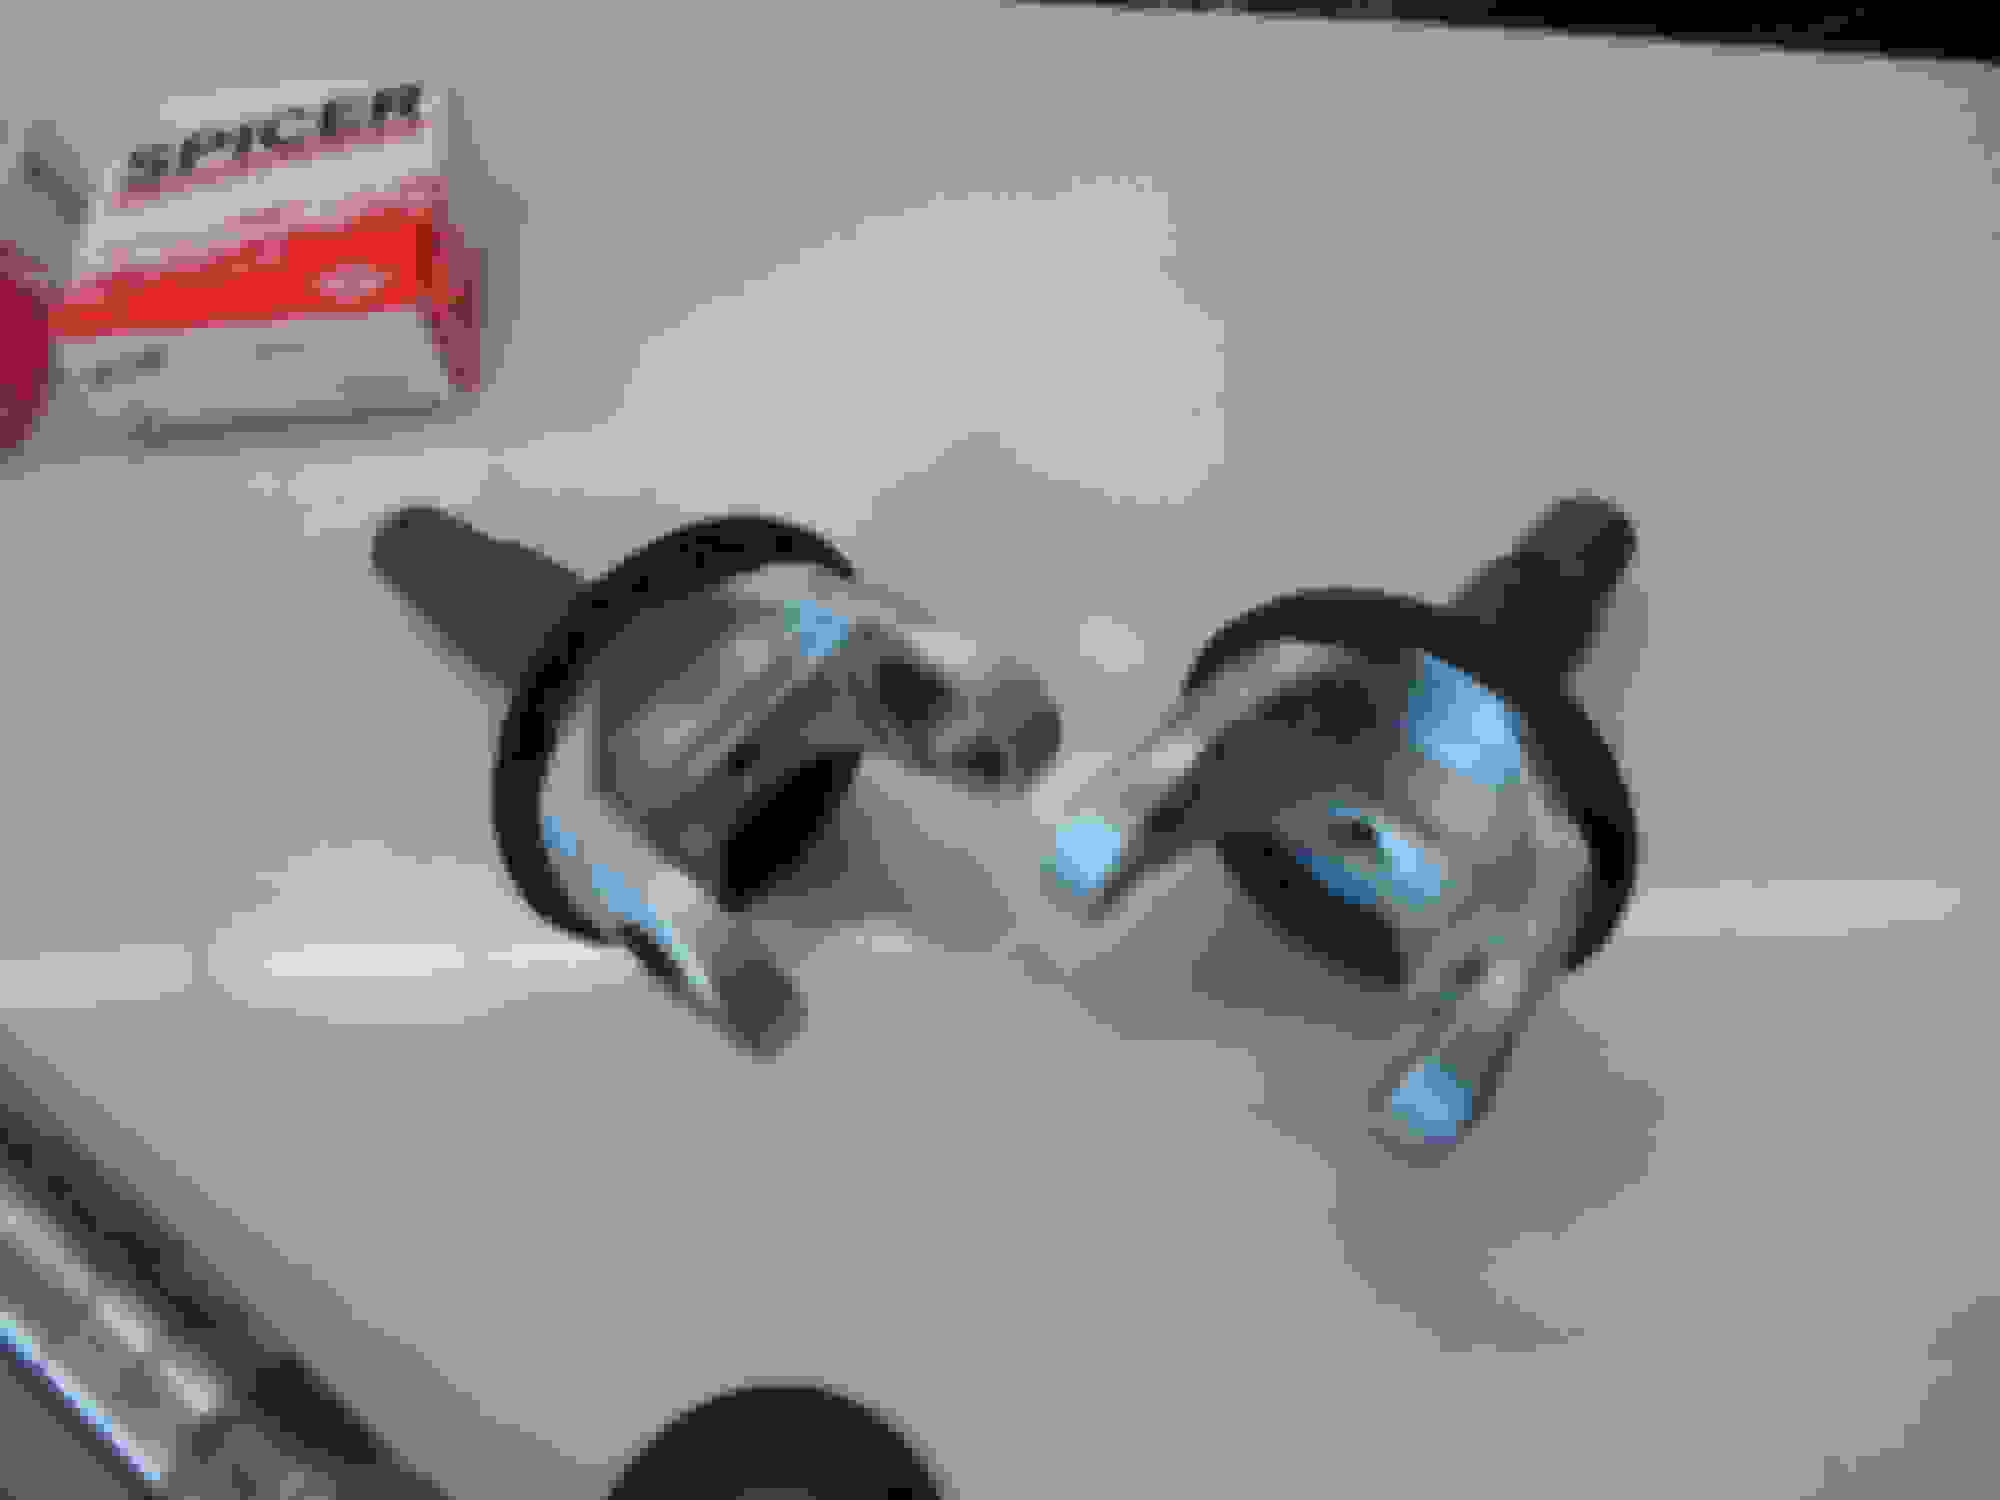
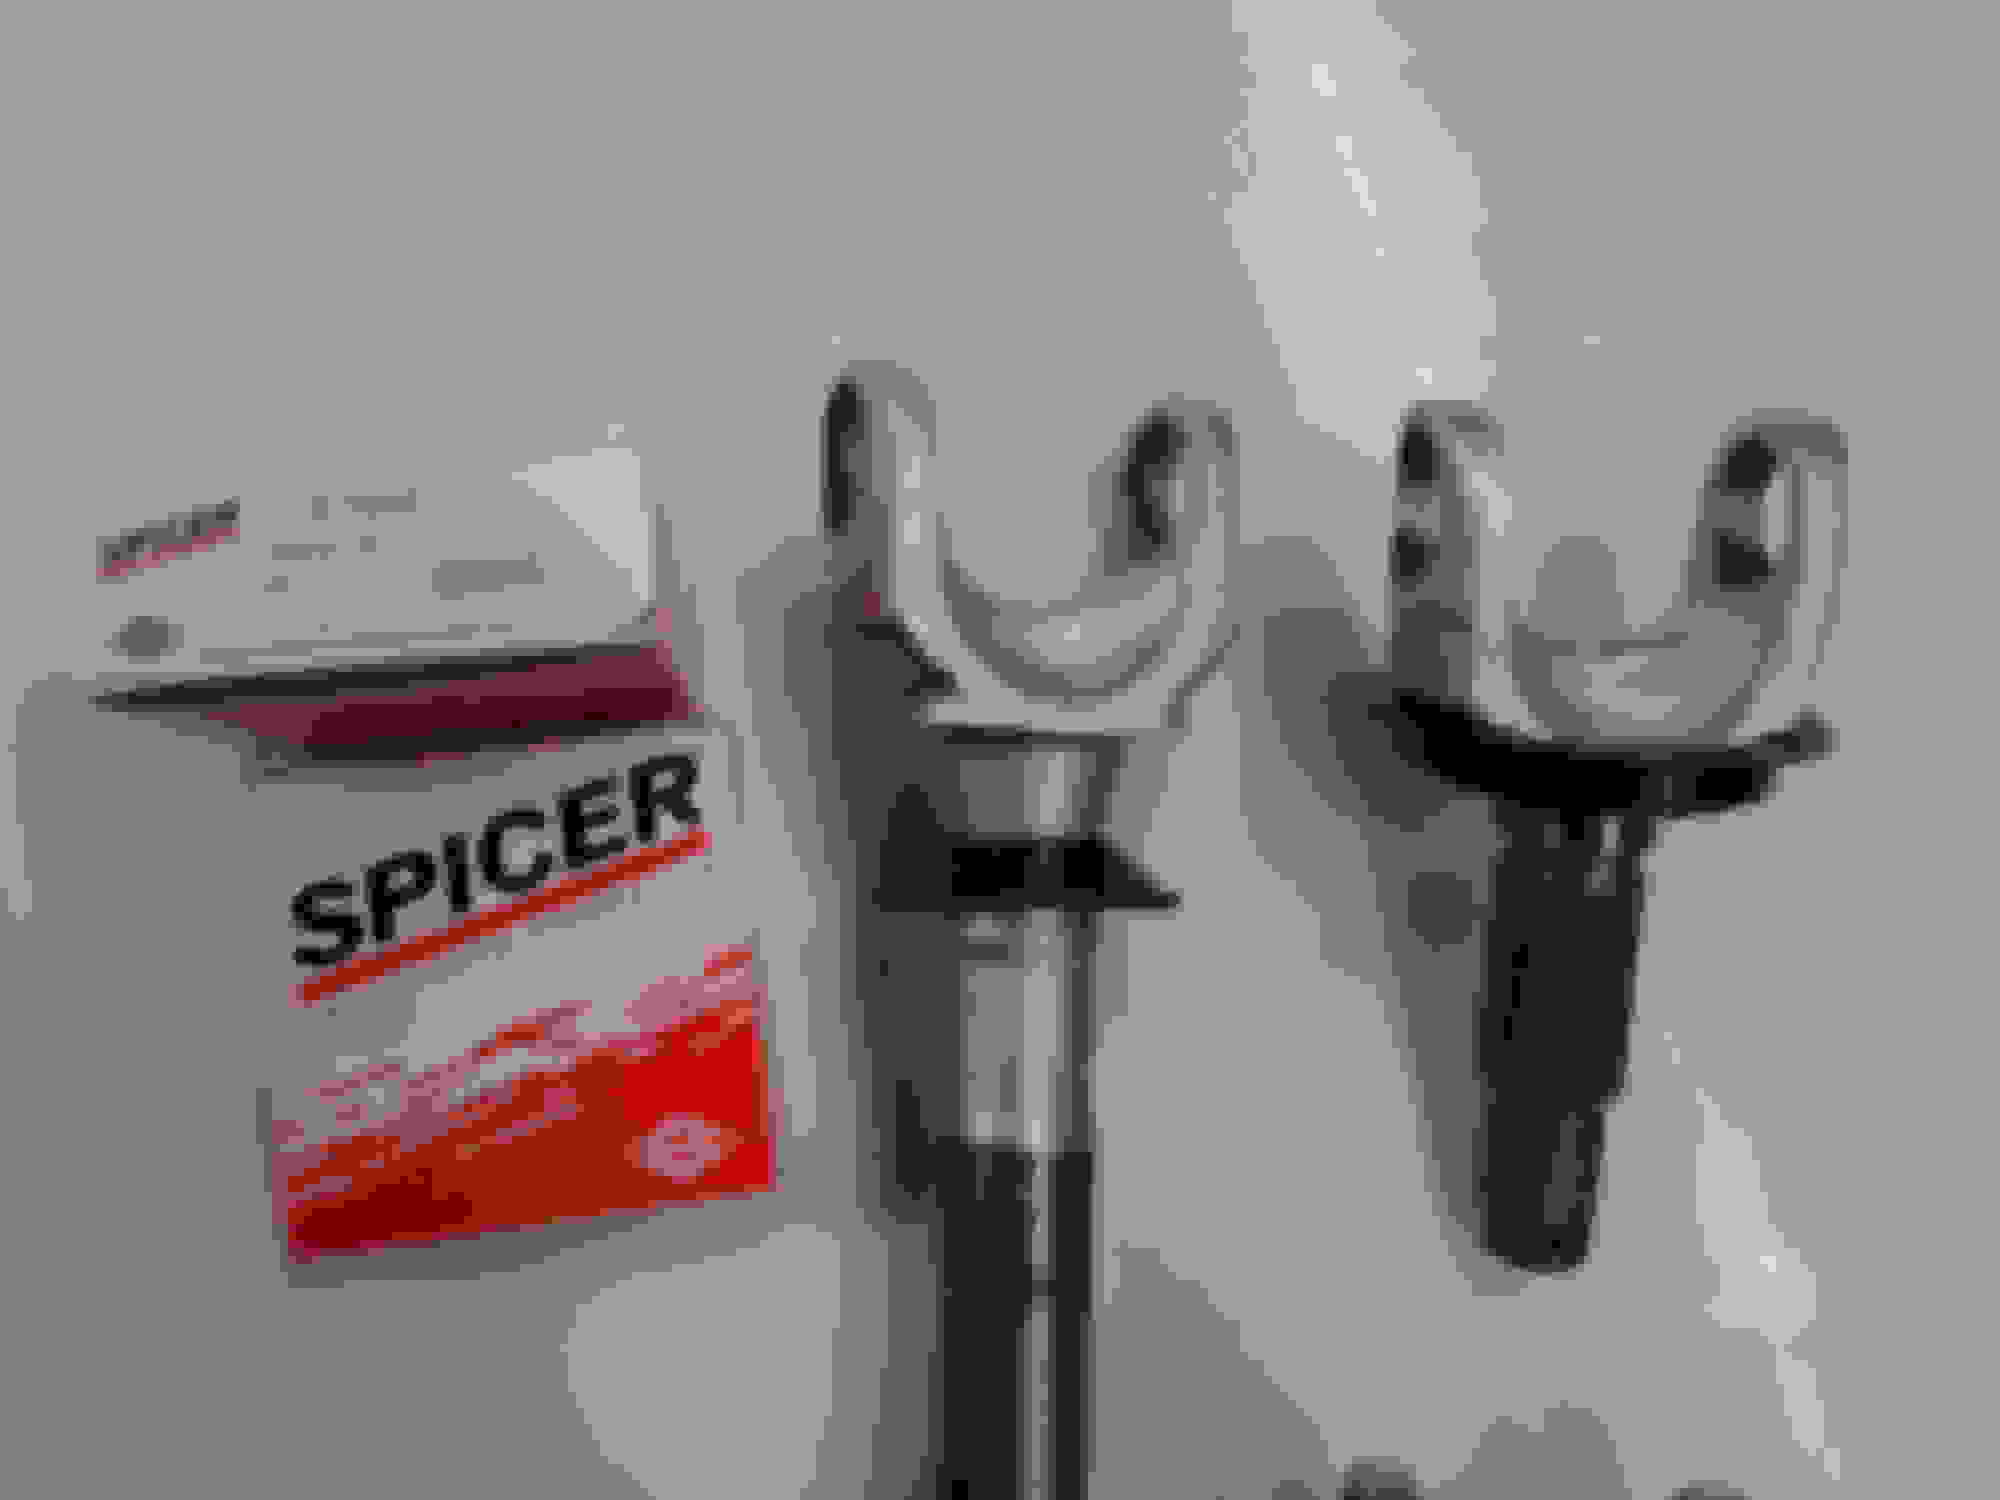
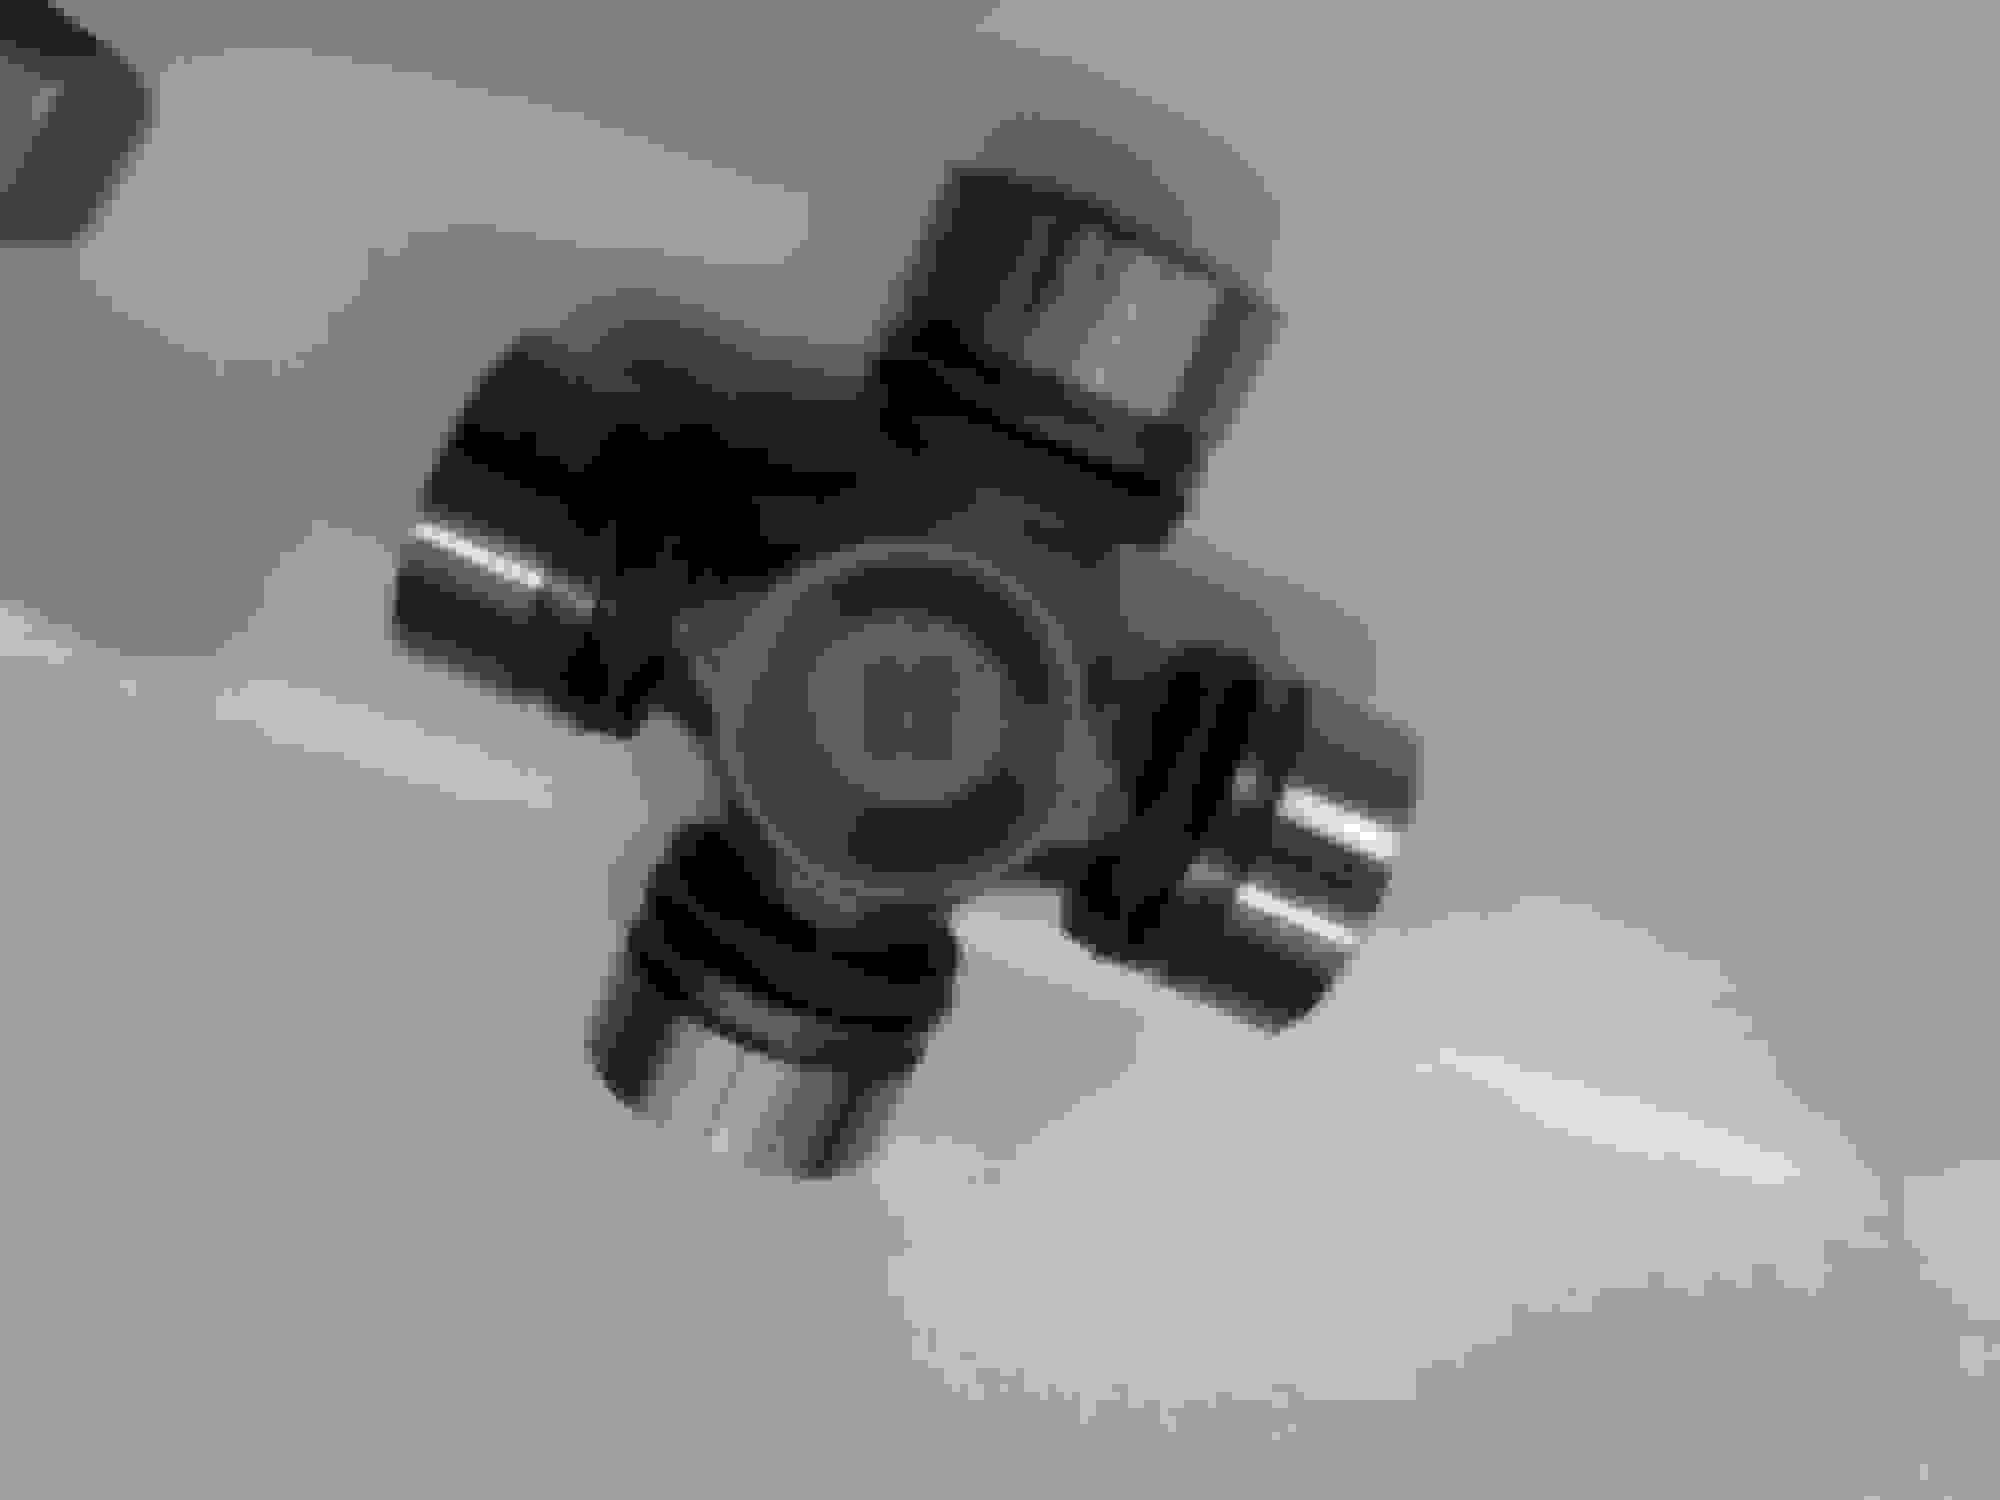
After Clean-Up

I ordered the wrong U-Joints. Looks like the previous owner switched to the 297x axle shafts.


I ordered the wrong U-Joints. Looks like the previous owner switched to the 297x axle shafts.


Last edited by craigjacob1; Nov 20, 2018 at 11:41 PM.
Thread Starter
Seasoned Member
Joined: Nov 2016
Posts: 304
Likes: 5
From: Idaho
Year: 1990
Engine: Renix 4.0
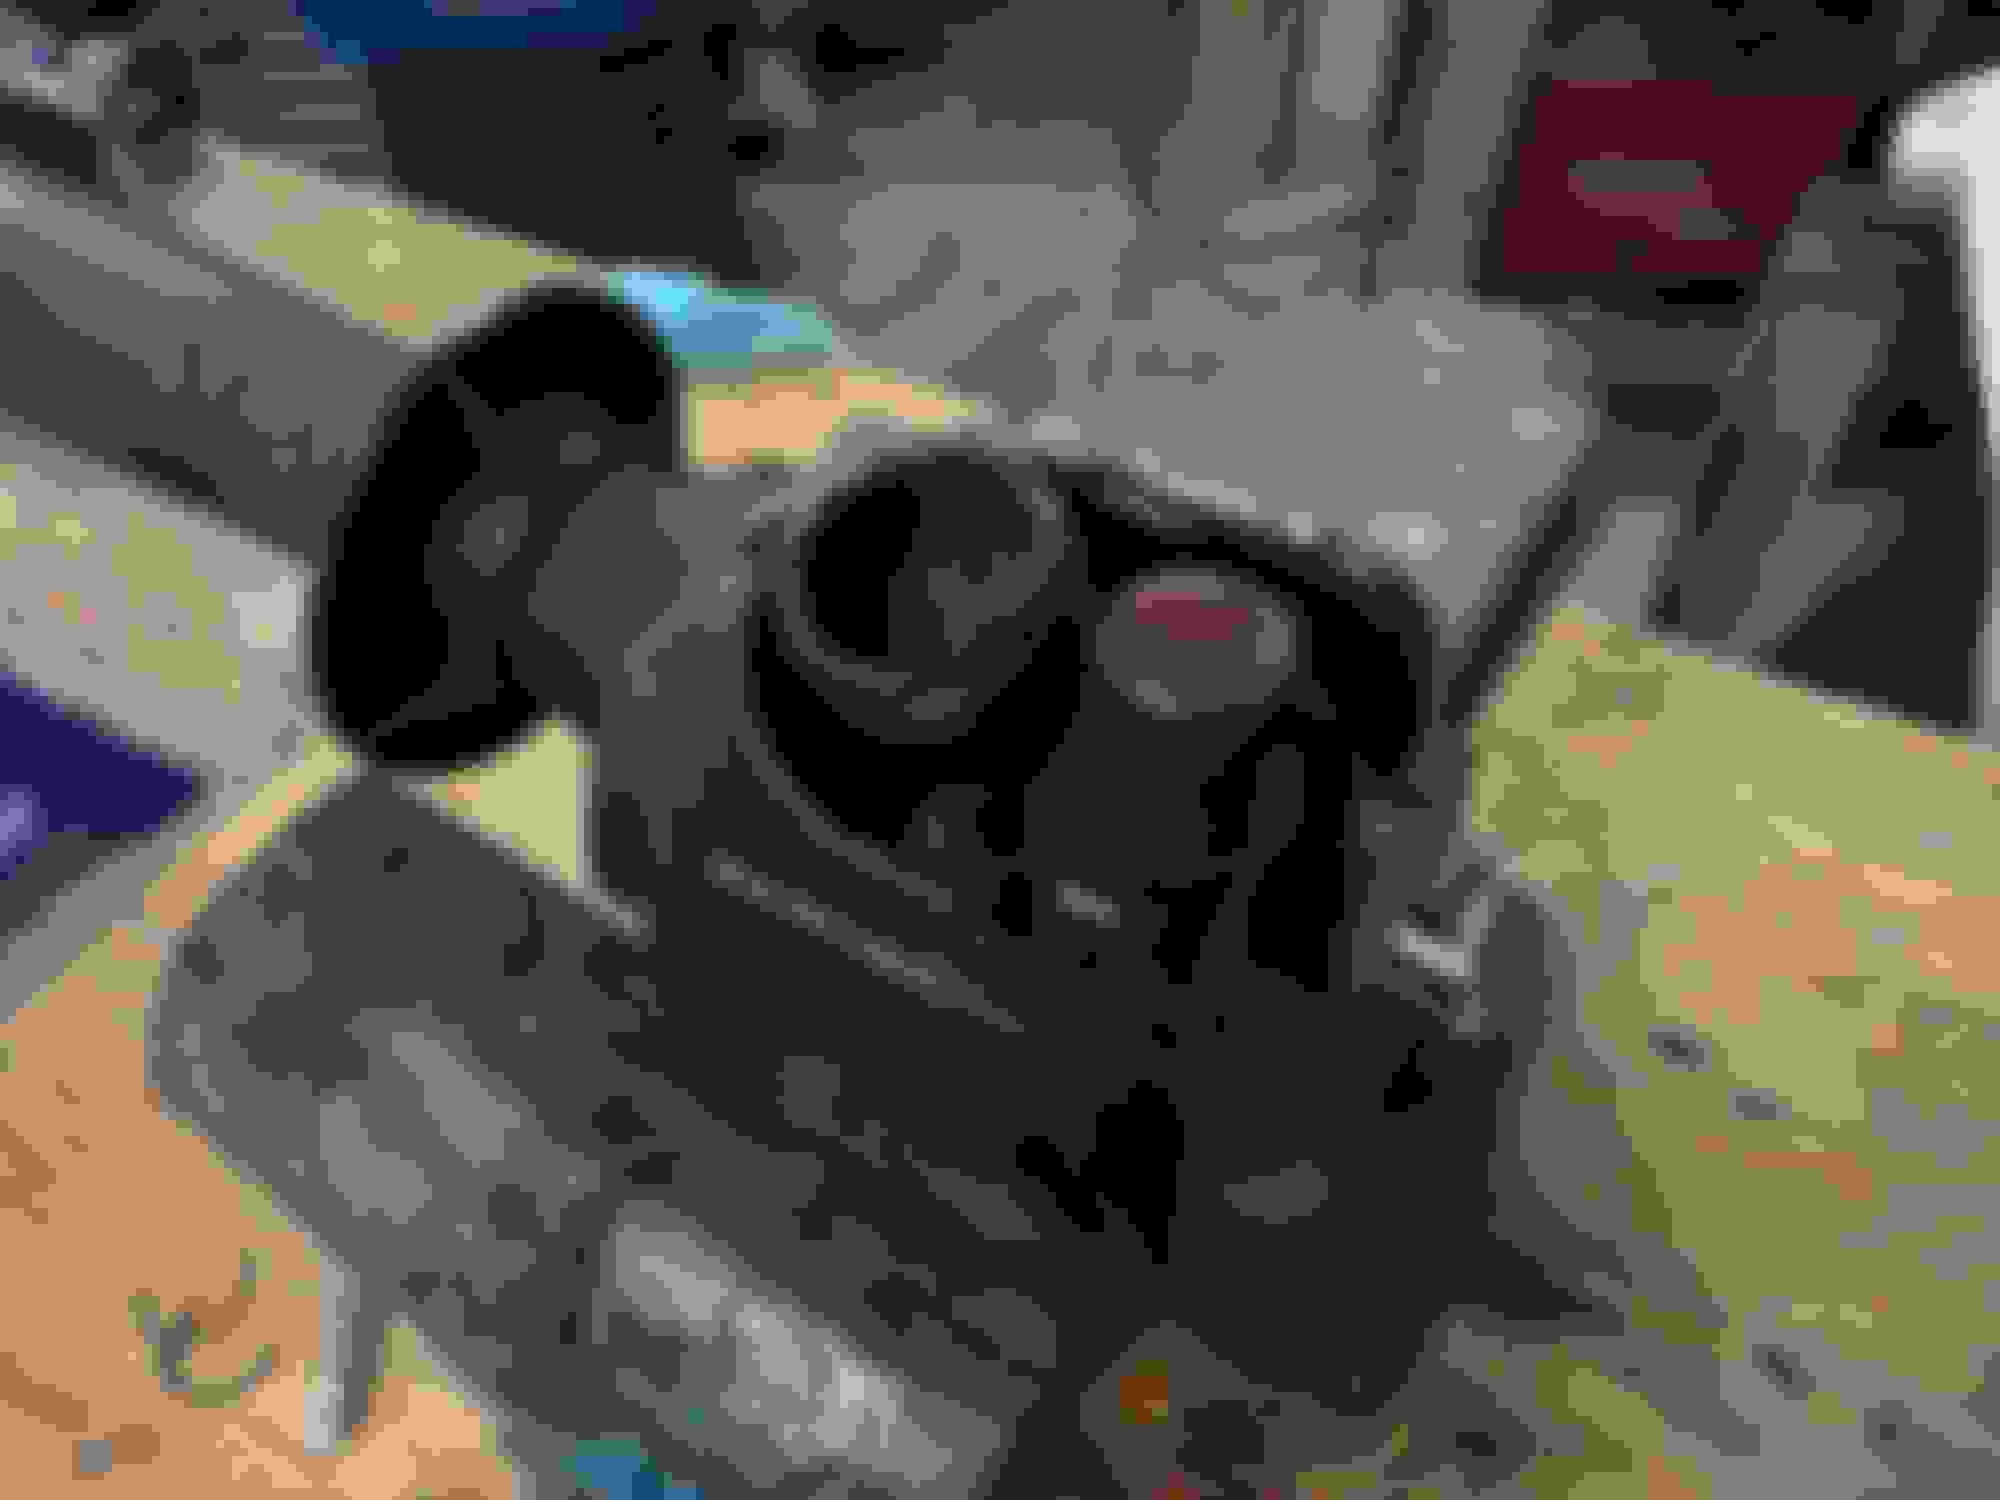
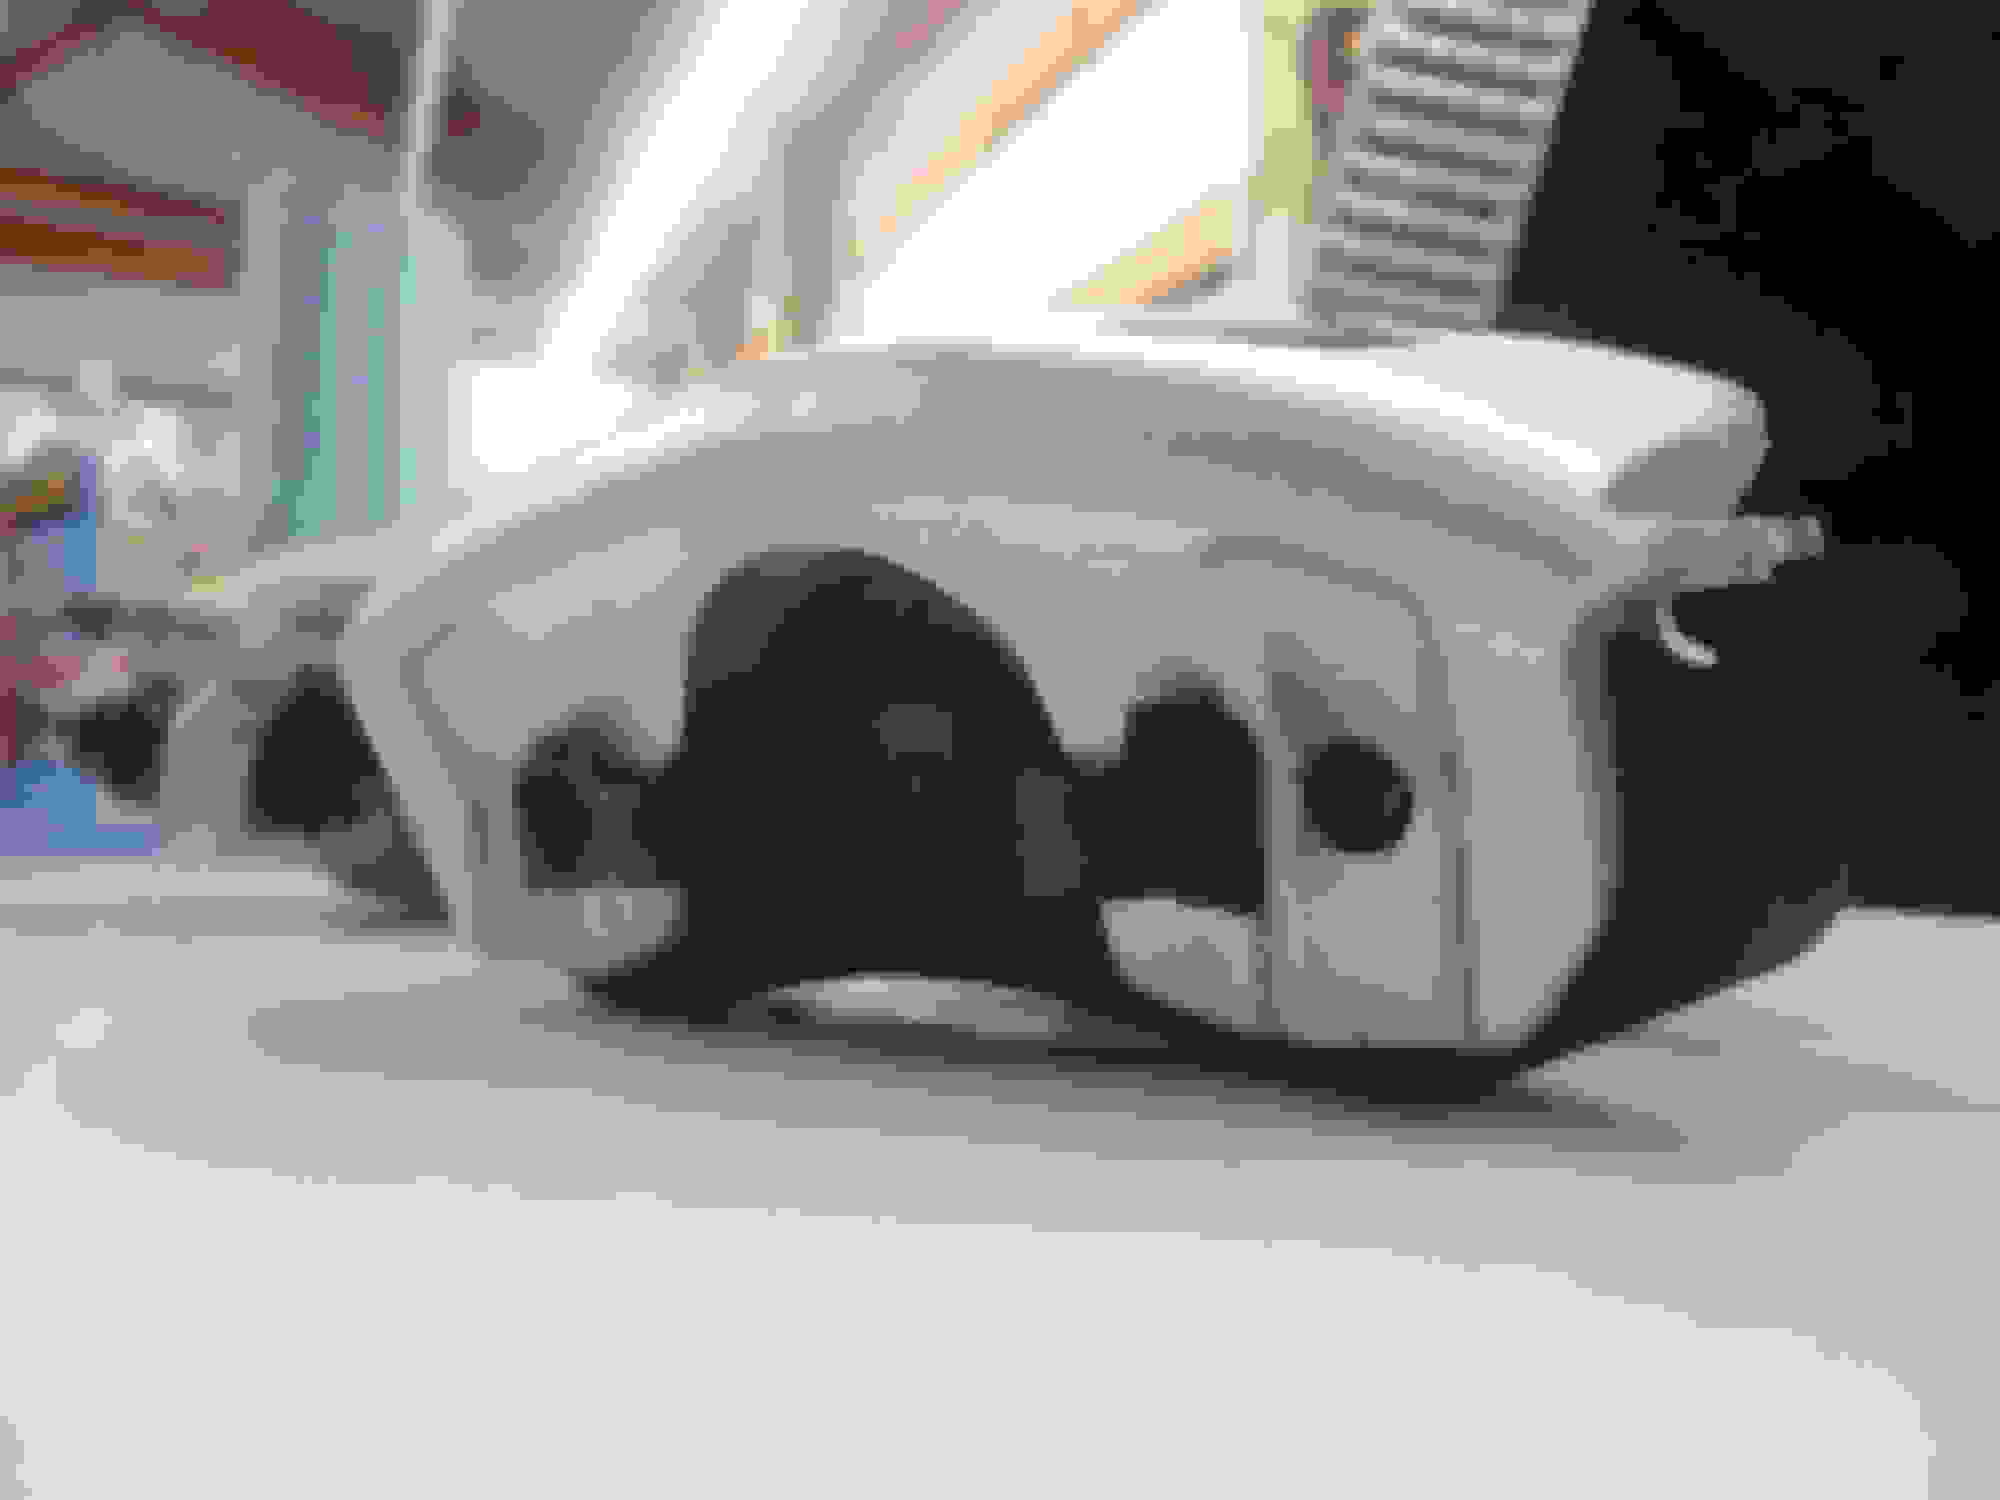
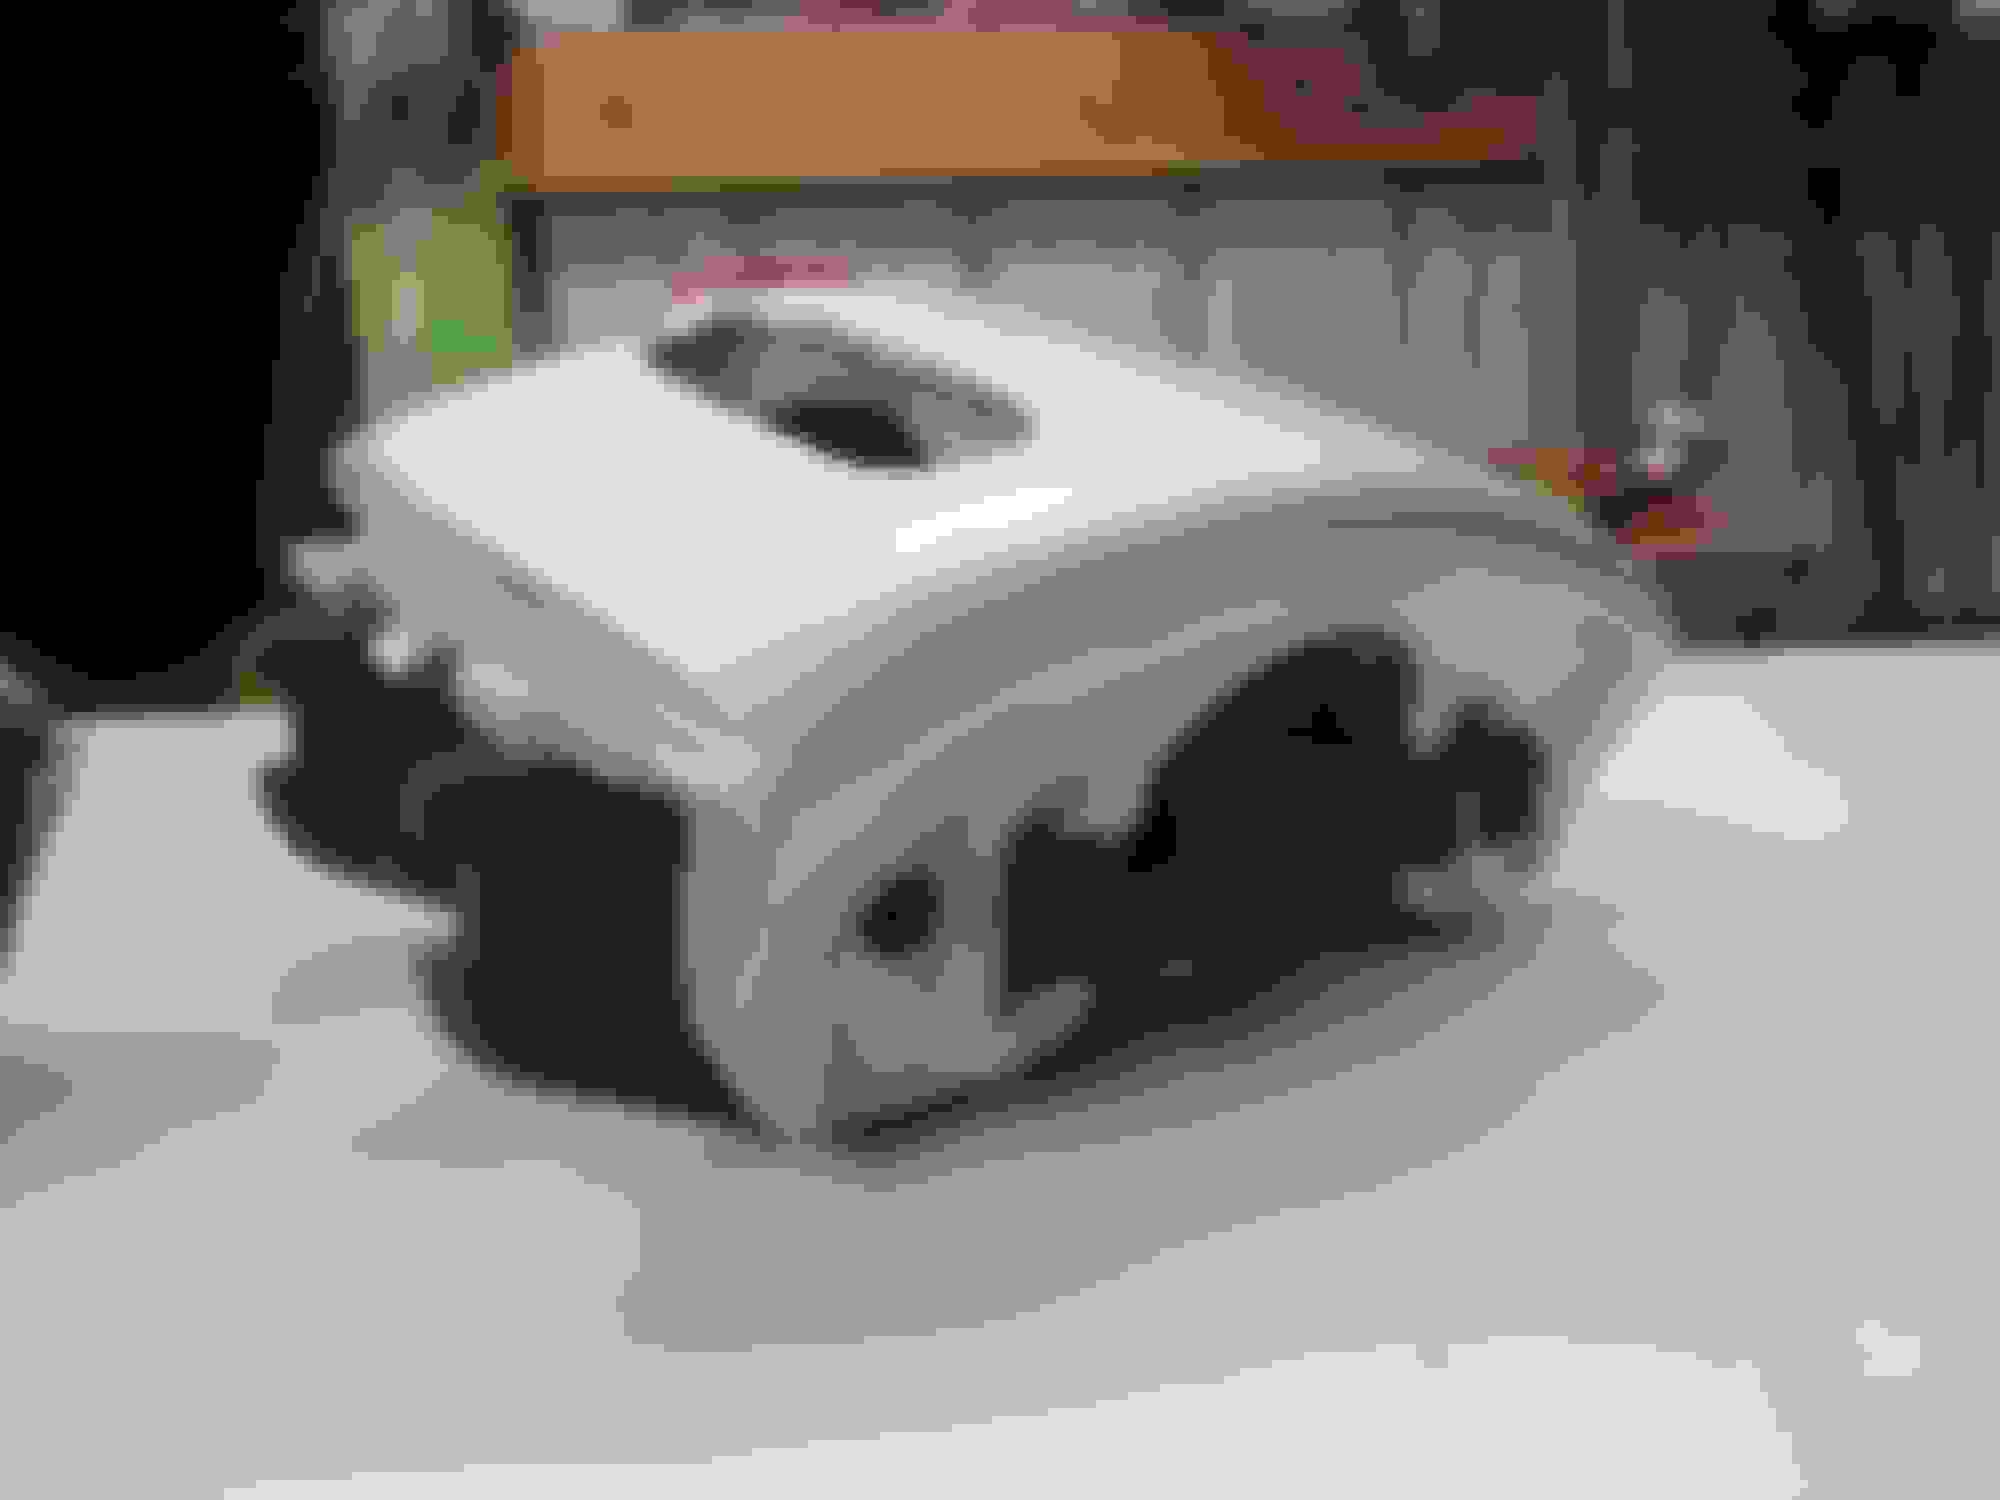
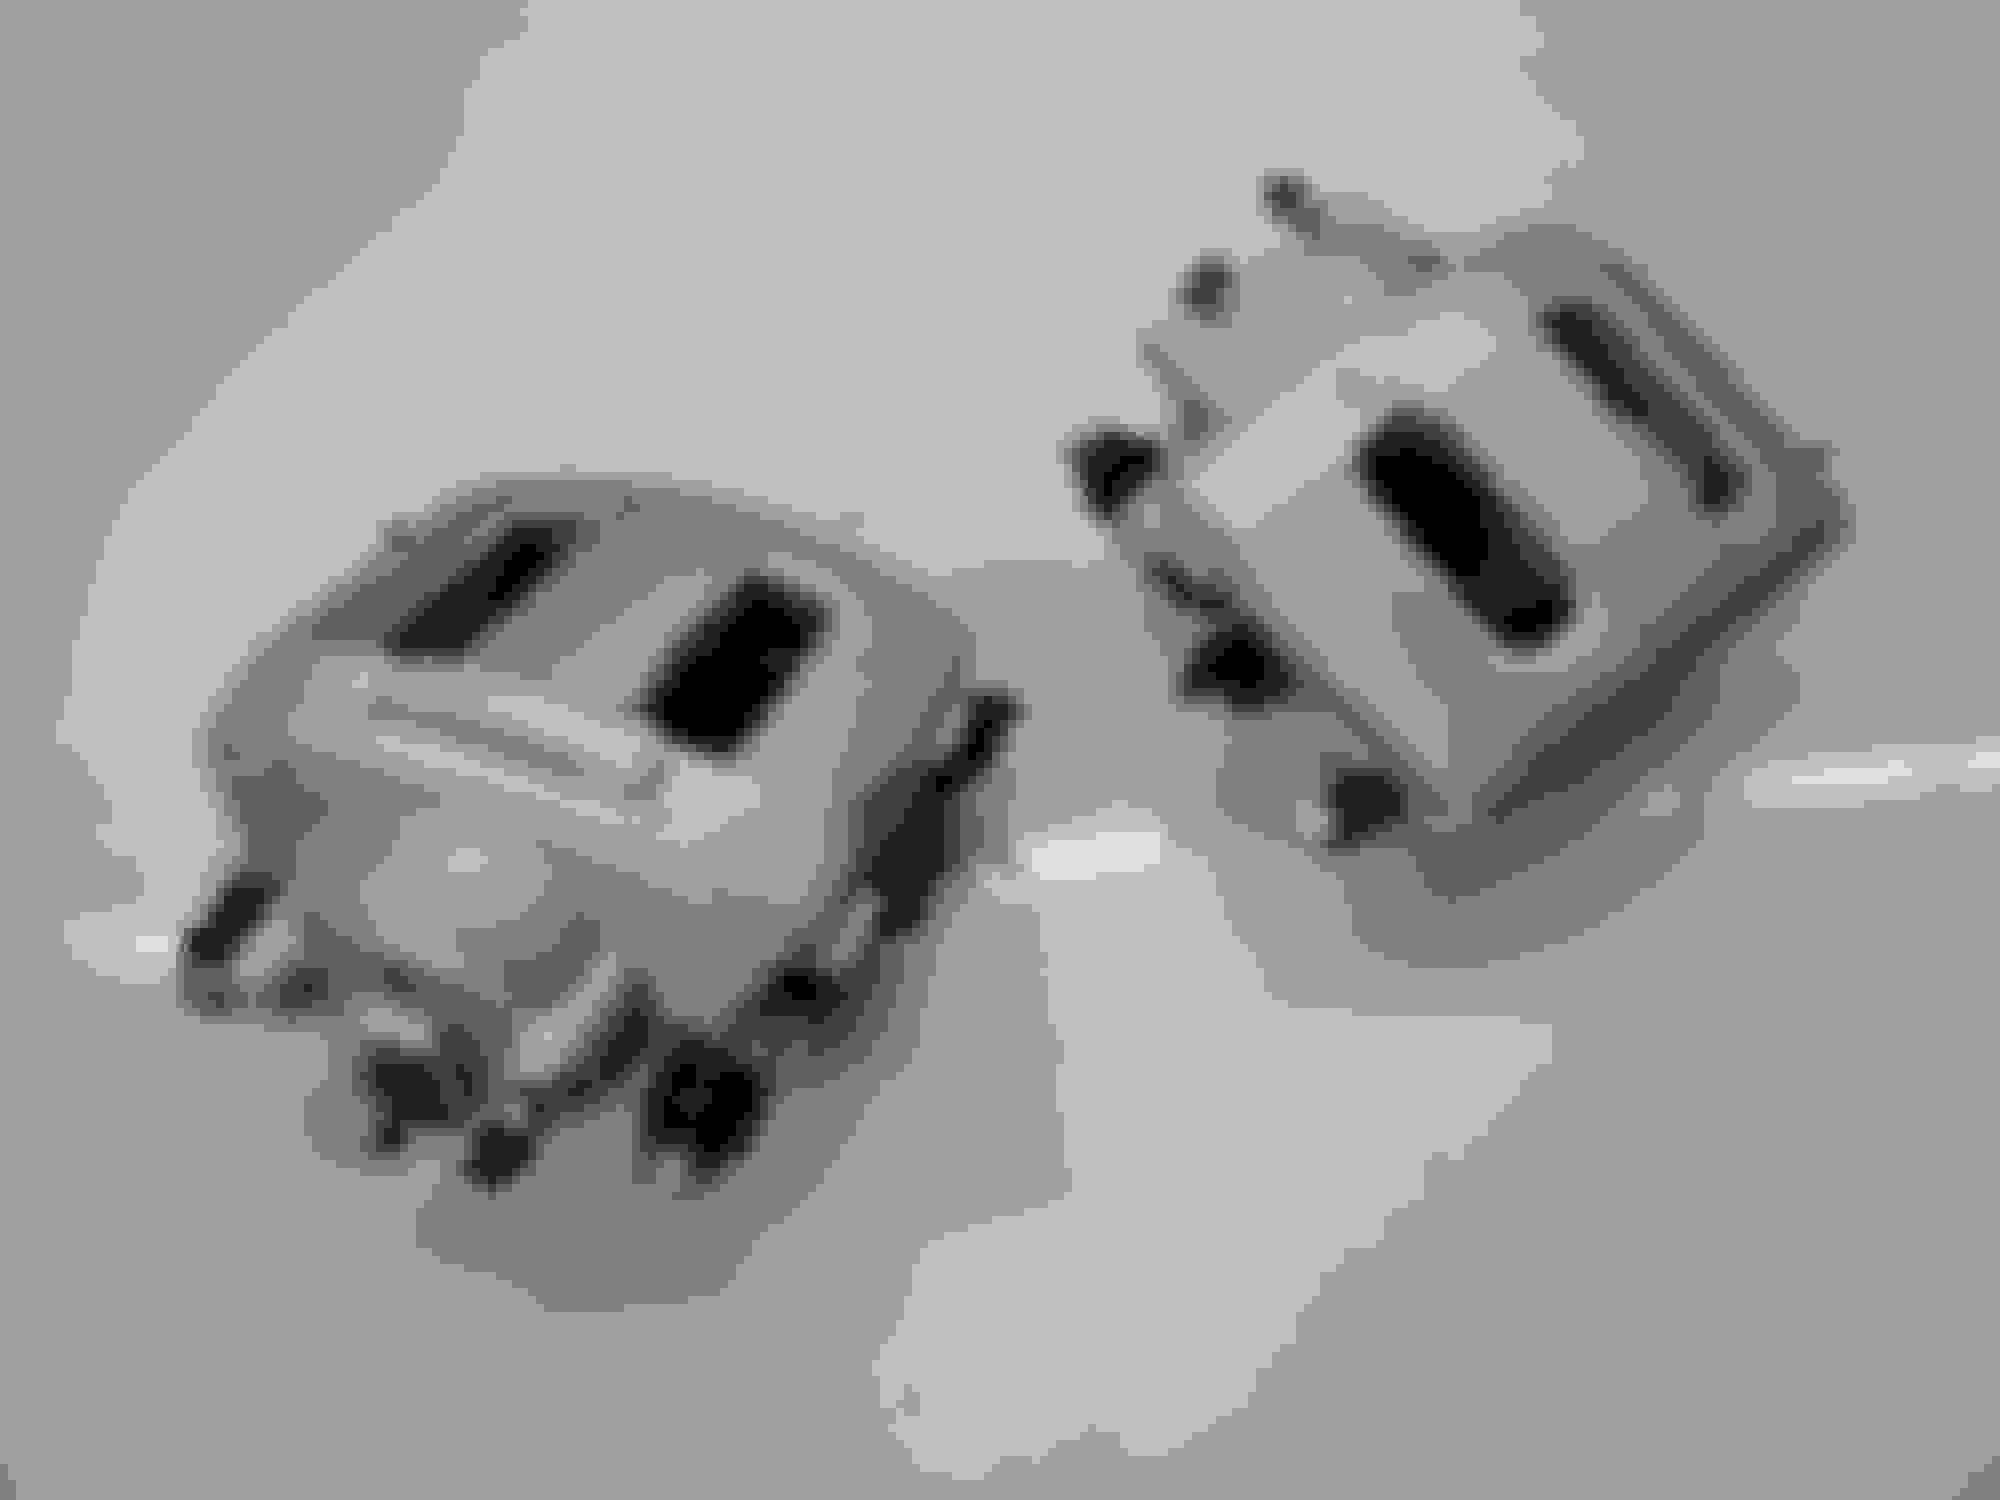
Refurbishing The Front Brake Calipers
The garbage de-icer my county uses turned my calipers to ***** of rust. Only 400 miles on them.
I will be painting my calipers and hubs from now on.
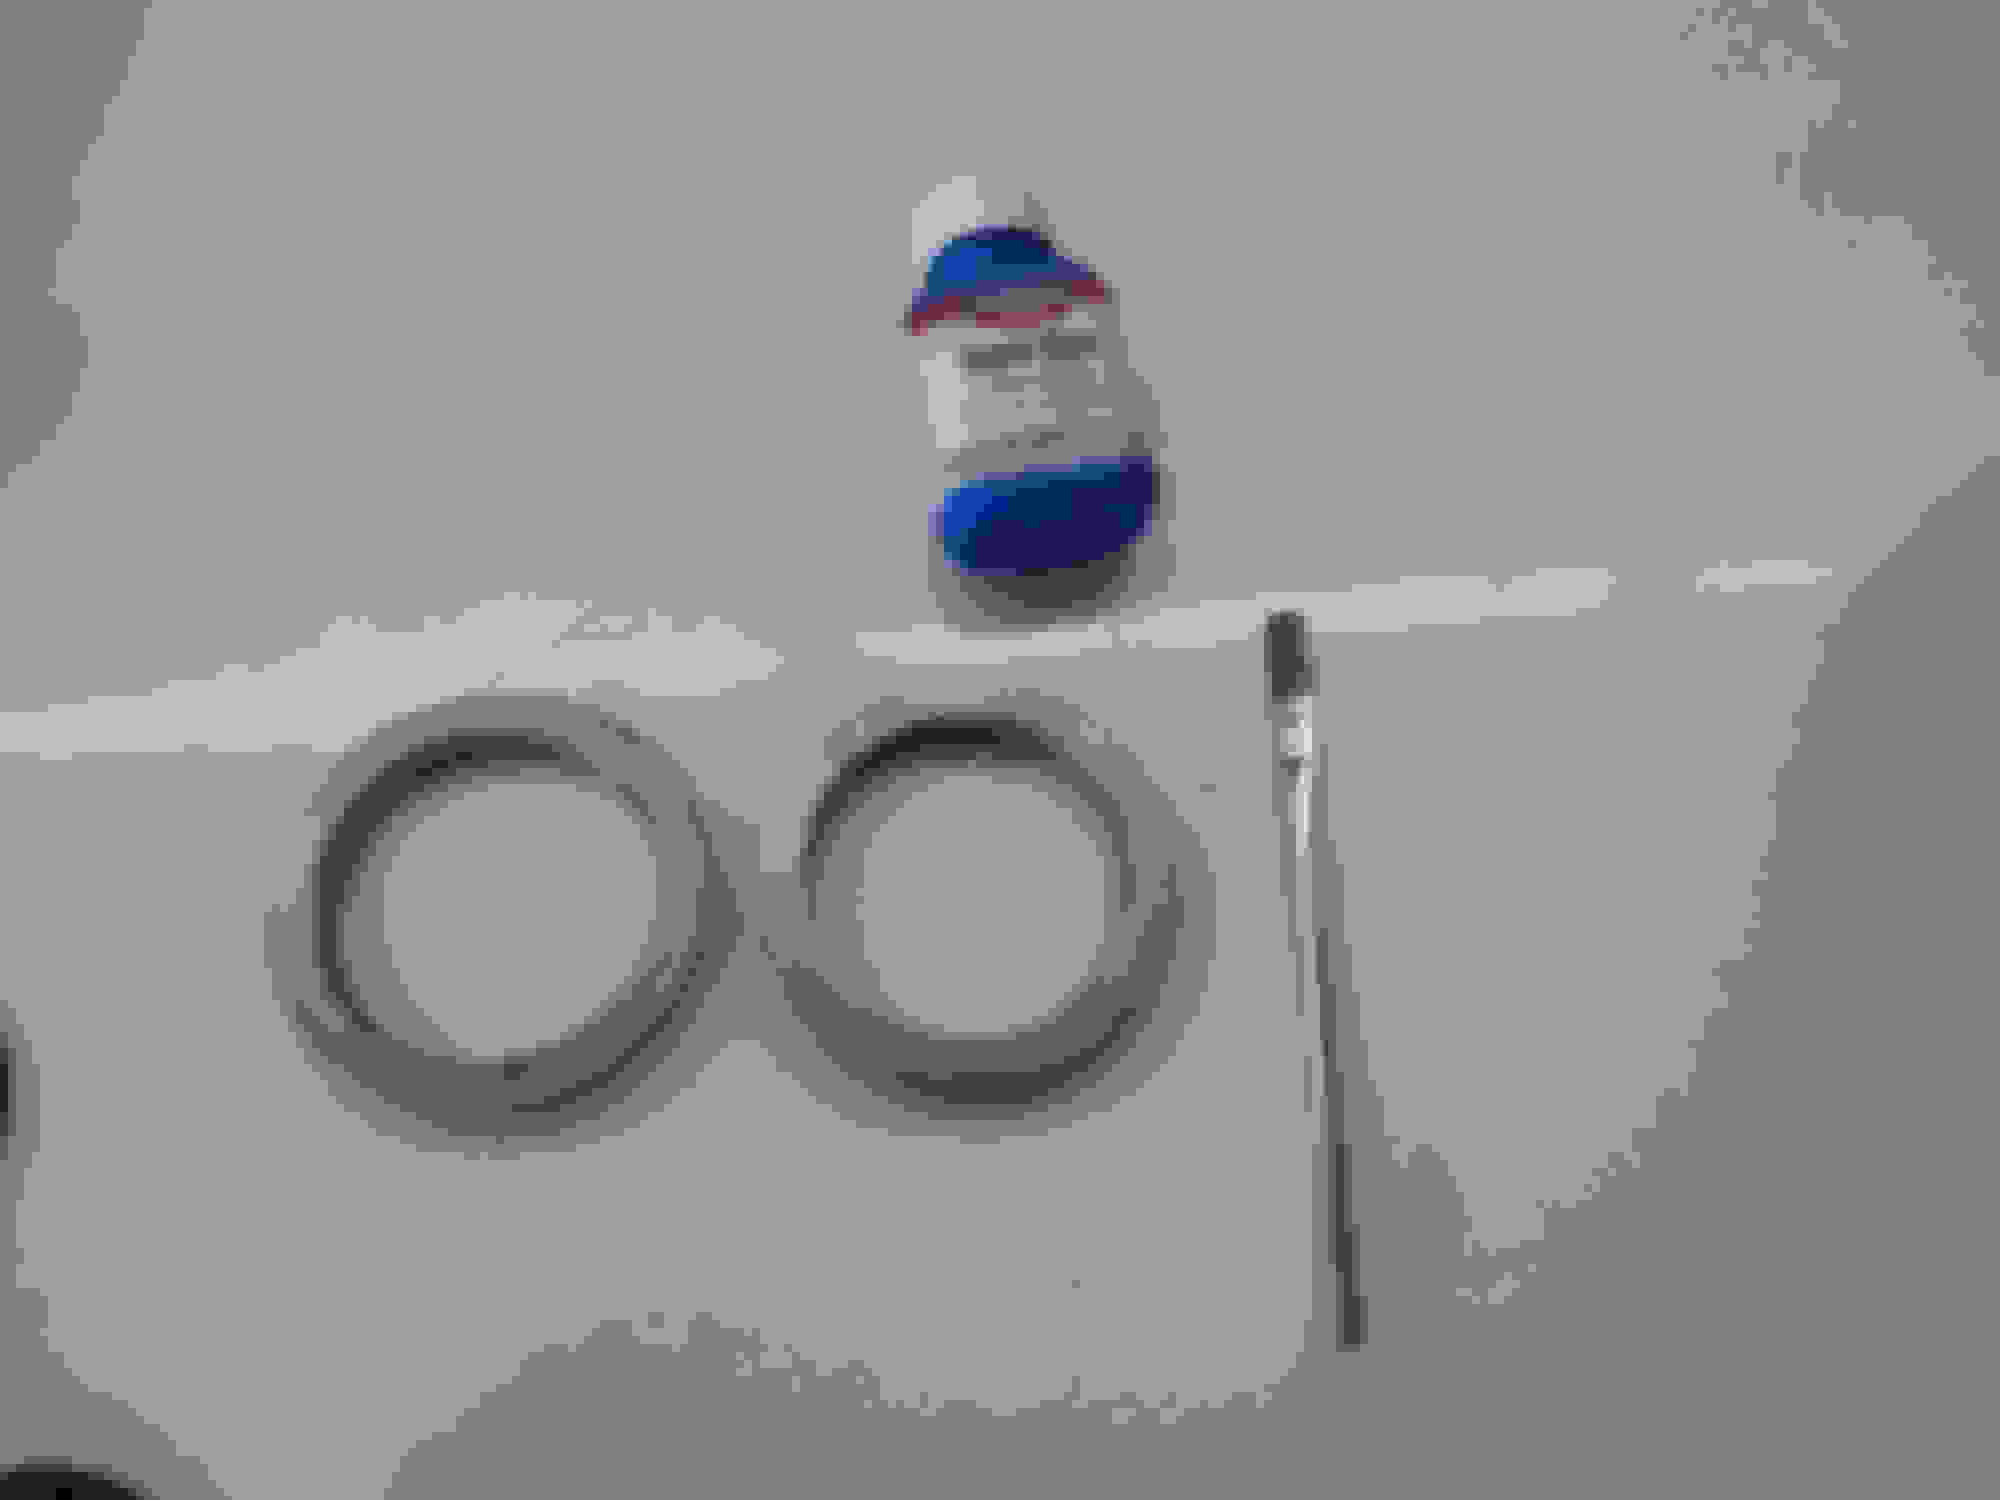
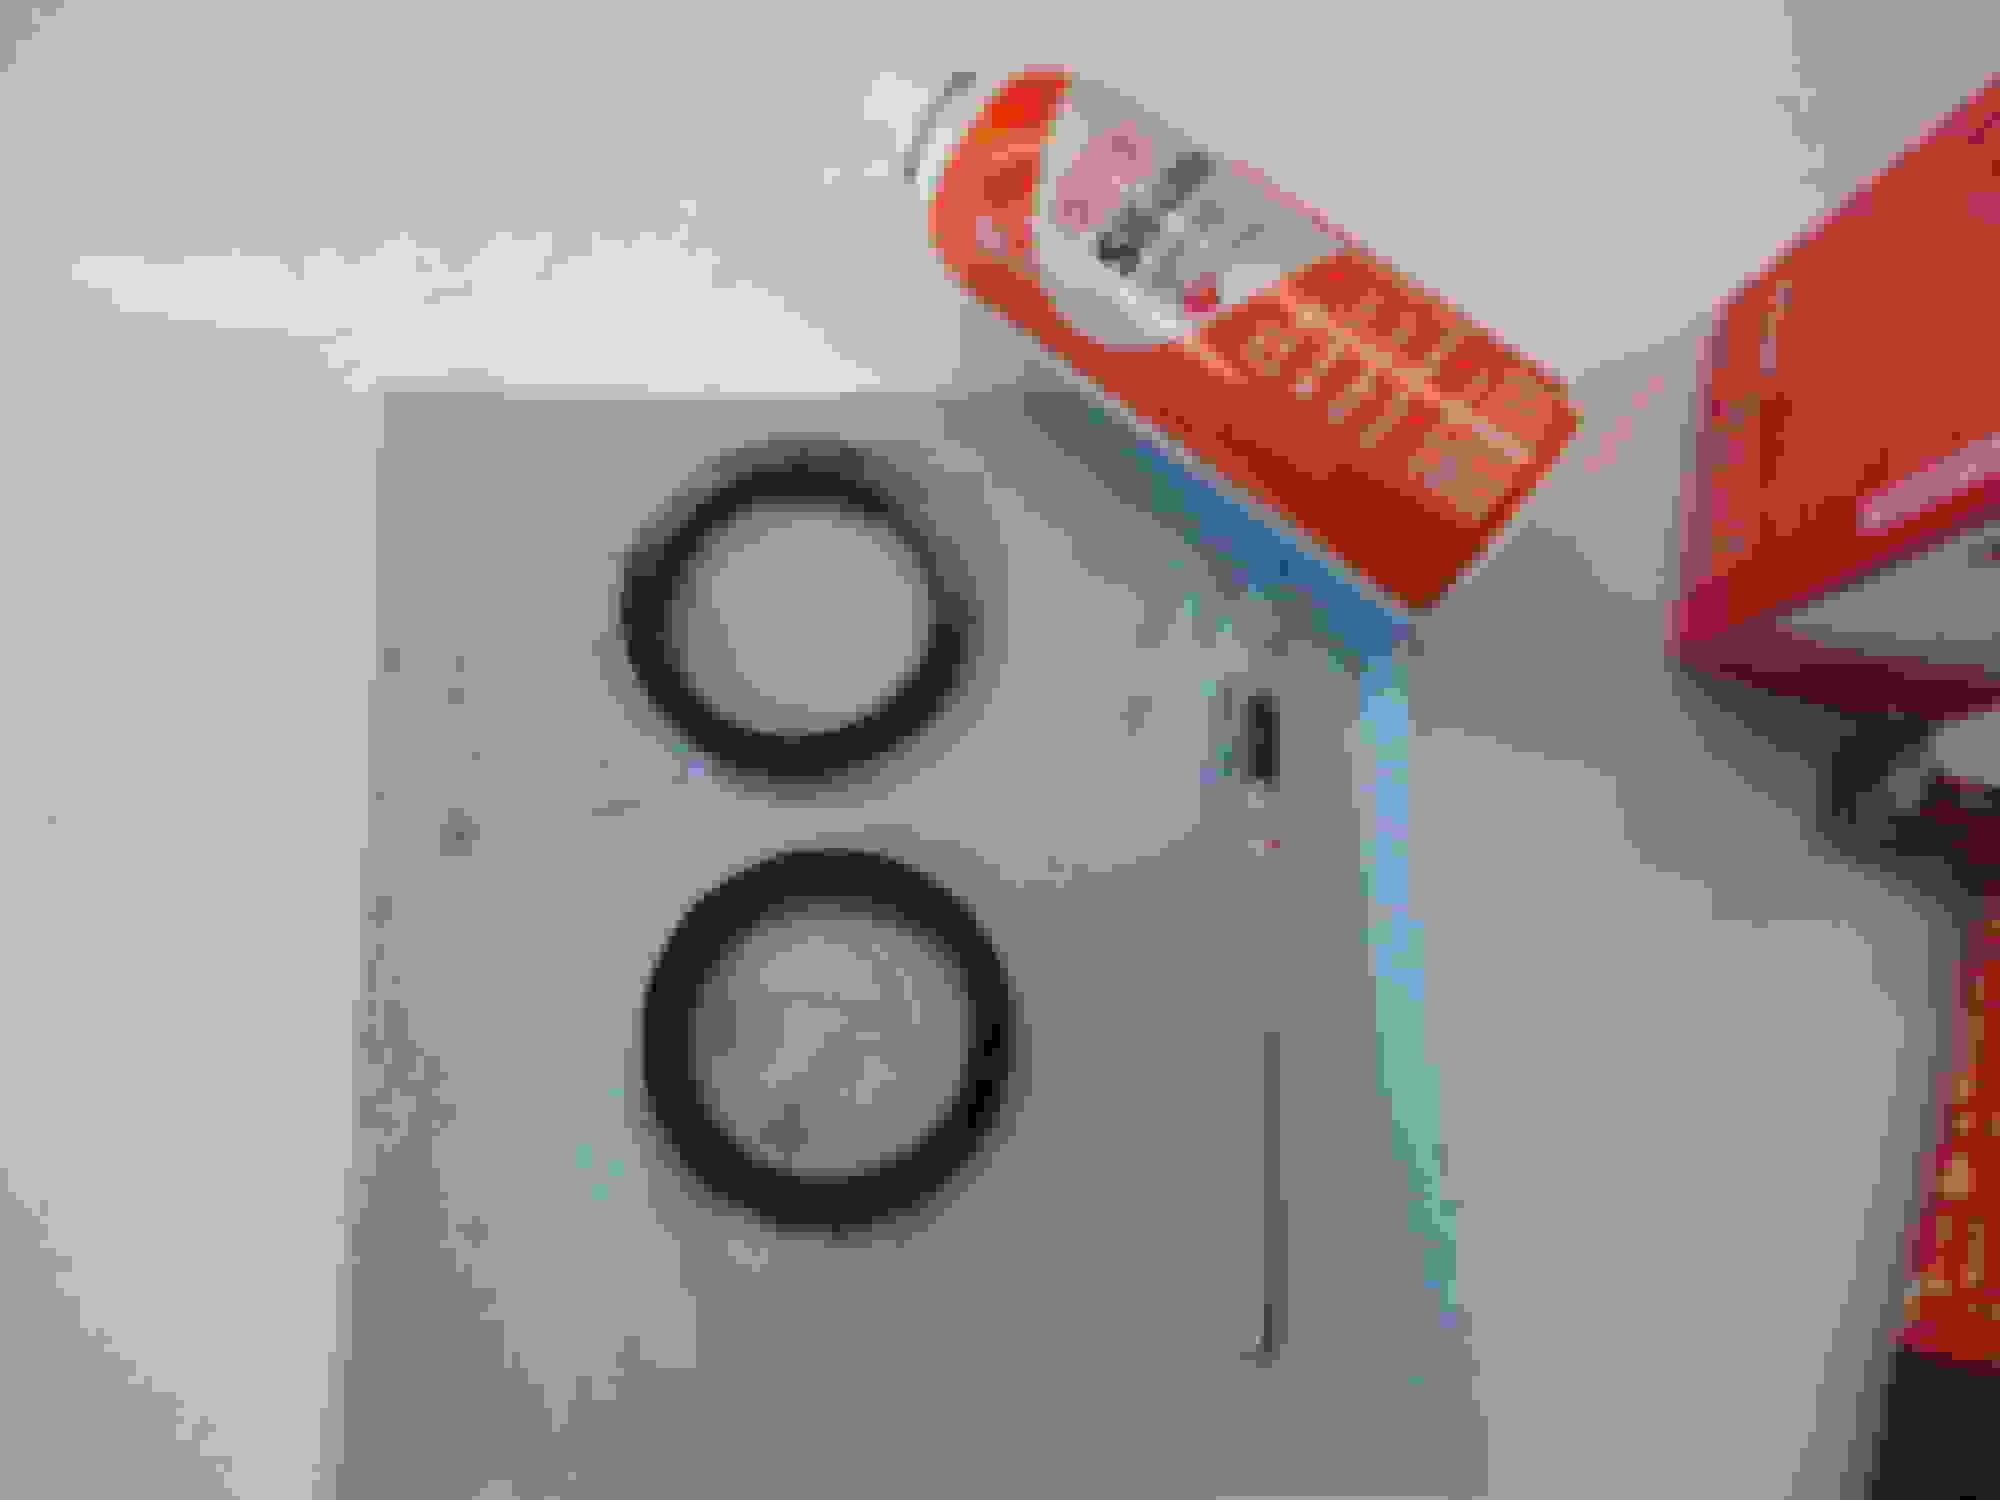
I pulled out the pistons (left the seals) and dropped them in Evapo-Rust for a couple days.


Sprayed with Dupli-Color silver caliper paint

The garbage de-icer my county uses turned my calipers to ***** of rust. Only 400 miles on them.
I will be painting my calipers and hubs from now on.
I pulled out the pistons (left the seals) and dropped them in Evapo-Rust for a couple days.


Sprayed with Dupli-Color silver caliper paint


Thread Starter
Seasoned Member
Joined: Nov 2016
Posts: 304
Likes: 5
From: Idaho
Year: 1990
Engine: Renix 4.0
Brake Rotors Carefully Cleaned With Muriatic Acid And Painted.
I had to put on the 3M Versaflo space-suit with an acid vapor cartridge for that one
Wheel Bearings Cleaned With Loctite Naval Jelly, Wire Brushed, Then Painted


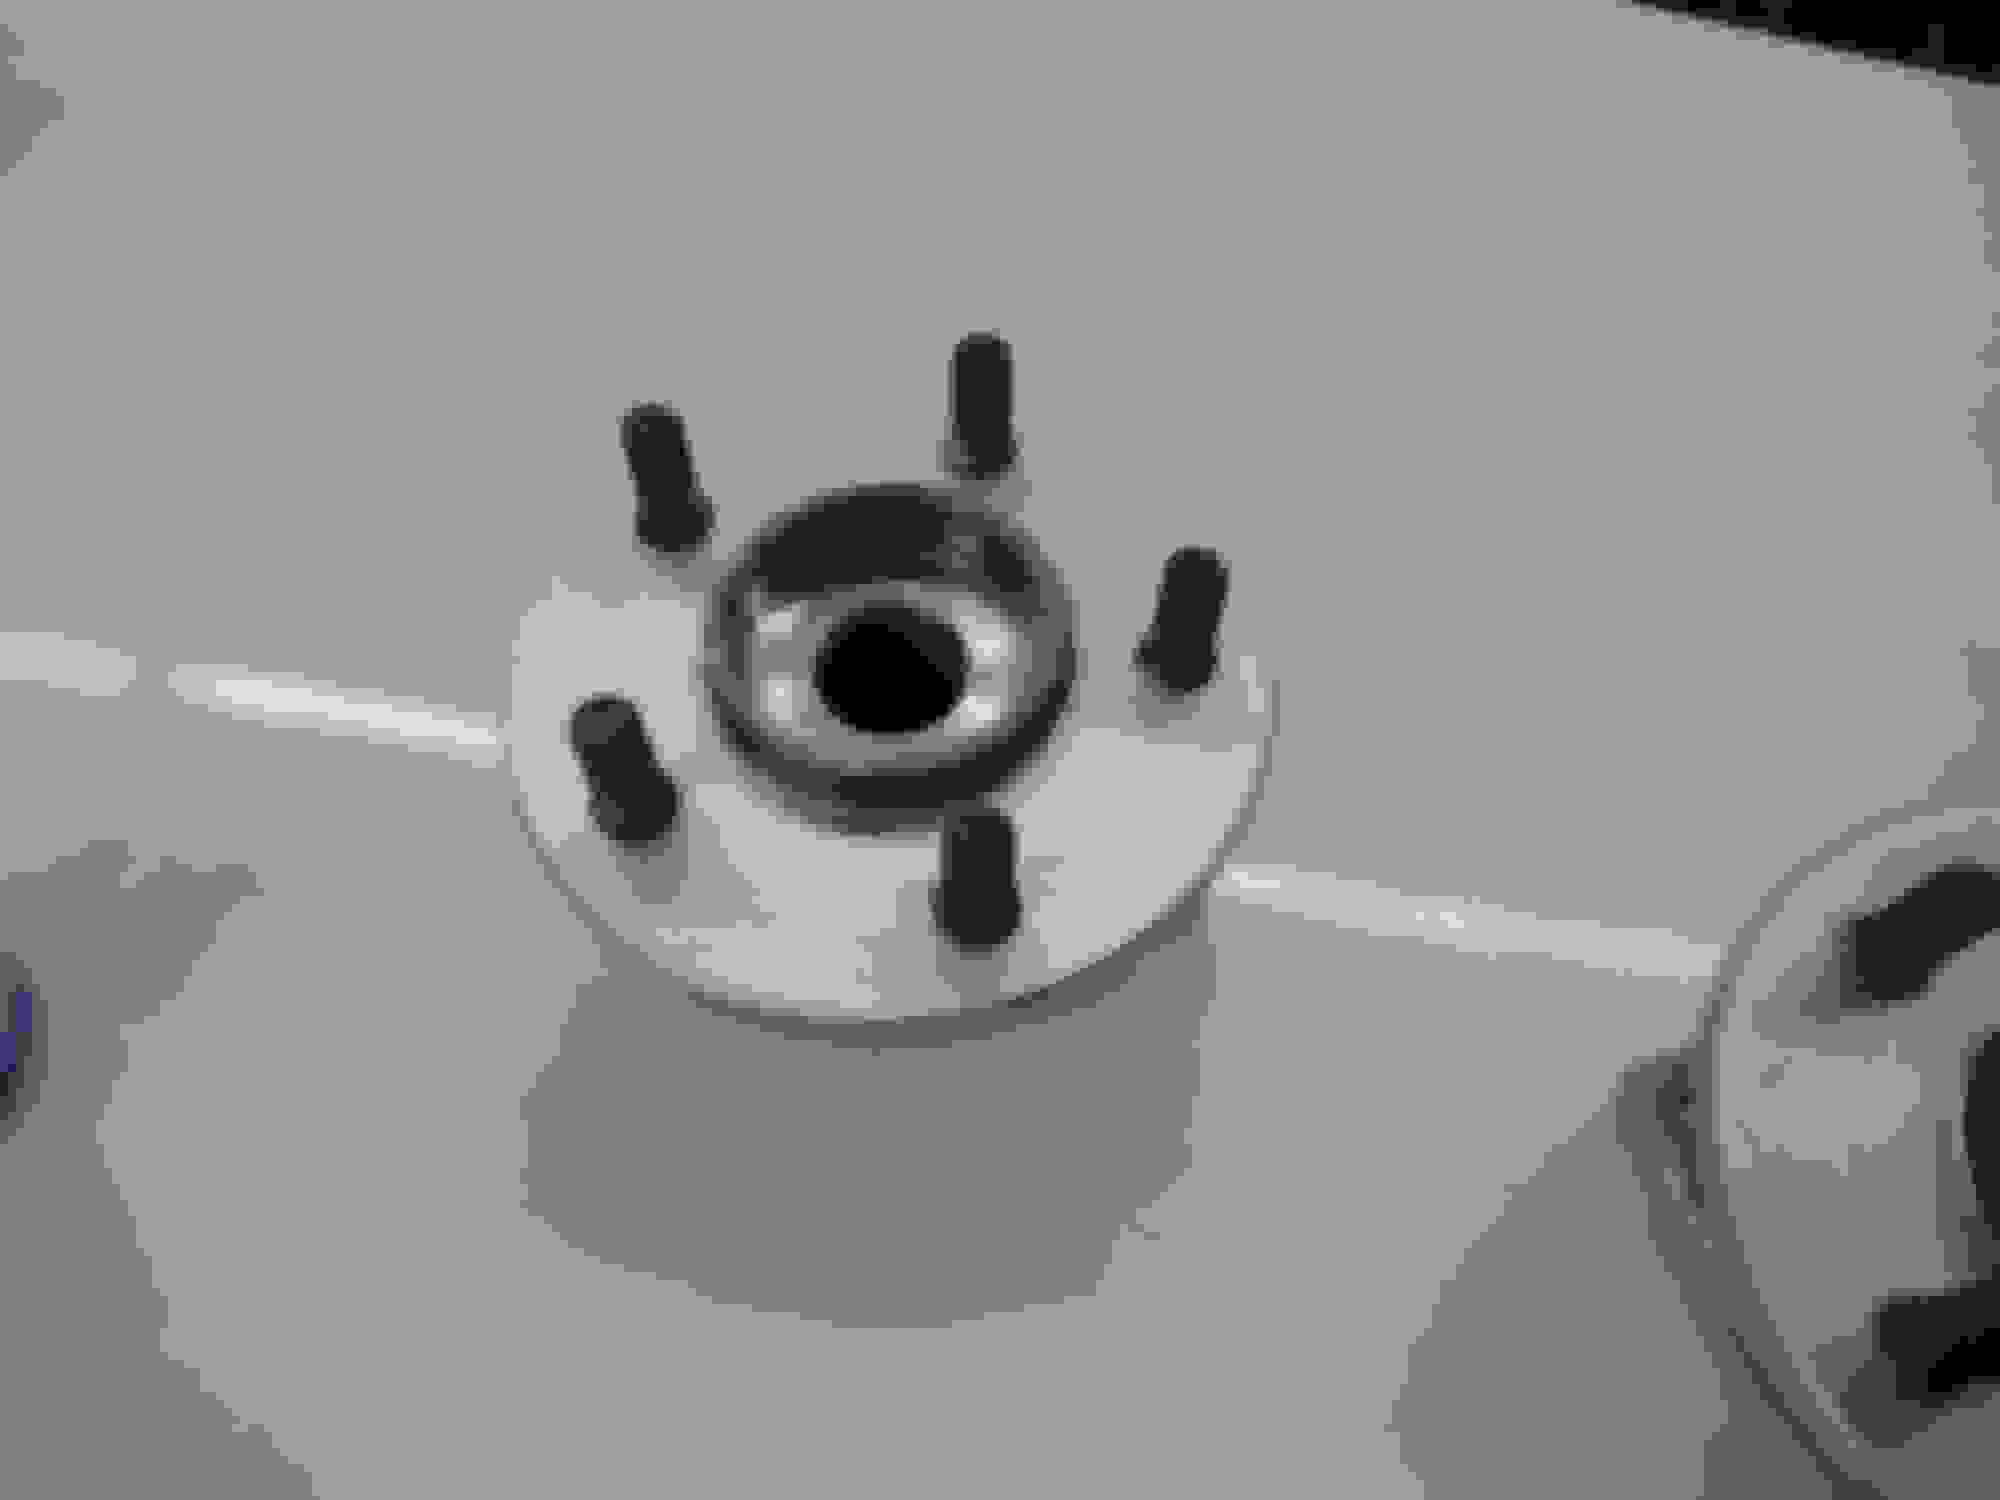
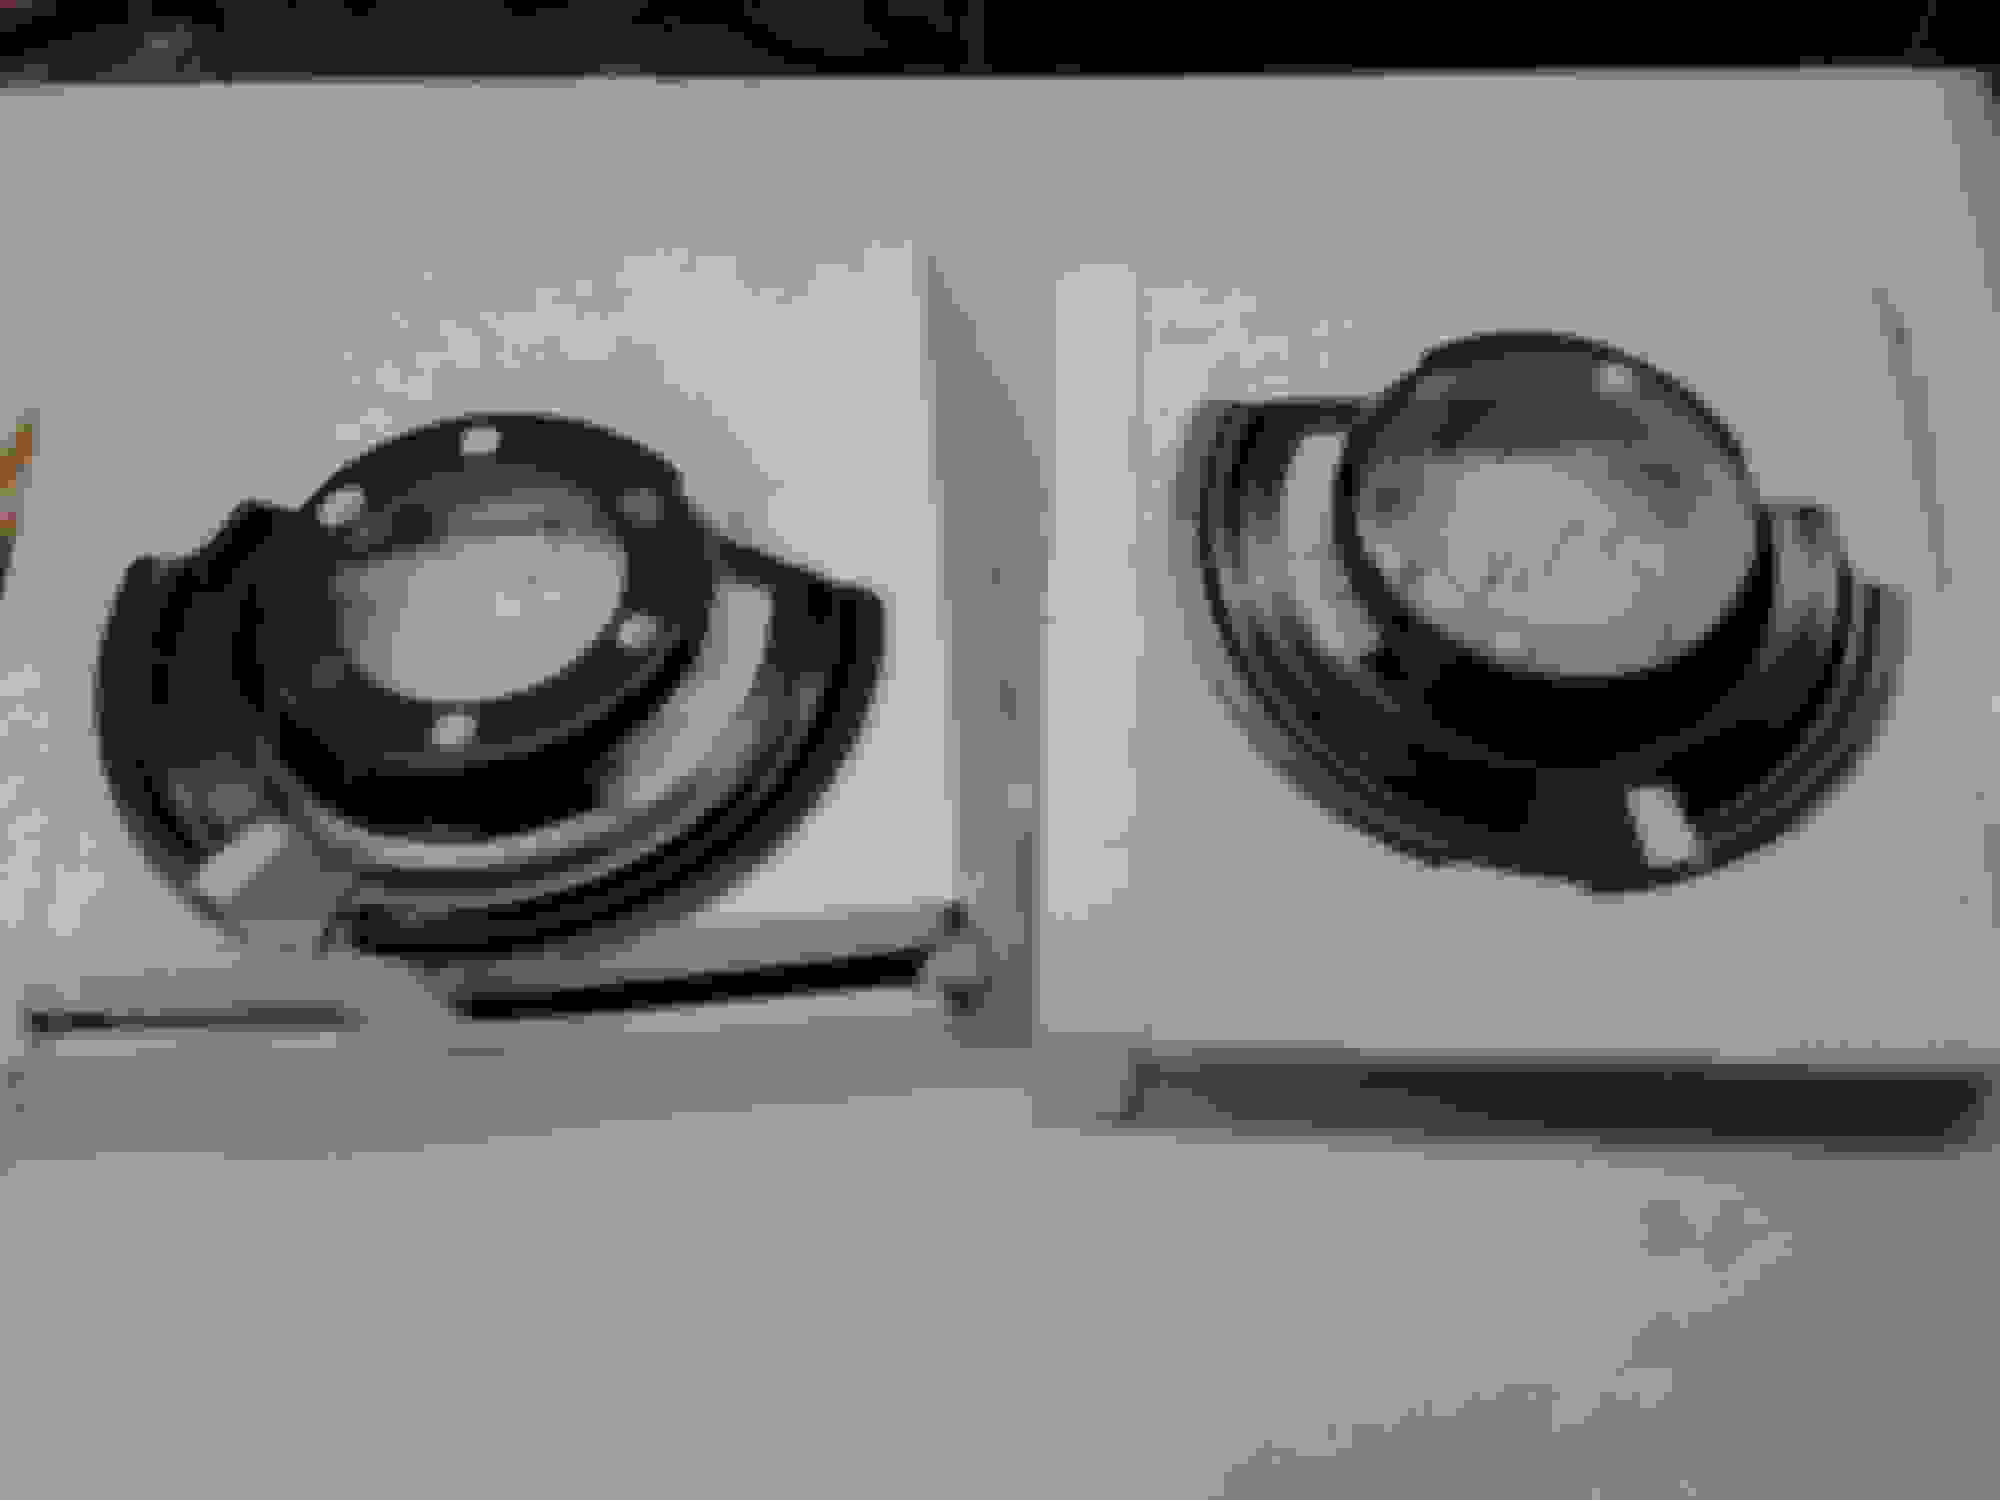
New Brake Dust Shields From Quadratec
Crown 52005476
Crown 52005477
I had to put on the 3M Versaflo space-suit with an acid vapor cartridge for that one
Wheel Bearings Cleaned With Loctite Naval Jelly, Wire Brushed, Then Painted


New Brake Dust Shields From Quadratec
Crown 52005476
Crown 52005477


Thread Starter
Seasoned Member
Joined: Nov 2016
Posts: 304
Likes: 5
From: Idaho
Year: 1990
Engine: Renix 4.0
I Tried Something Different With The Swaybar
It was extremely pitted. After stripping it down I chemically blackened it, then ran over the surface with 600 grit sandpaper.
After that it was clear coated.
The prothane bushings are actually 7/8" from a CJ. It was a tight squeeze.
ordered the exact size the first time around, but they ended up being too loose.
Soon I will be swapping it for the larger V8 ZJ sway bar.


Last edited by craigjacob1; Nov 21, 2018 at 12:42 AM.