
Project Glacier

Thread Starter
Seasoned Member
Joined: Nov 2016
Posts: 304
Likes: 5
From: Idaho
Year: 1990
Engine: Renix 4.0
De-Greasing & Prepping The Front Axle
I gave it about 5 rounds with paint stripper and a wire brush. The differential housing was stripped to metal, but there was still some factory paint left on the rest (sorry no pictures). Summer 2019 I will have it sandblasted before spraying it with a Cerakote ceramic. At the same time I will add a sleeve kit and have it re-geared.
The axle tubes were sprayed with etch primer, black filler primer, painted, and clear coated.
The diff housing was left bare metal and sprayed with caliper paint.

Shortly after I found out that the Johnny Joint did not fit into the passenger side upper control arm mount.
So I ordered an Artec Industries TJ3024 TJ Front Axle UCA replacement
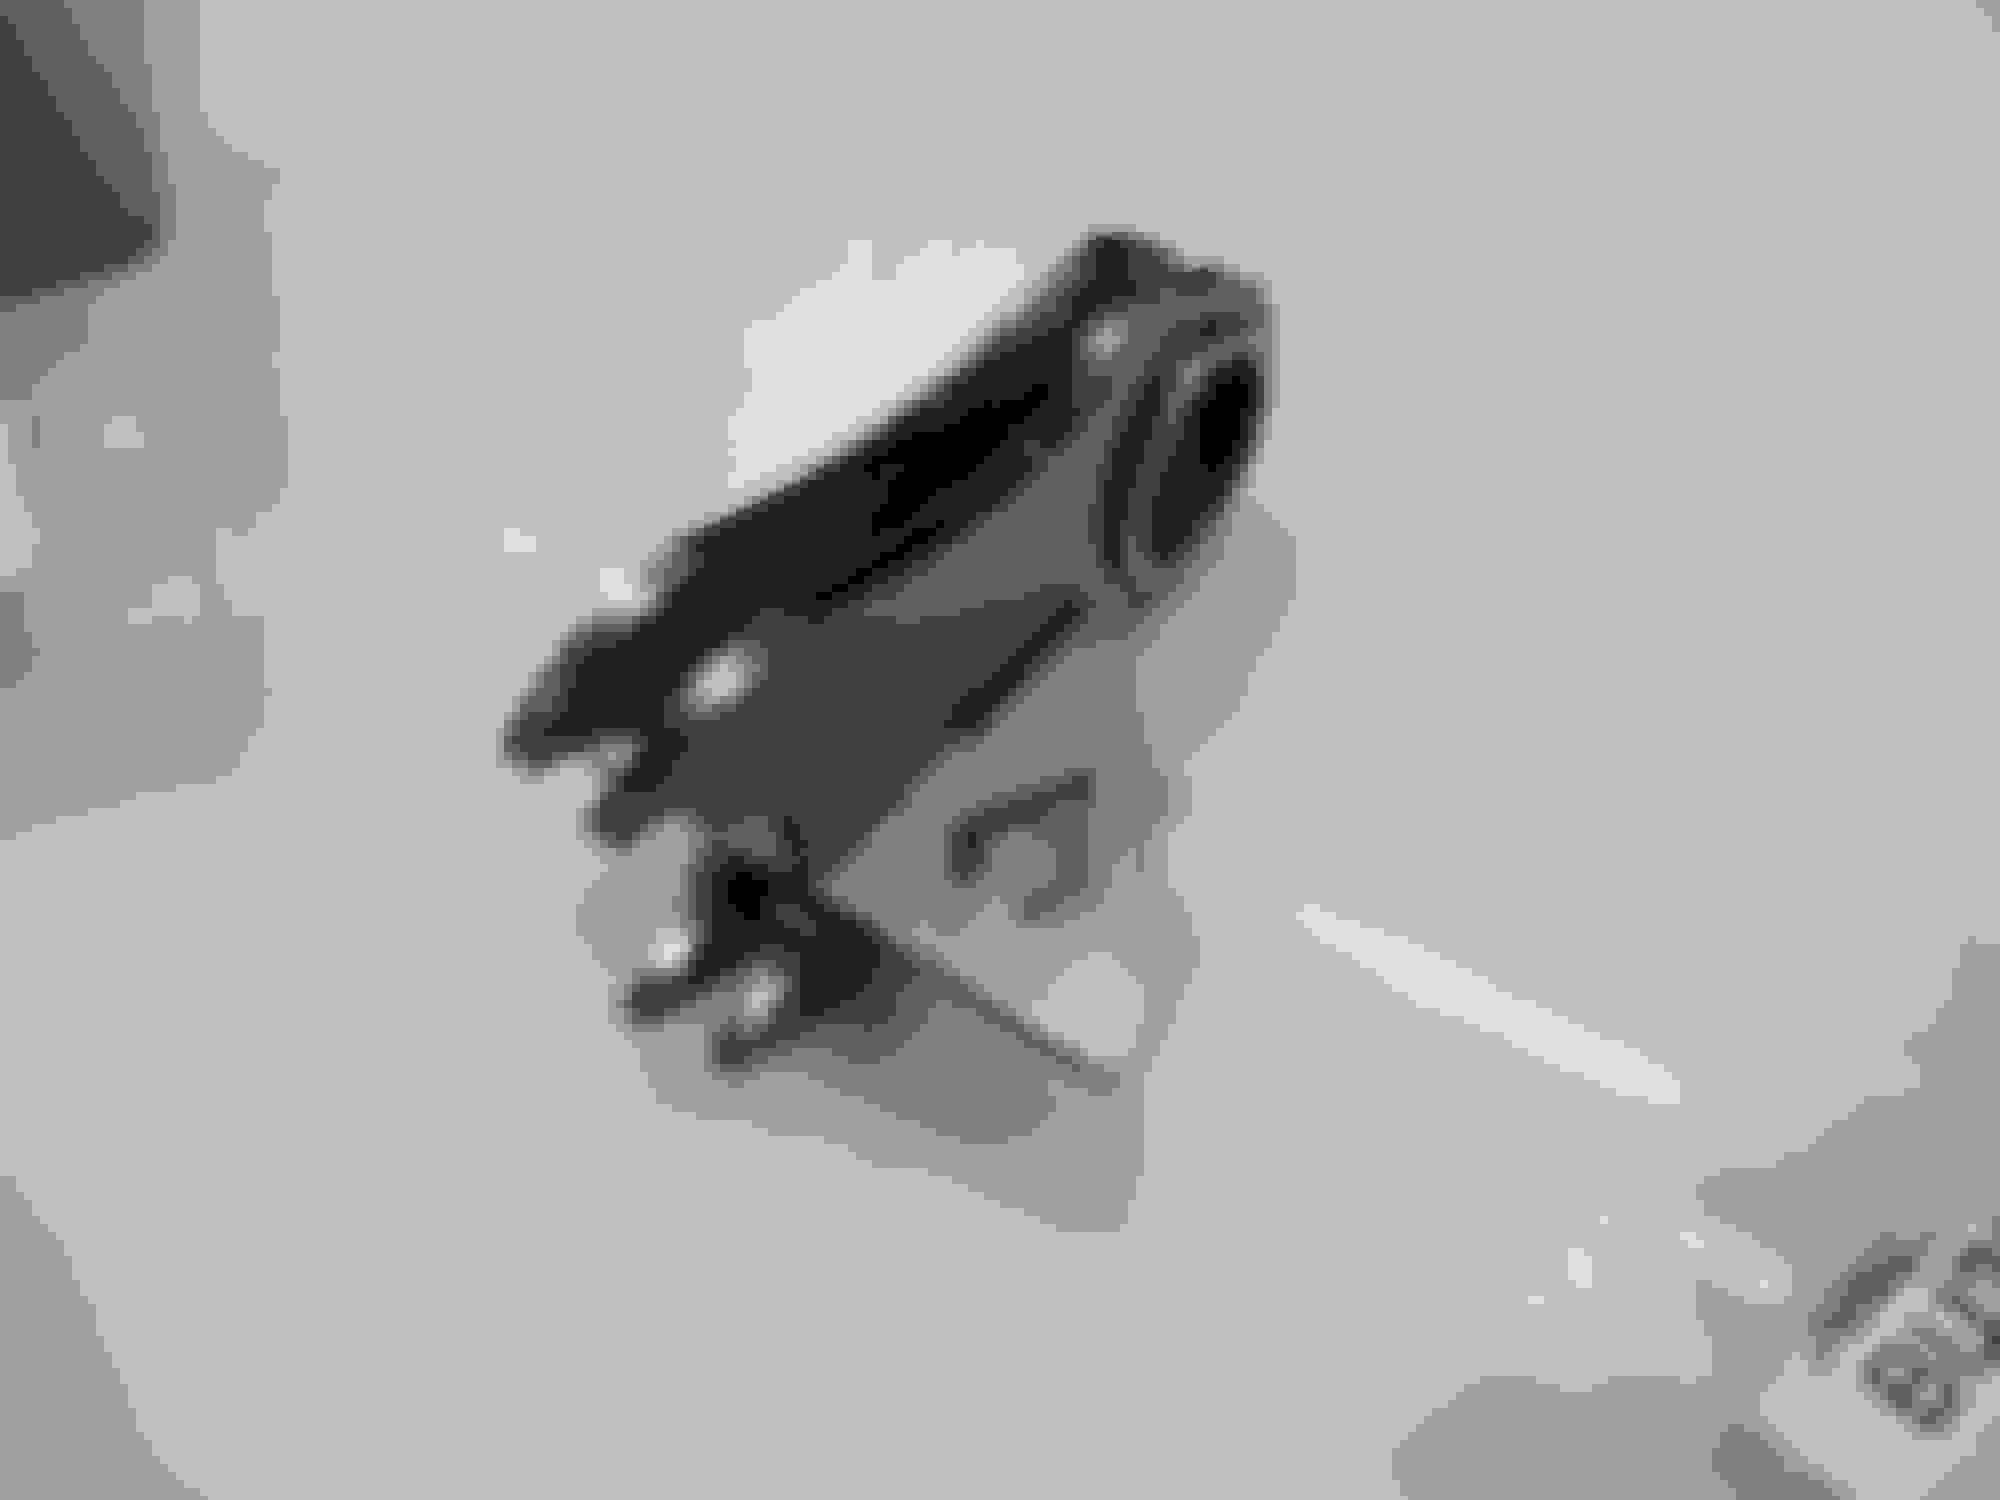
Lining Up The New Mount


Re-Prepping The Axle Tubes
Two More Coats of Primer
I gave it about 5 rounds with paint stripper and a wire brush. The differential housing was stripped to metal, but there was still some factory paint left on the rest (sorry no pictures). Summer 2019 I will have it sandblasted before spraying it with a Cerakote ceramic. At the same time I will add a sleeve kit and have it re-geared.

The axle tubes were sprayed with etch primer, black filler primer, painted, and clear coated.
The diff housing was left bare metal and sprayed with caliper paint.


Shortly after I found out that the Johnny Joint did not fit into the passenger side upper control arm mount.
So I ordered an Artec Industries TJ3024 TJ Front Axle UCA replacement


Lining Up The New Mount


Re-Prepping The Axle Tubes


Two More Coats of Primer

Last edited by craigjacob1; Nov 21, 2018 at 04:24 AM.
Thread Starter
Seasoned Member
Joined: Nov 2016
Posts: 304
Likes: 5
From: Idaho
Year: 1990
Engine: Renix 4.0
Re-Painted. New Spicer Ball Joints Installed. Johnny Joints Pressed In.
The shop is turning into a mess.


The shop is turning into a mess.


Last edited by craigjacob1; Nov 21, 2018 at 04:21 AM.


Thread Starter
Seasoned Member
Joined: Nov 2016
Posts: 304
Likes: 5
From: Idaho
Year: 1990
Engine: Renix 4.0
A Nice Change of Pace
Installing 3M Protective Film on the headlights
Sprayed down. 1 quart of water with 2 drops of dawn dishsoap seems to work for everything. (claying / wetsanding included)
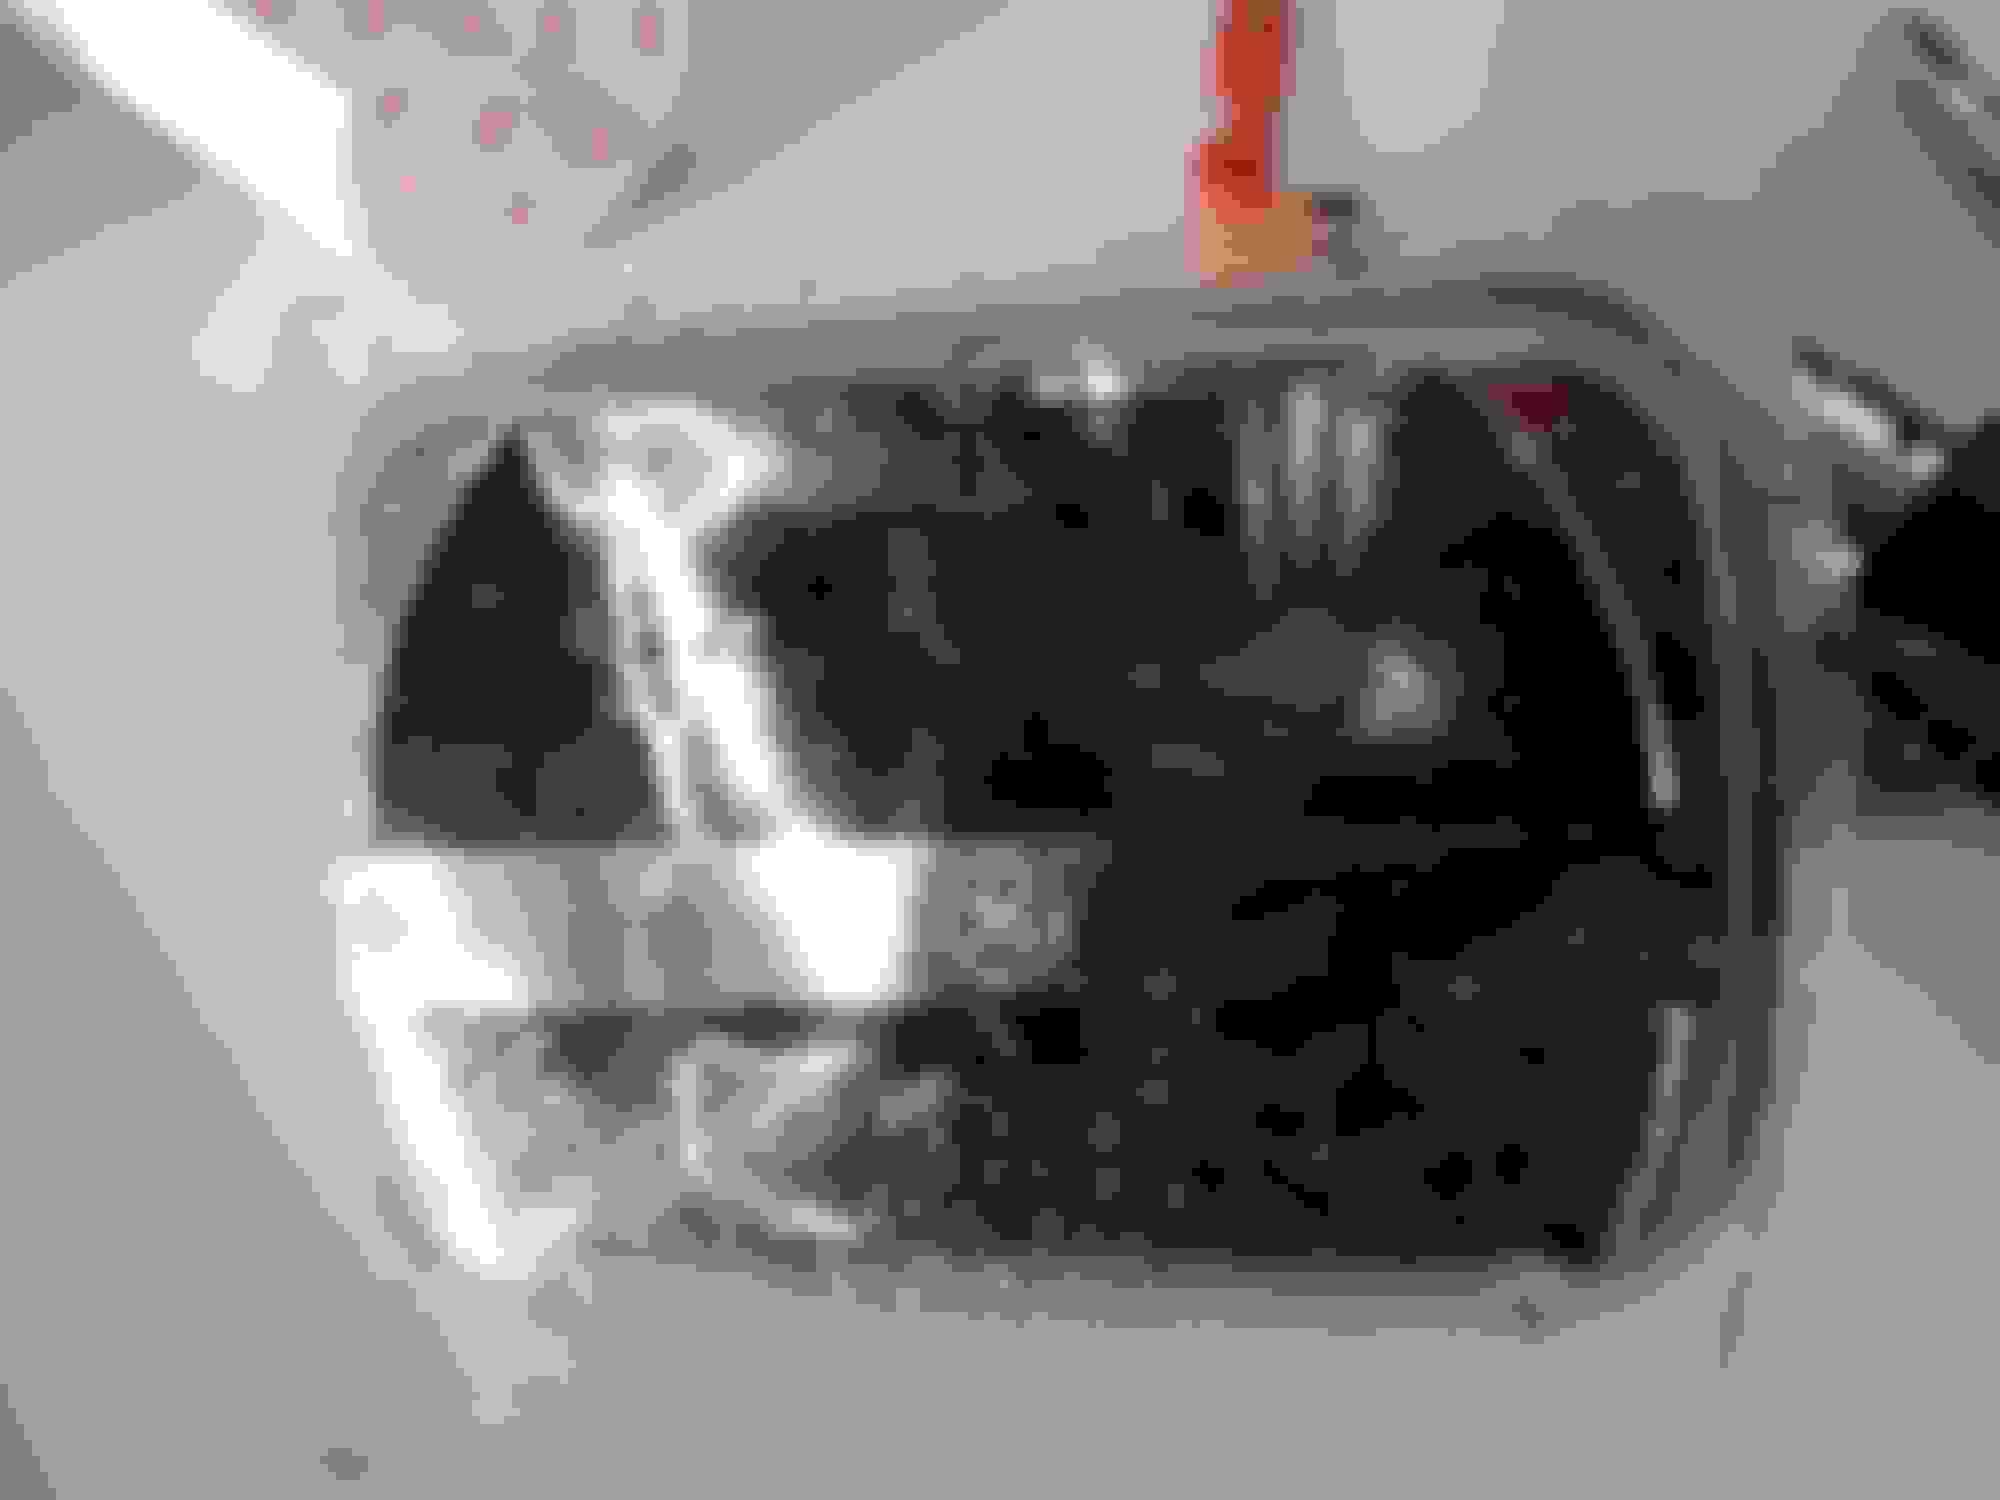

They are noticeably less visible. They will clear up after a few heat cycles in the sun.
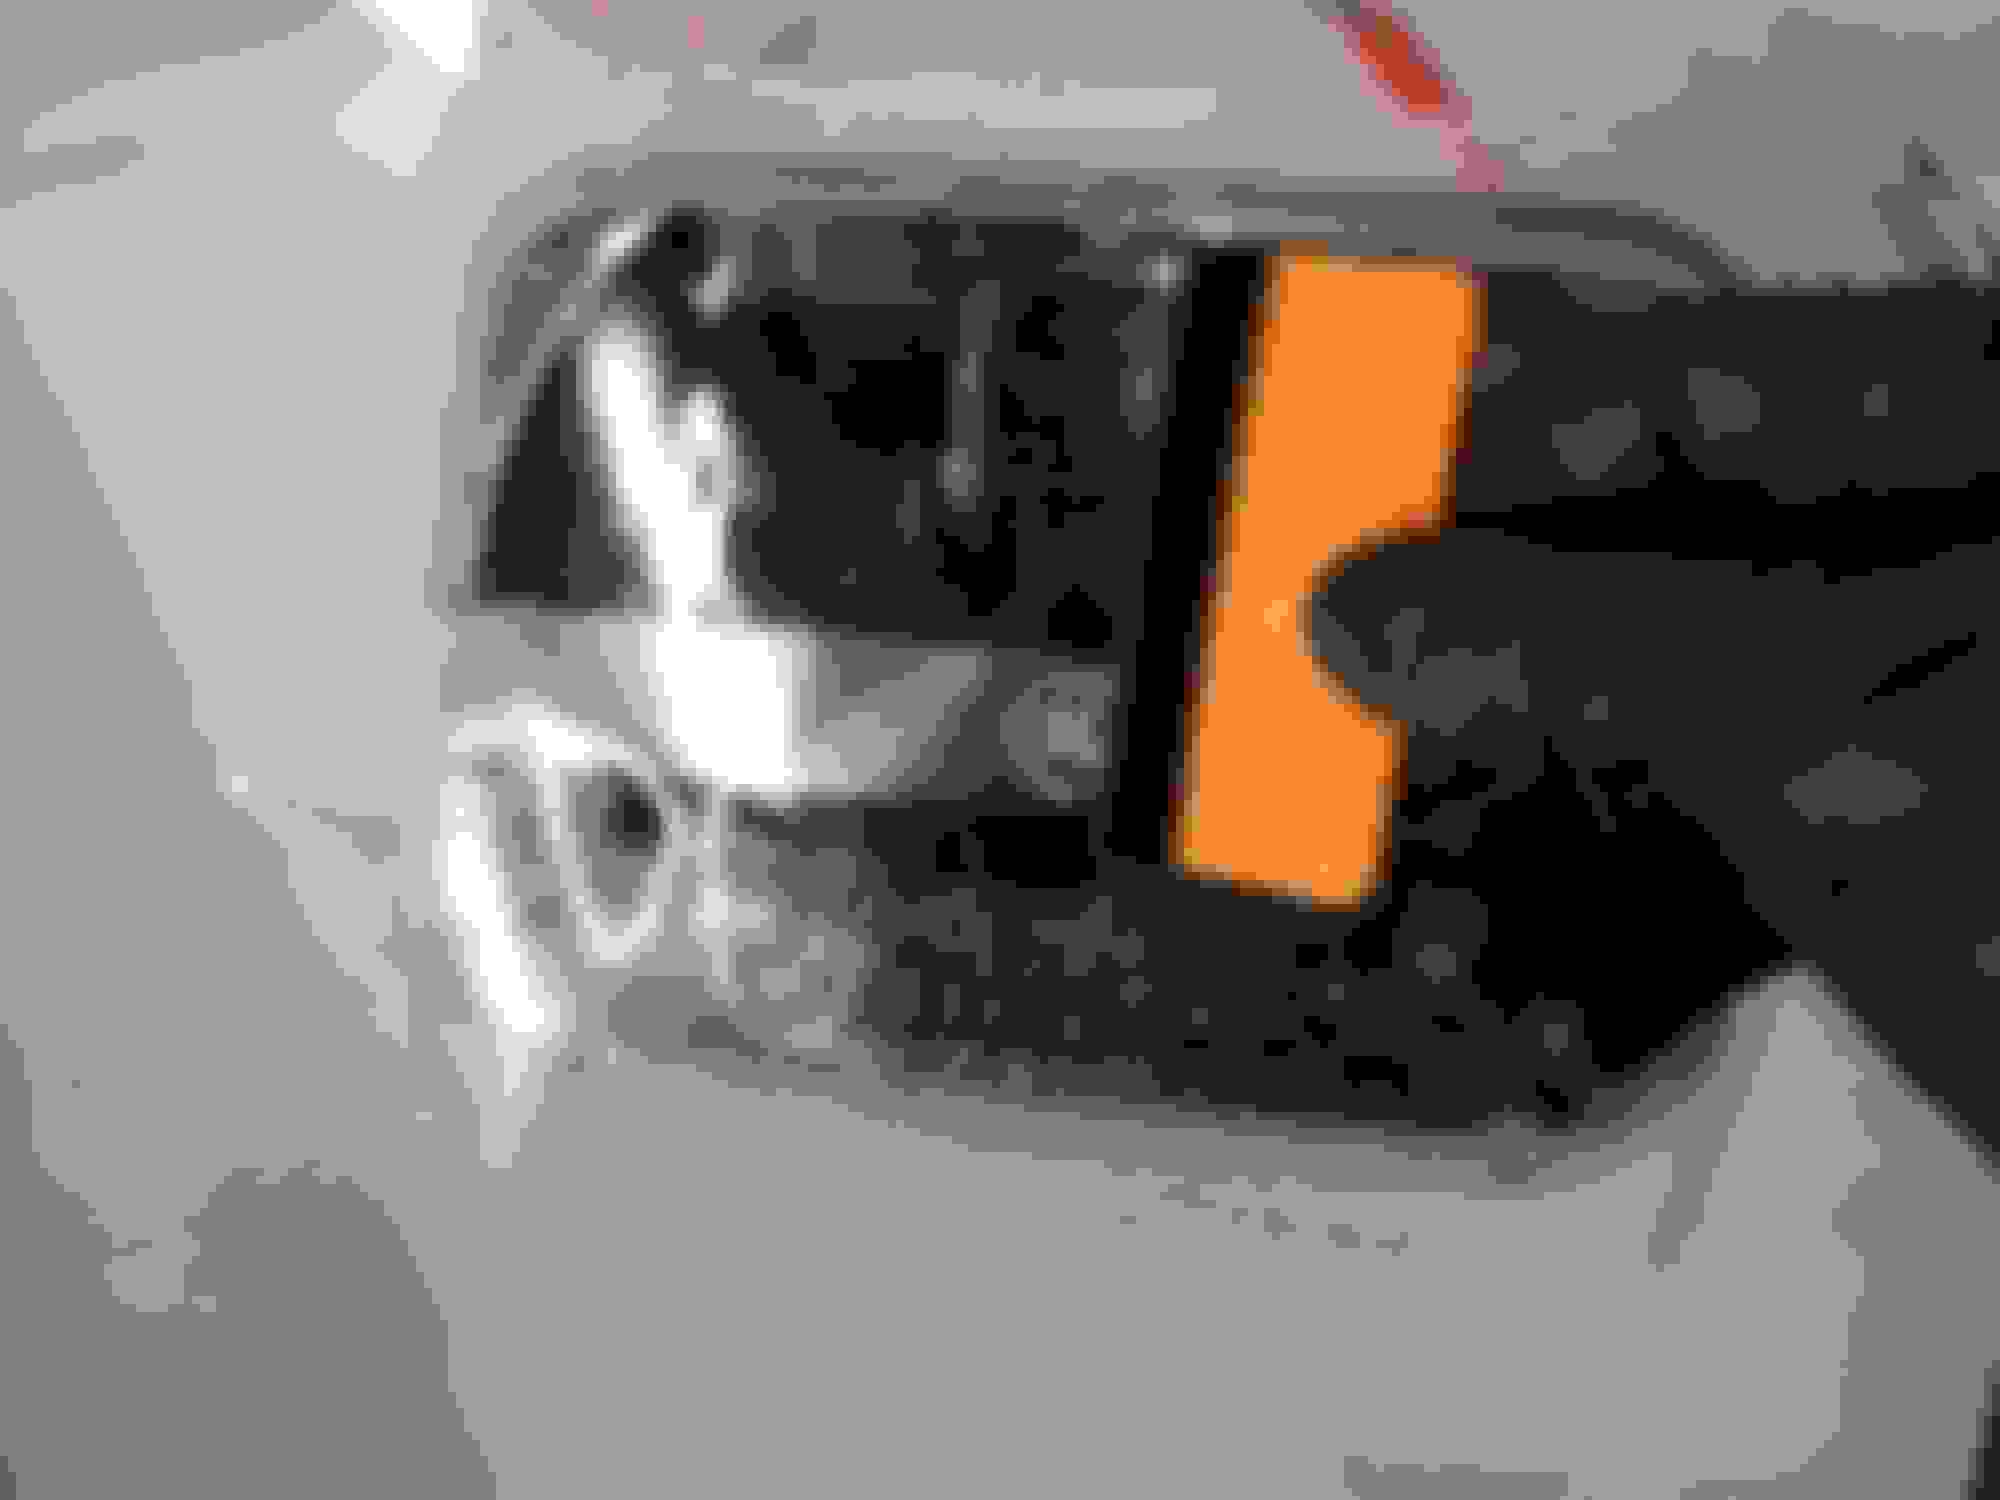
Now I don't have to worry about gravel ruining my headlights.
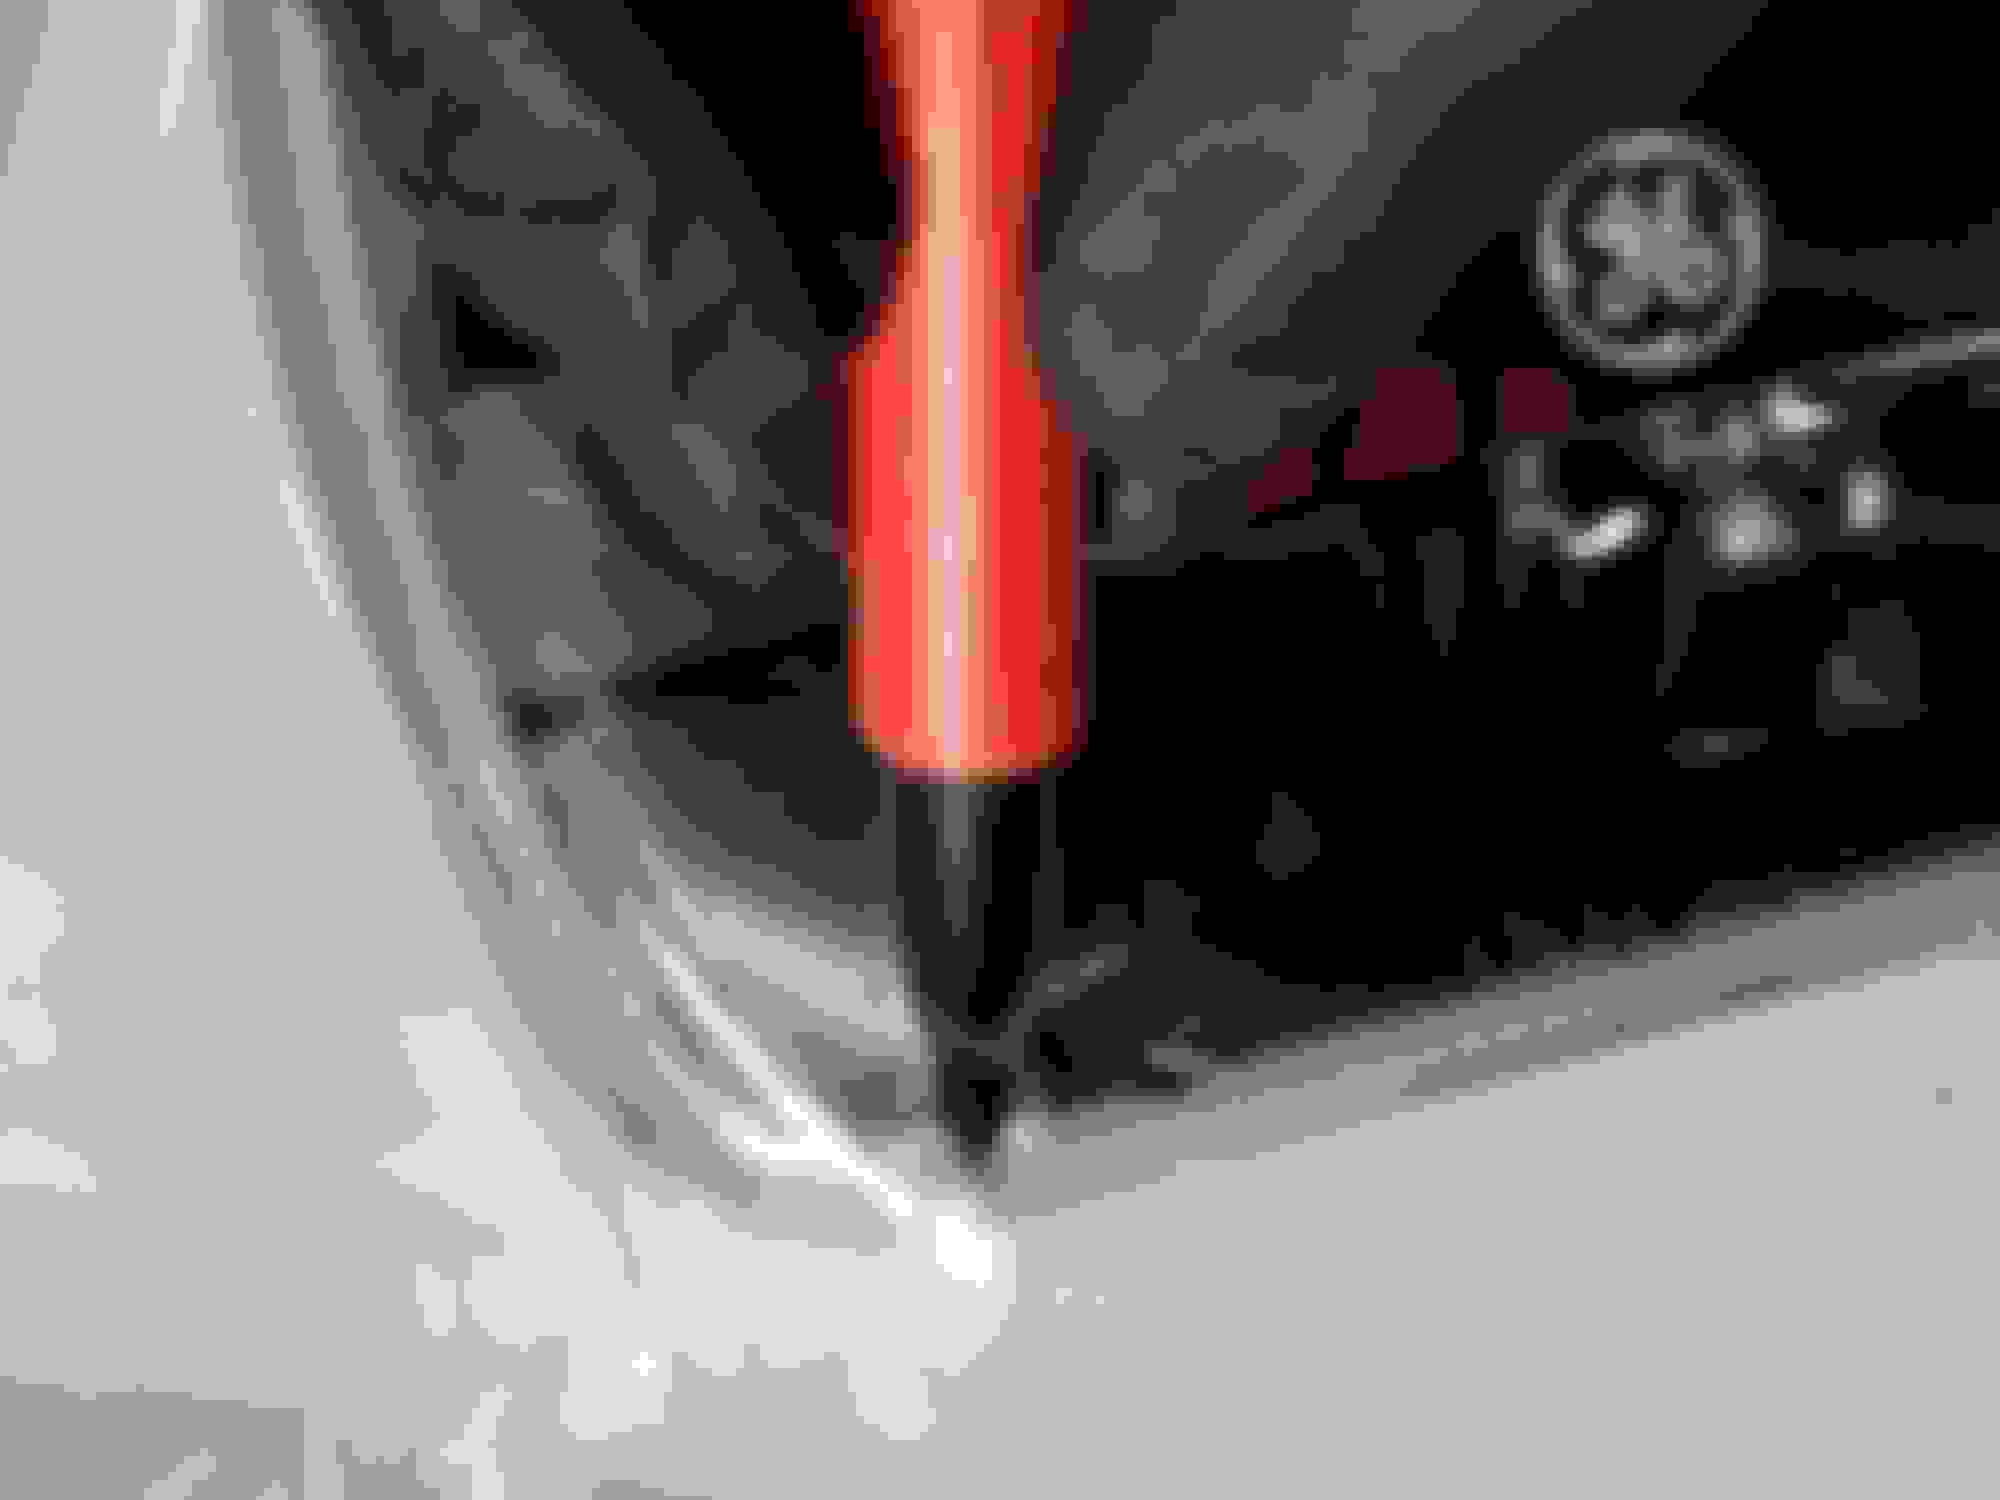
A future post will include a carbon wrap headlight heater to keep the snow off.
When I get to the interior I will be making a heated steering wheel as well
Installing 3M Protective Film on the headlights


Sprayed down. 1 quart of water with 2 drops of dawn dishsoap seems to work for everything. (claying / wetsanding included)


They are noticeably less visible. They will clear up after a few heat cycles in the sun.
Now I don't have to worry about gravel ruining my headlights.
A future post will include a carbon wrap headlight heater to keep the snow off.
When I get to the interior I will be making a heated steering wheel as well

Last edited by craigjacob1; Nov 21, 2018 at 04:51 AM.
Thread Starter
Seasoned Member
Joined: Nov 2016
Posts: 304
Likes: 5
From: Idaho
Year: 1990
Engine: Renix 4.0
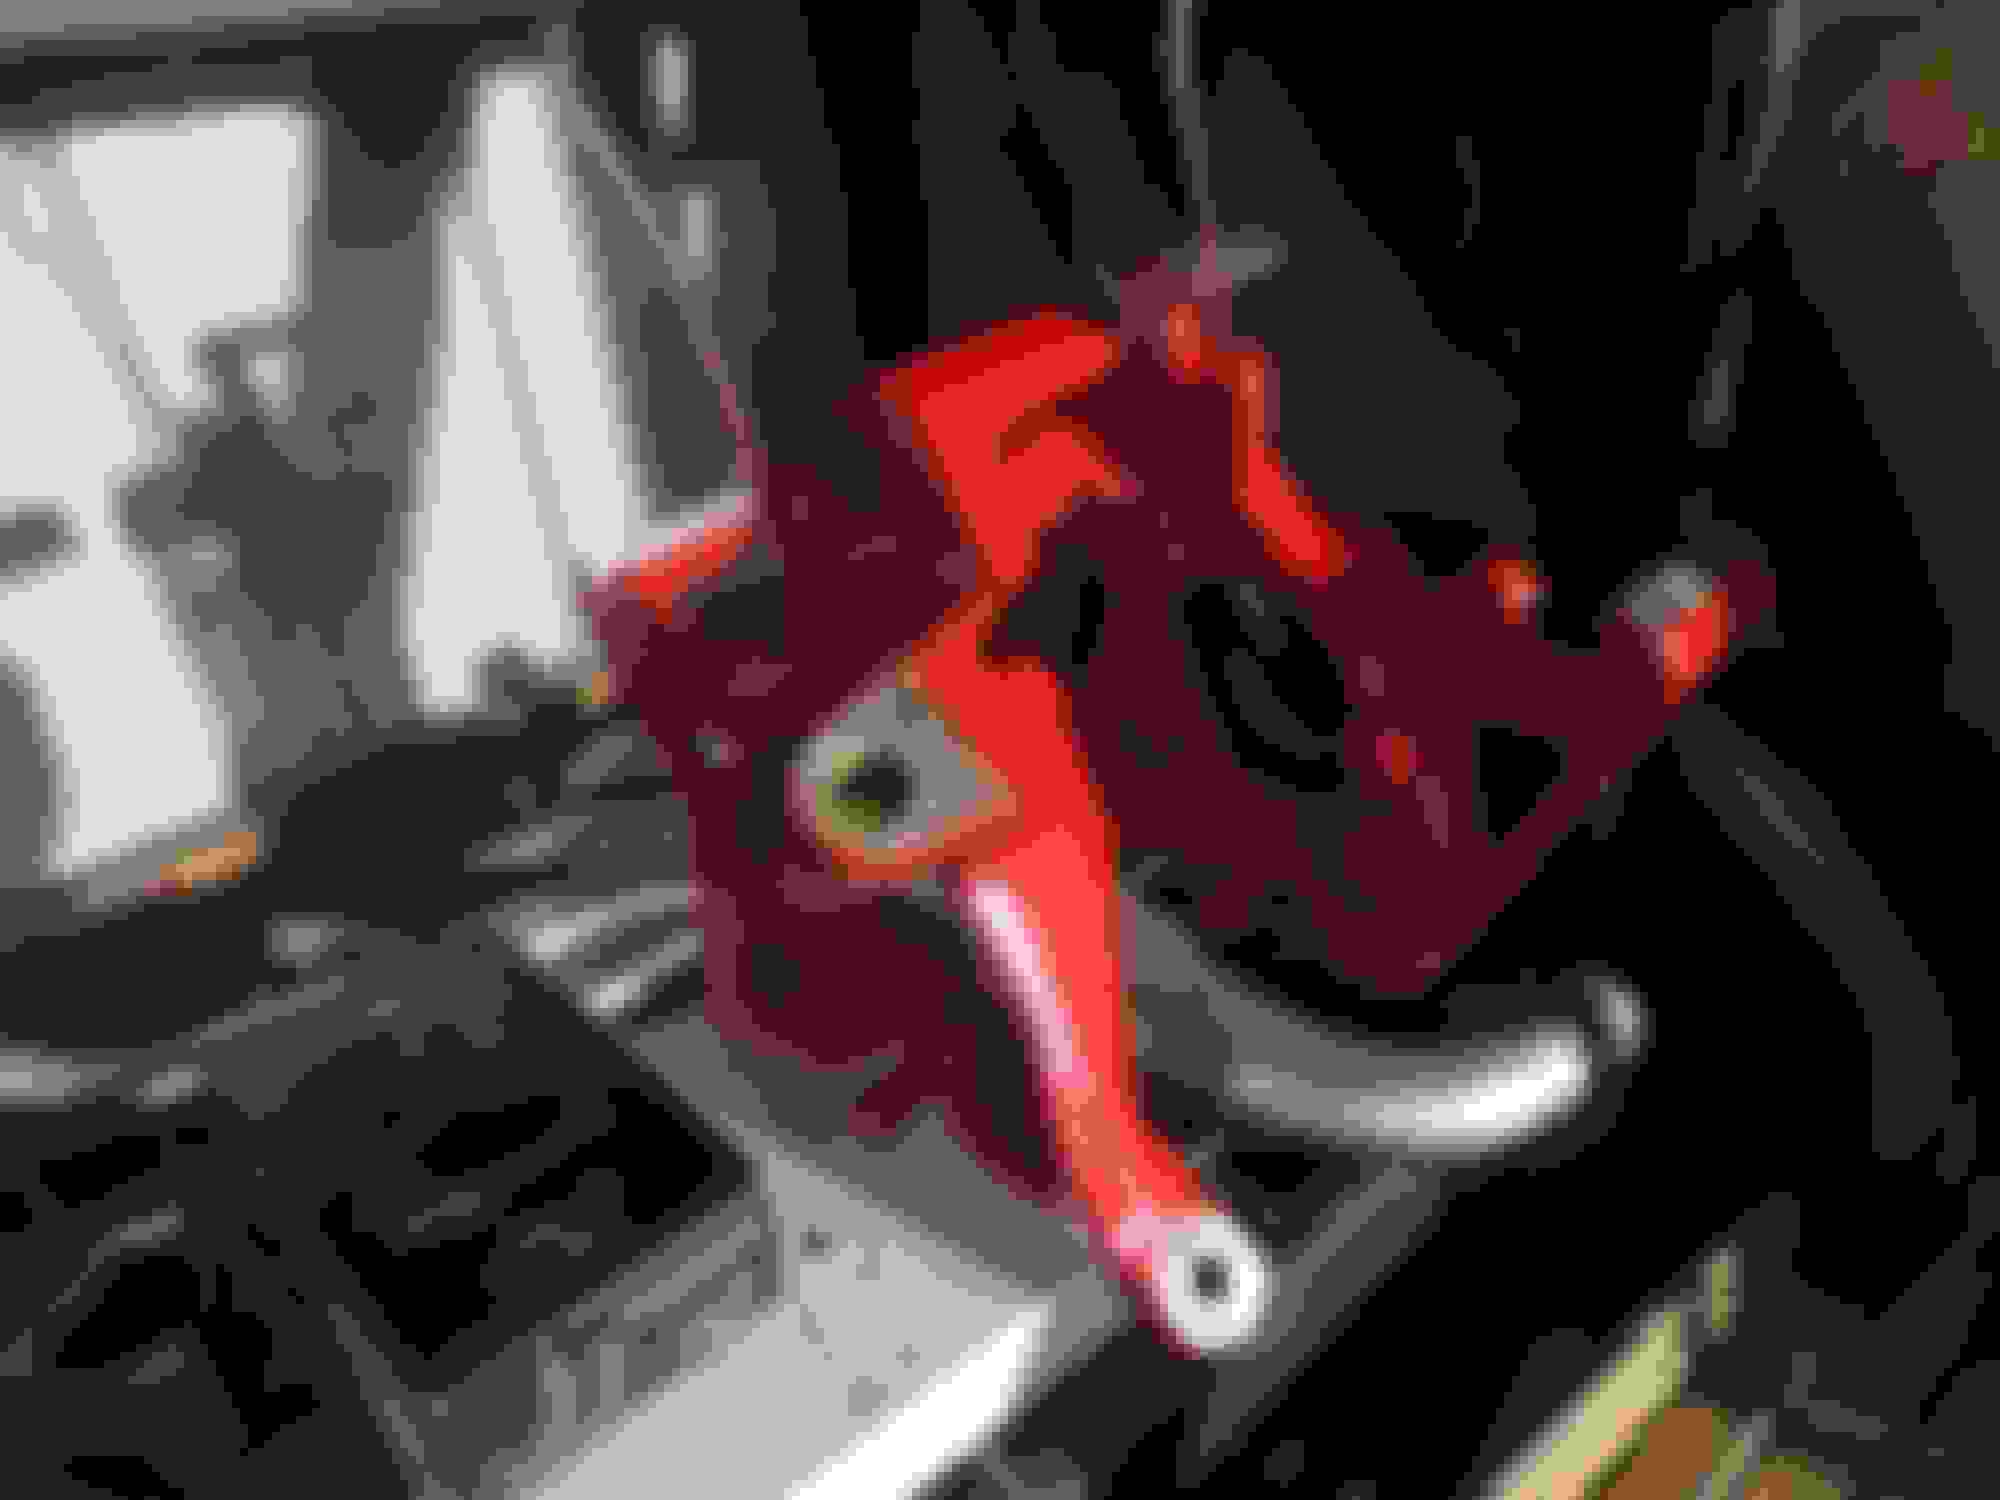
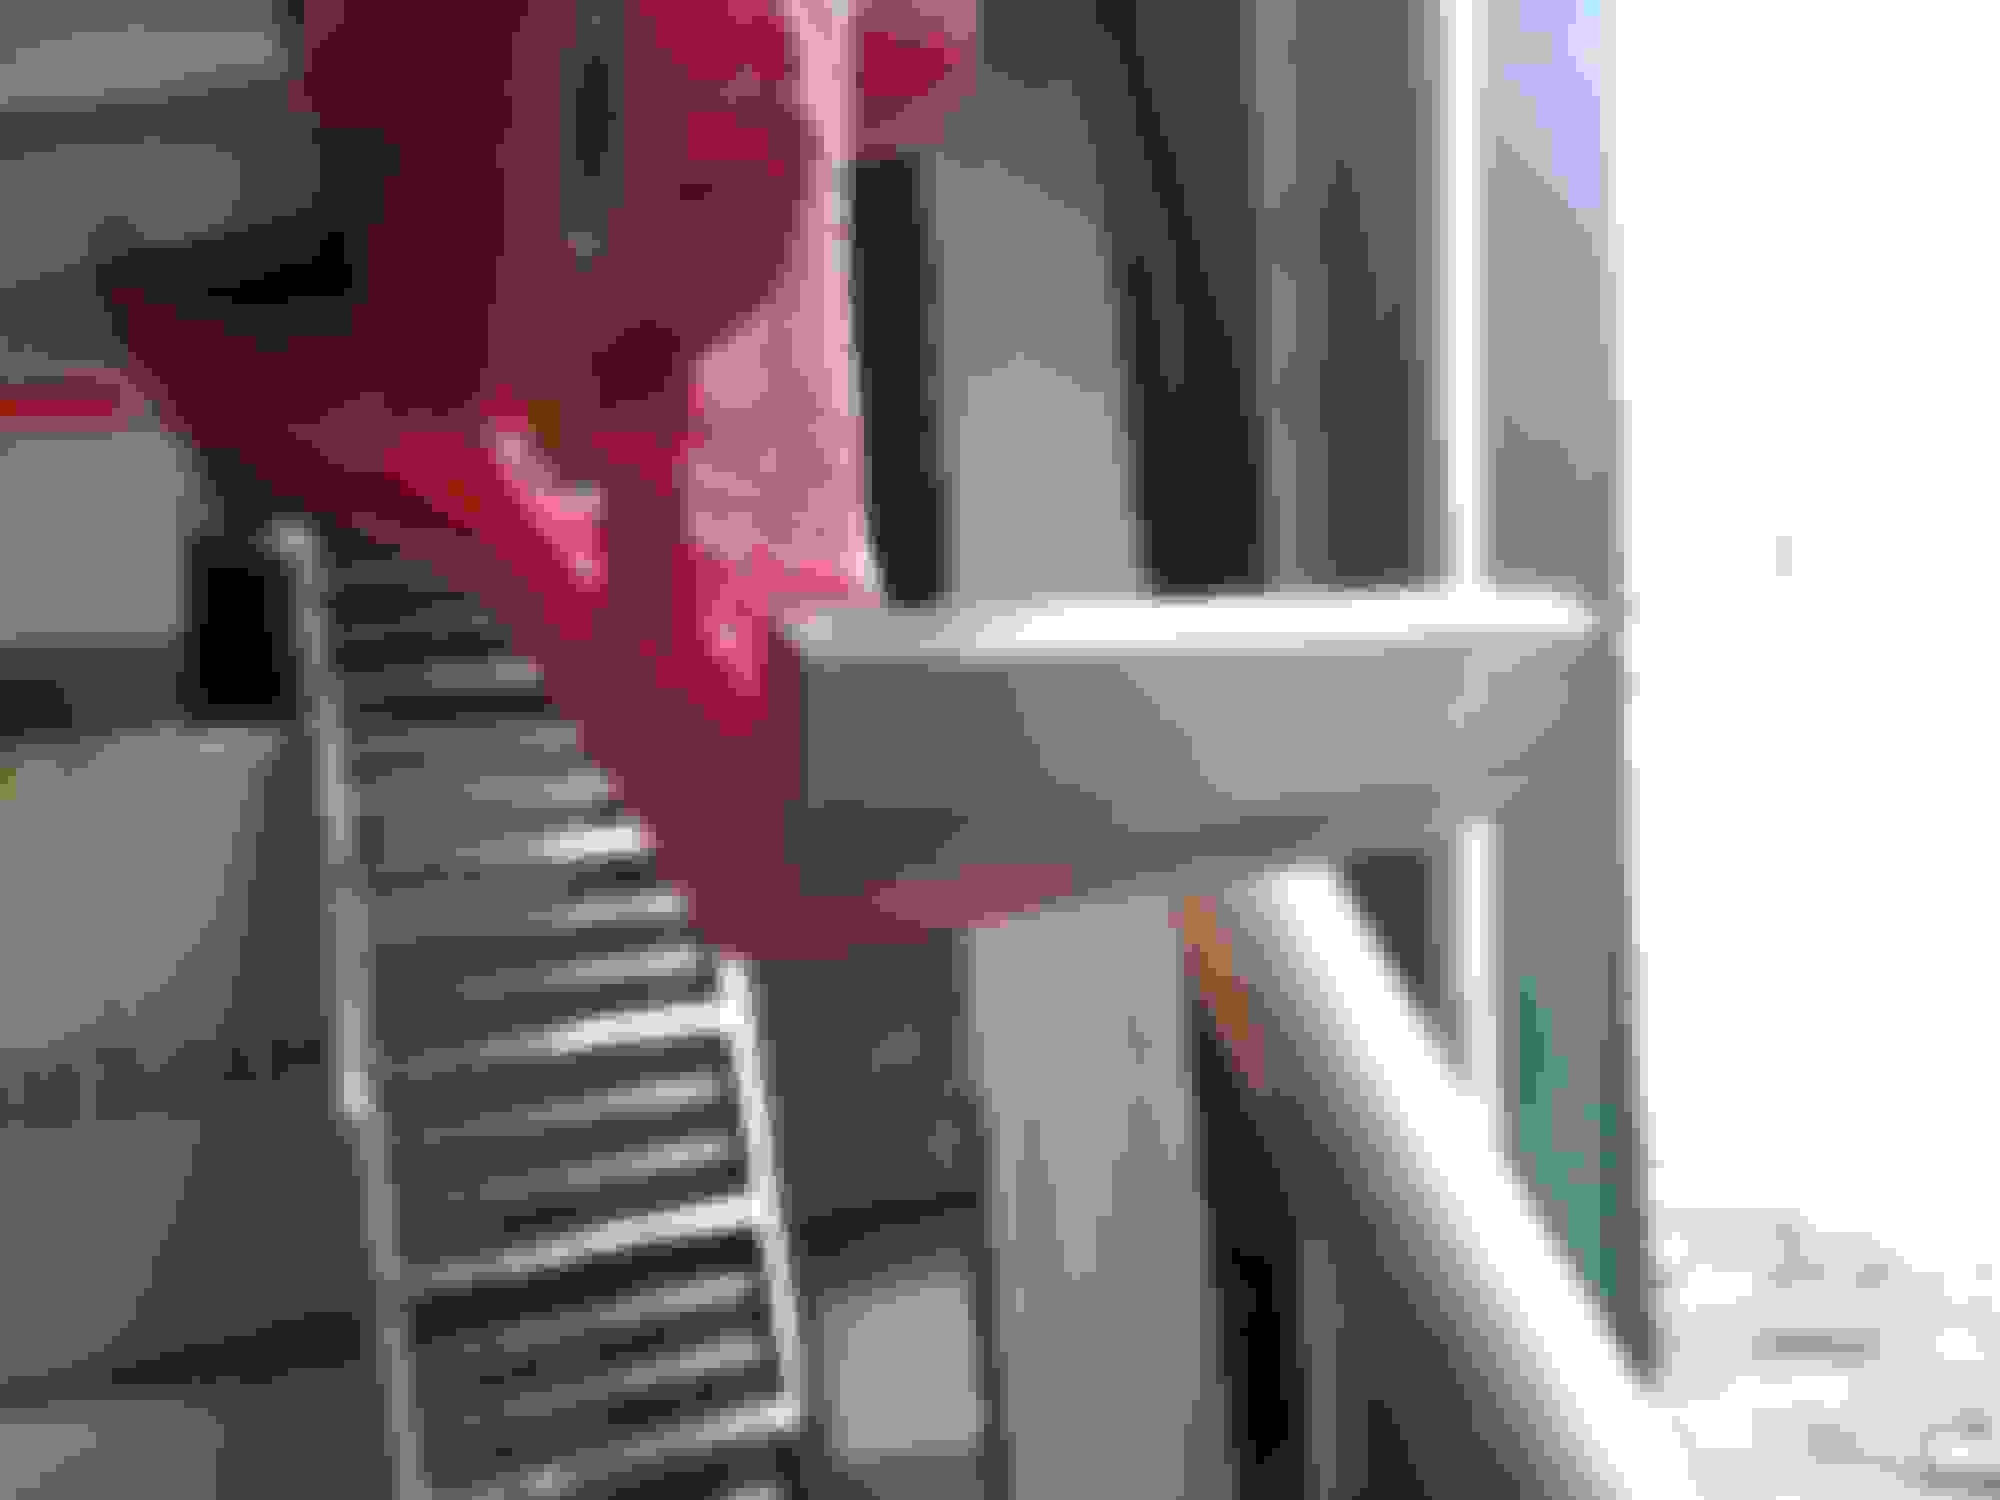
Steering Knuckles Were Unsuccessfully Bead Blasted Then Painted Red. The Brake Pad Grooves Were Ground Down.
You can see the Borla header hiding in the back.

You can see the Borla header hiding in the back.


Last edited by craigjacob1; Nov 21, 2018 at 05:04 AM.


Thread Starter
Seasoned Member
Joined: Nov 2016
Posts: 304
Likes: 5
From: Idaho
Year: 1990
Engine: Renix 4.0
While Waiting For Parts The Rear Suspension Was Disassembled
Not much to see there. Just the normal 4 hour struggle with the leaf spring bolts.
For the rear shock bolts:
First sprayed them with WD-40 from the top
Heat from the torch
After that used a large punch and gave the bolt heads a solid whack with a hammer
Lastly torqued them forward very slightly before removing them by hand.
I'm not sure if they were ever stuck, but they came right out.
The rear swaybar was eliminated, but it will be reinstalled with quick disconnect adjustable links
It isn't necessary, but because there is no extra weight in the back it will help with tight corners at low speeds.


The wheel wells were sprayed with Bondo Rubberized Undercoating
The Dana 35 Axle will be going in the trash soon.
Since the rear was apart I quickly wire brushed it sprayed it with some Rust-Oleum Semi Gloss Black
Rear Brake Line Being Installed
Crown Performance JEEP25FR03 5 layer Extended Brake Lines 4-5", Smoke

Not much to see there. Just the normal 4 hour struggle with the leaf spring bolts.
For the rear shock bolts:
First sprayed them with WD-40 from the top
Heat from the torch
After that used a large punch and gave the bolt heads a solid whack with a hammer
Lastly torqued them forward very slightly before removing them by hand.
I'm not sure if they were ever stuck, but they came right out.
The rear swaybar was eliminated, but it will be reinstalled with quick disconnect adjustable links
It isn't necessary, but because there is no extra weight in the back it will help with tight corners at low speeds.


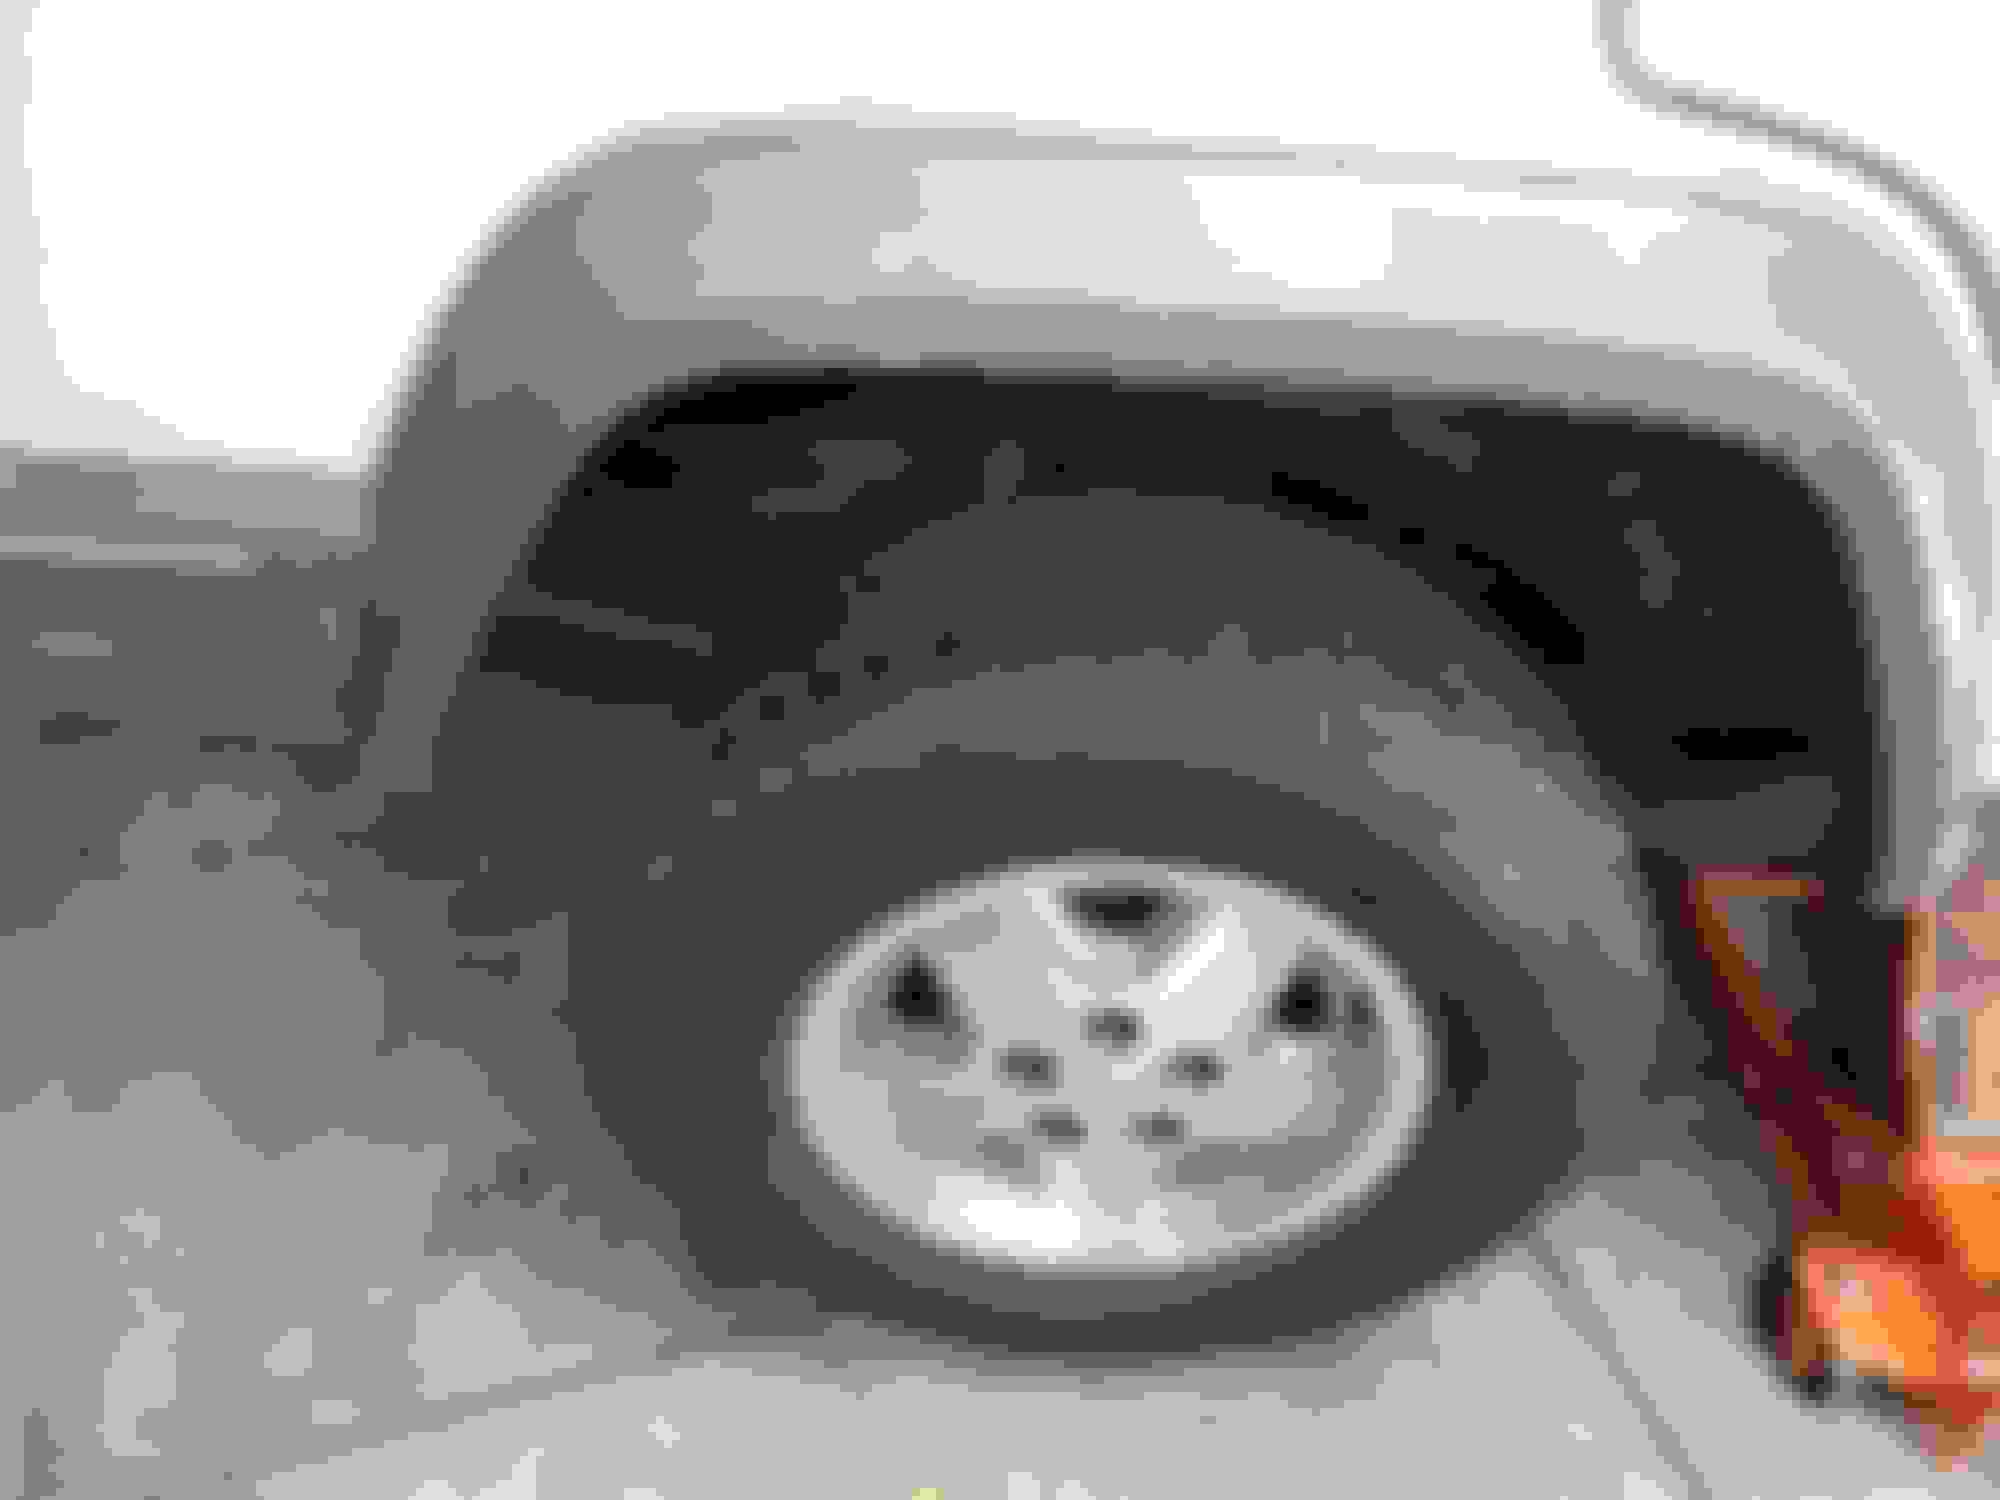
The wheel wells were sprayed with Bondo Rubberized Undercoating
The Dana 35 Axle will be going in the trash soon.
Since the rear was apart I quickly wire brushed it sprayed it with some Rust-Oleum Semi Gloss Black
Rear Brake Line Being Installed
Crown Performance JEEP25FR03 5 layer Extended Brake Lines 4-5", Smoke


Last edited by craigjacob1; Nov 22, 2018 at 04:04 AM.


Thread Starter
Seasoned Member
Joined: Nov 2016
Posts: 304
Likes: 5
From: Idaho
Year: 1990
Engine: Renix 4.0
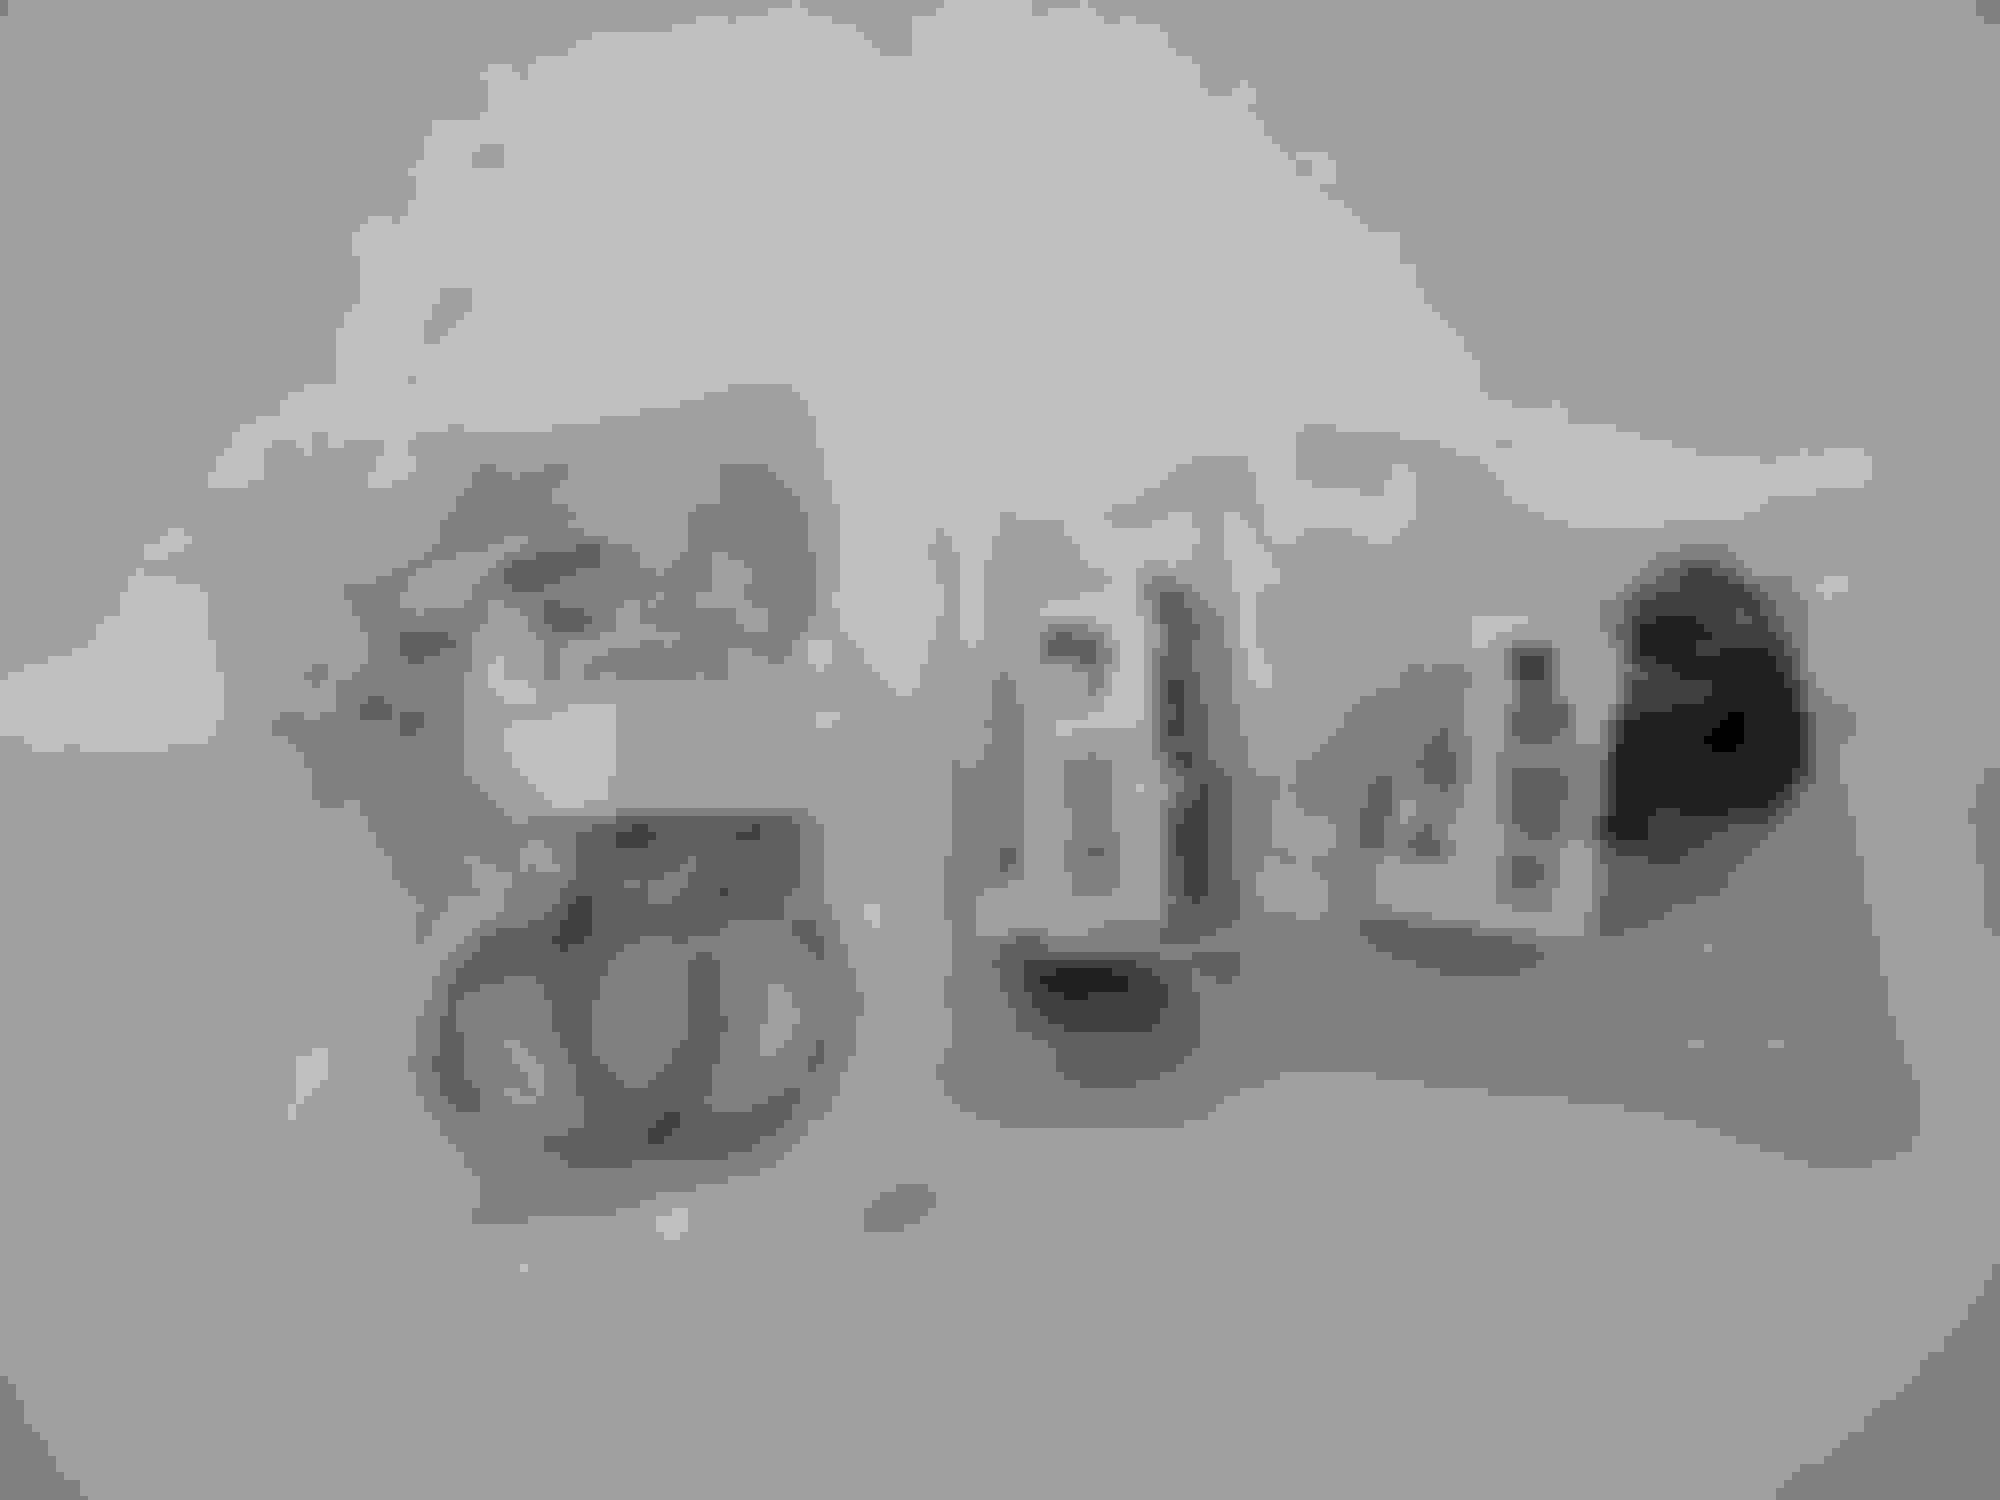
Getting The Components Ready To Install

Old Man Emu by ARB CS033RA Leaf Spring

JKS OGS651 Boomerang Shackles
Daystar KJ02008BK Leaf Spring And Shackle Bushings
Prothane Greasable Shackle Bolts

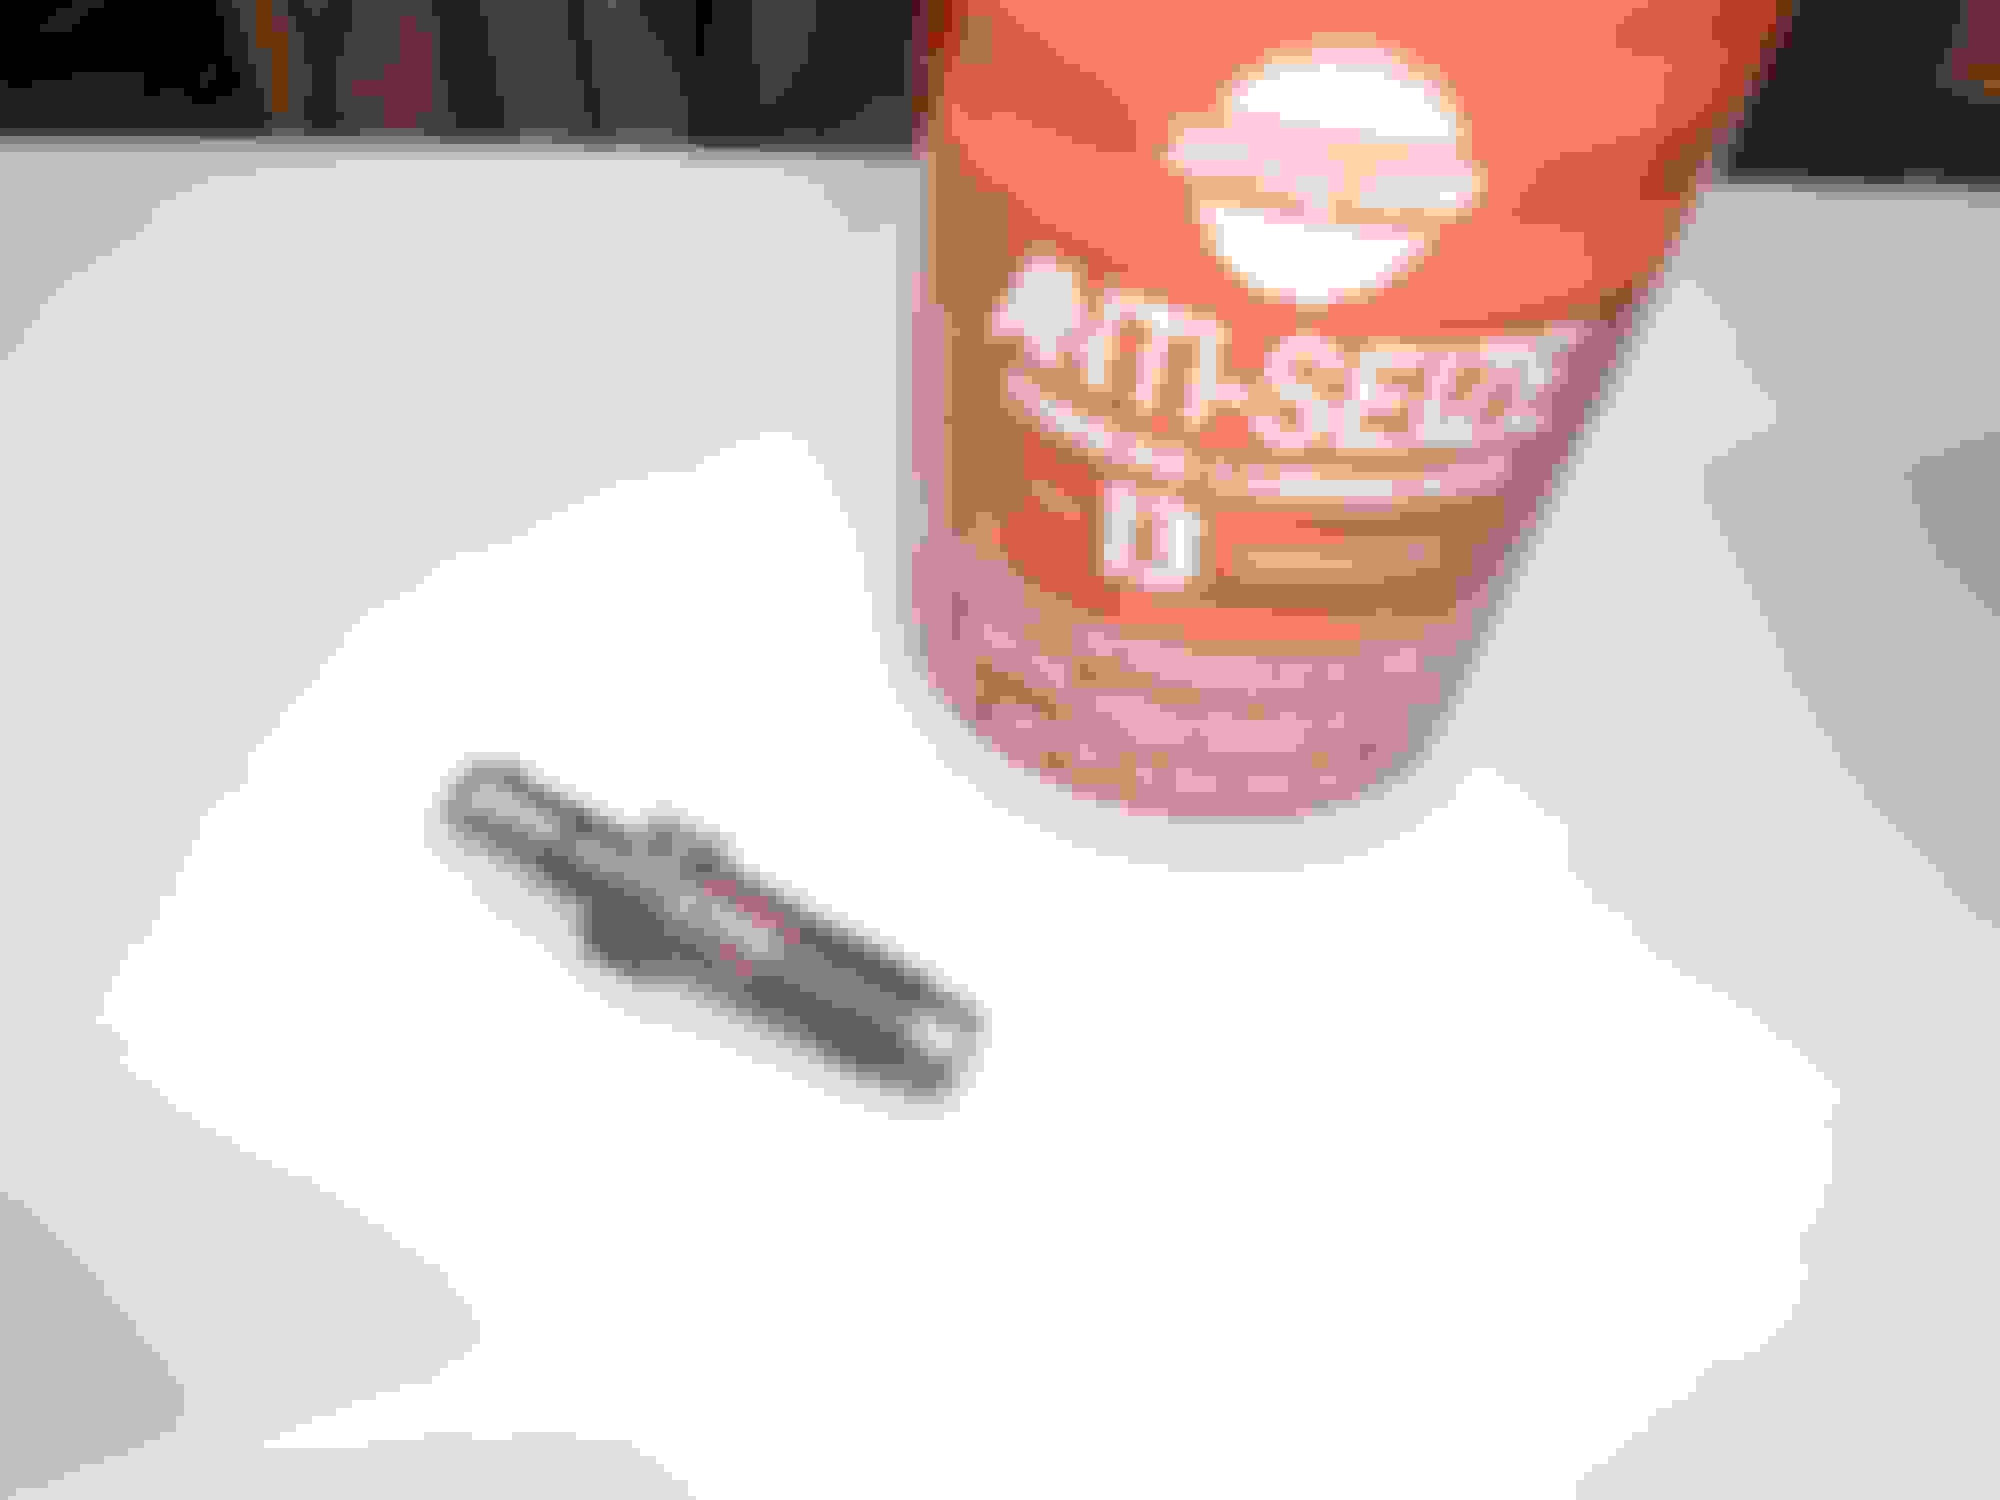
Super Lube 41150 PTFE Synthetic Grease 14.1 oz
If you have poly bushings buy this stuff. Synthetic With Teflon / Food Grade / Dielectric.
Iron Rock Off Road XJ HD U-Bolt Kit
Iron Rock Off Road XJ HD U-Bolt Plates
Of course I bought the wrong set....
Replaced the cheesy plastic caps with snap on rubber ones.

Bushings Installed
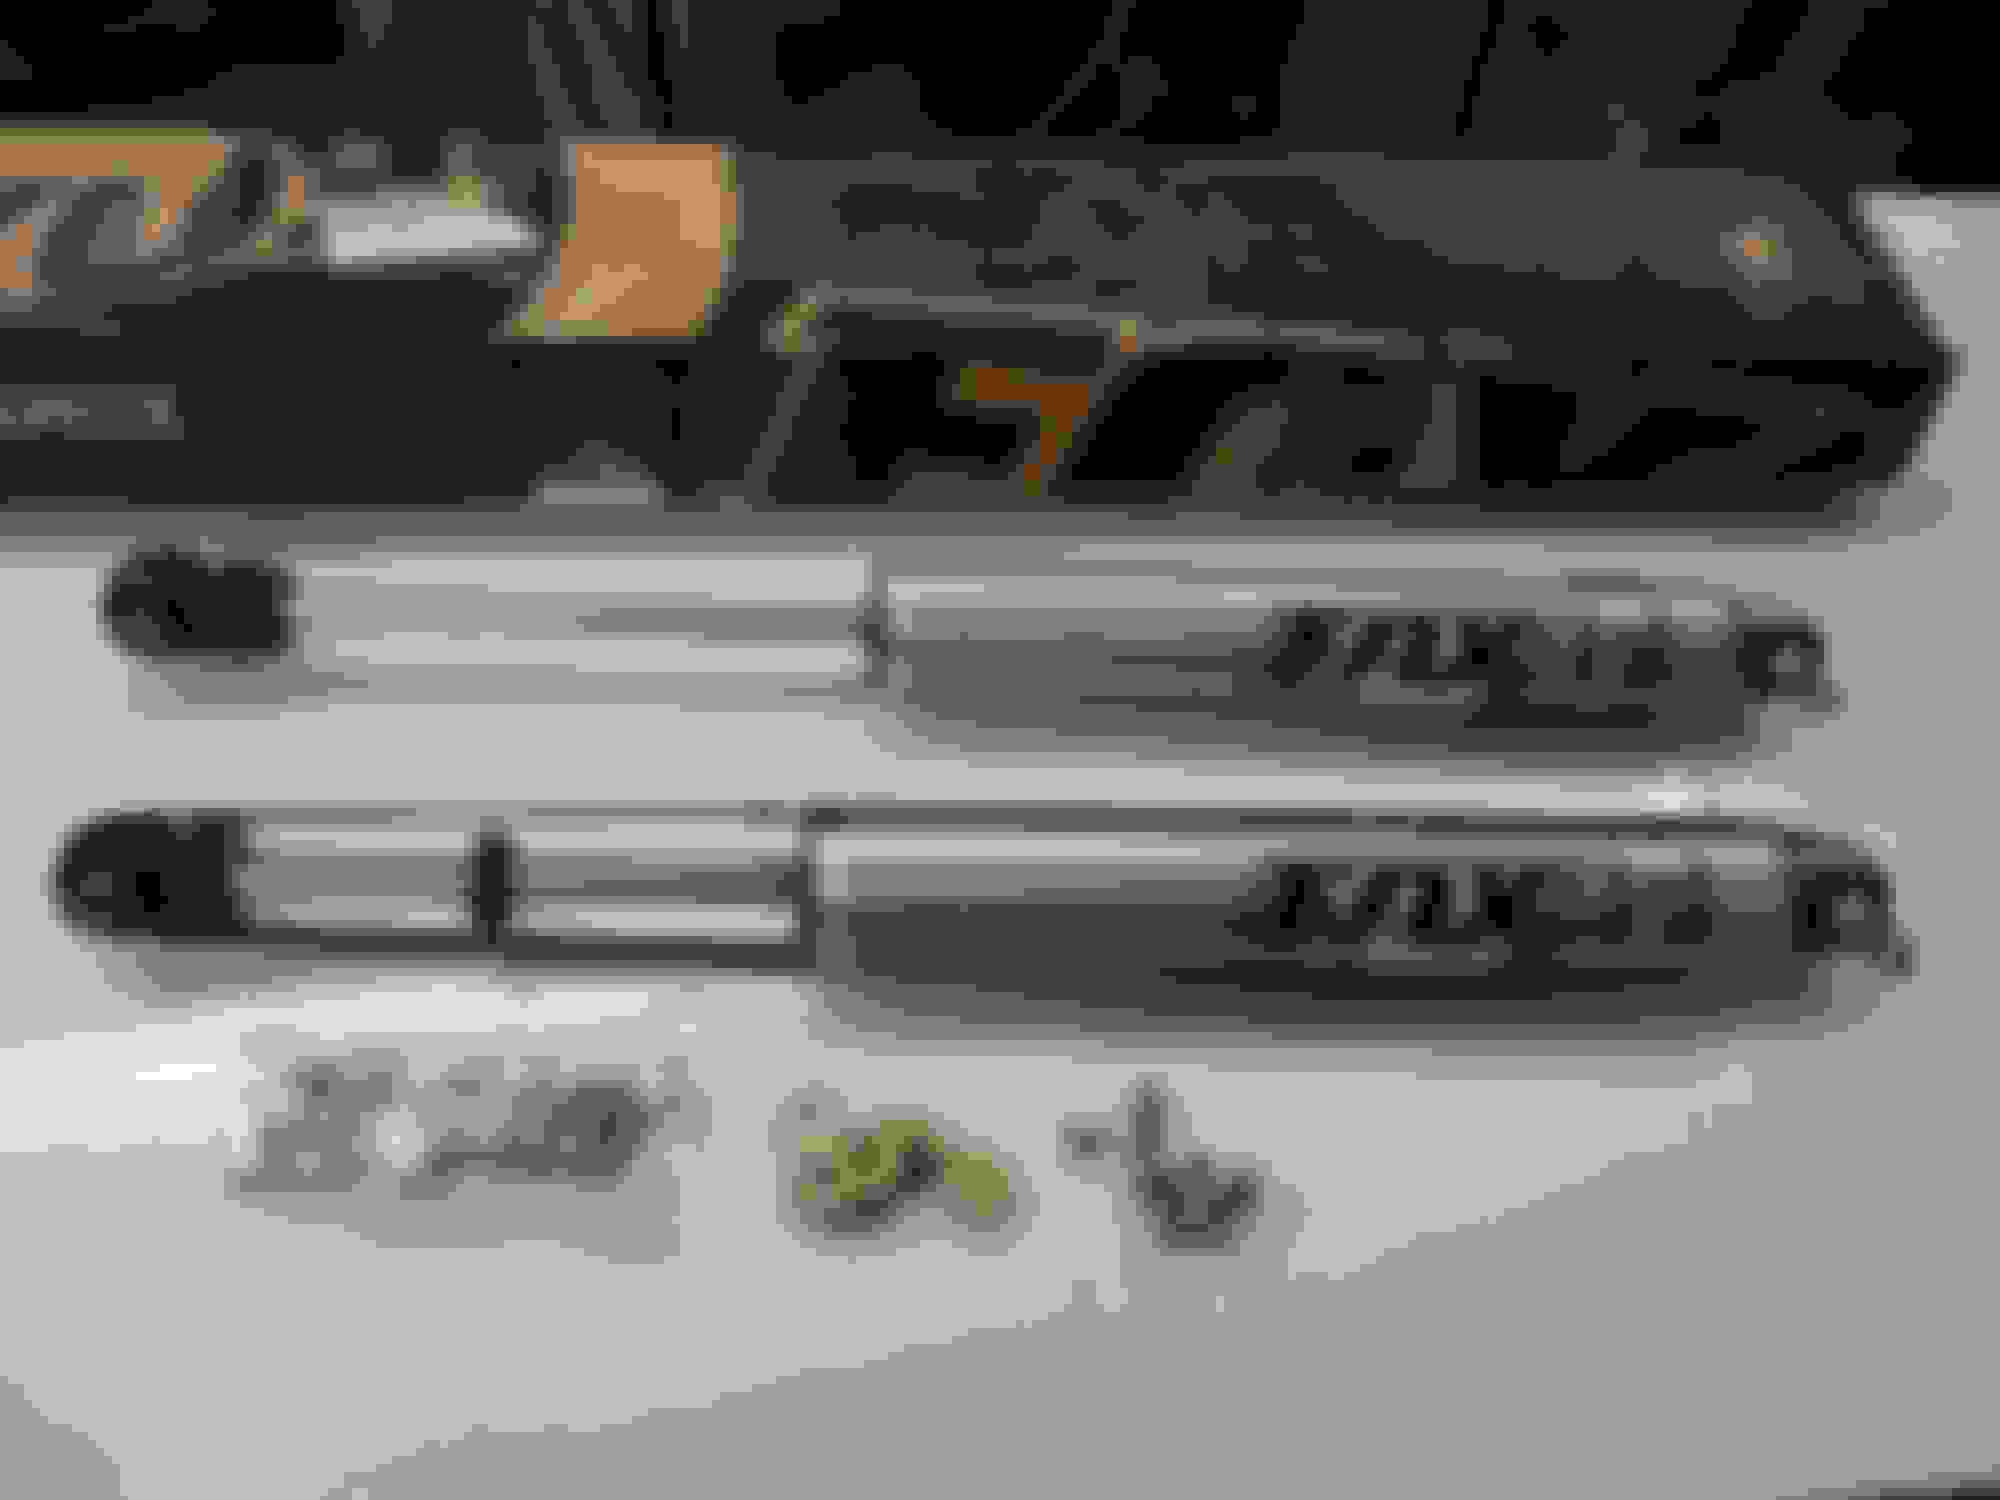
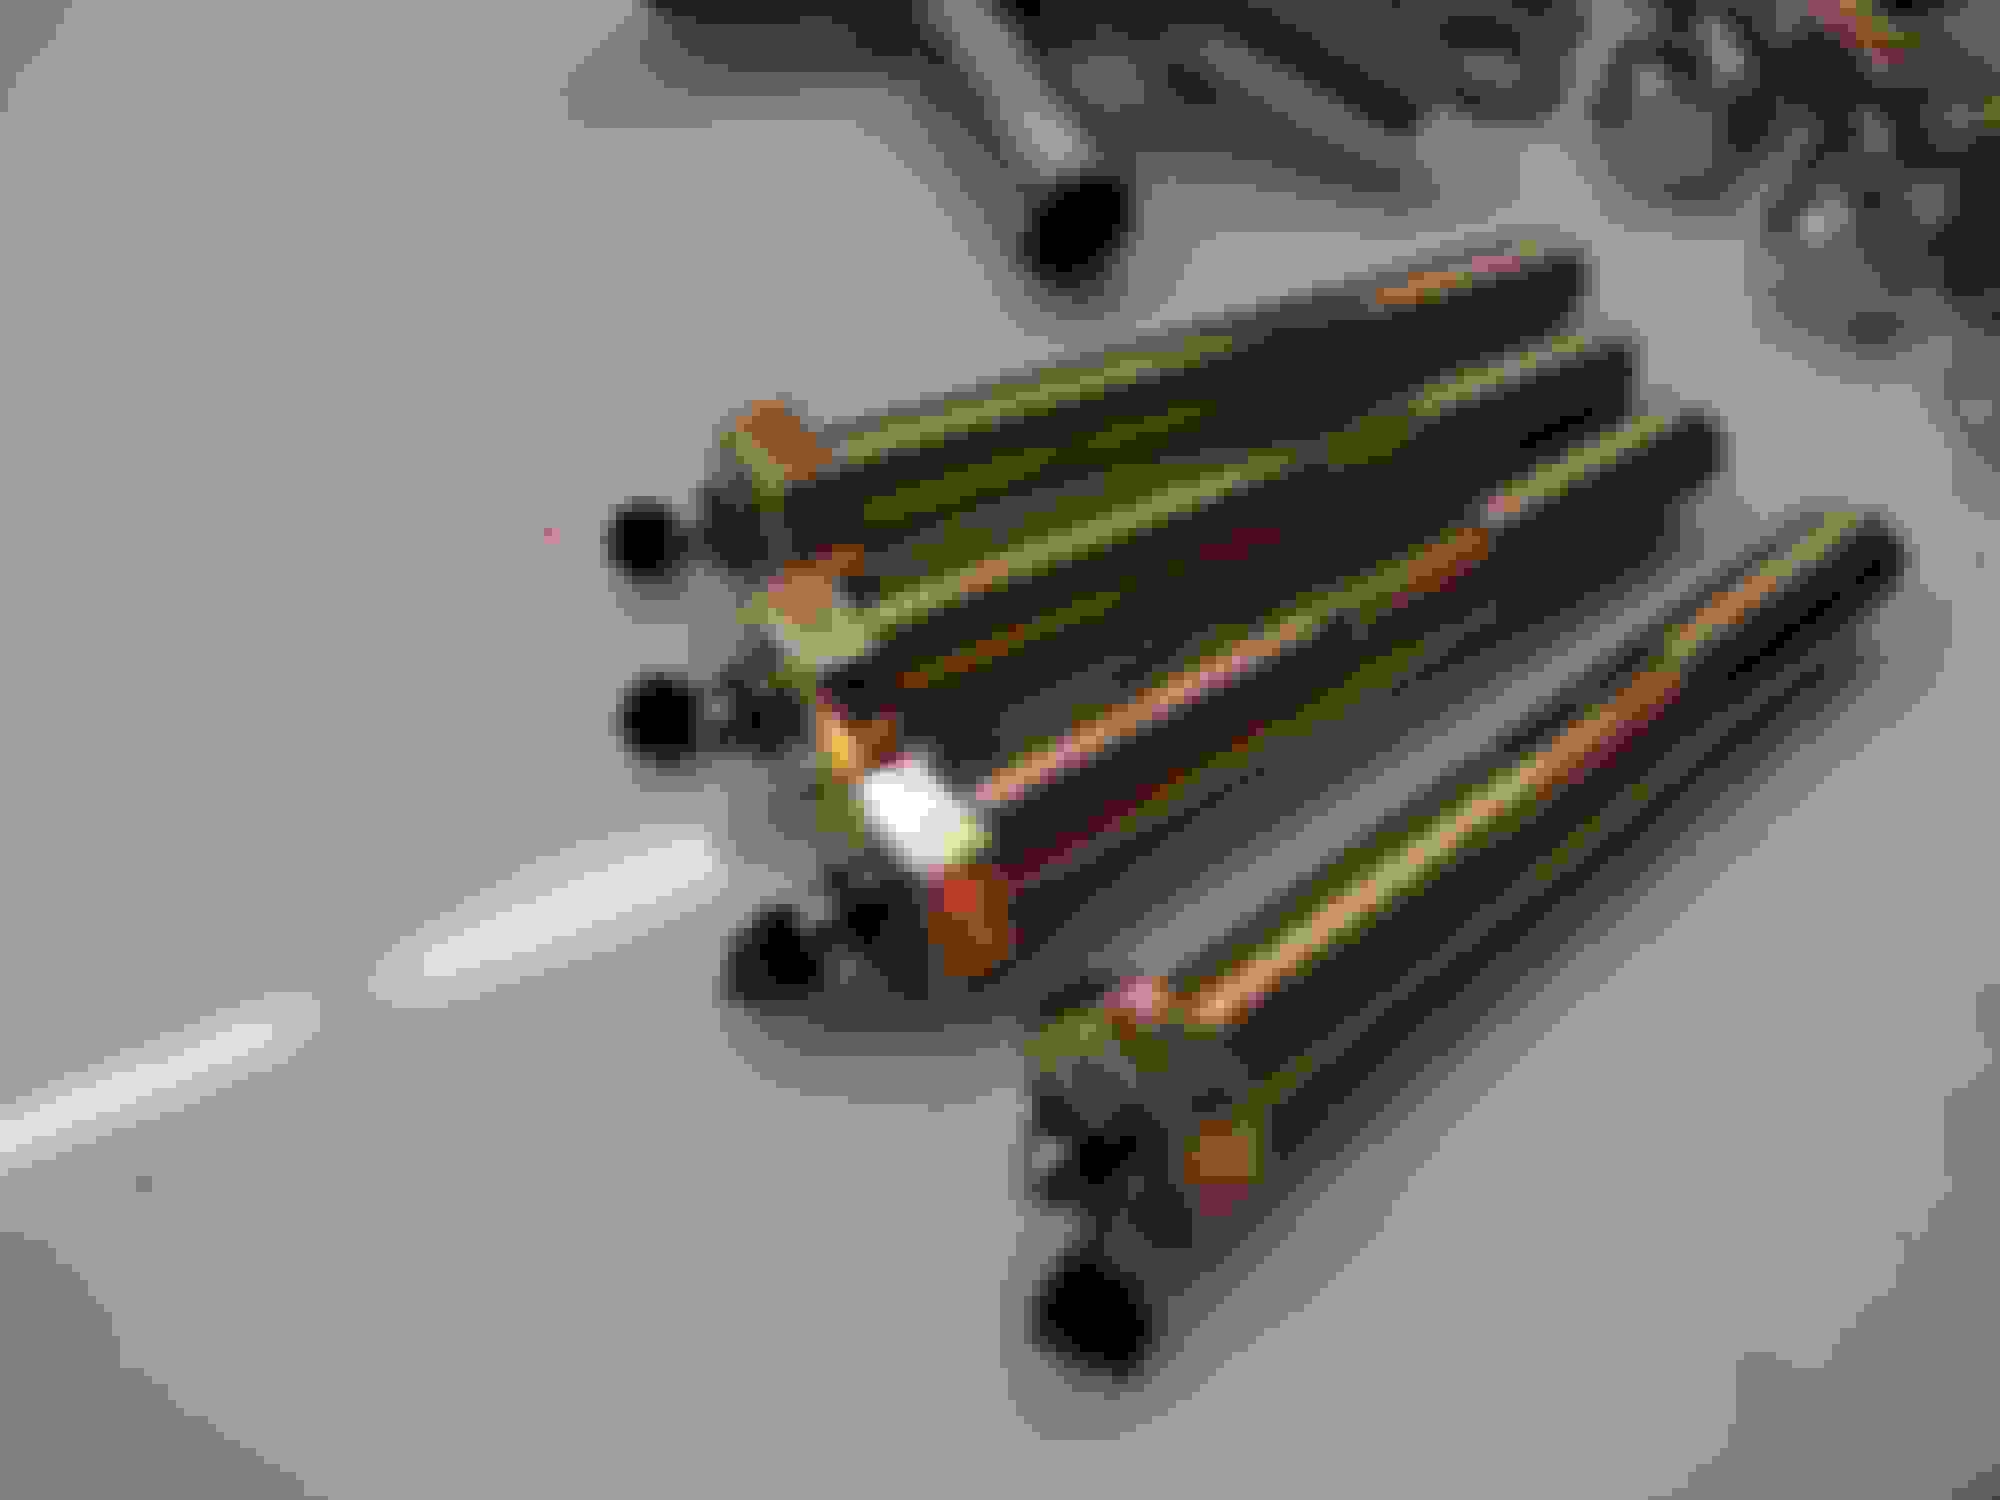
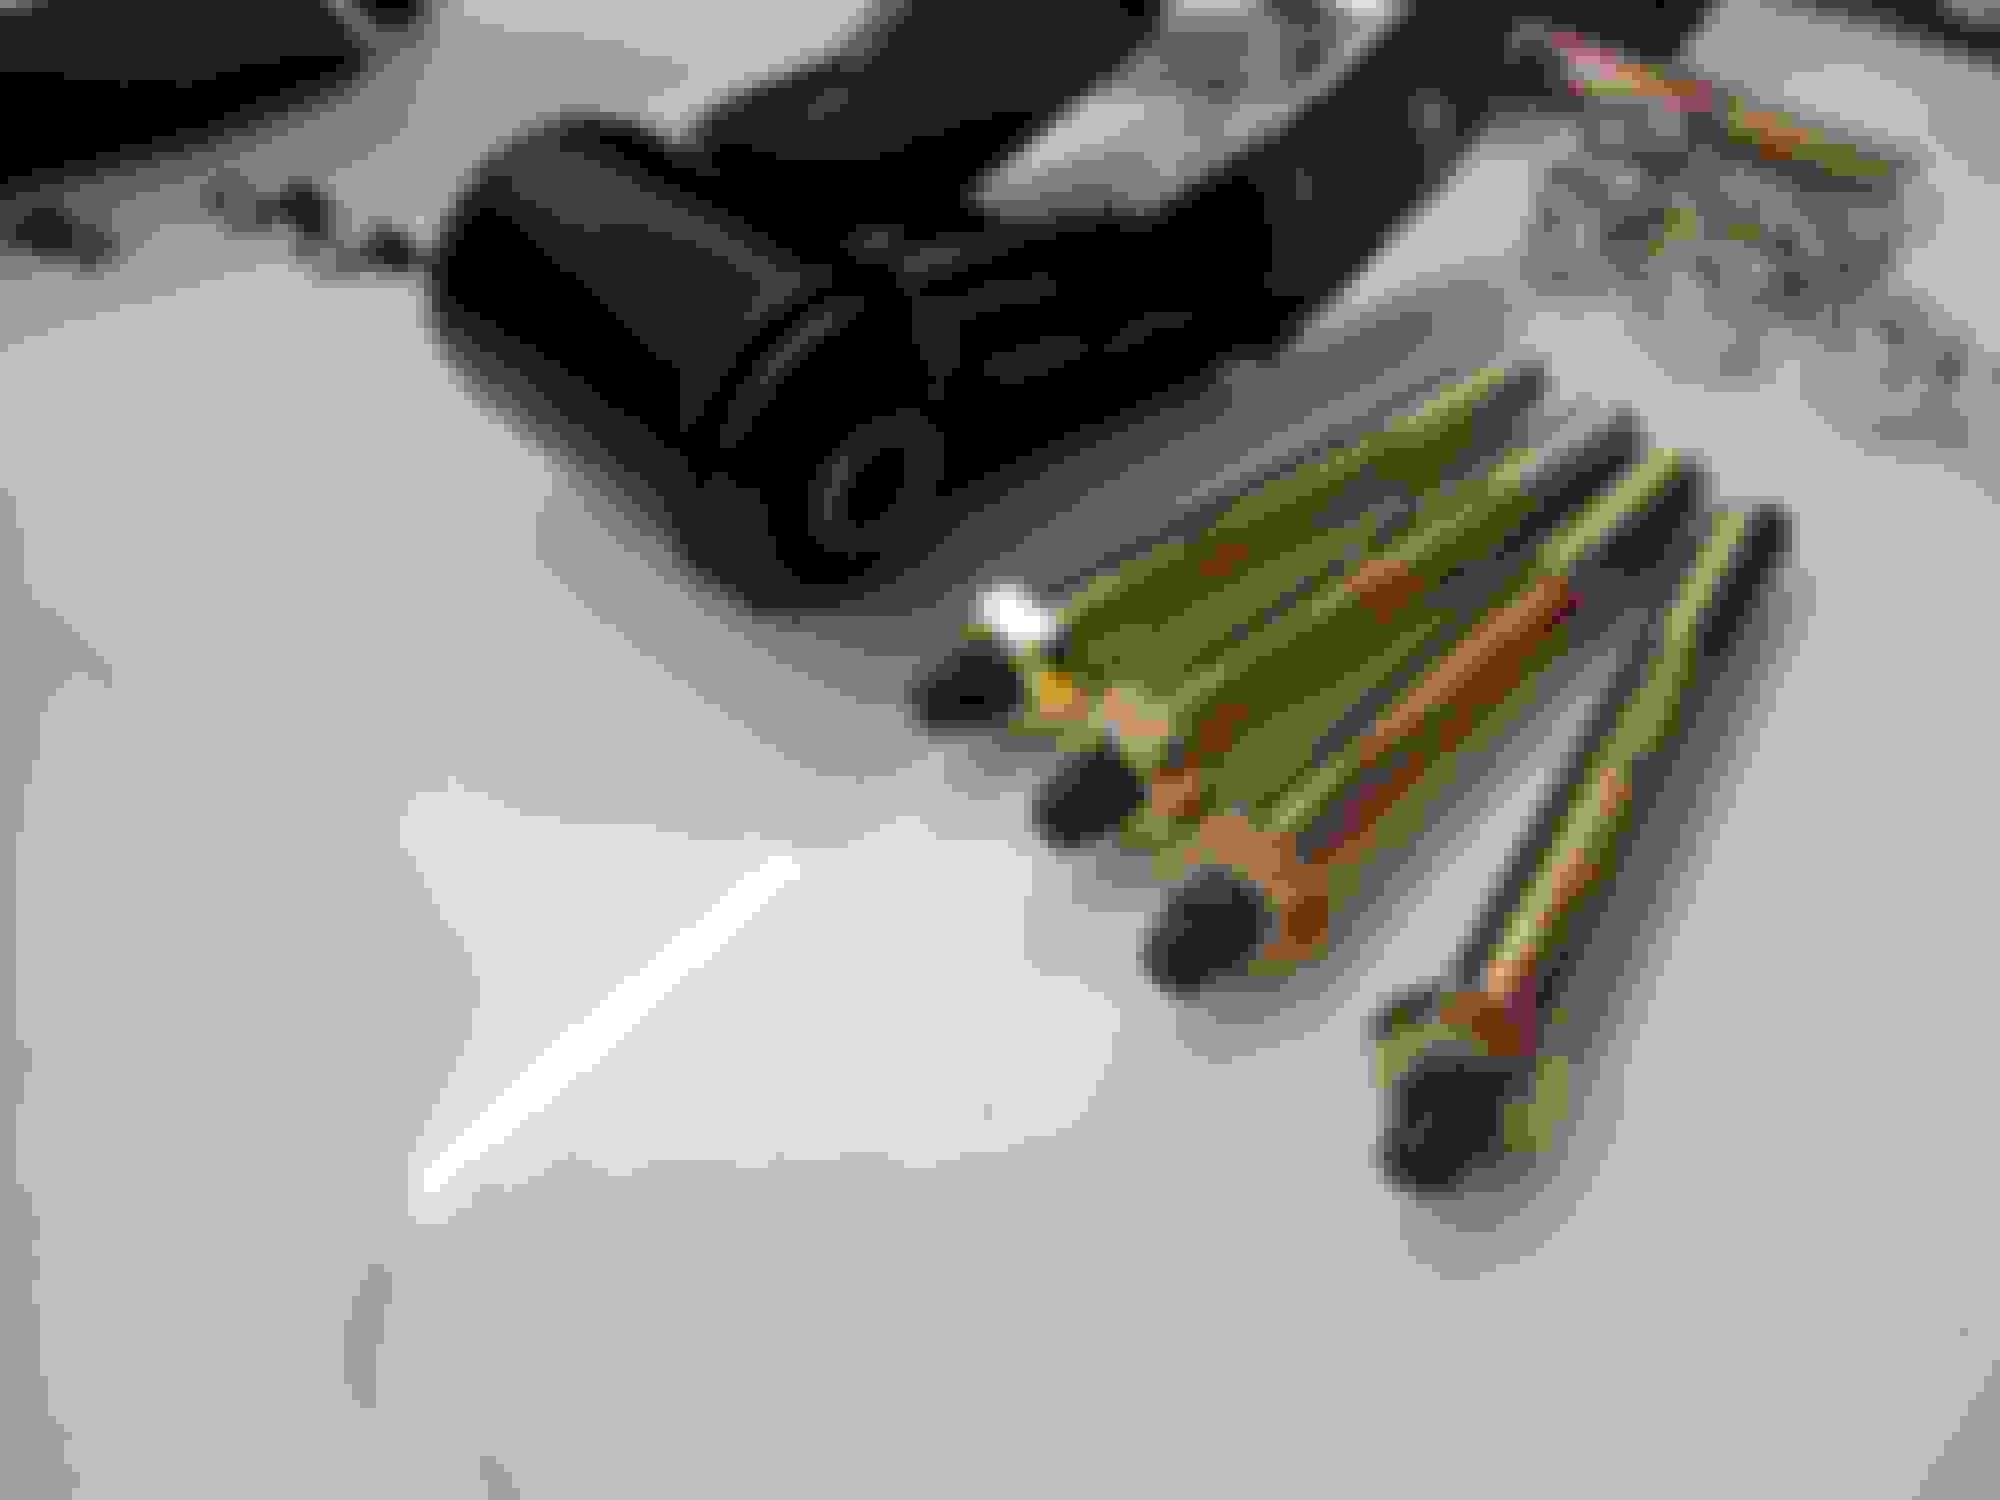
Fox 2.0 Fox 980-24-645 IFP Rear Shocks
Misc. Extra Grade 8 Hardware
Shock Boots For The Rear. The front will get a roost shield.
Used Timbren JCF01 Jeep XJ Rear Bumpstop / Helper Spring Kit
Very High Quality Overall

Old Man Emu by ARB CS033RA Leaf Spring


JKS OGS651 Boomerang Shackles

Daystar KJ02008BK Leaf Spring And Shackle Bushings

Prothane Greasable Shackle Bolts

Super Lube 41150 PTFE Synthetic Grease 14.1 oz
If you have poly bushings buy this stuff. Synthetic With Teflon / Food Grade / Dielectric.

Iron Rock Off Road XJ HD U-Bolt Kit
Iron Rock Off Road XJ HD U-Bolt Plates
Of course I bought the wrong set....


Replaced the cheesy plastic caps with snap on rubber ones.

Bushings Installed

Fox 2.0 Fox 980-24-645 IFP Rear Shocks
Misc. Extra Grade 8 Hardware

Shock Boots For The Rear. The front will get a roost shield.

Used Timbren JCF01 Jeep XJ Rear Bumpstop / Helper Spring Kit

Very High Quality Overall
Last edited by craigjacob1; Nov 22, 2018 at 12:58 AM.


Thread Starter
Seasoned Member
Joined: Nov 2016
Posts: 304
Likes: 5
From: Idaho
Year: 1990
Engine: Renix 4.0
Ran Into A Bit of A Problem


The other end of the cable was removed and replaced while rebuilding the rear brakes.
Centric Parts 111.05380 Brake Shoe
Centric Parts 118.63012 Brake Drum Hardware Kit
2 Centric Parts 134.67012 Drum Brake Wheel Cylinders
The total was about $30.00 from Amazon.


The other end of the cable was removed and replaced while rebuilding the rear brakes.
Centric Parts 111.05380 Brake Shoe
Centric Parts 118.63012 Brake Drum Hardware Kit
2 Centric Parts 134.67012 Drum Brake Wheel Cylinders
The total was about $30.00 from Amazon.
Last edited by craigjacob1; Nov 22, 2018 at 02:10 AM.
Thread Starter
Seasoned Member
Joined: Nov 2016
Posts: 304
Likes: 5
From: Idaho
Year: 1990
Engine: Renix 4.0
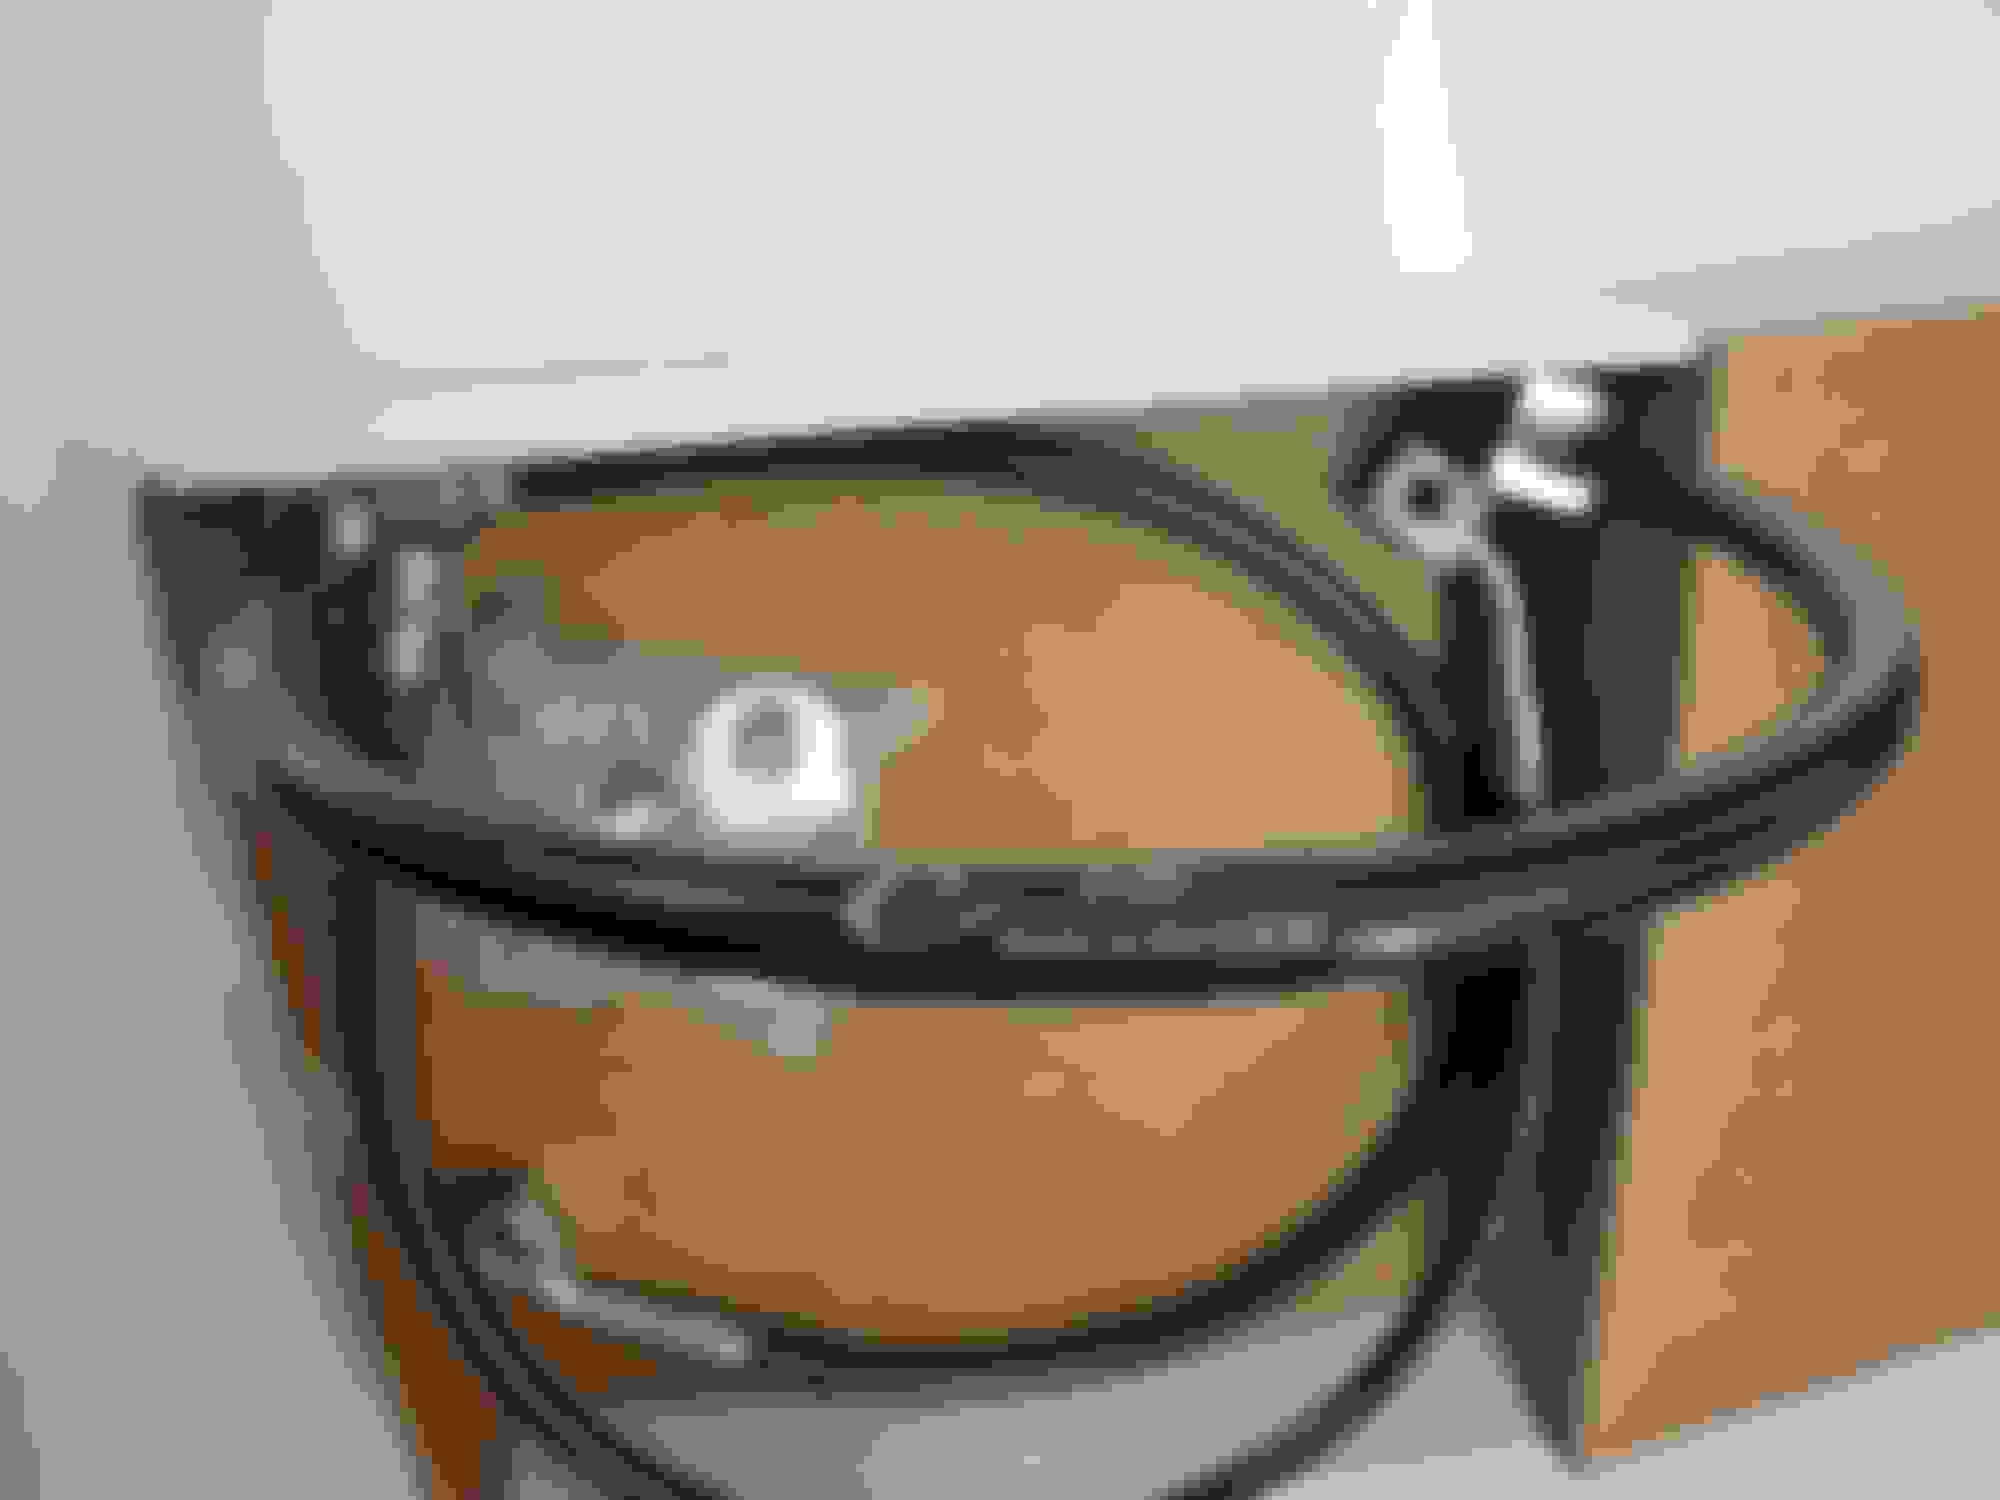
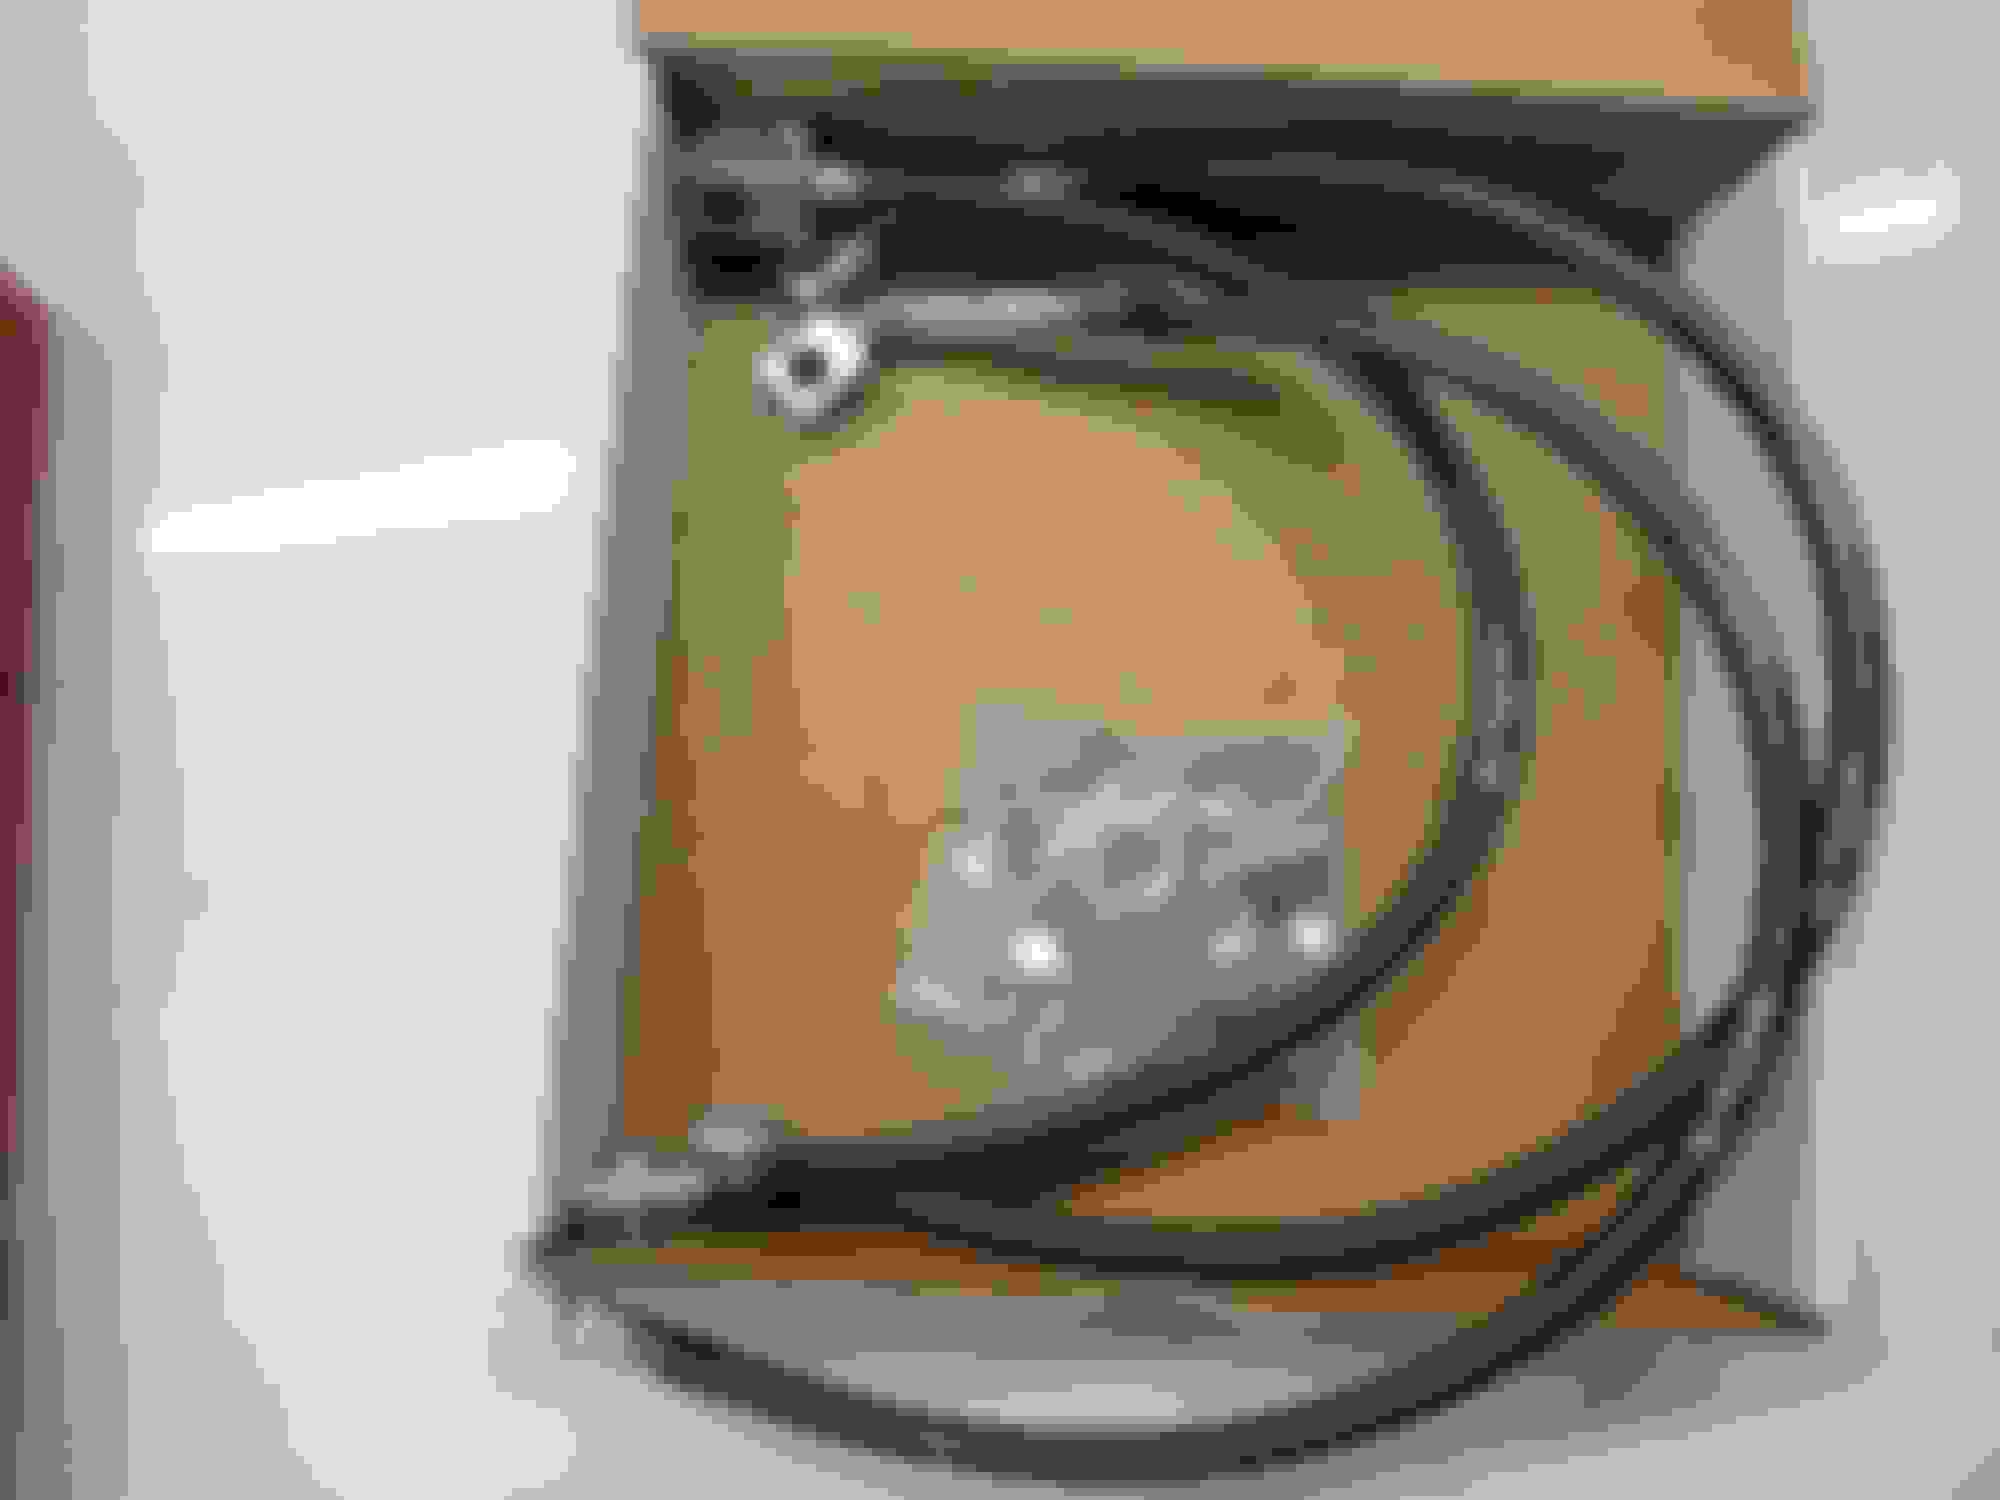
Two Dorman C94371 Parking Brake Cables
Scored on amazon for $7.64 each with free shipping.
These are both passenger side parking brake cables from a 1992 Jeep Wrangler YJ
They are much longer than the original XJ cables
The Only Issue Is That The Cable Ends Are Shorter.
Rather than relocate the mounts I opted to extend the threaded rod coming from the hand brake.

Crossed Over To Remove Slack
Later they were zip tied together for additional support.
Removing 1 1/2" From The Original Rod
It needs to be trimmed back to make room for an extension
Always cover joints, bushings, and bearings before grinding


Scored on amazon for $7.64 each with free shipping.
These are both passenger side parking brake cables from a 1992 Jeep Wrangler YJ
They are much longer than the original XJ cables
The Only Issue Is That The Cable Ends Are Shorter.
Rather than relocate the mounts I opted to extend the threaded rod coming from the hand brake.


Crossed Over To Remove Slack
Later they were zip tied together for additional support.

Removing 1 1/2" From The Original Rod
It needs to be trimmed back to make room for an extension
Always cover joints, bushings, and bearings before grinding


Last edited by craigjacob1; Nov 22, 2018 at 04:09 AM.