When you click on links to various merchants on this site and make a purchase, this can result in this site earning a commission. Affiliate programs and affiliations include, but are not limited to, the eBay Partner Network.
I really like how your bumper is coming together. Very solid.
Thanks, i've definitely enjoyed the project.
Another long awaited upgrade showed up today
After dealing with Ebay, USPS and the manufacturer for the last month, its finally a done deal. I saved about $100 off the kit price for the engine brackets and motor mounts in the long run. The reason why i'm going this route with Brown Dog motor mounts is because lately I've been destroying radiators a little too often. The motor moves around a little much and then the mech. fan takes a bite out of the radiator (3 inside of a year - 1 of which was brand new). At first i thought i found the cause to be the rear driveshaft maxing out and pushing the engine forward. However after pushing the axle back an additional inch on the very next run it again hits the rad. Next move was brand new motor mounts and trans mount thinking the combination of the 3 being old/worn was still letting the motor move around too much. Then once again the rad gets destroyed and my only solution for the time being was to delete the mech fan and run a cheapy elect fan on that side which once things get a little crazy on the trails doesn't keep the jeep cool enough. My hopes are with this new motor mount setup and also adjusting the radiator setup in favor of a little more room between it and the mech fan i should be done with this issue. I'll have more on that install possibly this week.
Ive been dealing with these stock mounts and although they are lifetime warranty mounts... its getting old having to change them out soo often. Its seemed like i change them typically once a year.
The Drivers mount Above and the Passenger mount Below.
Looking much better now. It was a little tasking installing the engine brackets and then the motor mounts BUT actually following the instructions (something i don't always do like most) did make things go smoother ( Wow shocker!)
Tapping and clearing all the engine boss threads is essential and also a quick phone call to their help line for proper mount alignment kept the progress flowing.
I figured while the front end is still opened up and having the alternator removed to fit the new motor mounts i may as well stuff a bigger alternator in there. junkyard unit for $30 - yes plz!
So it turns out it don't bolt in - i knew this, not my fist time. However i didn't realize the new motor mount setup would have to be removed for me to get the aluminum alt. bracket out, So needless to say after spending an evening installing those mounts I am NOT removing them just for this alt upgrade. So i'm just gonna clearance the bracket while its installed.
Planning on playing with the coolers and hydro assist after this alt is finished and the front end is back together.
Its a snug fit! especially with the brown dog motor mounts. To be noted: installation of the brackets call for (2) of the bolts to be 3/8" @ a length of 2 1/4" long. The added washers tell a different story. 2" length bolts will be soon coming to give me the proper room needed for piece of mind.
The front tube work got some masking and primer for the time being. At this point, i couldn't decide between light mounts/location(s) on the front so i switched focus to getting the hydro assist figured out. Ive also been fairly busy cleaning and re-organizing the garage space and adding shelves to de-clutter the place so its been very hit and miss for getting things done on this. Not pictured but i have the ram mount burned into the draglink and hanging painted just out of this shot. Maybe this week i'll get a chance to sneak out there and get it all back together.
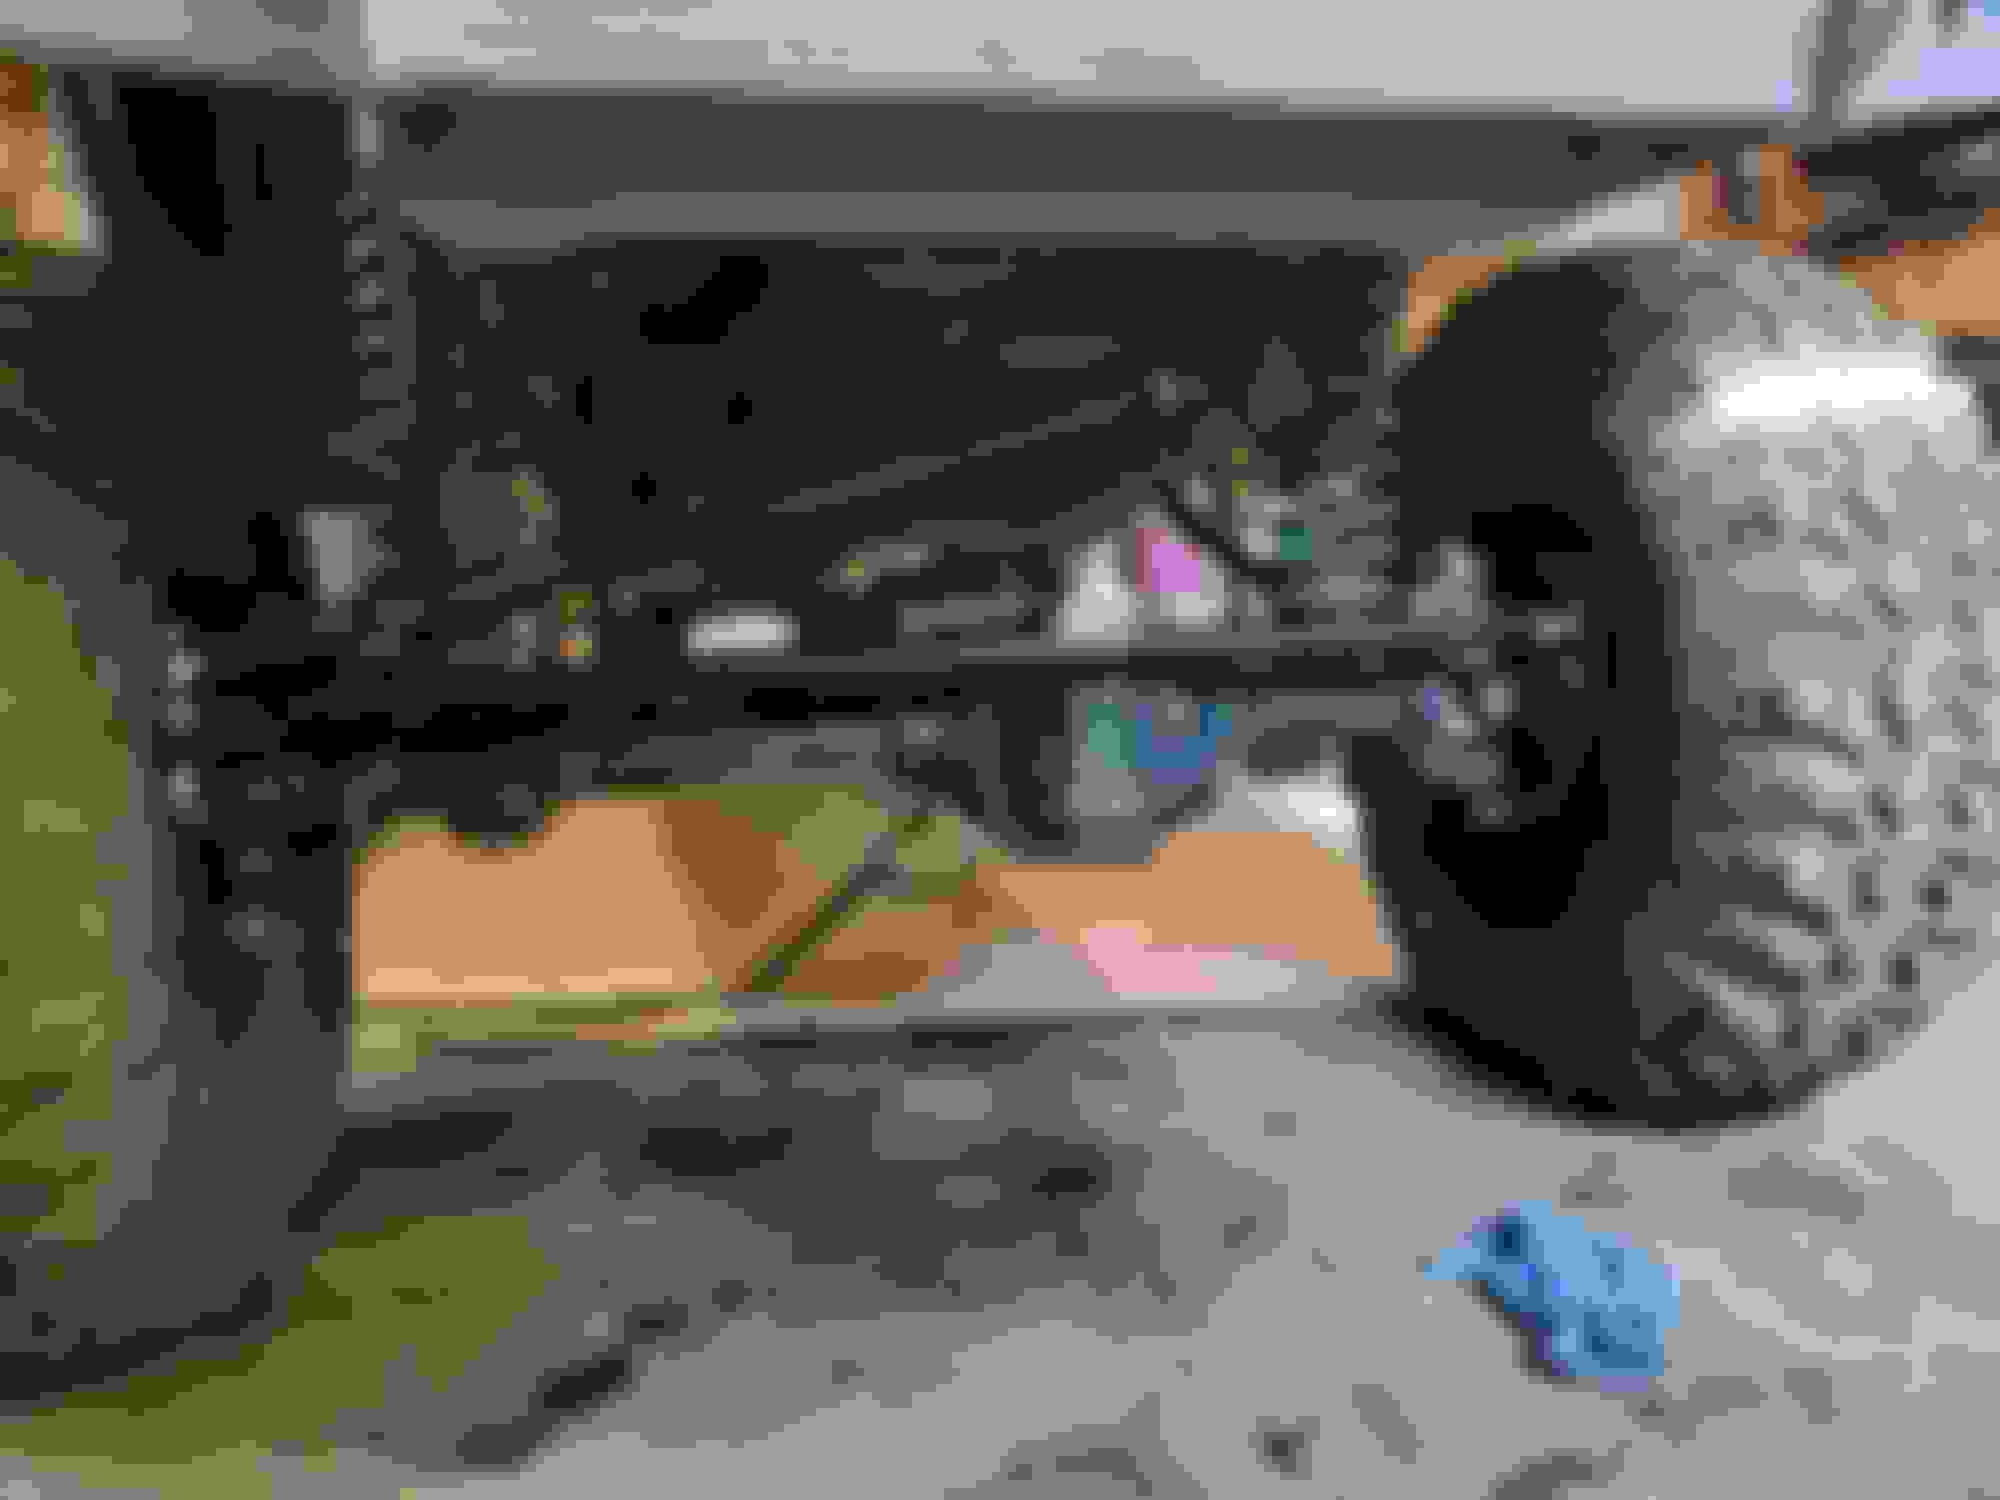
Lets start this off right with some bigger tires mounted up and sitting pretty in the sun. It took quite the effort pushing this turd out of the garage. I hadn't plumbed the radiator or trans/power steering coolers yet so i was stuck using the ole lawn tractor to get it outside. I BADLY wanted to power wash all the dirt, mud and nastyness off the axles and underbody before i started spending more time underneath it with whats to come.
Next up we have the hydro assist setup. Custom lines made and had the ram checked over and rebuilt from my work.
Looking pretty for the moment as this was before i started topping off all my fluids.
Current situation, after hooking up the radiator and double checking all my recently installed clamps I fired the MJ up and started a whole mess of a situation! All of said clamps were holding tight but i had a couple fuel line leaks surprisingly and after snugging up a couple other hose clamps those leaks were resolved but then i was faced with a very unhappy steering box/pump and what i'm thinking atm is a stuck thermostat. It got hot and i had to shut it down to hookup the electric fan. (Didn't think i'd be needing it so soon after all we're just adding fluid and it hadn't been running for very long) After doing so i gave it another shot and tried getting it to run cool while meticulously adding power steering juice and wiggling the wheel to get this steering system up and running. Unfortunately it would not cool down and after going for driver steering lock i had little return steering so with the wheels favoring driver side and a very Hot cooling system i called it a night :/
Gonna do some thinking and get after this again in a day or 2. Hoping to puts this thing down the street by this weekend so we shall see.
How do i summarize the resulting situation... The pump and box ended up being wasted. Even after replacing the sector shaft seal and inspecting the box it still leaked and seaped fluid. Add to that the fact that the steering pump had developed a permanent bearing grinding noise. I had enough! The ram's mounting setup was flawed as despite my best efforts to make sure it didn't interfere with the tie-rod,It still binds up.
So ditched the whole setup! Kept the ram for another day but dumped off the box and pump and instead I went with a durango steering box and the big WJ steering pump. All of this is installed now but i do not have much for testing time to know how solid this setup is yet. Hoping my steering woes are curbed for a little while but only time will tell.
I wanted to get soo much more work done this summer but with Covid and other plans and trips we had going, the progress really didn't get anywhere.
So now to the current situation:
Positive with covid and spent a week with body aches and migraines. Just this last weekend started feeling better and while still having 1 more work week off i was done sitting around in the house. So i begun what i would like to call:
The Covid Cage addition!
This is its current configuration. My big gripes with this is that i would like better weight distribution, so i want the spare tire sitting farther back towards the bumper. The flat areas currently there aren't exactly level and makes storing coolers or tools, ammo cans etc awkward at best. Its had this "wedge" look for far too long, an old look and approach to the truggy aspect that isn't soo tasteful in my opinion anymore.
So to start this off we chop some tube, some plate steel, removed what was my rear bumper, remove ~2" of frame and mock up a trimmed version of my old bumper and also plate around the leaf spring mounts to cap off the ends.
Today will finally be more tube work and boy have i been looking forward to this part! More pictures to come
2 days worth of bending notching and placing tubing, my once slightly organized garage is covered in metal debris and spent cutting/buffing discs. It does feel good though to spend some time out here changing things up. Especially after having such a stale summer and my focus being put elsewhere.
Onto the tubework!
The thing i enjoy the most out of doing this tube work is when you start getting the creative momentum and just when you think you had it figured out suddenly a slightly different configuration presents itself! I guess to highlight some of these moments; the side bars being added through both b-pillars back to the rear of the MJ were only going to have 1 vertical gusset at each interval. BUT after messing with extra gussets i really liked the double setup (instead of only 3 there are now 5 per side). Also the very rear tube spanning from driver/passenger was originally only going to be 1 tube sitting somewhere between the current setup. After settling on the side tubes locations though i figured there should prolly be 2 cross tubes at the back. I was stuck between kickers running at an angle from the corners down to the lower tube OR running another tube from driver/passenger in a parallel fashion. So i toyed with using both ideas and i wind up with 2 separate tubes coming across, then bent down to a center gusset point on the lower tube. These are just 2 crudely explained changes that while they seem pretty small i feel they actually add a little more style to the build which keeps things interesting for me.
Tomorrow is my last day under quarantine so i'm hoping to wrap most of this tube work up. Currently everything is only tacked together so tomorrow will be a welding day. I still have some plans for adding more gussets in certain areas and also setting up some more lighting so what doesn't get done tomorrow will have to wait until i get more free time.
It needed more support and my lights showed up for some mock-up
The X-brace wasn't really what i wanted but it was necessary to ensure support. Takes up some real estate thats for sure.
If your curious, these are all Nilight brand LED lights i got from Amazon. Ive had very good luck with the brand itself with other style LED lights on this truck so i highly recommend them.
Got the cab light mounts cut out and then tacked into place - plasma cutter makes this soo easy!
Finally decided to deal with this fuel filler relocation. Fun fact for ya, the jeeps factory jack handle works well as solid steel rod to outline a fuel filler mount.
If your REALLY paying attention this is the 3rd time now that i've moved the fuel filler trying to avoid spilling out fuel when running odd angles.
Really needed a 90* elbow to make the transition work and when you cant find what you need at the parts store - ya make your own! This is a piece of 1.5 EW tube that was sitting in the scrap bin. Slit it down the middle length wise and then cut pie slices in the center of the bend to get a little more angle out of it. Seam welded it all back up and cleaned it up a bit to give me the final fit i was looking for!
Fuel filler relocation complete!
Kiddo came out to give me a hand.
Discovered this RZR "hump seat" on amazon and discussed fitment with a buddy of mine that has a RZR to compare fitment. Didn't take long to realize i had in fact found the solution i was looking for to get my little buddy a secure seat comfortably in the cab. Removed the bucket seats initially in favor of a bench seat and booster but things got too congested in the cab. This RZR seat however is a real game changer! Also nabbed some new 5-point harness's to keep us nice and secure.

 03-30-2020, 06:40 PM