When you click on links to various merchants on this site and make a purchase, this can result in this site earning a commission. Affiliate programs and affiliations include, but are not limited to, the eBay Partner Network.
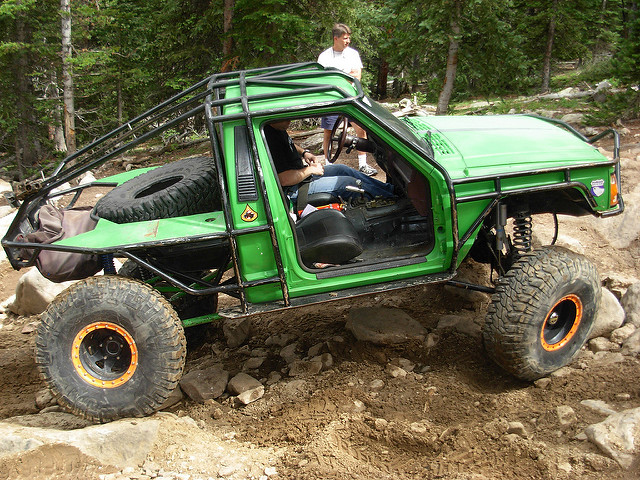
I like your washer bottle idea. And I love the MJ. I've always wanted to build an MJ, but with a service truck body on it. Kinda like a trail service truck with a mild lift
Been at it over the last week getting little by little done.
The passenger rear shock mount broke during our trip to badlands (top mount was a bolt i had drilled and taped into the frame after breaking the original stud off years ago). I had to weld a nut to the remains of the bolt and it spun right out. Much easier than i had anticipated! Thought for sure it would be stuck in there. Coated the new bolt with a healthy amount of bronze anti-sieze upon install.
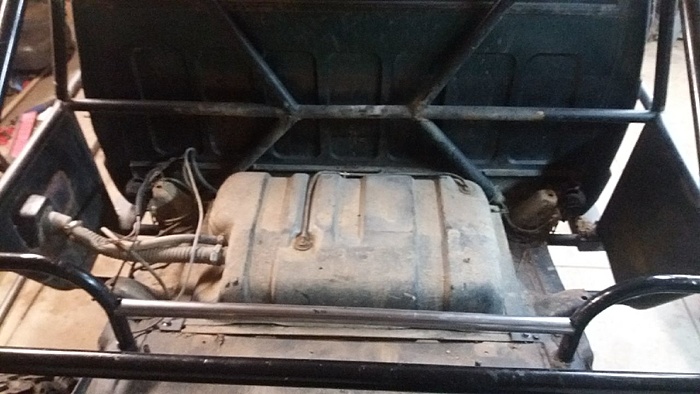
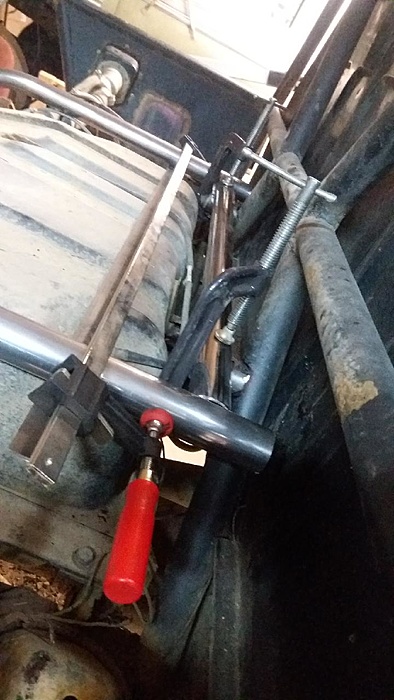
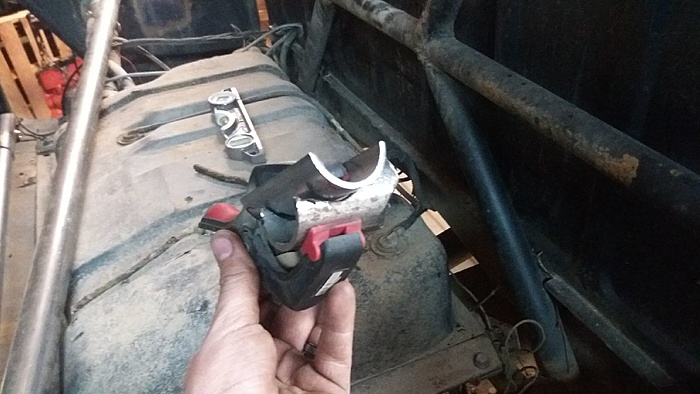
The fuel pump was next!
On some of the more aggressive climbs when i hit WOT the engine will stumble and start bogging out until i back off the gas. Been dealing with it for far too long!! quick and easy job though and after everything was back together it really made a difference Just at idle!
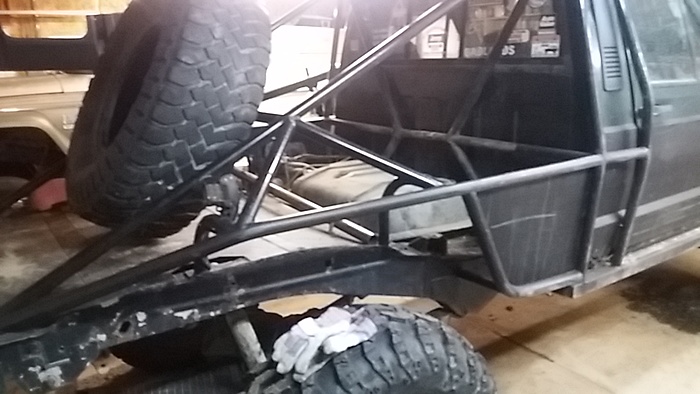
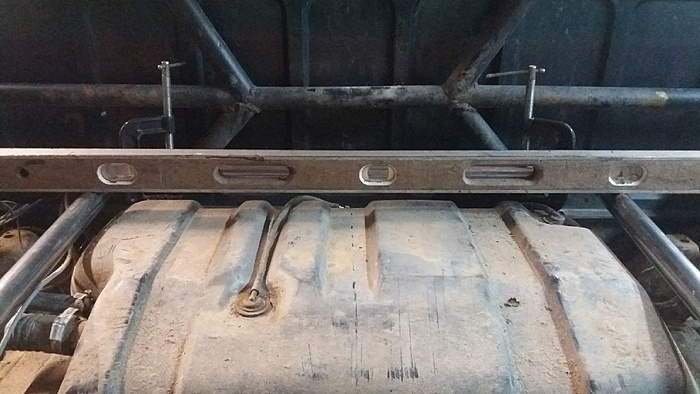
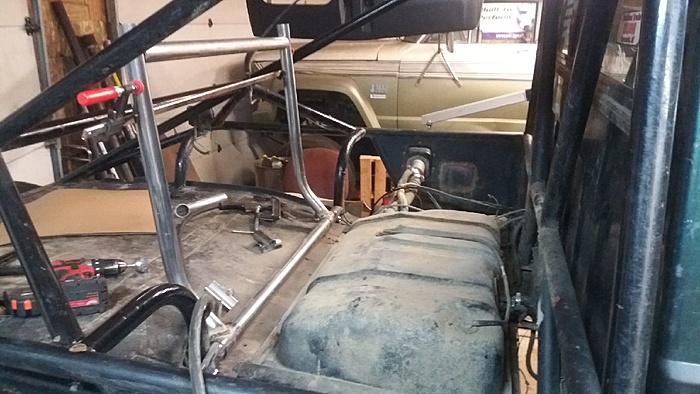
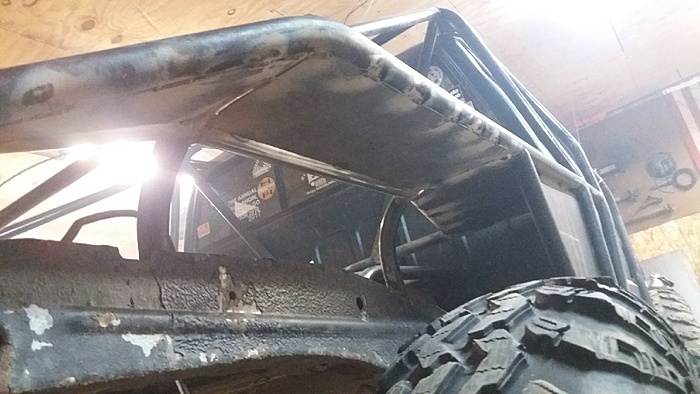
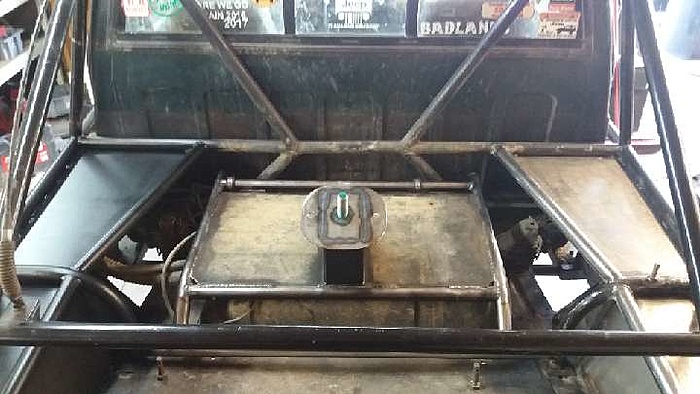
On to another note and small side project. I've been kinda un-satisfied with the plastic box setup on the back side of the cab and also the Oh-soo-heavy cover i made for it to mount to.
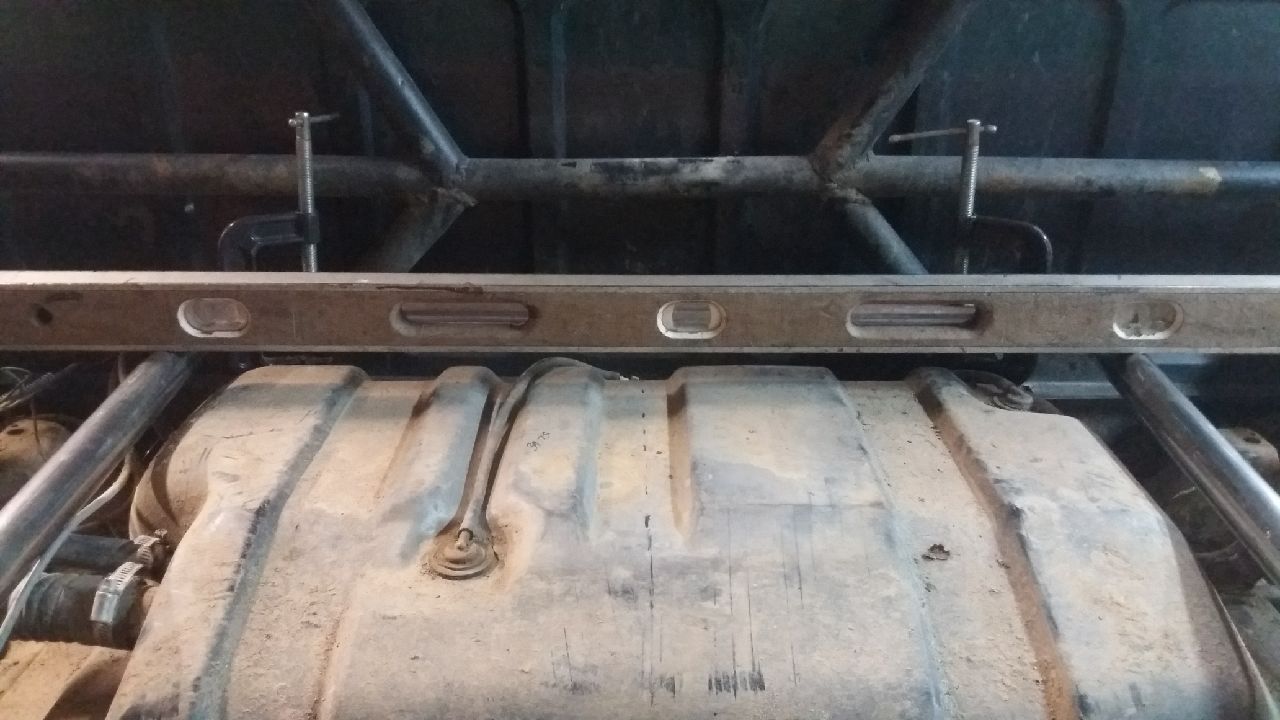
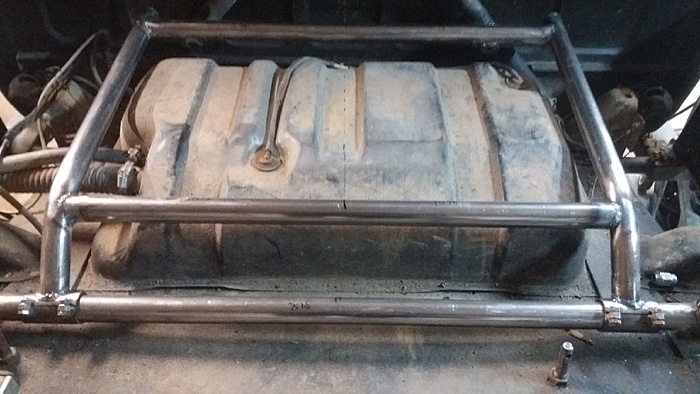
So while it was all removed and out of the way doing the fuel pump it had really gotten me thinking. I've been wanting a spare tire and hard mount for some time now - opportunity struck! A decent 37" spare is not easy to come by but this one found its way to the back of the MJ.
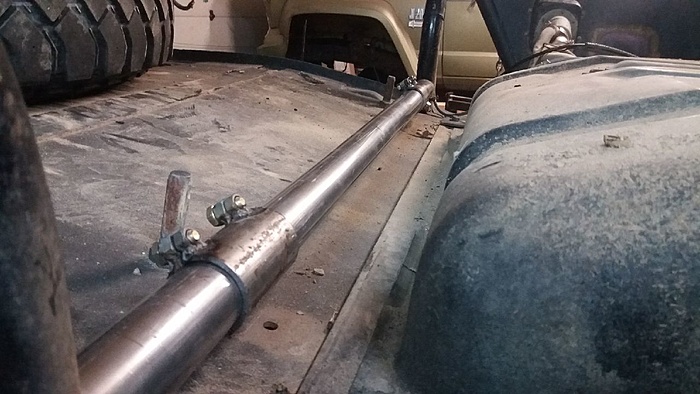
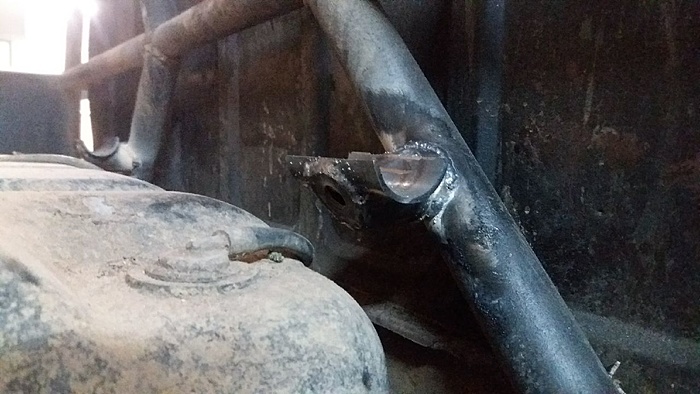
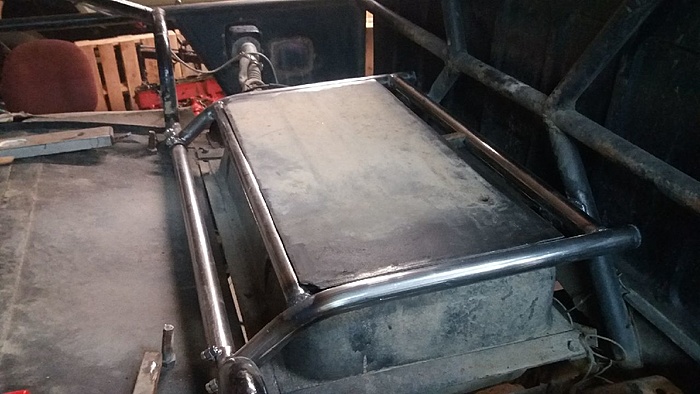
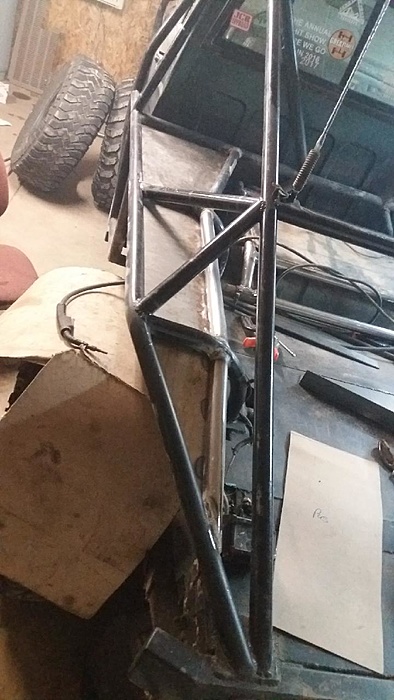
Going to setup a new style mounting deck that can swing away from the tank (for ease of gas tank service). Tire will mount over the top of the tank slightly on an angle. Also gonna try to make some fenders out of the existing tube work to keep things from getting soo messy.
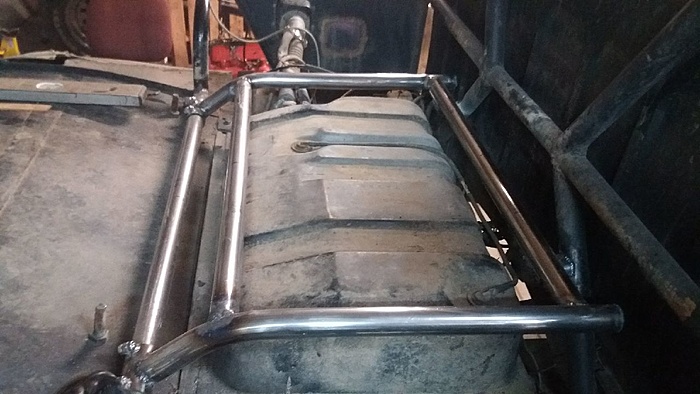
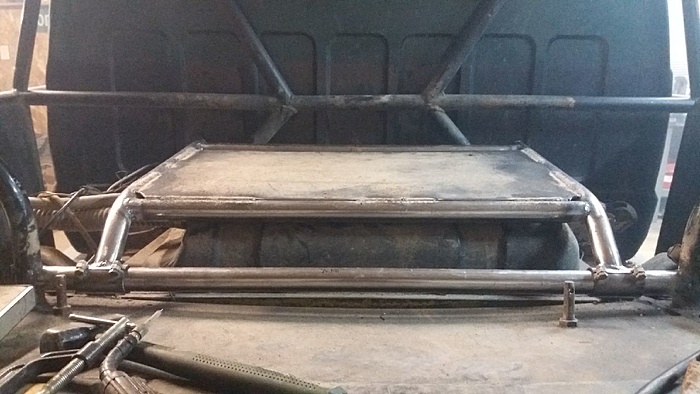
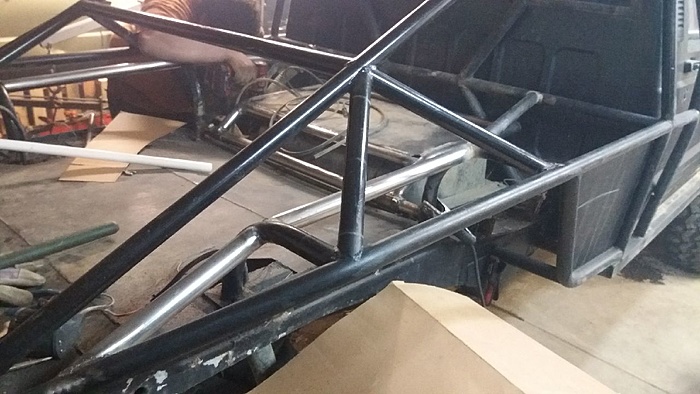
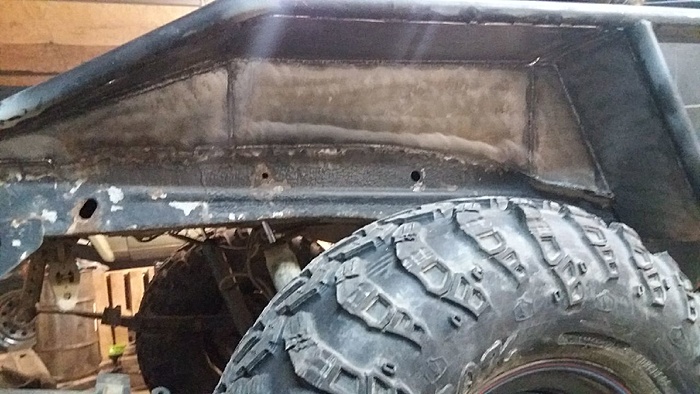
Long day yesterday though the progress doesn't really show it. Started working on the fender wells and it took some time to actually come to something that i felt is visually appealing. The easy part was fitting and welding in more tube to better shape the wheel wells.
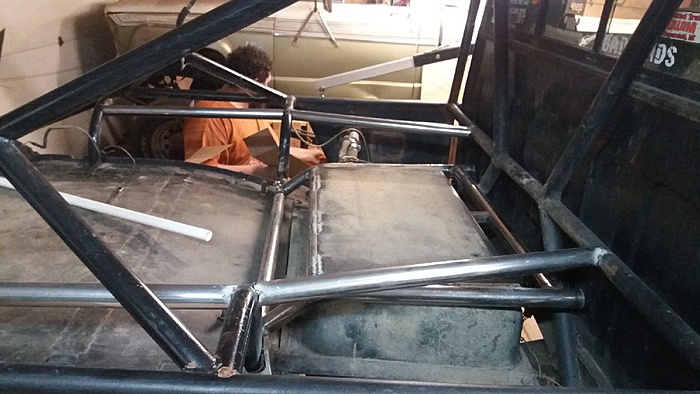
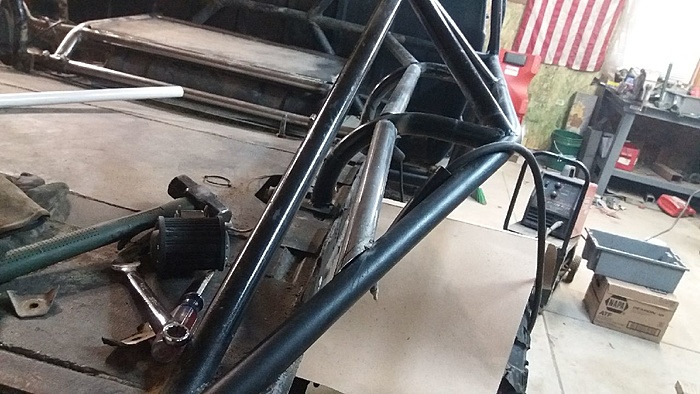
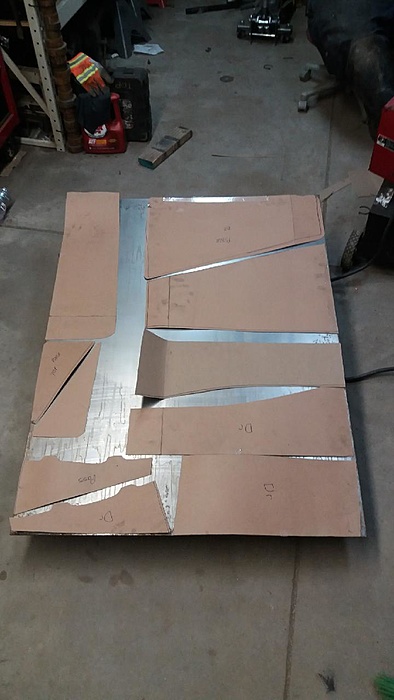
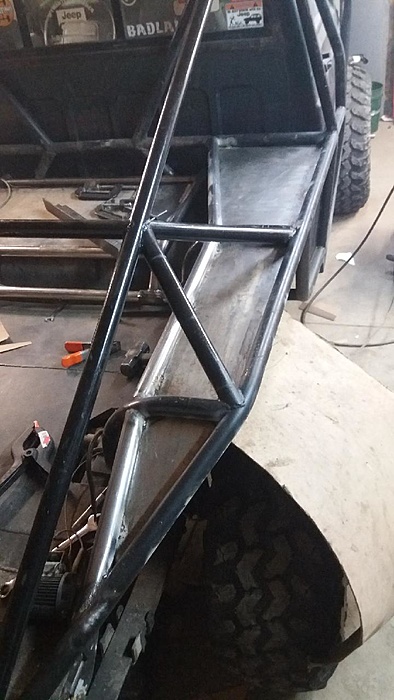
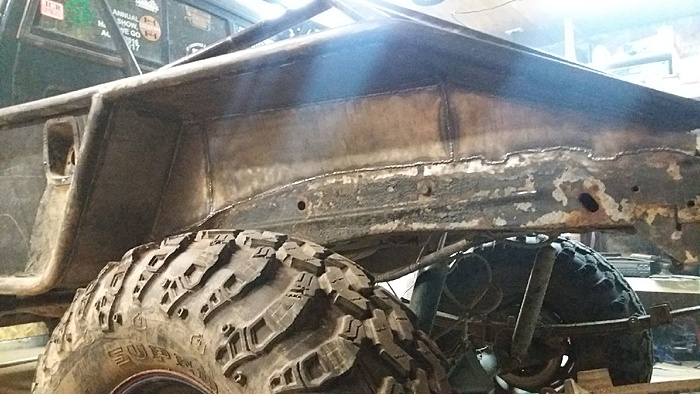
The not soo easy part was figuring and deciding the actual placement of the sheet metal for them. The top portion didn't take long; simply welding the sheet metal to the bottom side of the tube work. Yes i know debris will collect on the top side but I planned to drill a hole in each corner to help with cleaning and draining. I liked the overall outcome as it continues the theme of the small "qtr panels" that in front of the rear tires.
Inner fenders are going to be a little more tricky as i planned on welding them into the very top lip of the frame Vs following the tube and exposing a 1.5"~ lip for debris to collect.
Did you try welding link mounts straight to the unibody?
The mounts actually were welded to the unibody. Only the drivers side ripped off, it got caught against a concrete slab and as i was trying to back down the obstacle it just peeled right off the unibody. These mounts/this setup has been on there for the better part of 6 years taking a lot of aggressive wheeling and abuse. Going from stock-ish axles up to one-tons I felt like it was time for a stronger set of mounts.
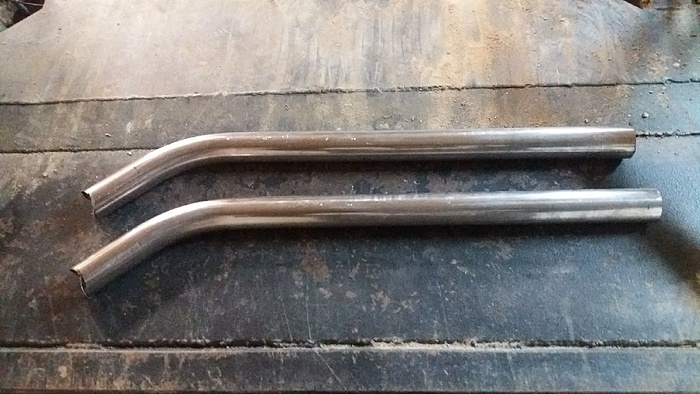
Bought a clayton 3-piece crossmember and am working on lengthening the long arms and also taking care of a couple other things i've been wanting to do.
The mounts actually were welded to the unibody. Only the drivers side ripped off, it got caught against a concrete slab and as i was trying to back down the obstacle it just peeled right off the unibody. These mounts/this setup has been on there for the better part of 6 years taking a lot of aggressive wheeling and abuse. Going from stock-ish axles up to one-tons I felt like it was time for a stronger set of mounts.
Bought a clayton 3-piece crossmember and am working on lengthening the long arms and also taking care of a couple other things i've been wanting to do.
Yeah I would never trust a mount welded to the unibody personally. Way too thin. I'd only run it if it was welded to a frame stiffener
So the long arms are now 6"~ longer with a full length inner sleeve and a spacer. Don't think i'll be too worried about splitting or bending these arms any time soon.
Cutting out the factory lower control arm mounts was now a must! I had gone so long avoiding cutting them off. I'm not sure why though, i guess i figured some day i may want to put stock control arms back on it..... smh what was i thinking. Be gone factory mounts!
So i will admit that i'm not entirely happy with this new clayton crossmember. Its a newer version and compared to the older version it hangs down a bit too low for me. I opted for an easy and quick solution and i suppose this is what i get. I do like how protected the joints are mounted up into the crossmember Soo on that note it can hang out for a bit.
I didn't really get pictures of the finished product and install but the MJ is back on its wheels again- FINALLY!
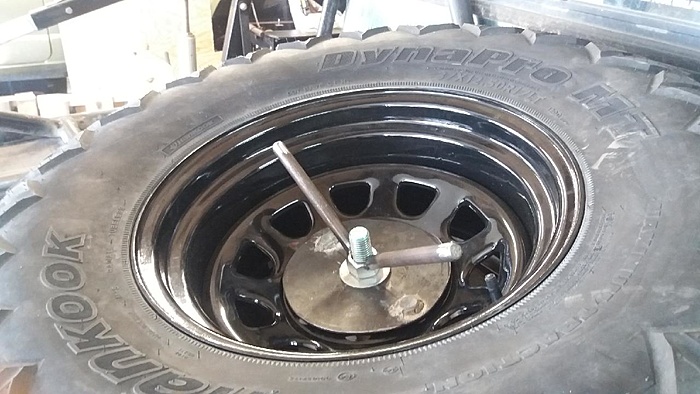
Moving forward i have been noticing the outer lips of my front rims are getting rather deformed. The rocks and other obstacles haven't been very nice to them so to keep them round I had some rock rings cut out and started welding them in.
I know i know, "why not beadlocks" or "should've just done beadlocks". NAH! I don't really have issues with rolling the beads off the rims and i don't care for dealing with the leaks that commonly follow beadlocks. Plus i don't have the coin to buy nice new ones so these are my solution.
nice and smooth!
Couple coats of primer and then a few more coats of the best color out there - green!
Planning to do all 5 of my rims with these rock rings. Lots of weld - grind - sand- repeat.
 02-18-2018, 07:08 AM