When you click on links to various merchants on this site and make a purchase, this can result in this site earning a commission. Affiliate programs and affiliations include, but are not limited to, the eBay Partner Network.
Eduardo, my not so imaginary friend
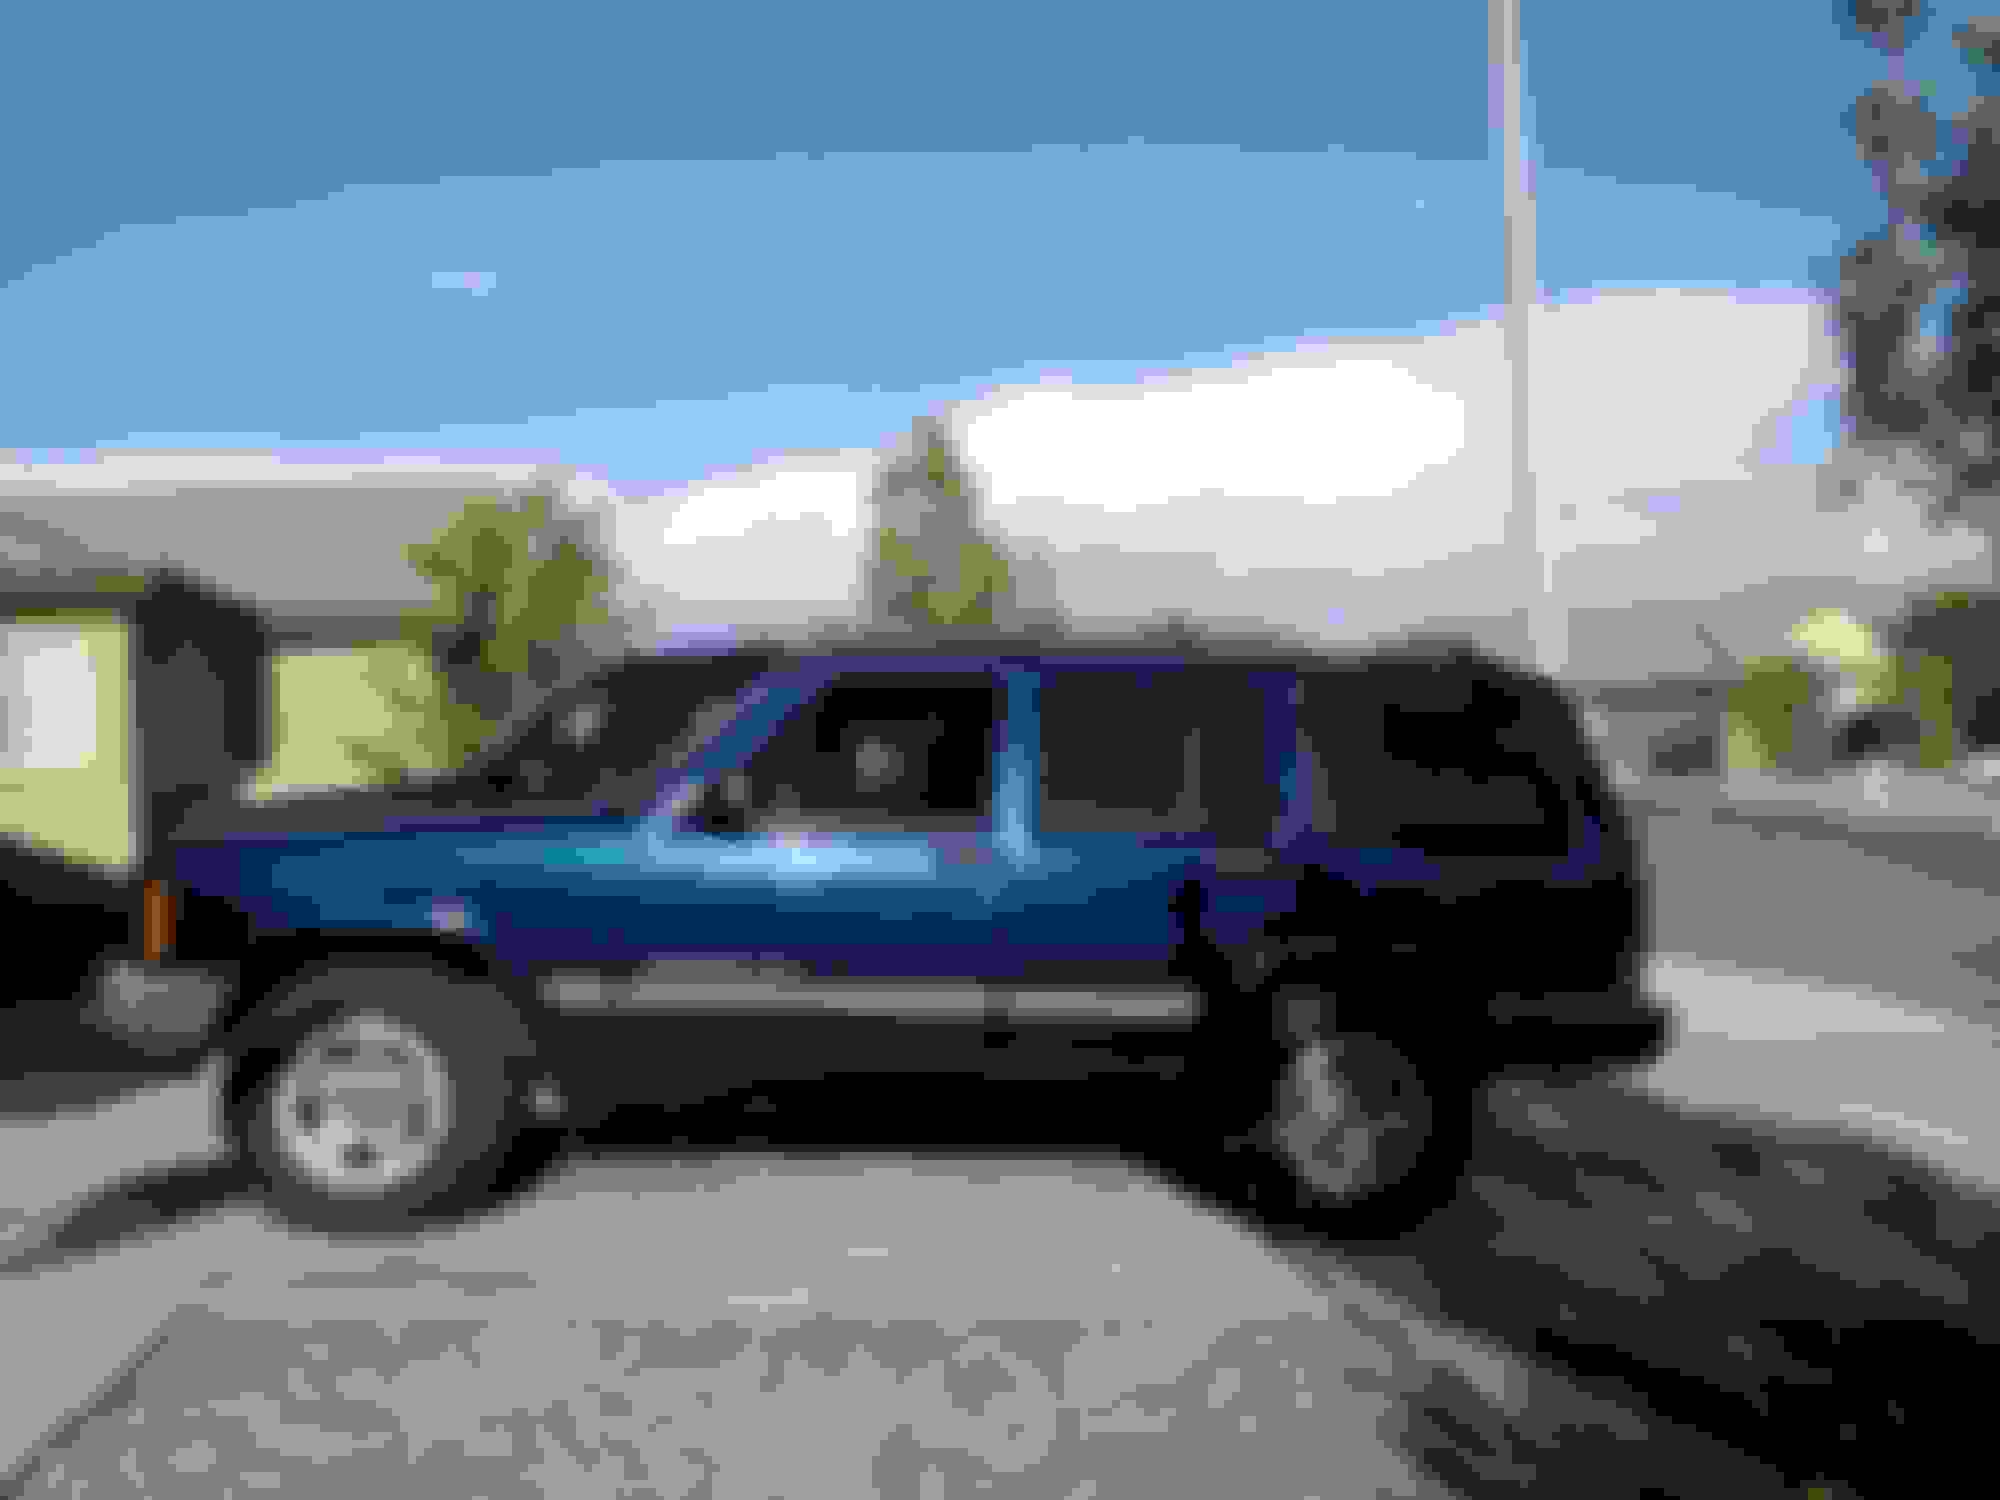
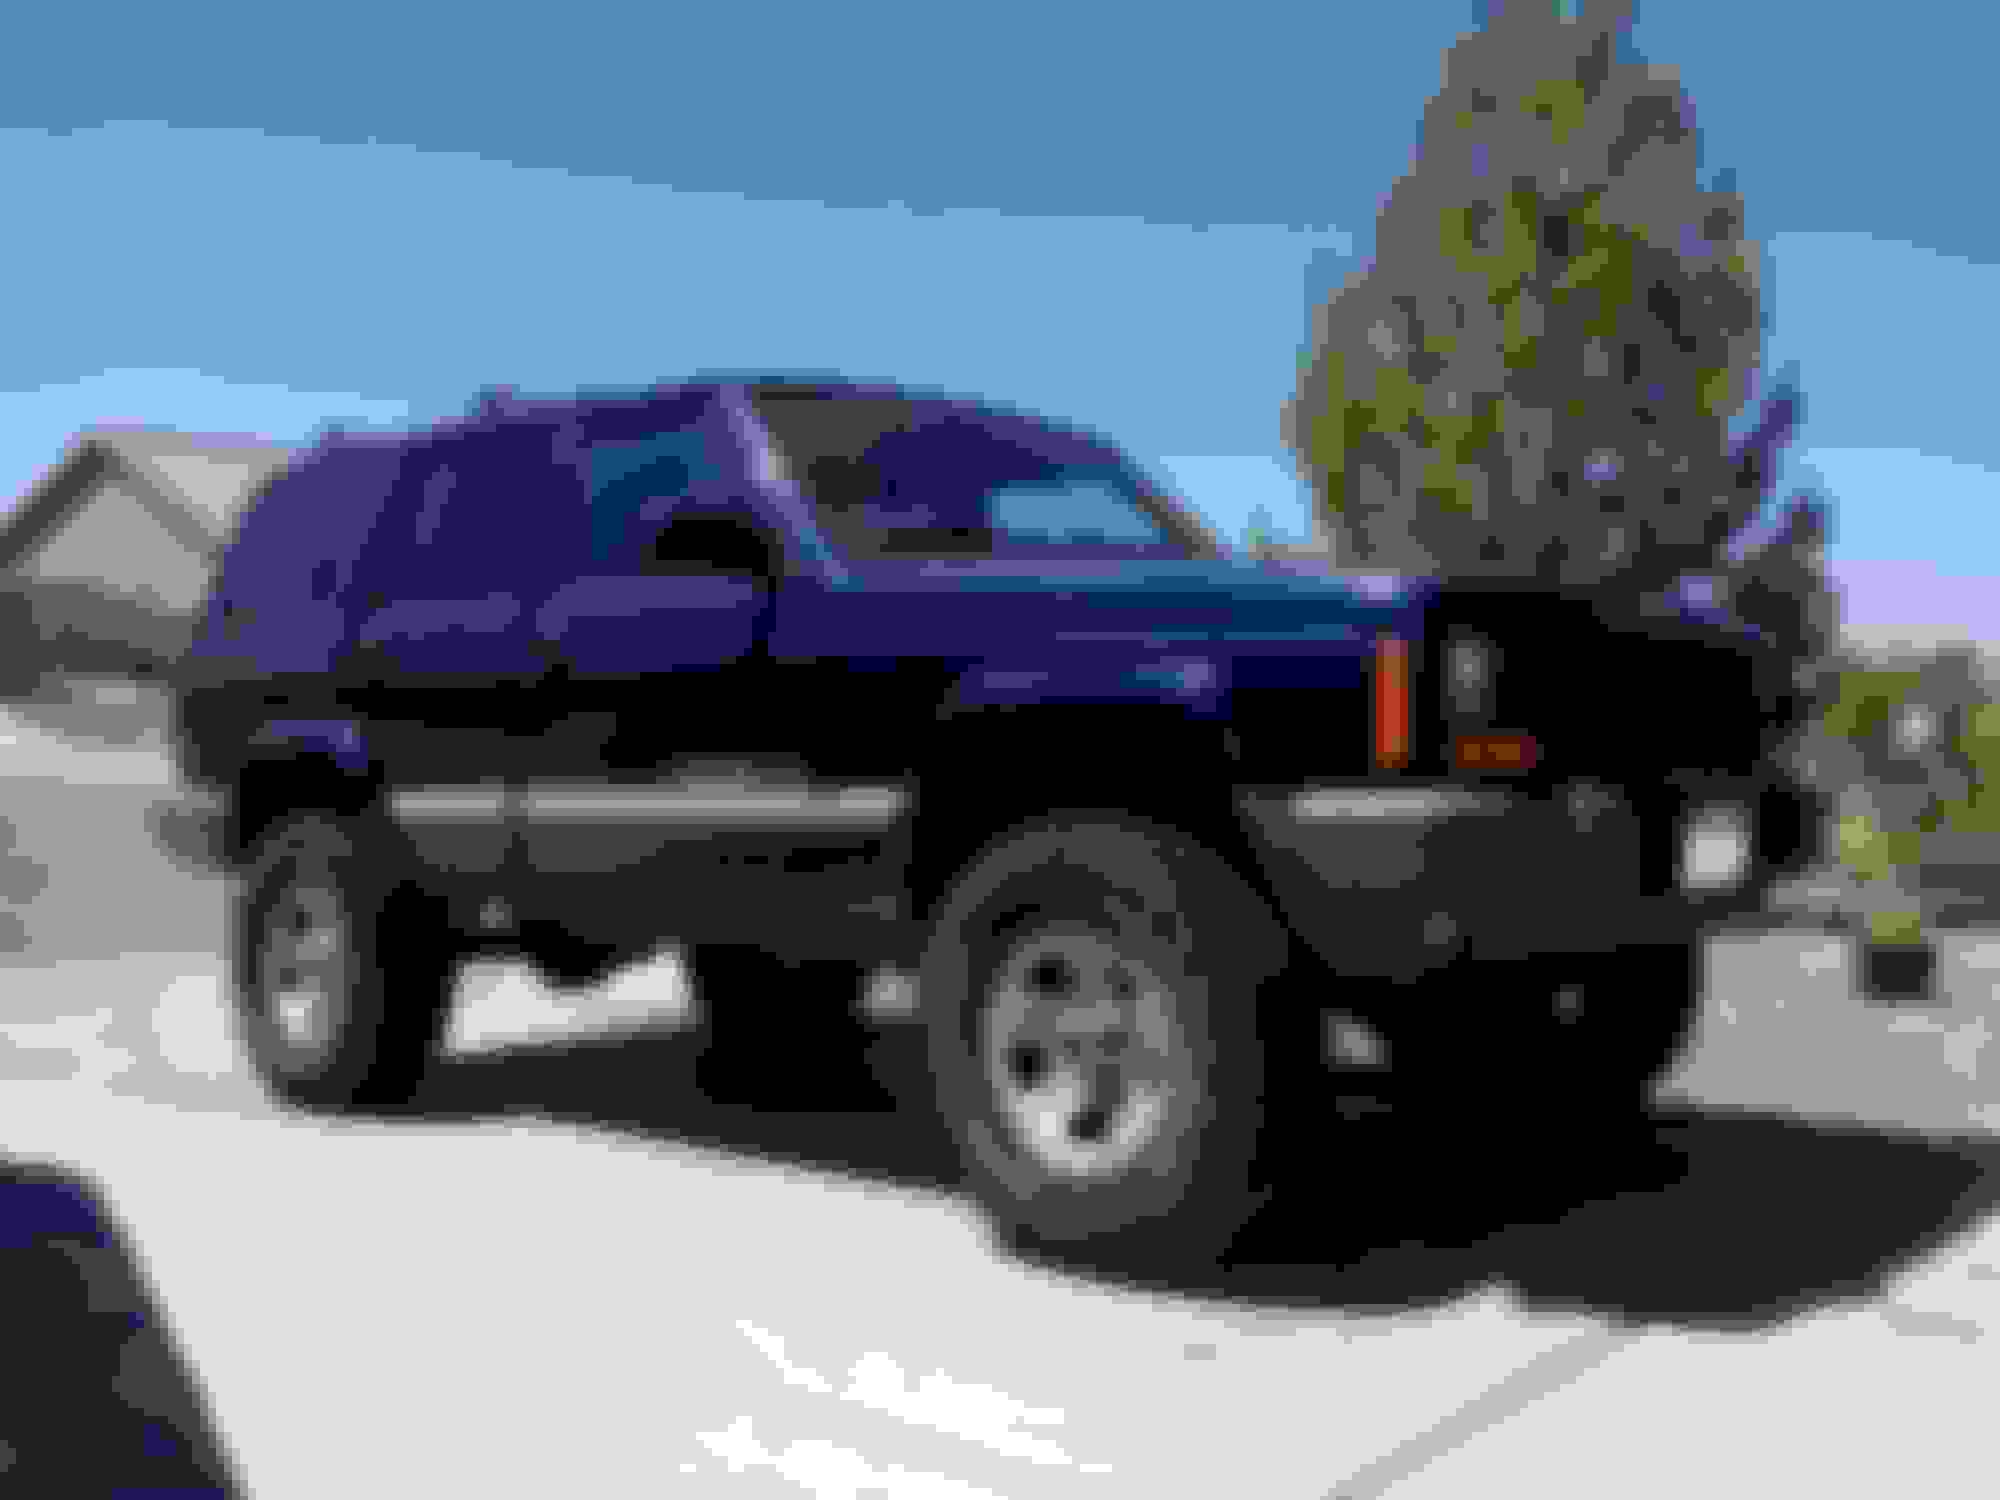
It all started in 2004, when I came home from a year in Korea. I was in need of a vehicle and I had plenty of cash saved up. I had long since made my mind that I wanted to find a Jeep Cherokee. It was the car of my dreams. It took some looking but I finally found Eduardo, a patriot blue 2001 XJ with 28000 miles on him.
I always wanted to lift Eduardo but between being deployed, getting out of the Army, getting married, having another kid and depending on Eduardo as our regular family car it just never worked out. About a year and a half ago we bought a bigger family car and Eduardo became the third car and saw a lot less use.
Recently I finally got around to starting a build on him.
Before beginning the build.
Like many of us I am working on a budget, so I decided to go with a 3” lift and 31’s. I ordered a Zone Off Road 3” add a leaf kit and a Rough Country adjustable track bar.
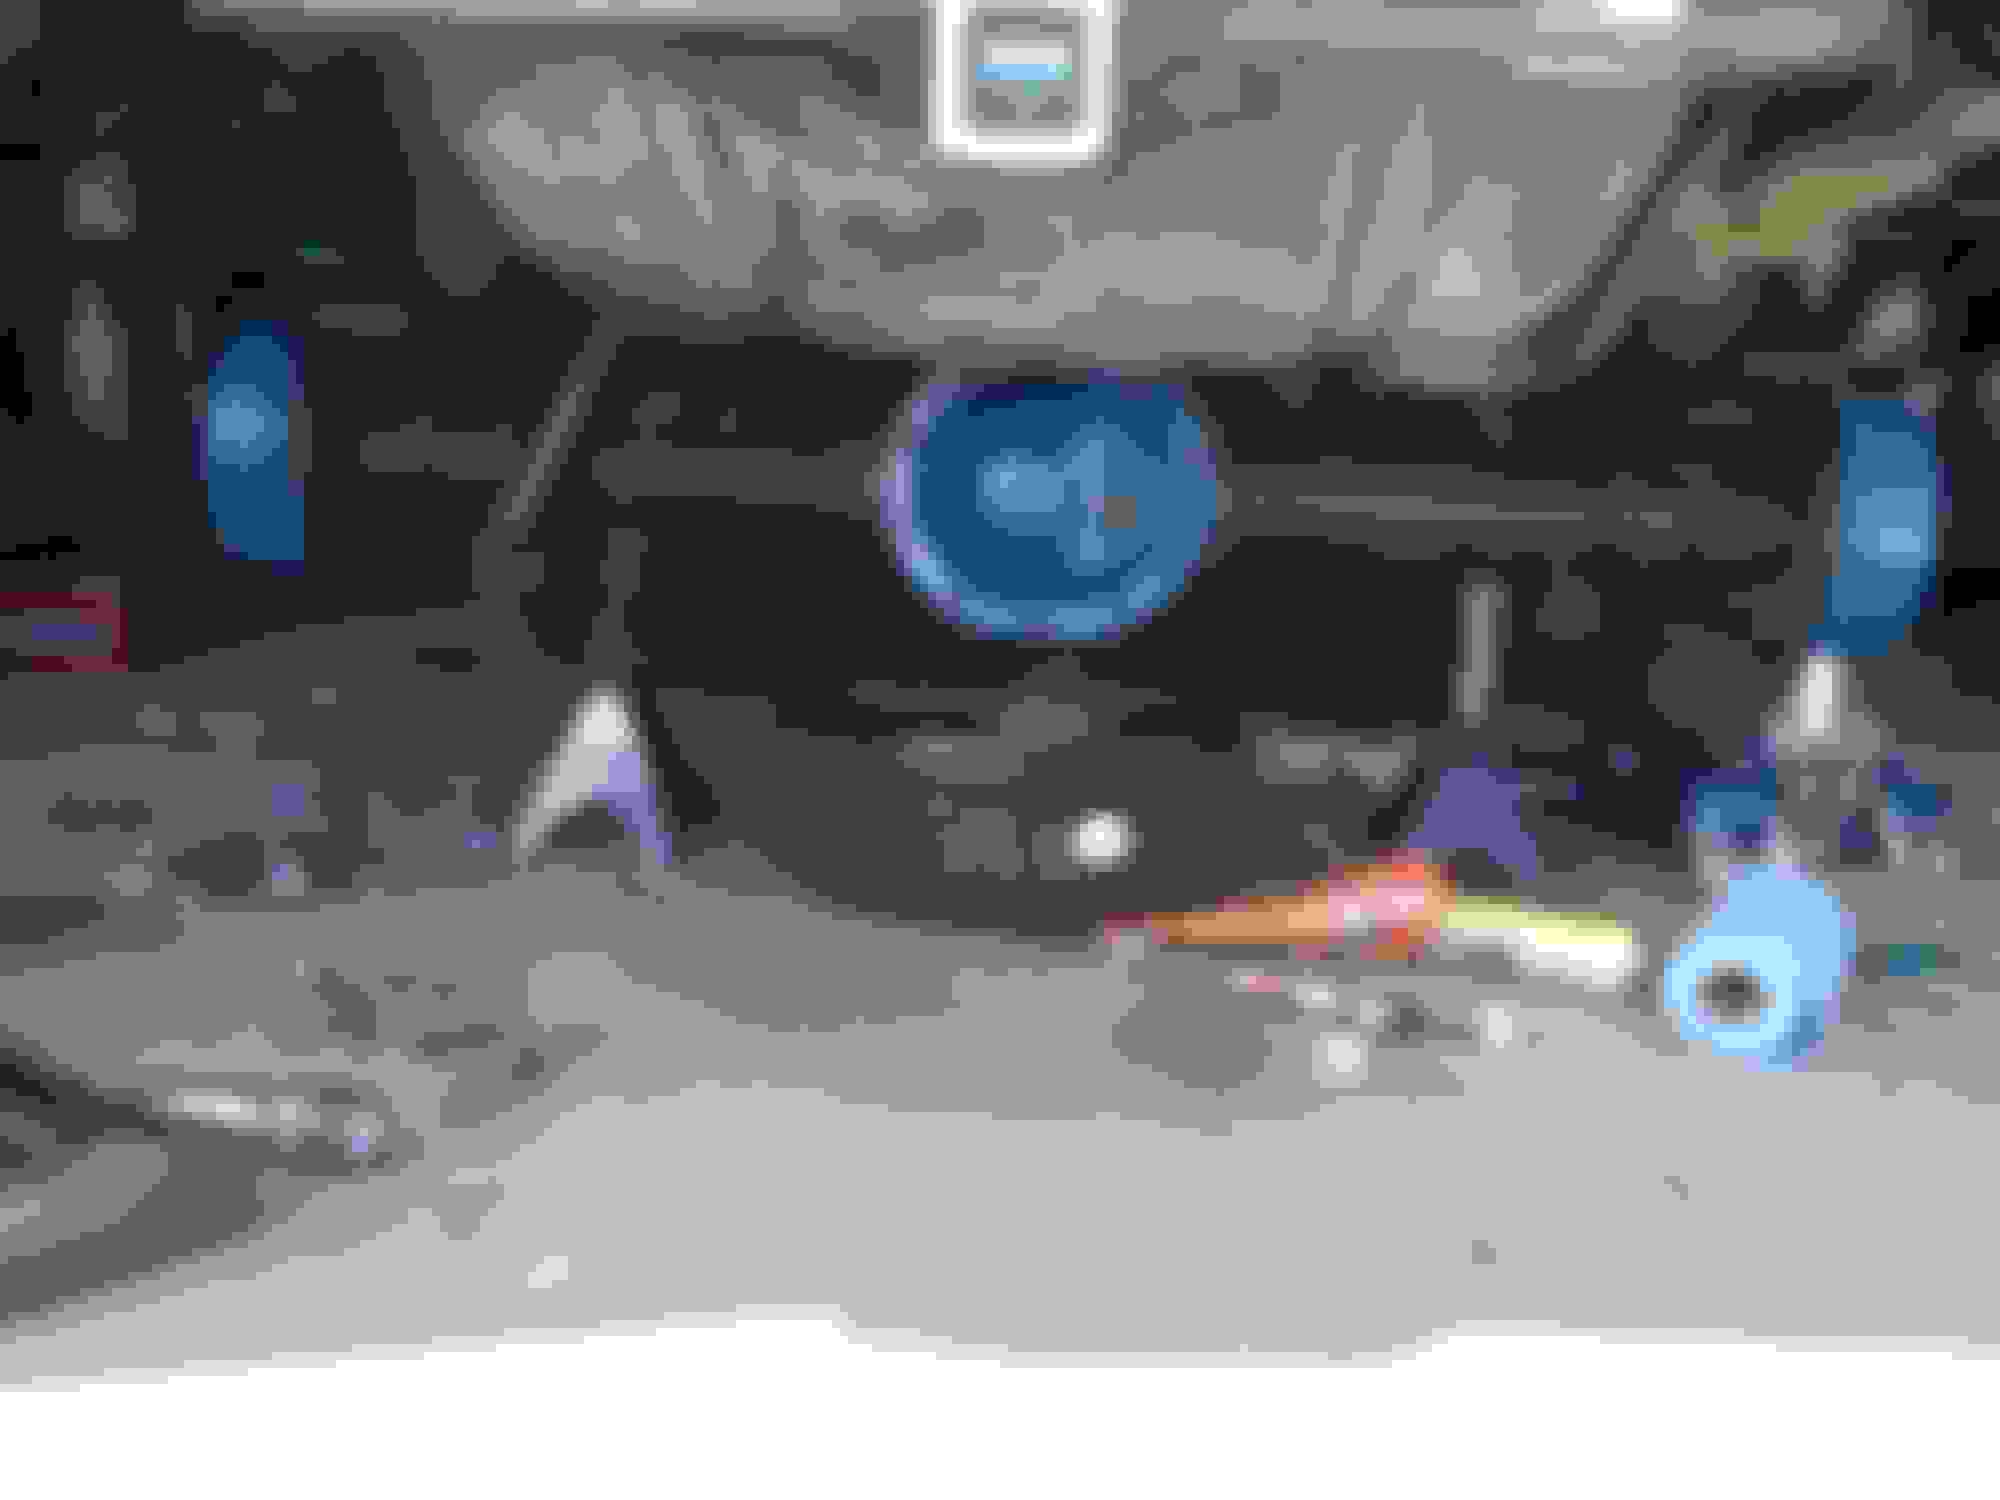
While I was waiting for the parts to arrive I made a t case drop and some LCA shims. Still haven't used them.
Anytime I do a project I tend to get a little carried away and start adding things on. It’s not really a bad thing, but it does tend to make the project bigger. I disassembled the leafs and of course they were very rusty.
So I cleaned them up and then primed and painted them. And while I was at it I decided to do the brakes, and since the drums were off I cleaned them up and painted them with some high temp. I also made some friction pads from a rubber made bin. Bad Religion kept playing through my head while I worked on the leafs, “you got to turn over a new leaf”.
Broke all four rear shock mount bolts, fortunately I had spent a lot of time reading the forum and was prepared for this possibility. I don’t have an air compressor so I grabbed a punch and a 3lb sledge and went to work. The welded nuts did not break free on the first (or the tenth) blow, but they did eventually break free. If this happens to you don’t despair, just keep at it and you will get them out. Then I used some wire to pull some new bolts through the holes.
My daughter and my cat kept me company while I worked.
I figured this would be a good time to change the differential oil as well.
Stopped to fab up a brake line relocation bracket.
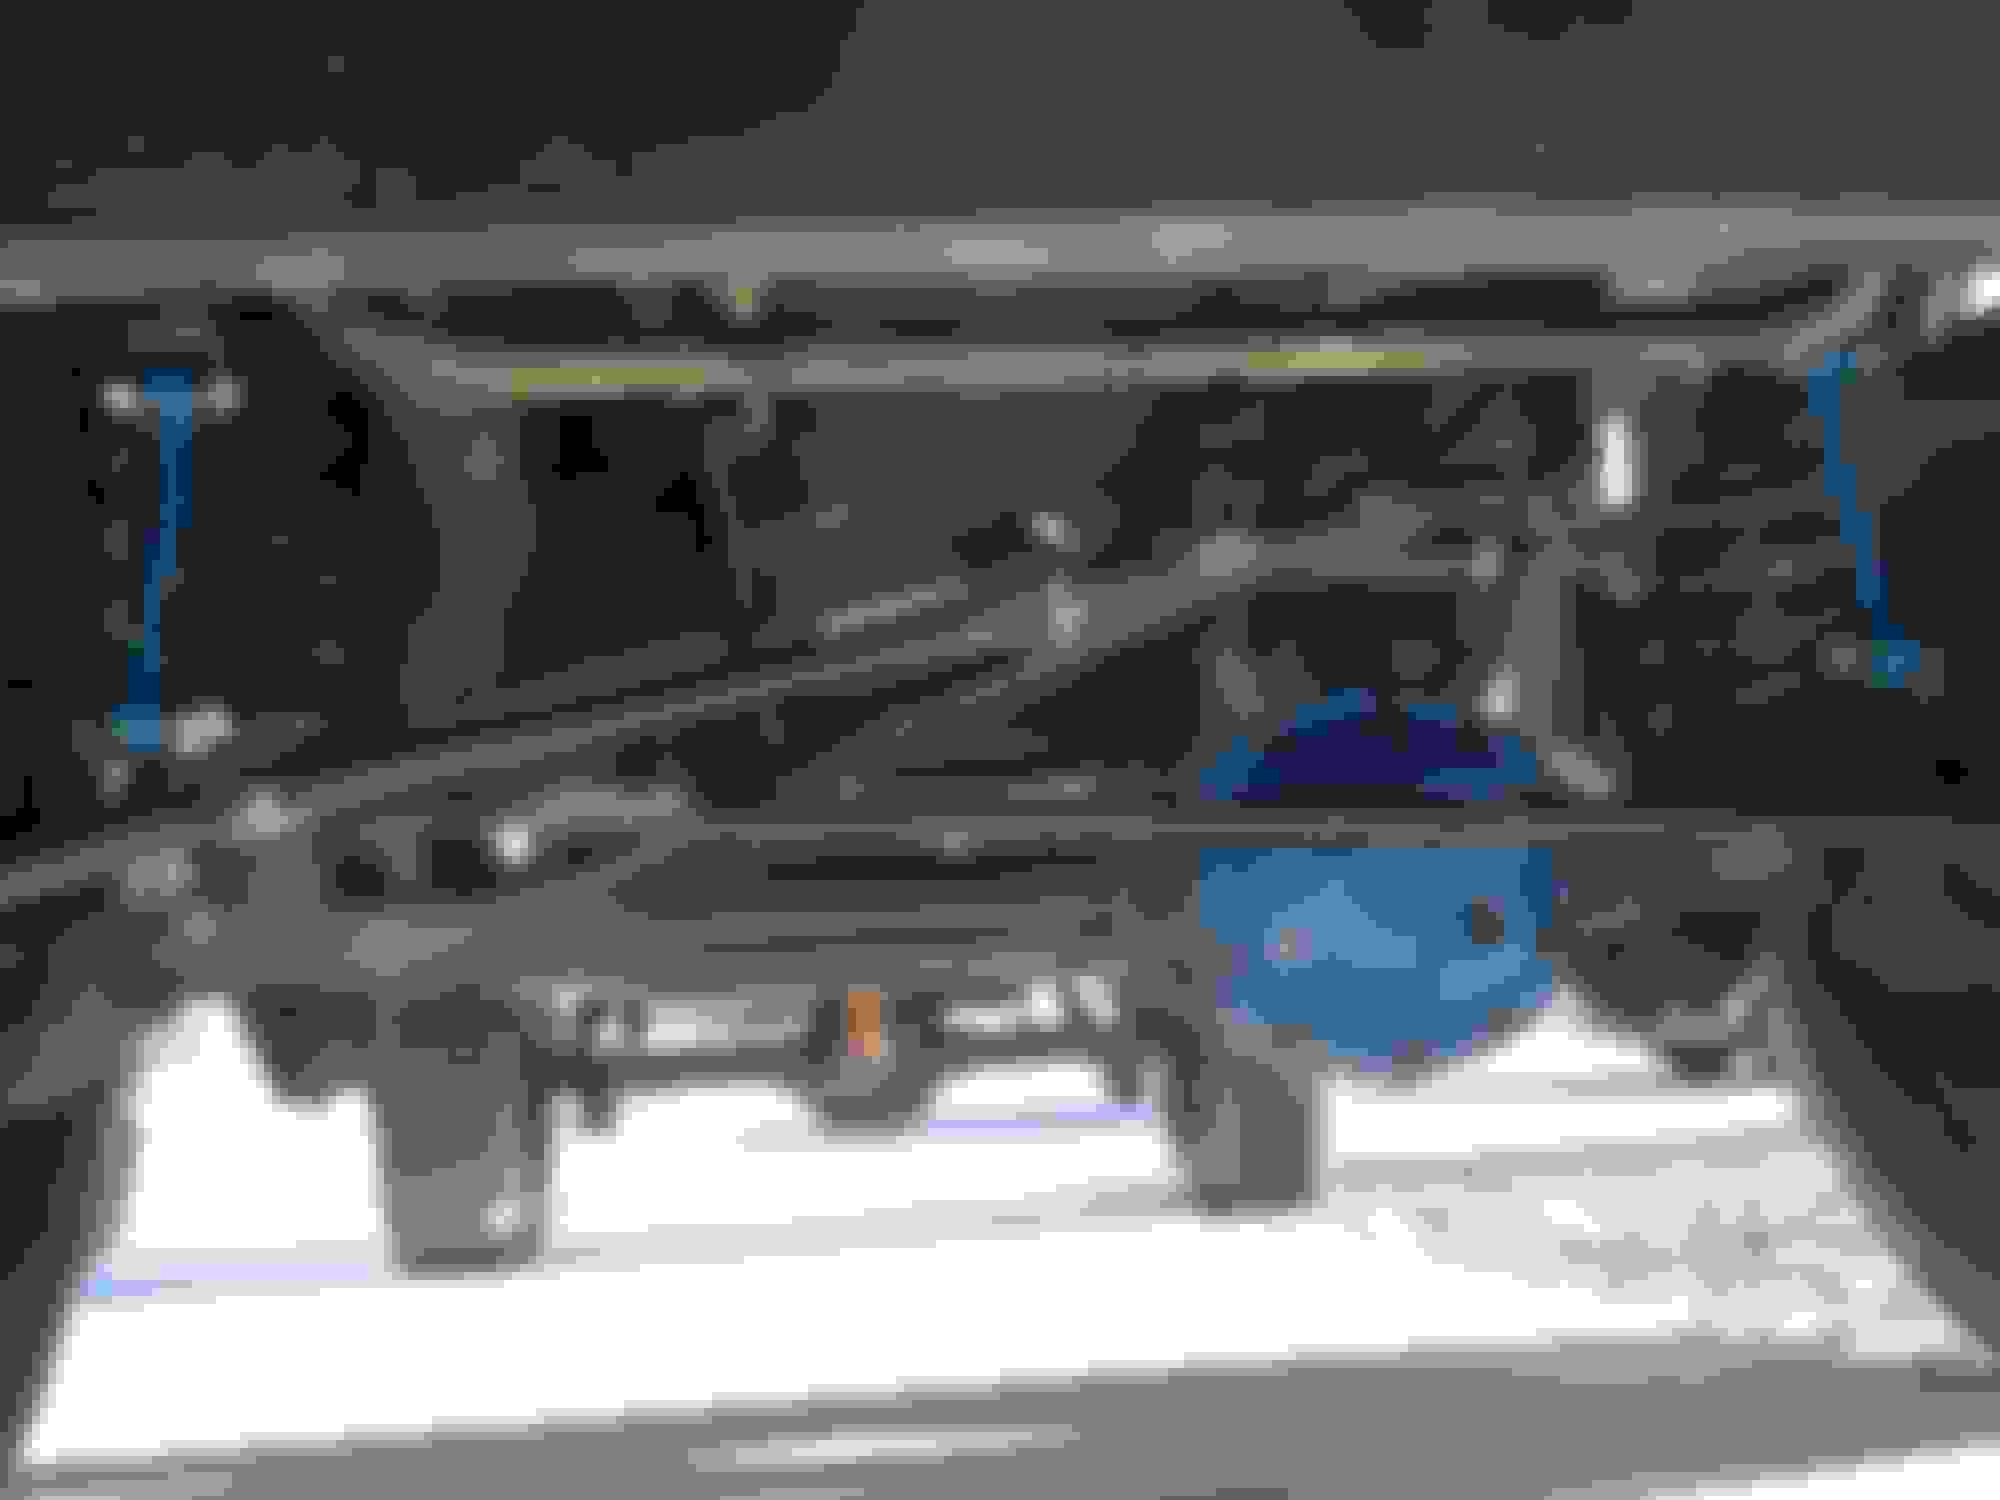
The rear end starting to come together.
Lookin all hotrod
Front end together. Ive heard a lot about these “quick disconnects” I went a diferent rout, I like to call them “wrench disconnects”. Ha ha I’ll get or make some quick discos eventually.
I didn’t get many pictures of the front end going together. But here it is after most of the work. Looks way better even on the stock tires.
The first test drive was pretty successful, no wobble and just a slight driveline vibe at 25-30 MPH. I figure I’ll let the suspension settle a bit and see if that helps it. If not I will install the T Case drop I made, an SYE is at the top of my list of additional things I want to do but not in the budget right now. The next day I drove down to pick up my tires and on the way home got the wobble at (you guessed it) 45 MPH after hitting a bump and it got way worse the following day. After a little reaseach and about 30 sec of troubleshooting uncovered a missing track bar to axle nut. Fortunately the bolt was still in place and not sheered or bent. My dumb butt had failed to properly torque it. I picked up a grade 10.9 M10x1.5 nut from Apple Valley nut and bolt and this completely fixed the problem.
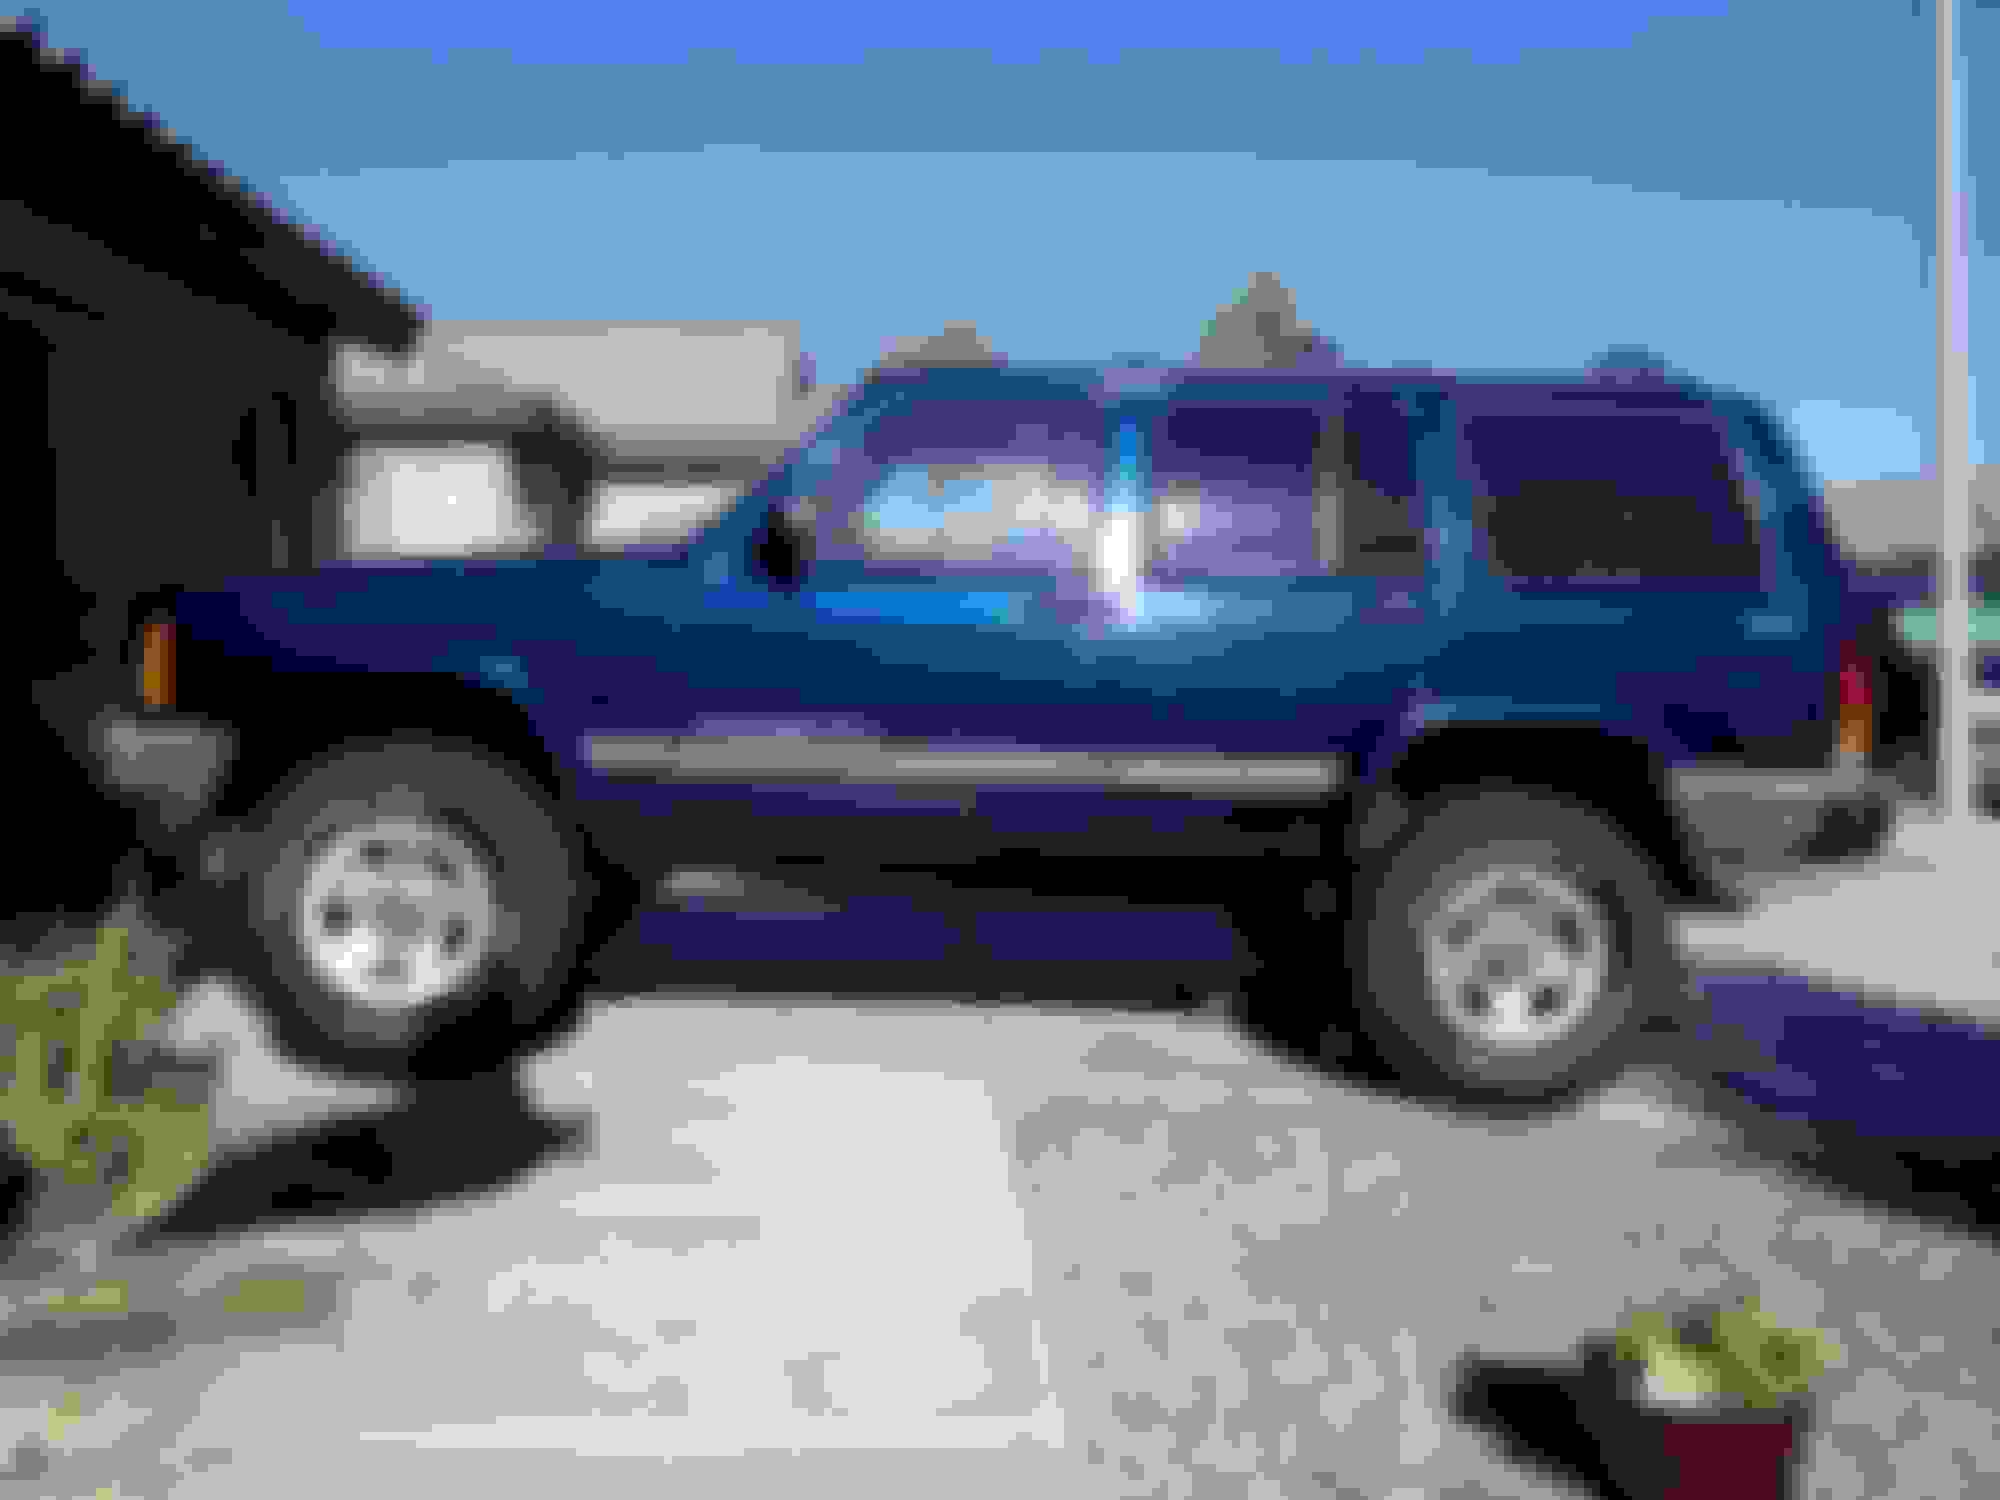
Here He is wearing His new rubber.
The 31’s were rubbing the upper Sway Bar Links at full lock so I threw a few washers on the steering stop bolts.
I decided to flush the coolant system and replace the thermostat, and after everything went back together it was leaking at the thermostat housing. So down to the auto parts store for a new housing, the new one mated up much nicer than the original slightly warped one.
While replacing the thermostat housing I broke the fan shroud when I was removing it to get a little more room. I was about to order a new one when I remembered something I'd seen on another forum about "welding plastic" so I decided to try it, and it totally worked!
I cut a small curve out of the bottom of the shroud to use as filler for the "weld" and also tocreate a relief for future removal and installation.
Then after cleaning all the mating surfaces thoroughly I used my soldering iron to heat up the surfaces and stuck them together, after this I melted a V shaped notch down the crack between the two pieces and used the piece that I had cut to melt in additional material and melted it all together and smoothed it out. After "welding" it all back together and letting it cool it seemed to be just as solid as ever, so I reinstalled it.
Yeah, we would fly down to Humphreys once in a while and when the local soldiers would see our 2ID patches they would just look at us like "poor bastards".
Of course Stamley was nothing like being right on the border.
Haven't done anything to exciting to Eduardo lately. Replaced a leaking water pump a couple weeks ago. Then a week later had to replace the thermostat again. I installed a failsafe t-stat last time (more like failforsure) and it stuck open. used a stant superstat this time.
Today I finally got around to cleaning my back seat. I removed the covers and machine washed them.
It wasn't that hard.
And the results were pretty good.
Before
Finally got around to fixing the broken wires coming out of my drivers door.
And re-soldered the driver door switch panel.
Now almost everything is working right again. Love having sound out of all the speakers again.
One problem I still have is that my key fob will not unlock the doors. It will lock them though. So if anyone can help me out with how to fix that please let me know.
Eduardo has been slightly neglected for a while as all of my other vehicles have been taking up most of my time and money. But now I'm down to two cars, a newer car with a warranty and my Jeep Eduardo. With both older kids grown and moved out, it's just my wife and my youngest daughter and me, so we got rid of our Yukon XL and now will be using the Jeep for camping and the beech etc... So Eduardo is now at the top of the priority list for vehicles again! I always keep up on the regular maintenance, but have let a lot of other stuff slide for the last few years. The AC was the big one.
Hooked up the service kit and pulled a vacuum (the system was already empty) and the high side was losing vacuum before my eyes, so i pressurized the system with some compressed air and found that the high side schrader was leaking like crazy, fixed that and tried again, now the low side was slowly leaking, nothing in the engine bay seemed to be the problem, so on to the dreaded evaporator core.
Started the work on Friday afternoon and had the HVAC housing out in about two hours.
Picked up a new Evaporator core, heater core, and accumulator drier, from Napa. They were having a one day only 25% off on eligible items deal and everything i bought was eligible, so I saved about $80.00!
The old seal for the core lines was destroyed, and I didn't want wait on a new one (or spend another $70) so i made this out of some all weather pipe insulation.
Almost ready to go back in.
I got the HVAC housing back in and the dash reinstalled, and installed the new drier accumulator, being super careful to clean all the lines before installing the new o-rings.
Started the servicing, and the blower wasn't coming on (NOOOOOO) checked the connector to the blower motor and and the HVAC to car connector and the fuse, all good, so i pulled the relay, luckily I had a new one on hand, that fixed it. Finished servicing and now have nice cold AC again just in time for winter.
I was missing a few trim screws in the dash here and there, so i bought a bunch of new ones at Napa along with some inserts to replace the couple stripped ones.
I also replaced the anti chafe felt everywhere it was missing or worn out.
This is what my center console bracket looked like. Yeah it's custom.
I bought a new Steel one.
I had to cut down the right leg a bit for the duct to fit correctly. This is after I cut and painted it.
The center console is rock solid now. The dash is a lot more solid as well and no more rattles or squeaks.
I also had a little time to do some fun stuff.
Recovered my sun visors, they were all torn up. In case anyone doesn't know those are UH-60's, and they are what freedom looks like.
Made this little storage set up for the spare.
All finished and painted, I put my jumper cables, cargo straps gloves, etc... in there.
Finally installed this sticker that my daughter gave me for fathers day.
And I made a skateboard wheel shift ****.
Almost forgot, I also installed a new switch panel in the drivers door (I had already repaired a couple times.) and i pulled the passengers door panel and cleaned the contacts and re-soldered it (first time for that one) and all windows and power locks work again. Key fob still no workie though even with fresh batteries.
Last edited by sikkev; Oct 14, 2020 at 01:06 PM.
Reason: Forgot to mention


 even with fresh batteries.


