


Ground down the welds inside the floor...not getting showroom, just enough to not snag anything. Cut out the old hinges and will burn those in when in get some parts I need for the door. All the harnesses are rebuilt..just some under dash stuff to fix. Now to scrub, scuff and prime then monstaline.
Quote:

Just don't be all janky wth it like the government was! They crushed more wires and messed up so much stuff.Originally Posted by PBRXJ
Lookin Good!!! Now I know how to make mine RH drive


Hours of scrubbing stuffing and cleaning later. Next step is universal primer with heat block and monstaliner
Underside coated with master series black
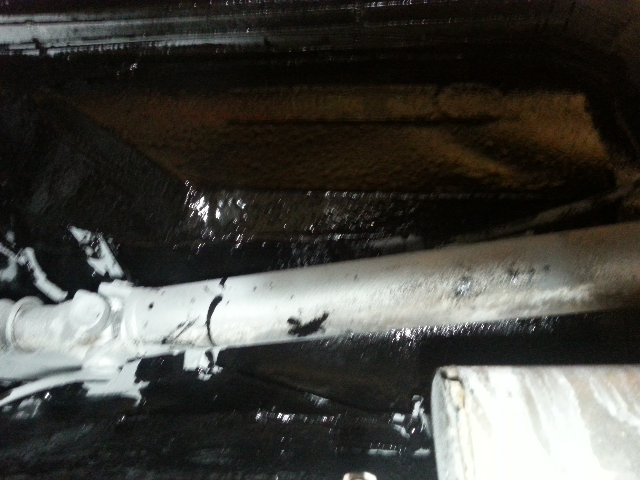
Few spots I couldn't reach but I got pretty far in there. The undercoat wand will get the hard to reach spots. Now to monstaline the inside.


Few spots I couldn't reach but I got pretty far in there. The undercoat wand will get the hard to reach spots. Now to monstaline the inside.

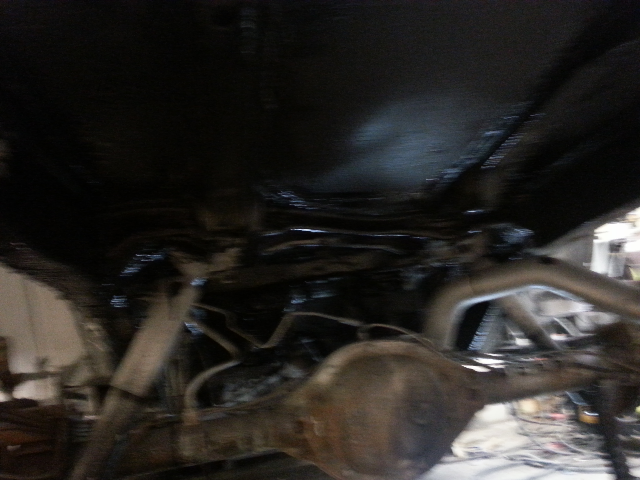
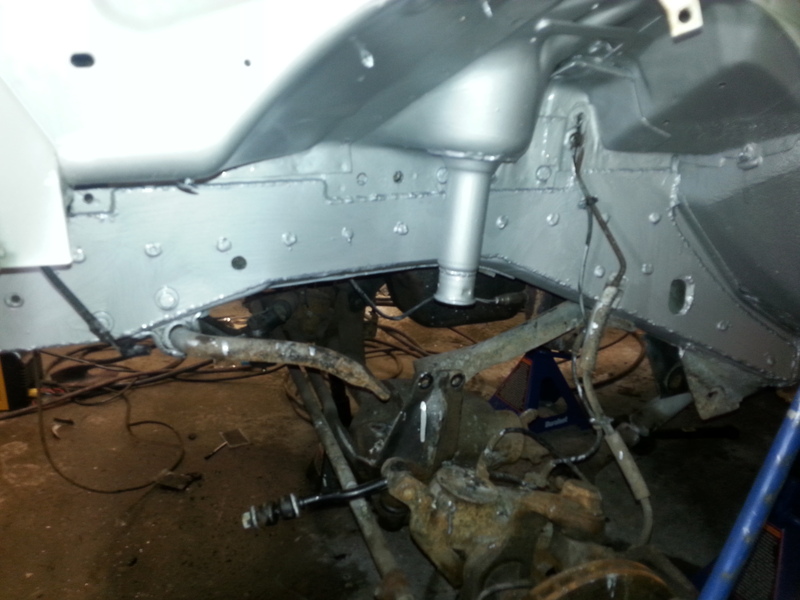
Top Side was primed shortly after master series with 300 universal with h ytech heat block added too. Everything got hit


Rear wheel wells and underside floor done...front wells will get hit when I do stiffeners..
And the pics make it look like there is white spots.....there isn't except on the exhaust bottom frame rail....ran out. It is the reflection of the camera flash. I forgot to clean out my hvlp gun...hence my rolling and brushing the underside. I went out and got a bottom siphon pressure feed gun, which actually worked out better for shooting underneath. Still need to buy another cheap HVLP but it was only 30 bucks and I am not doing any showroom restorations here!


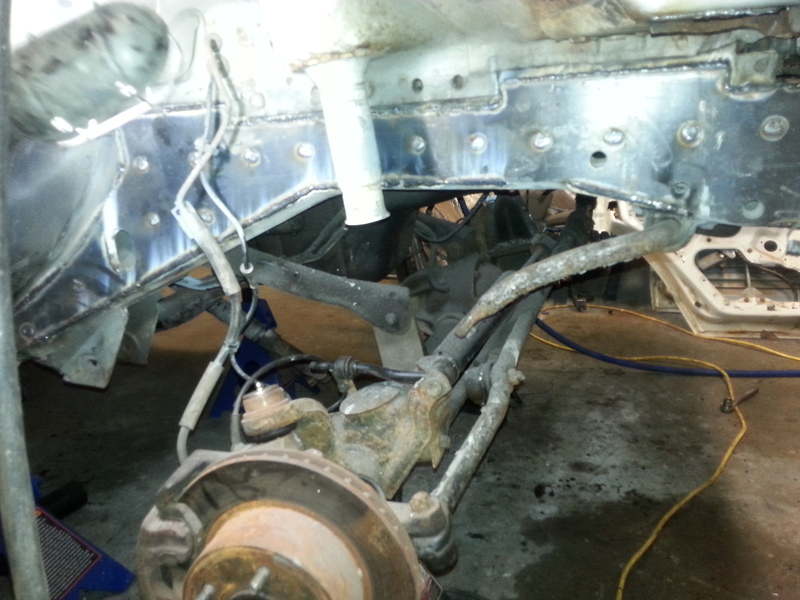
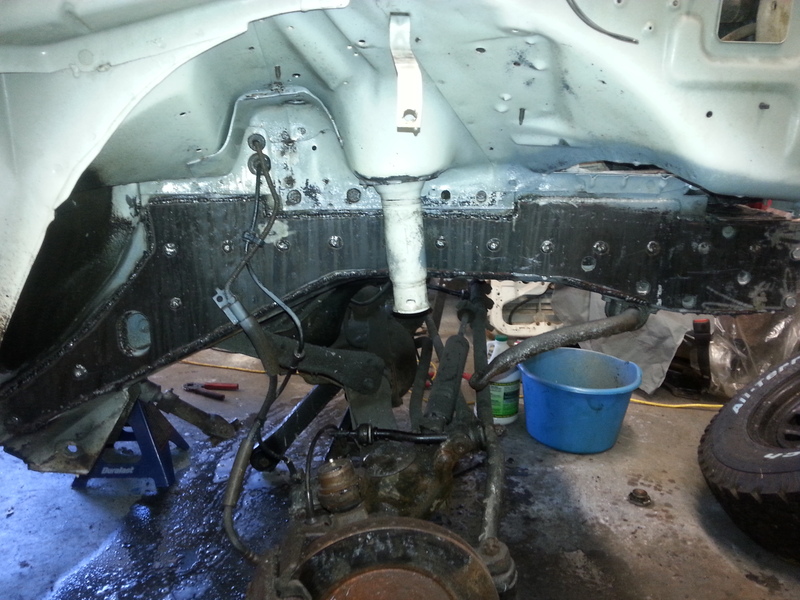
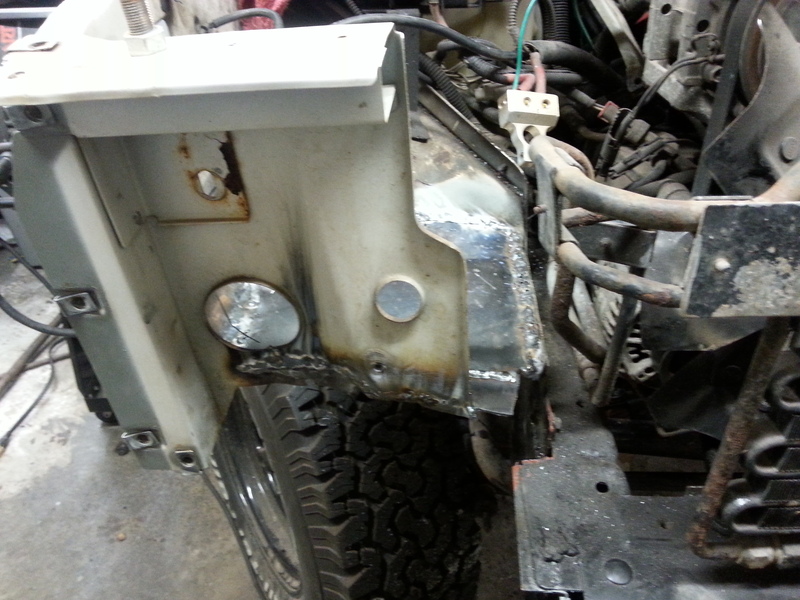
Scored iron rock adjustable control arms...found a little rust under the battery box....clearing the front rails for the last of the stiffeners.
I stalled on the project here and there....life, kids, wife....stuff got in the way. Been slowly getting the rest of it done. Little stuff. Only thing left is to put a new radiator in...waiting on a tierod from amazon and a new battery and box and some wiring repair under the steering wheel. Some photos.
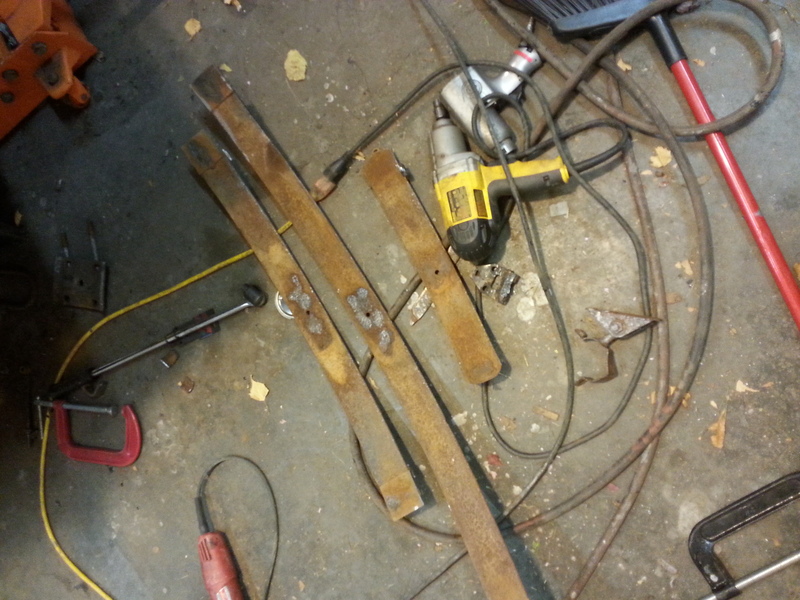
Front stiffener prep


Couldn't get the bolts out....had to cut the hinges...order new ones (expensive) and re weld.
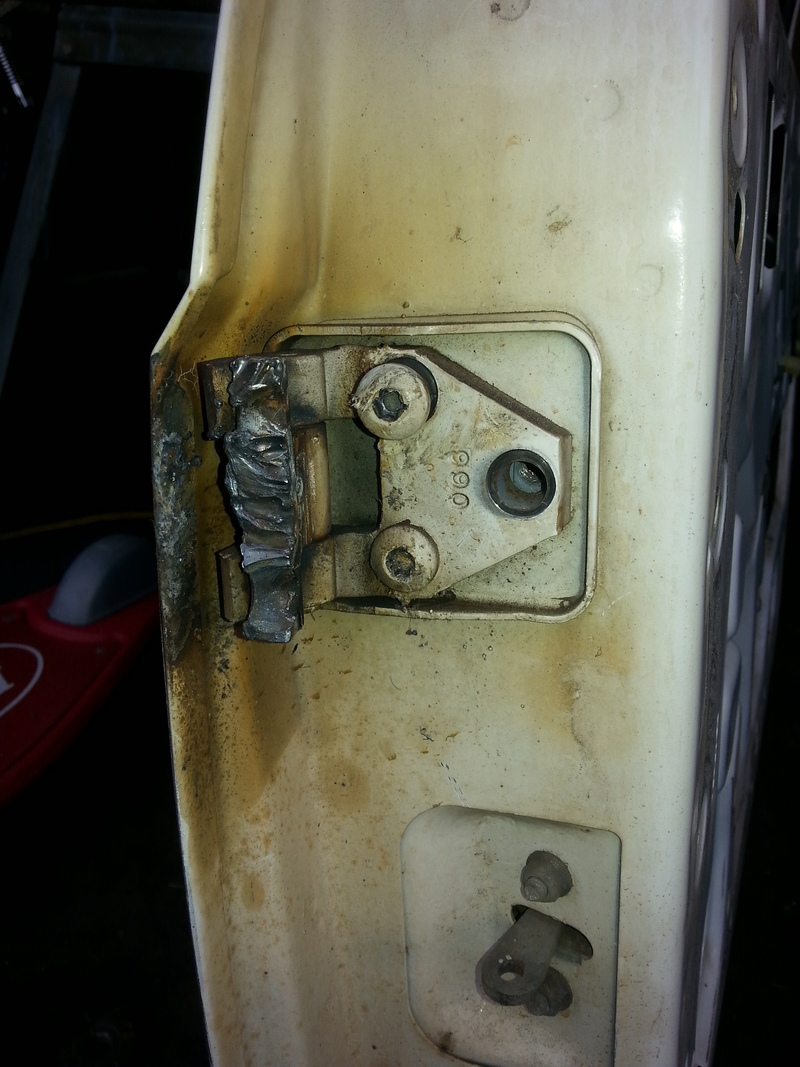
welded the **** out of the hinge to the new thick steel cut out I had it isn't gonna sag now!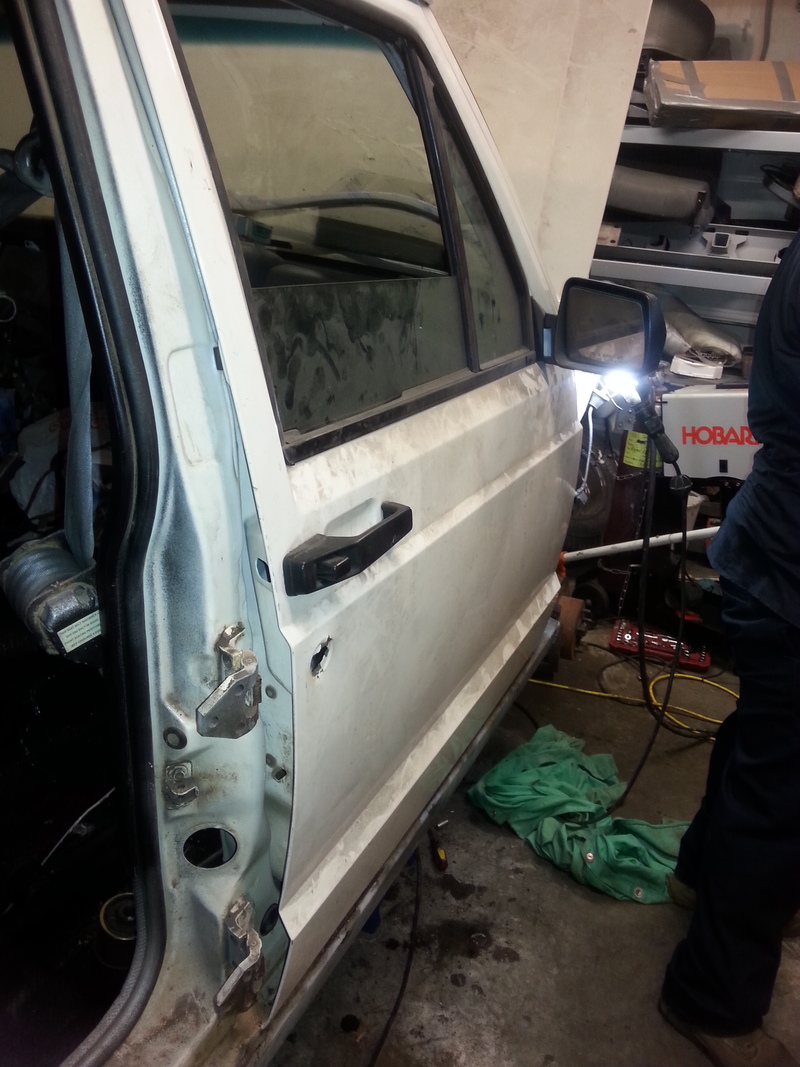
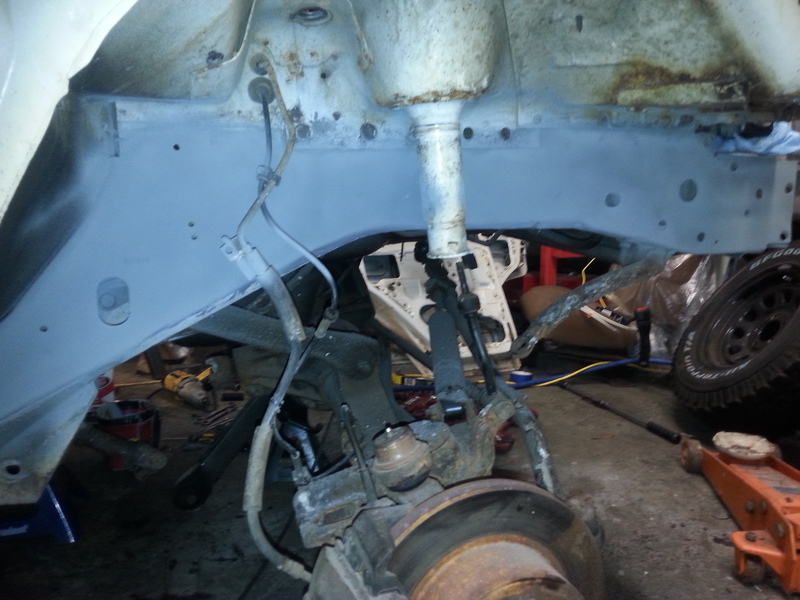
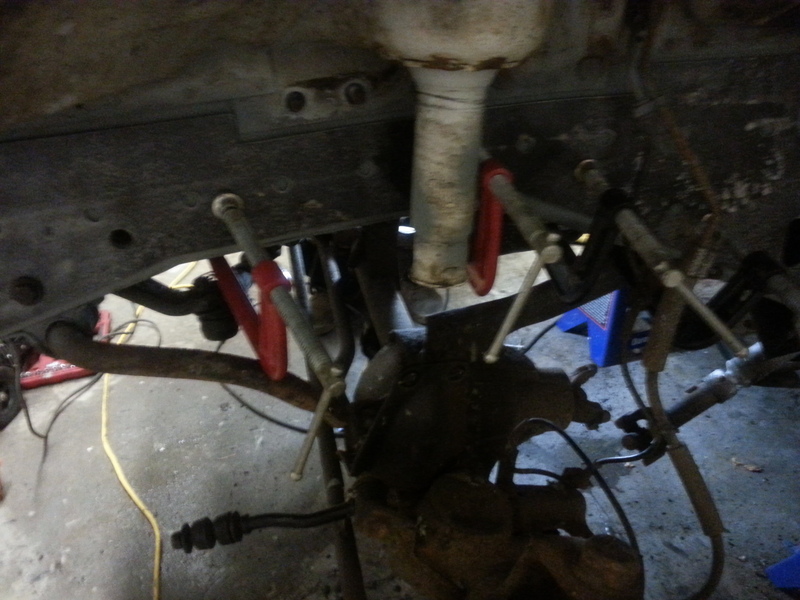
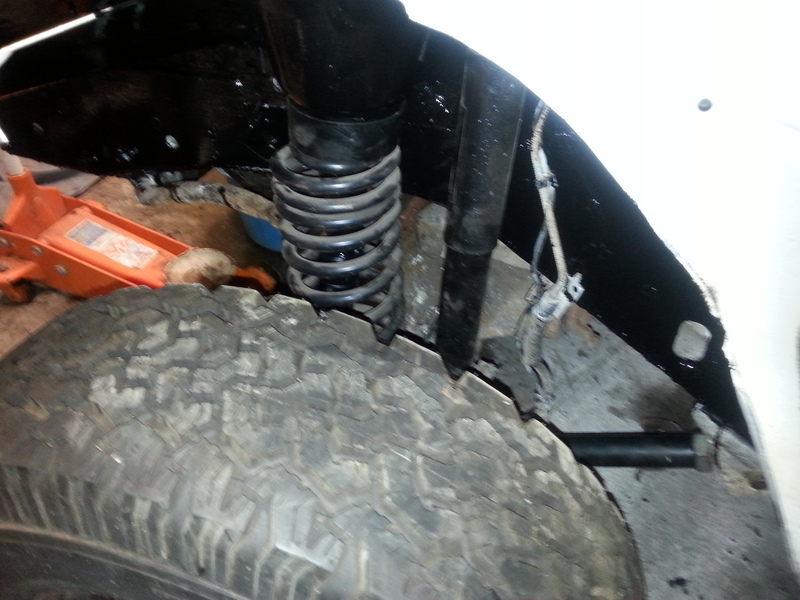
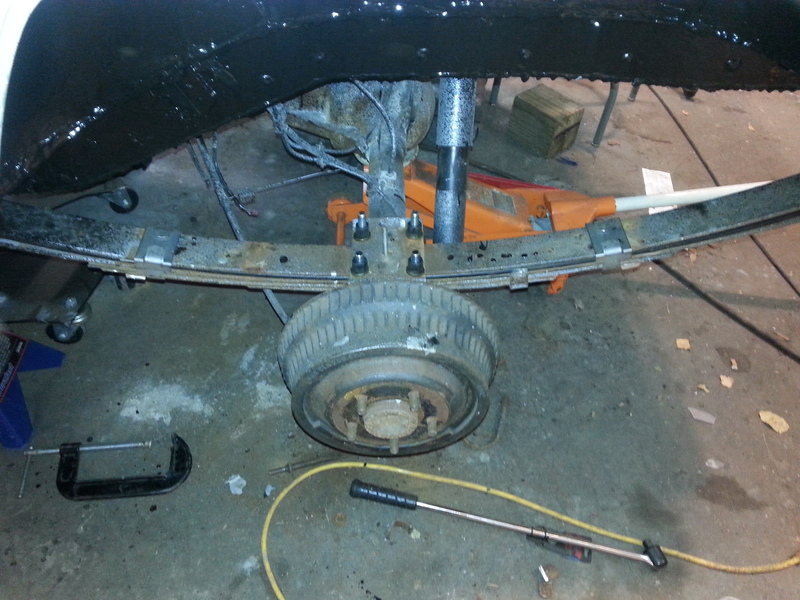
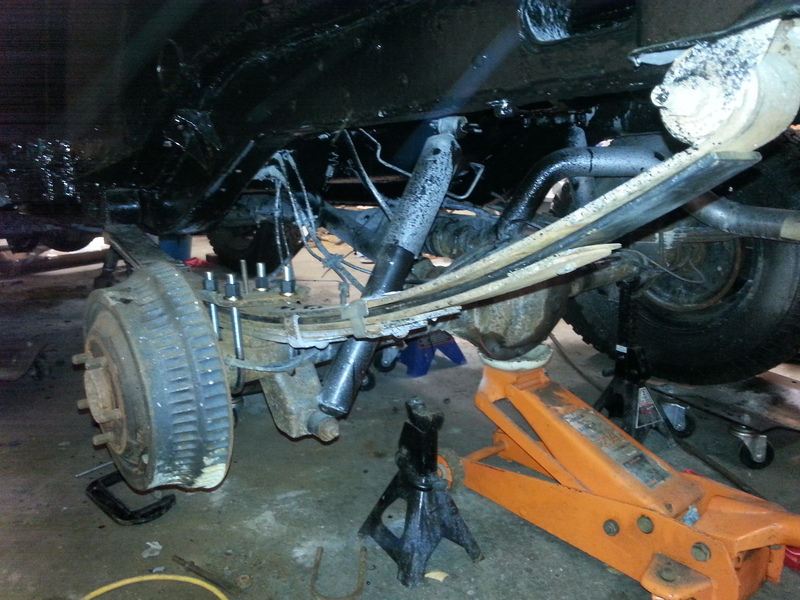
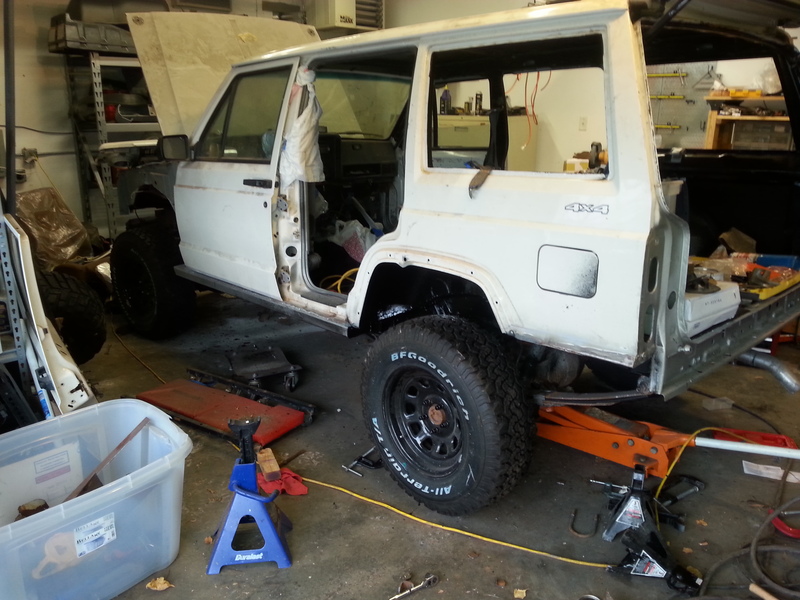
ZJ Upcountry coils and spacer up front with IRO adjustable arms...rear is getting a Rubicion express full length aal

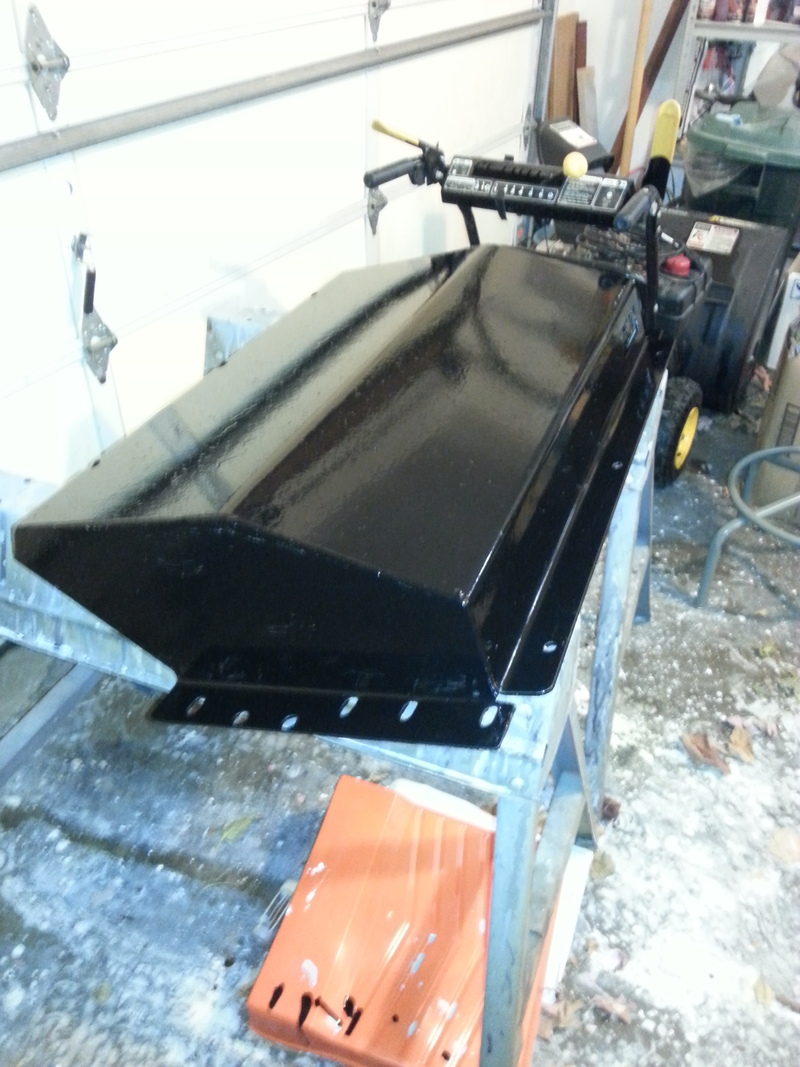
JCR gas tank skid all painted up!
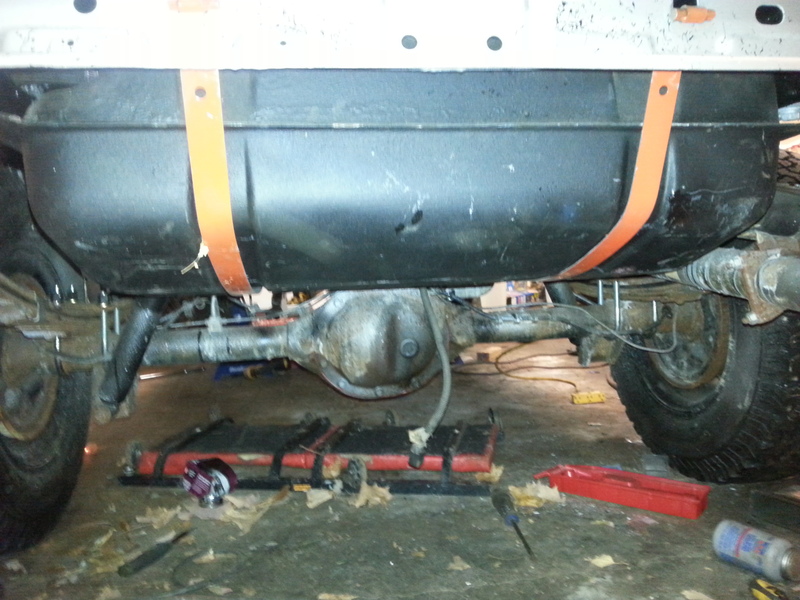
Gas tank hung
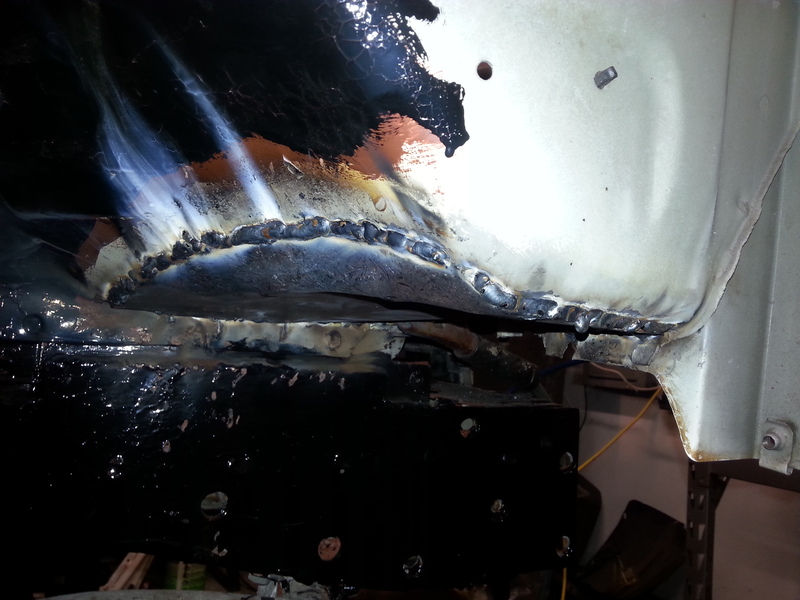
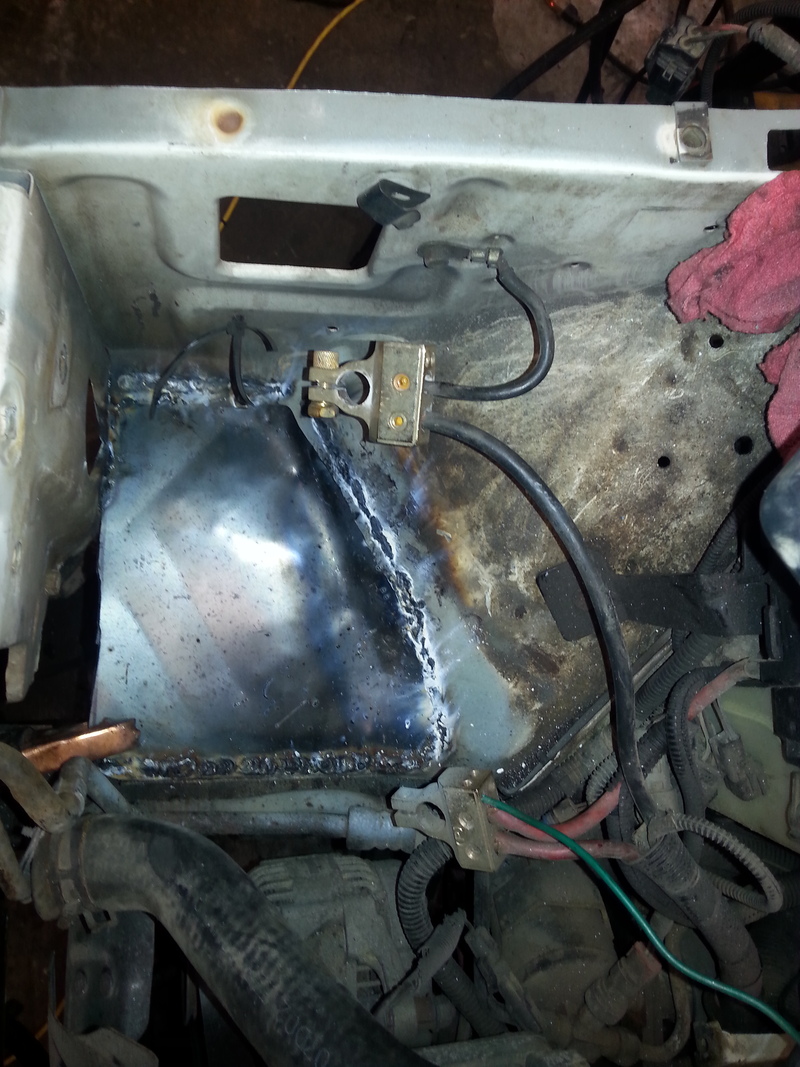
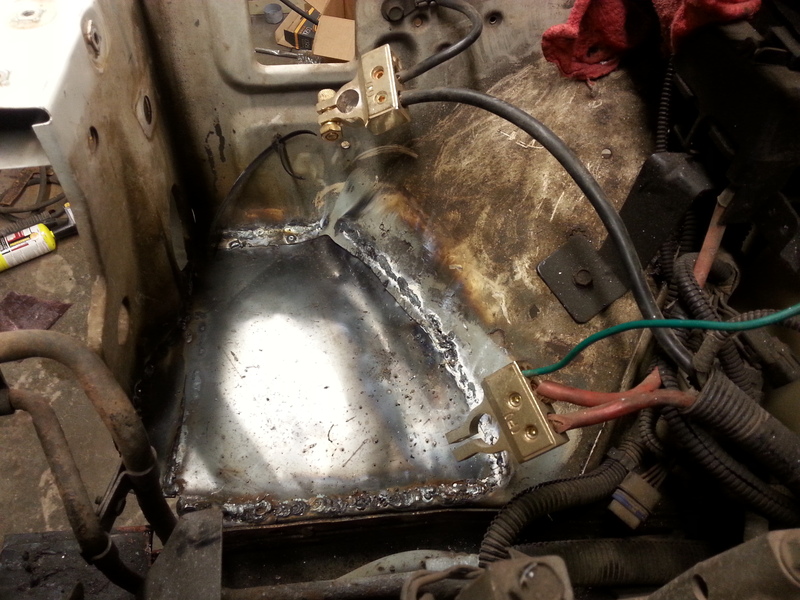
Last bit of welding. Battery had rust...so I cut it out and put a piece of 14 gauge in there. Got it red hot with the map gas to hammer the lip in. That should hold.
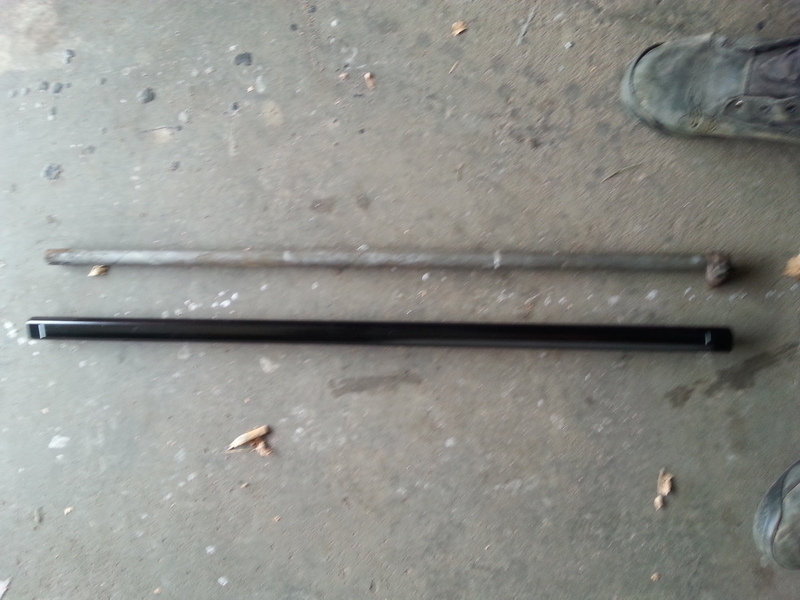
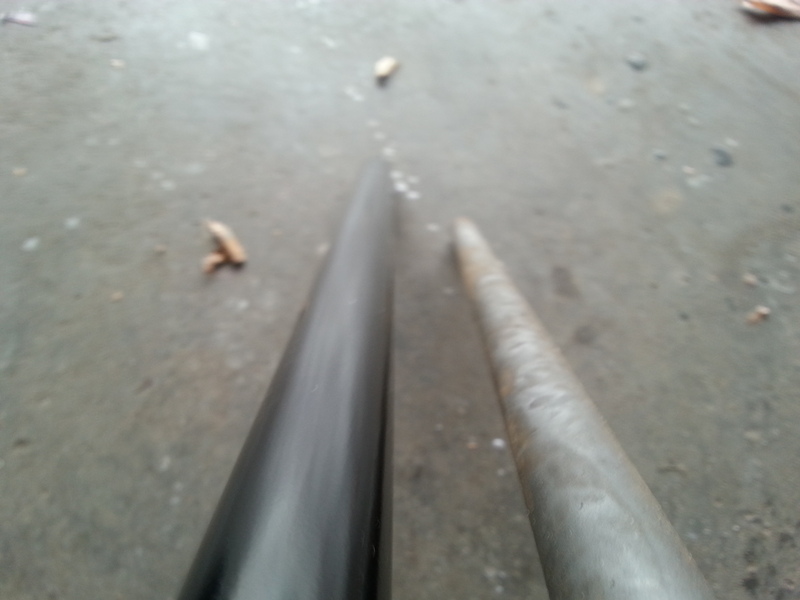
Since I had the tie rod out for when I unbolted the track bar for the stiffeners...I figured why not get an IRO one.
Things are going along. The stock trackbar mount worked with the stiffeners...but it sucked getting it to fit. I used new grade 8 bolts in there and it eventually lined up. Probably will get a bad *** one later and weld it but that is later.
Front stiffener prep


Couldn't get the bolts out....had to cut the hinges...order new ones (expensive) and re weld.

welded the **** out of the hinge to the new thick steel cut out I had it isn't gonna sag now!

ZJ Upcountry coils and spacer up front with IRO adjustable arms...rear is getting a Rubicion express full length aal


JCR gas tank skid all painted up!

Gas tank hung

Last bit of welding. Battery had rust...so I cut it out and put a piece of 14 gauge in there. Got it red hot with the map gas to hammer the lip in. That should hold.


Since I had the tie rod out for when I unbolted the track bar for the stiffeners...I figured why not get an IRO one.


Things are going along. The stock trackbar mount worked with the stiffeners...but it sucked getting it to fit. I used new grade 8 bolts in there and it eventually lined up. Probably will get a bad *** one later and weld it but that is later.