
2 door 95 XJ: no idea what I'm doing with it

CF Veteran
Joined: Jan 2013
Posts: 1,029
Likes: 35
From: Colorado
Year: 1991 2-Door
Model: Cherokee
Engine: 4.0 liter
Add a battery to that list. It's not been holding a charge the last few days. I suspect the E-fans are drawing current even with the car off as occasionally they'll be spinning very slowly even after it's been parked for several hours. Going to run a manual switch into the car so I can totally turn them off if needed.

Thread Starter
Junior Member
Joined: Jan 2016
Posts: 68
Likes: 0
From: Coloradical
Year: 95
Model: Cherokee
On my trip to Ouray my Xj's electric fan wasn't coming going up Monarch pass. So I decided to wire it manually so that when I wanted to be sure it was on when I am pushing my XJ hard. It works great except when you allow your son-in-law run the trail and he forgets about it!!
I still plan on adding an additional pusher fan up front on a manual switch, I'm just not convinced these pair of 12's is moving enough air. It's been warm, not hot lately and even with those fans cranking my temps still sit around 210-220 in traffic and I haven't even kicked the A/C on (yes it works, I've never owned an XJ with working A/C!!).
Thread Starter
Junior Member
Joined: Jan 2016
Posts: 68
Likes: 0
From: Coloradical
Year: 95
Model: Cherokee
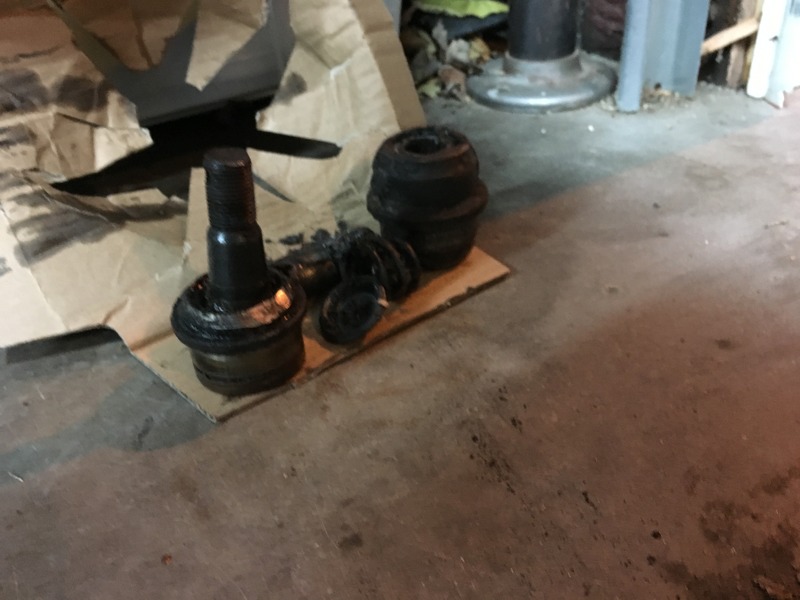
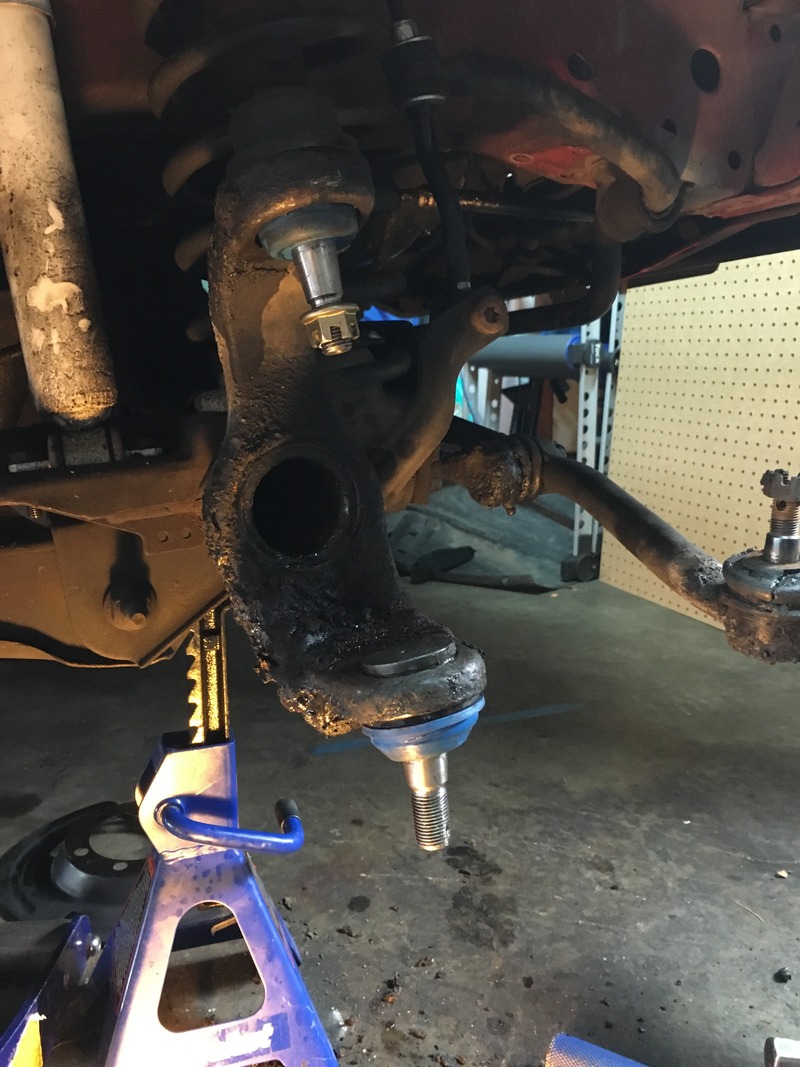
Finally wrapped up the ball joints and wheel bearings. Should have been a weekend job that turned into most of sunday and the last two evenings. Sheesh. Alot of trial and error as I'd never done ball joints before or used a press. Took me an hour or so to realize the tool I rented was missing one of the crucial pieces also 
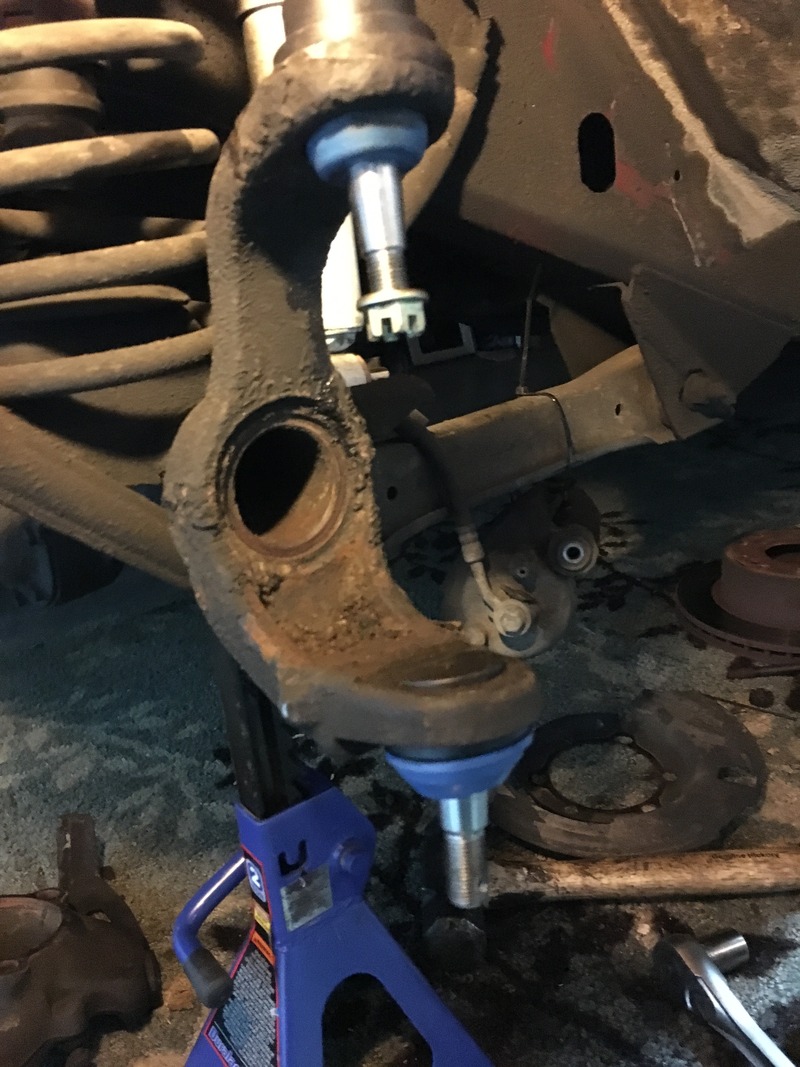
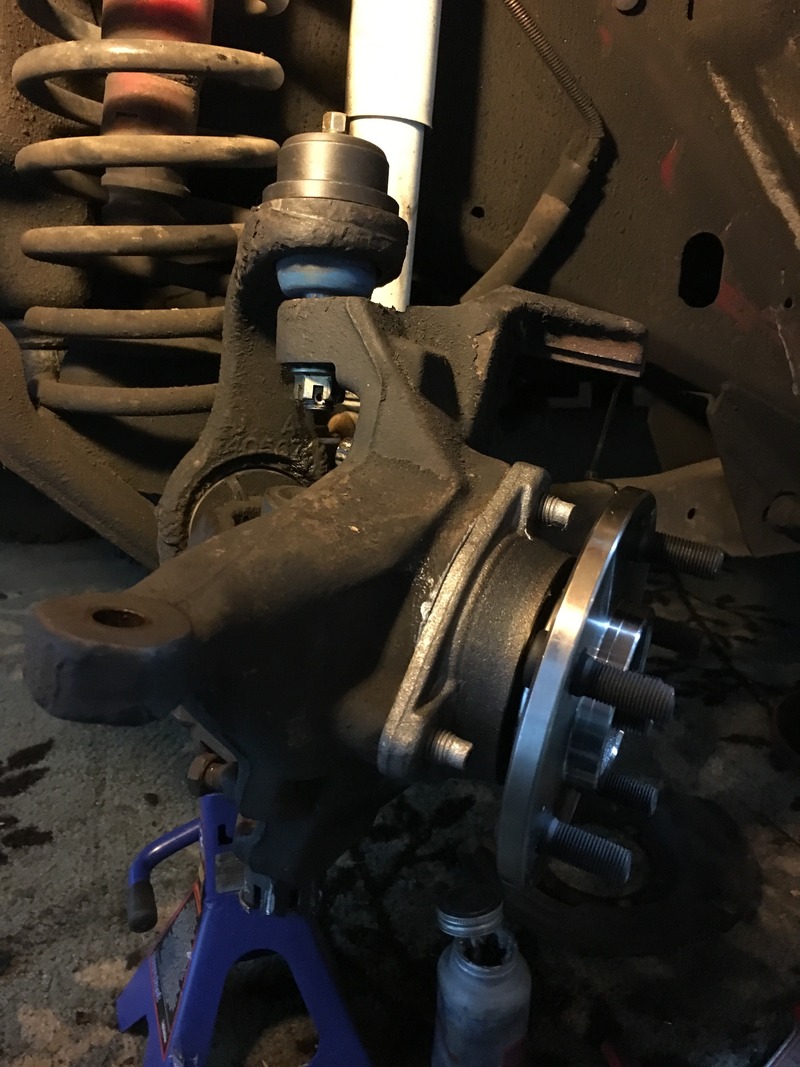
Got the right side torn down and and back in Sunday, took me about 6 hours total, what a nightmare. Monday evening after work I dove into the left side and had it torn completely down in like 40 min. Guess things are easier the second time around, lol.
Freakin mess
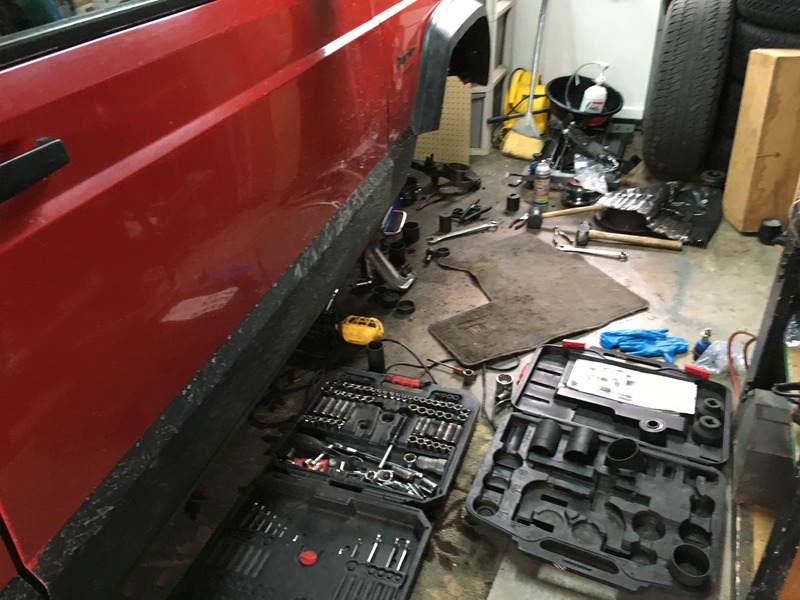
Right side all torn down
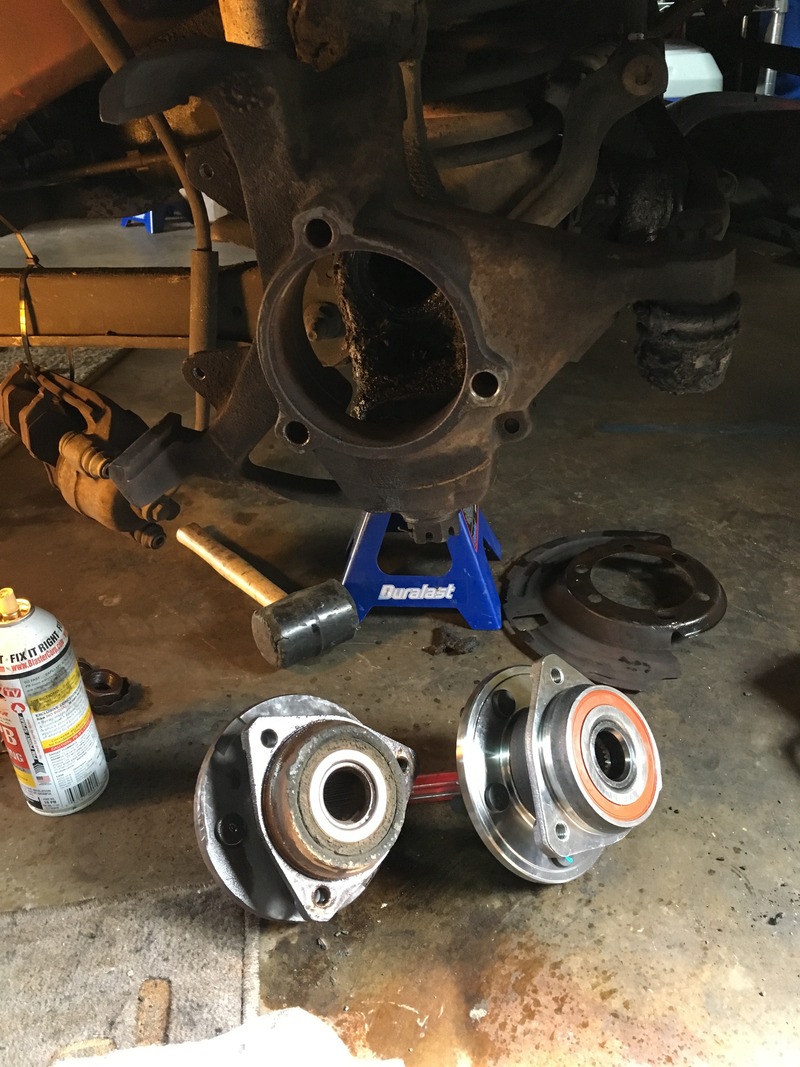
new vs. old wheel bearing
Old crap
Lots of swear words and a few beers later
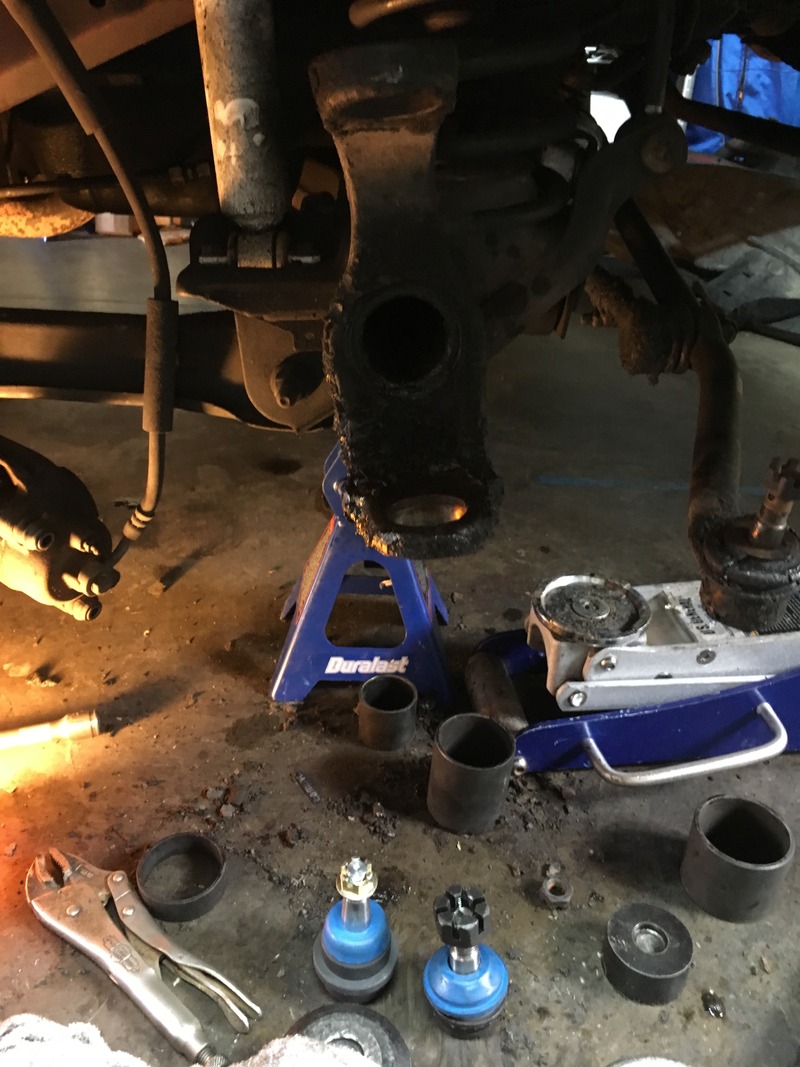
Came out in more than one piece
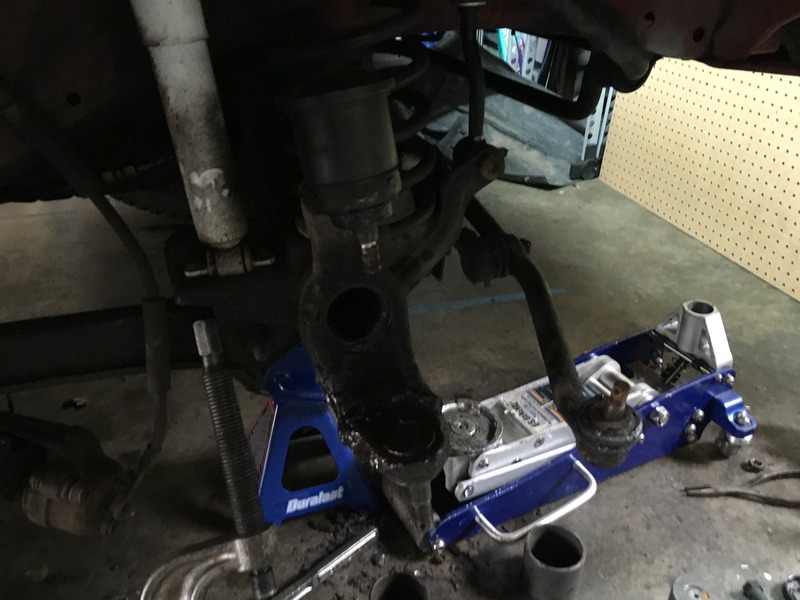
New stuff pressed in
Other side
New wheel bearing
(the cotter pin on the upper joint is in, don't worry)
..and I still have tie rods to do but I'm debating upgrading the steering linkage before I do.
The truck drives a hell of a lot nicer now. The front end doesn't crash around over bumps and nearly everything but the tie rods in the front end is brand new now except the tie rods which I have yet to install.
Got the right side torn down and and back in Sunday, took me about 6 hours total, what a nightmare. Monday evening after work I dove into the left side and had it torn completely down in like 40 min. Guess things are easier the second time around, lol.
Freakin mess
Right side all torn down
new vs. old wheel bearing
Old crap
Lots of swear words and a few beers later
Came out in more than one piece
New stuff pressed in
Other side
New wheel bearing
(the cotter pin on the upper joint is in, don't worry)
..and I still have tie rods to do but I'm debating upgrading the steering linkage before I do.
The truck drives a hell of a lot nicer now. The front end doesn't crash around over bumps and nearly everything but the tie rods in the front end is brand new now except the tie rods which I have yet to install.
Last edited by Nick_S; Apr 14, 2016 at 09:09 PM.
CF Veteran
Joined: Oct 2013
Posts: 7,378
Likes: 2
From: Miami, fl
Year: 1998
Model: Cherokee
Engine: 4.0
Is it me or does every Dana 30 driver side bottom ball joint always barely clear that lip to slide the clip in? I notice it in your pics and it reminded me of my install of the ball joints....
Great progress though...for sure install new steering for peace of mind later...
Great progress though...for sure install new steering for peace of mind later...
Thread Starter
Junior Member
Joined: Jan 2016
Posts: 68
Likes: 0
From: Coloradical
Year: 95
Model: Cherokee
Ok good, so I'm not crazy. I stared at them for like 10 min wondering how the hell they were supposed to go on. Checked the old ones and they didn't even have it.
Thread Starter
Junior Member
Joined: Jan 2016
Posts: 68
Likes: 0
From: Coloradical
Year: 95
Model: Cherokee
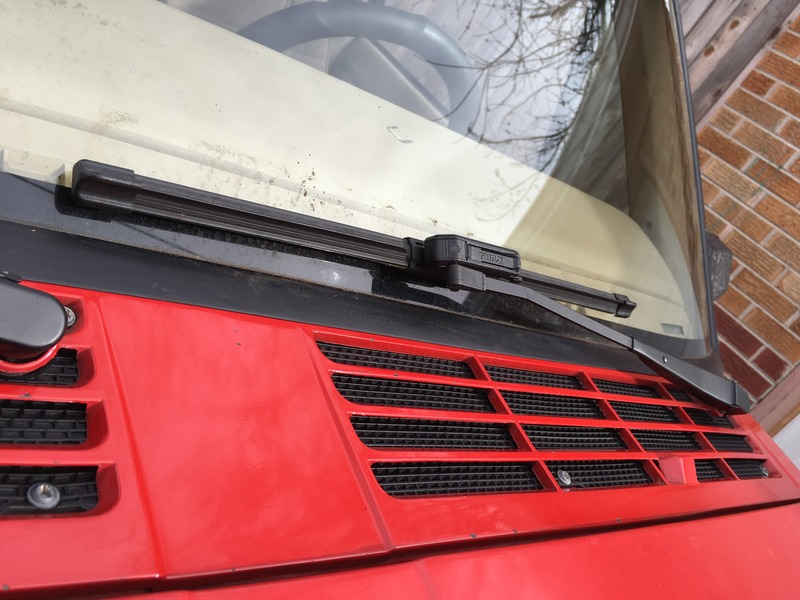
Had a nice productive day tidying up some odds and ends I've meaning to get to. First up was a new serp belt. Mine had been squeaking and the edges showed some fraying. I had just done the idler pulley a few days prior thinking it was squeaking but it was the belt.
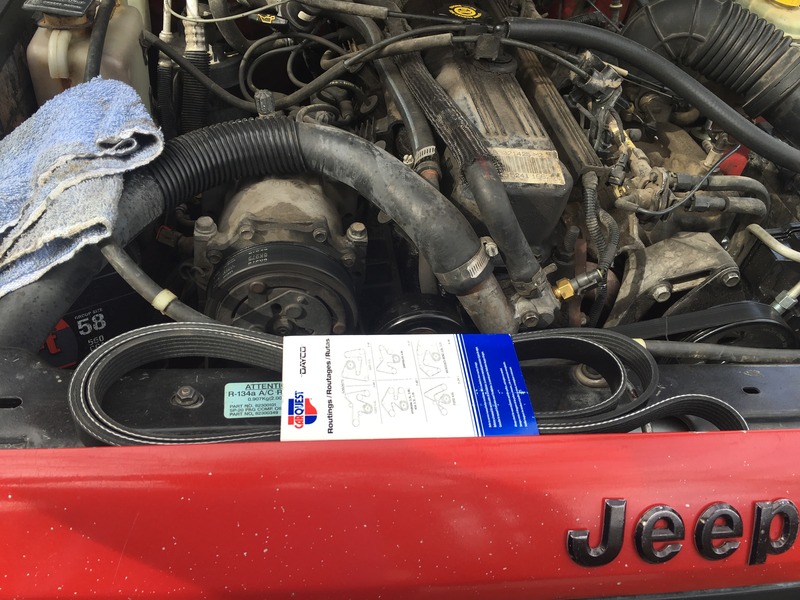
Nice and quiet now and the belt no longer slips when I kick the AC on.
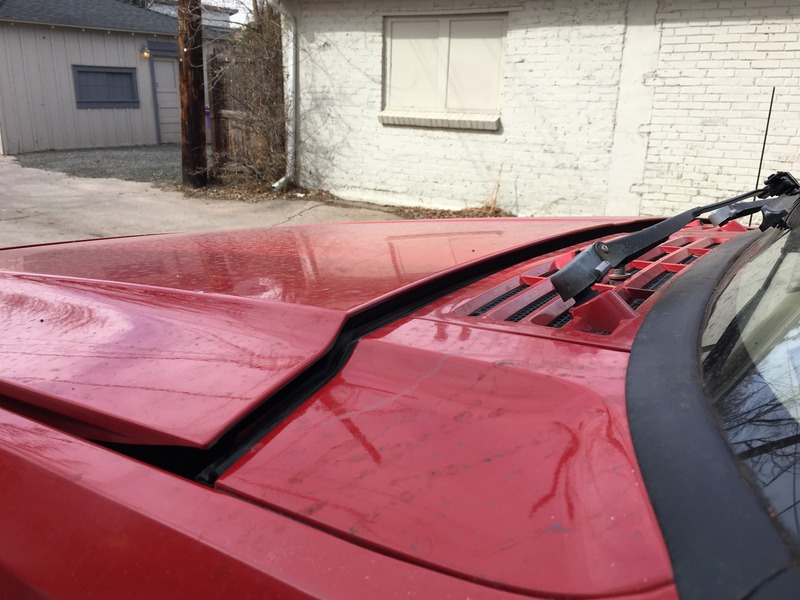
Spaced up the rear of the hood for looks and better cooling
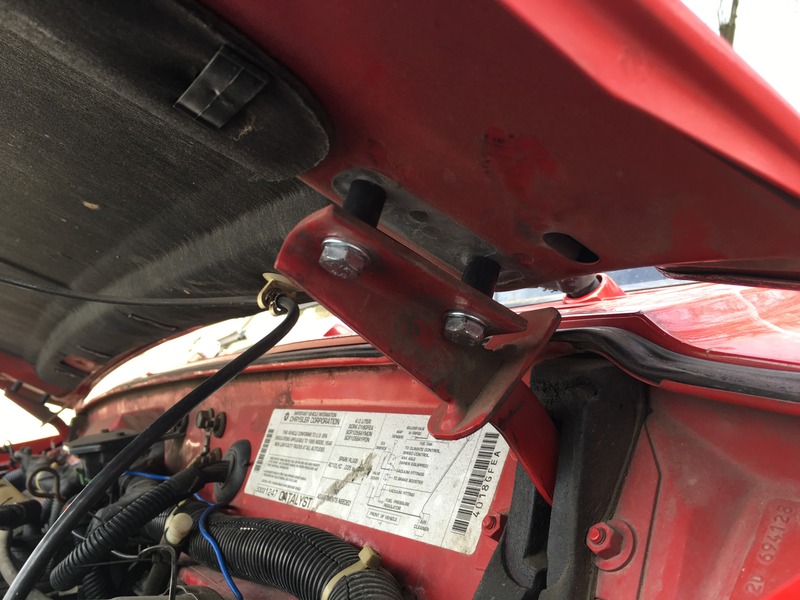
Vented just enough for some air flow
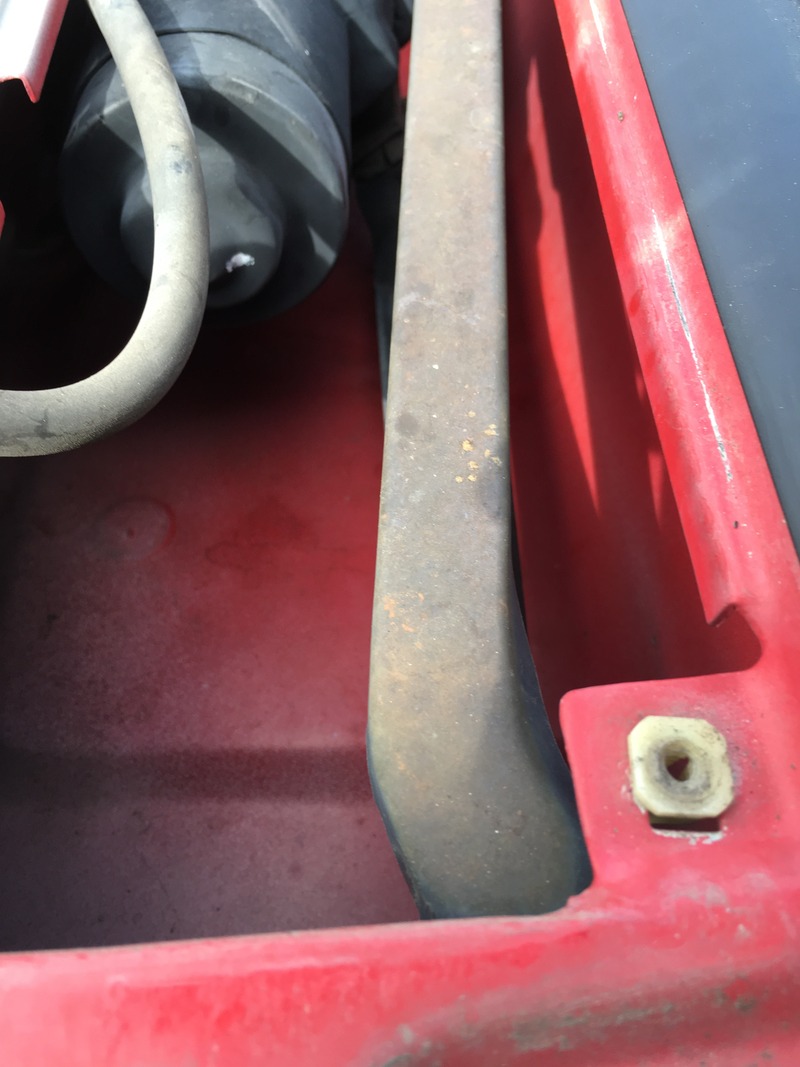
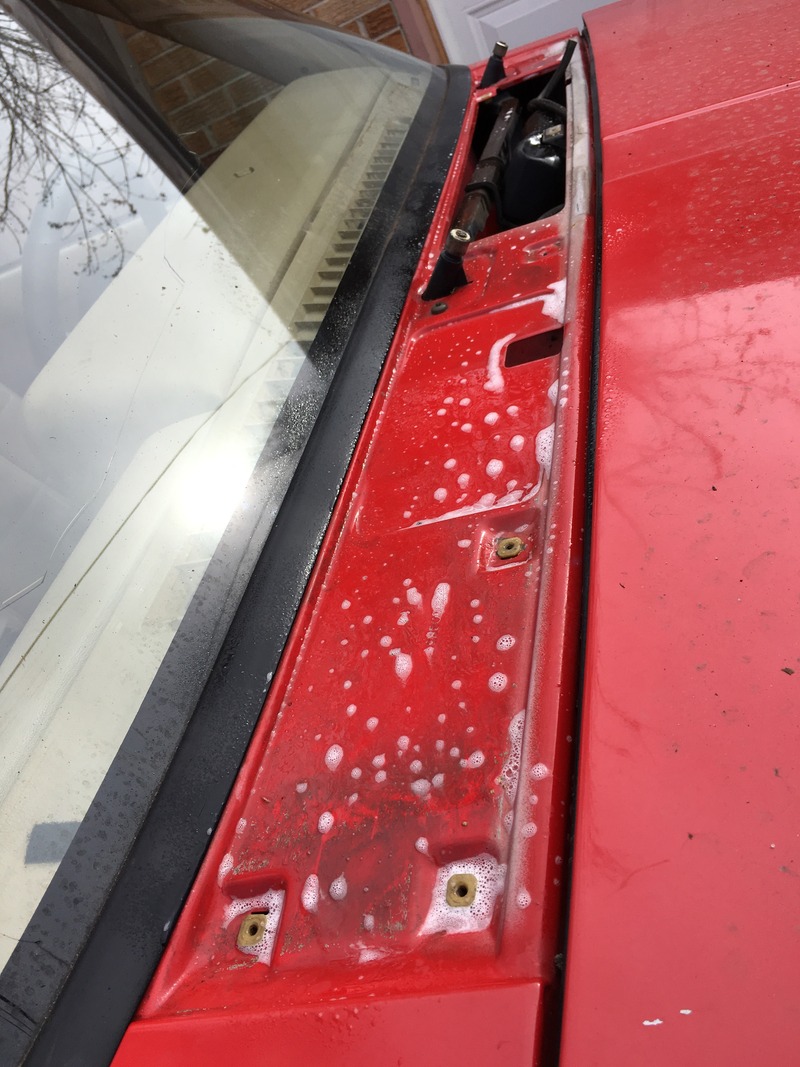
Then I decided to clean up the cowl itself a bit. It always bugs me when windshield wipers arms are all chipped and faded so I pulled those to paint, pulled the cowl and mesh off to clean up and paint too,
Old dingy wiper arms

Relieved to find absolutely zero rust down here
Of course, I couldn't pull off this panel without cleaning and waxing under it.
That'll do.
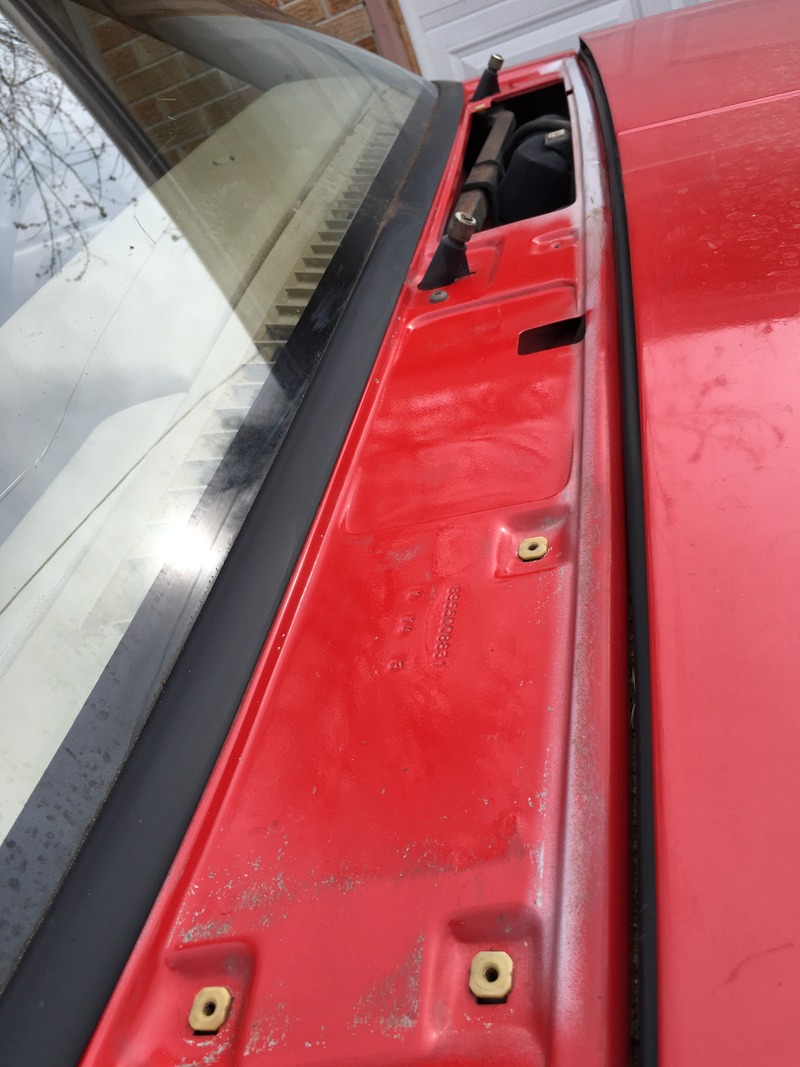
Gave the cowl a nice coat of wax too.
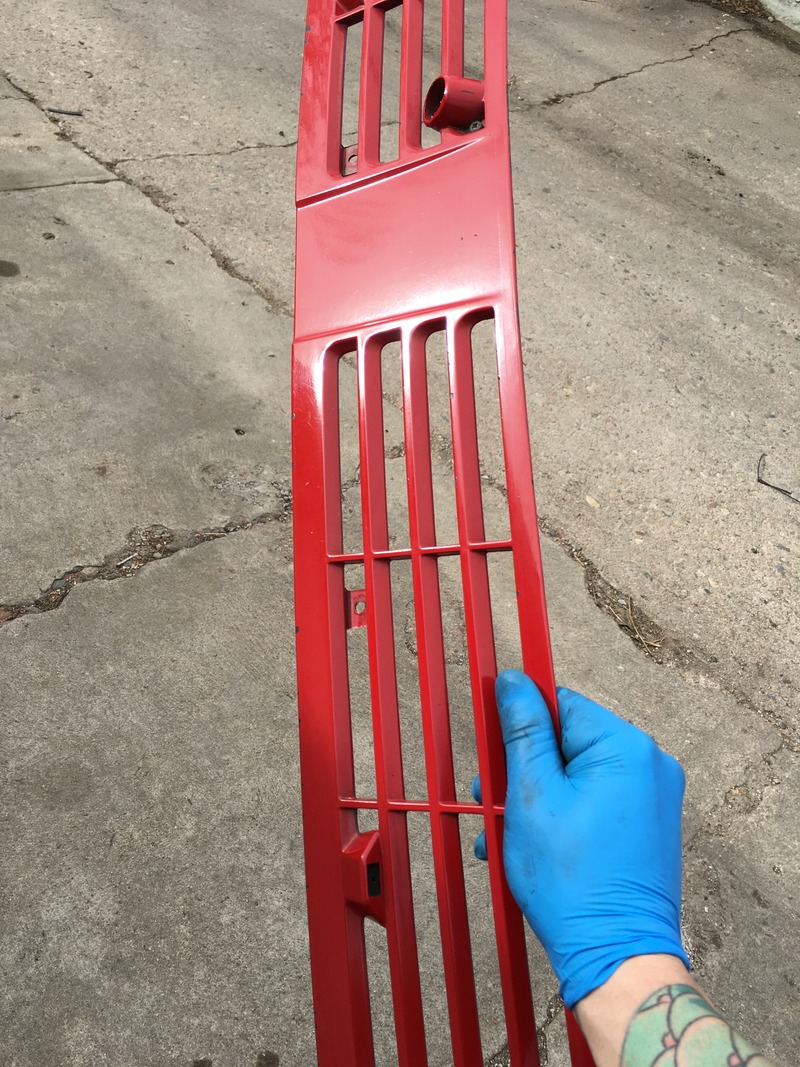
Painted up the mesh and put it all back together. SO much better. It's the little details that make an old car look good again and this only took like 25 minutes.
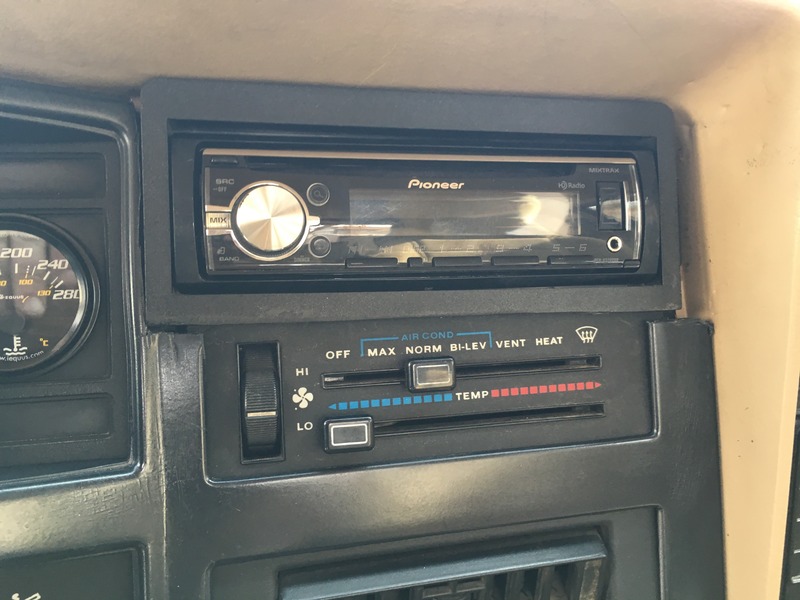
Finally got around to actually mounting my stereo in place. It was all kinds of hacked up behind there so the actual mounting kit wouldn't work, had this universal one laying around, screwed it in and cut the dash bezel (which was already broken and hacked up) and it actually looks a hell of a lot better than I was expecting.
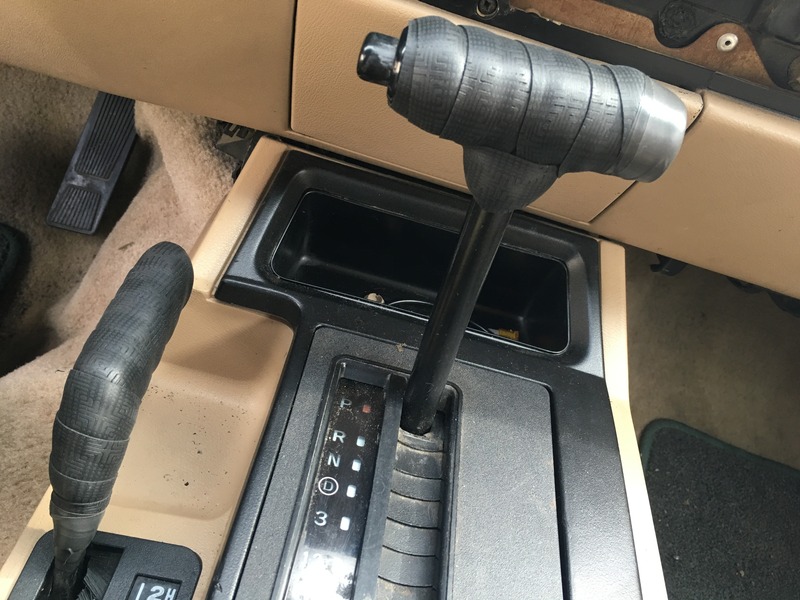
Then, just because. I took some old bar wrap from my road bicycle and wrapped the shift and t-case lever. I'm a sucker for soft touch interfaces in my cars.
Tomorrows I'm going to try and tackle the remenants of the PO poor attempt at painting trim. Over spray is EVERYWHERE.
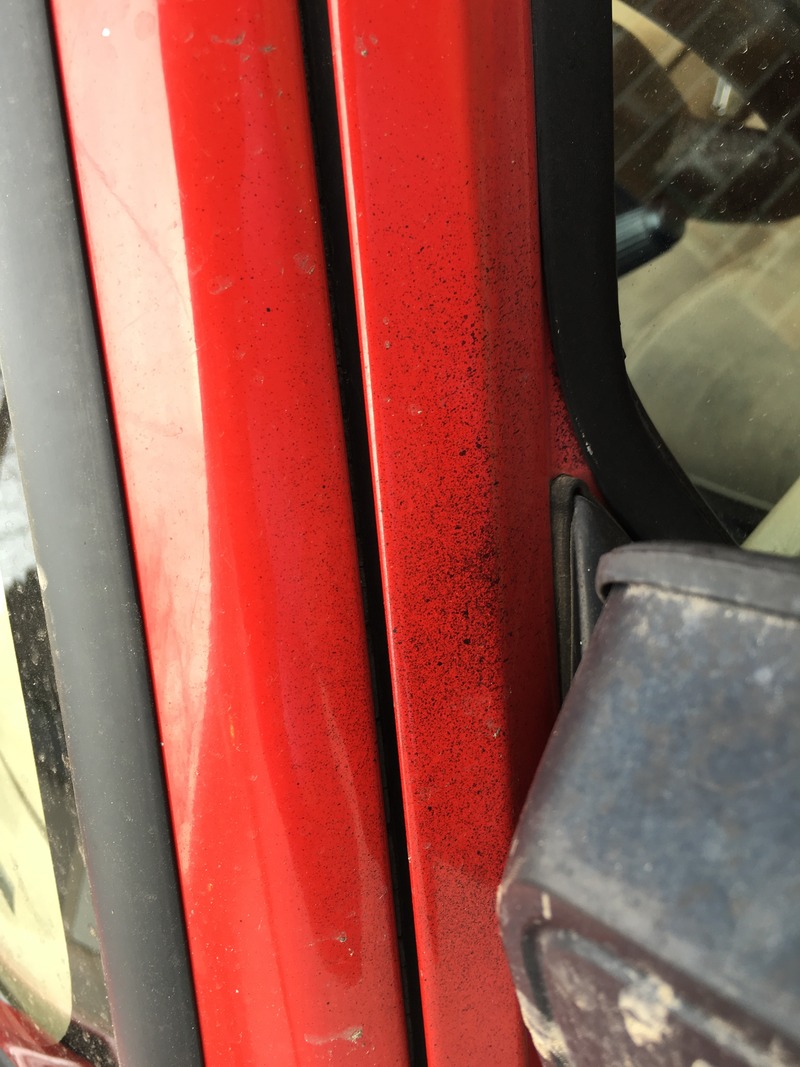
This crap drives me nuts and while this won't ever be a detailed mall crawler, I still want it to not look like Stevie Wonder tried to touch up the trim.
Nice and quiet now and the belt no longer slips when I kick the AC on.
Spaced up the rear of the hood for looks and better cooling
Vented just enough for some air flow
Then I decided to clean up the cowl itself a bit. It always bugs me when windshield wipers arms are all chipped and faded so I pulled those to paint, pulled the cowl and mesh off to clean up and paint too,
Old dingy wiper arms
Relieved to find absolutely zero rust down here
Of course, I couldn't pull off this panel without cleaning and waxing under it.
That'll do.
Gave the cowl a nice coat of wax too.
Painted up the mesh and put it all back together. SO much better. It's the little details that make an old car look good again and this only took like 25 minutes.
Finally got around to actually mounting my stereo in place. It was all kinds of hacked up behind there so the actual mounting kit wouldn't work, had this universal one laying around, screwed it in and cut the dash bezel (which was already broken and hacked up) and it actually looks a hell of a lot better than I was expecting.
Then, just because. I took some old bar wrap from my road bicycle and wrapped the shift and t-case lever. I'm a sucker for soft touch interfaces in my cars.
Tomorrows I'm going to try and tackle the remenants of the PO poor attempt at painting trim. Over spray is EVERYWHERE.
This crap drives me nuts and while this won't ever be a detailed mall crawler, I still want it to not look like Stevie Wonder tried to touch up the trim.
Last edited by Nick_S; May 4, 2016 at 10:57 PM.

Thread Starter
Junior Member
Joined: Jan 2016
Posts: 68
Likes: 0
From: Coloradical
Year: 95
Model: Cherokee
Well, thanks to some low life sack of dog ****. The choice of which of my cars to keep was easy as I was contemplating selling my CRV or the Jeep.
Woke up to find my CRV had been stolen. Real ****ing cool -_______-
They snagged my BMX with it which is probably worth nearly what the car is. I hate thieves.
Woke up to find my CRV had been stolen. Real ****ing cool -_______-
They snagged my BMX with it which is probably worth nearly what the car is. I hate thieves.
CF Veteran
Joined: Oct 2013
Posts: 7,378
Likes: 2
From: Miami, fl
Year: 1998
Model: Cherokee
Engine: 4.0
That sucks!!!!
That's one main reason why I don't ponder onto the tuner world...
Had a few friends get their cars stolen and they were stock with just a set of rims...
That's one main reason why I don't ponder onto the tuner world...
Had a few friends get their cars stolen and they were stock with just a set of rims...
CF Veteran
Joined: Mar 2012
Posts: 1,024
Likes: 2
From: Quebec
Year: 1996
Model: Cherokee
Engine: 4.0L
i must replace my blower motor too and have the windshield fluid reservoir in the same spot. I tried the other day on another XJ at the junkyard to know what I'm getting into, but it looked like I have to remove the fuse box in order to access the bottom bolt holding the reservoir. did you have to do that? you made it sound like it's was a lot easier ("Removed the washer reservoir and 3 screws and it was out. "), so just curious.
great xj btw!
great xj btw!
Thread Starter
Junior Member
Joined: Jan 2016
Posts: 68
Likes: 0
From: Coloradical
Year: 95
Model: Cherokee
It's messed up. I never thought CRV's were that much of a target but after a quick bit of interneting it seems they're quite the hot commodity. Especially the first generations like I had. Mine was lowered on coilovers but not dramatically and was otherwise bone stock. Pretty boring car to go through the hassle of stealing.
Thread Starter
Junior Member
Joined: Jan 2016
Posts: 68
Likes: 0
From: Coloradical
Year: 95
Model: Cherokee
i must replace my blower motor too and have the windshield fluid reservoir in the same spot. I tried the other day on another XJ at the junkyard to know what I'm getting into, but it looked like I have to remove the fuse box in order to access the bottom bolt holding the reservoir. did you have to do that? you made it sound like it's was a lot easier ("Removed the washer reservoir and 3 screws and it was out. "), so just curious.
great xj btw!
great xj btw!
Thread Starter
Junior Member
Joined: Jan 2016
Posts: 68
Likes: 0
From: Coloradical
Year: 95
Model: Cherokee
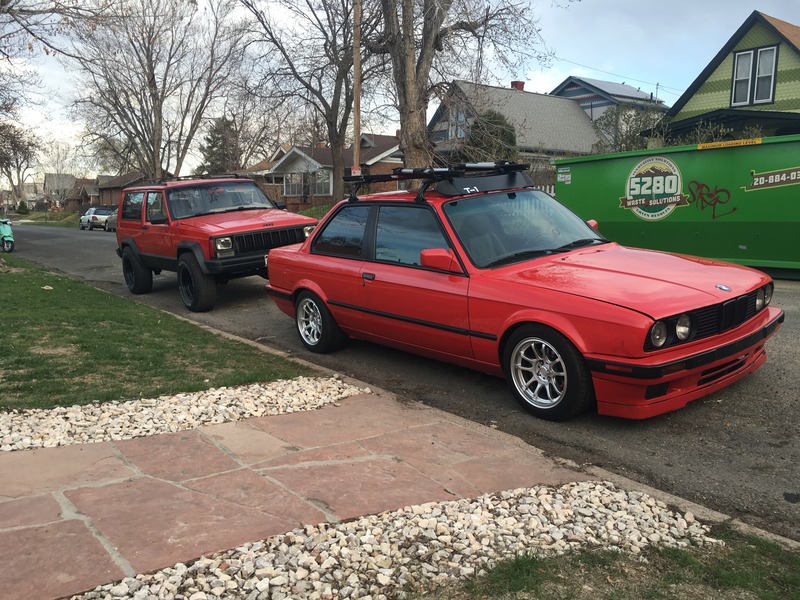
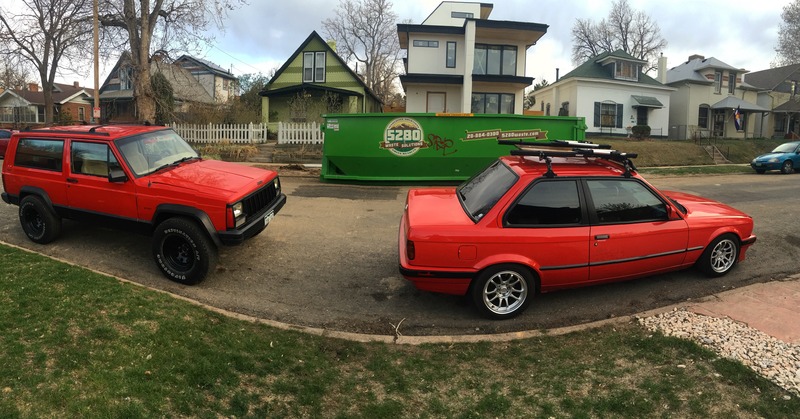
Nothing crazy to update. Last weekend I gave the rig a thorough wash, detailing, clay and a coat of Zymol Carbon wax. This thing cleans up pretty well!
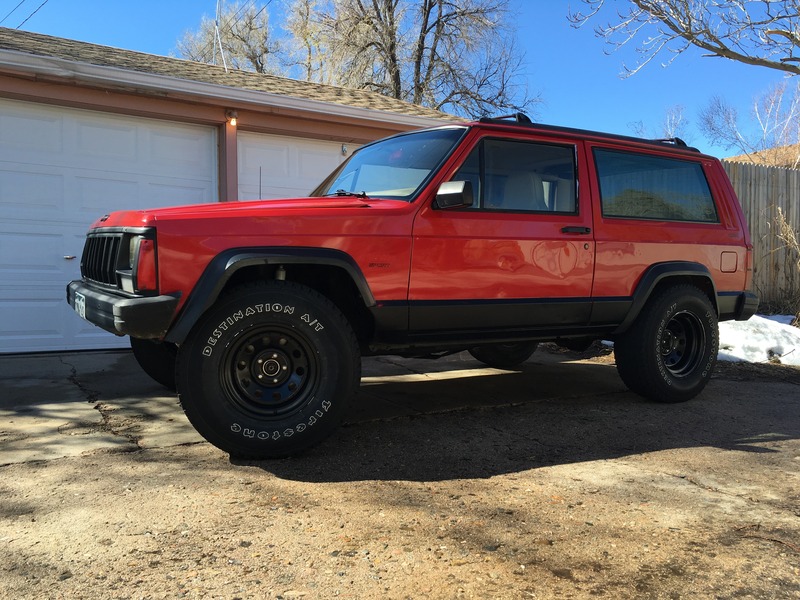
really brings out the dents, lol.
Had both the whips out for the day to. They look awfully good together. Red, two doors and old.
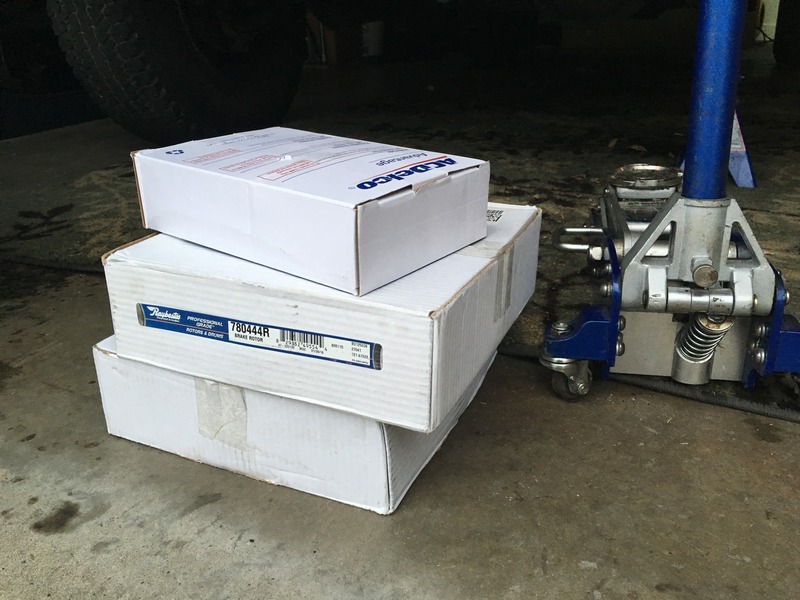
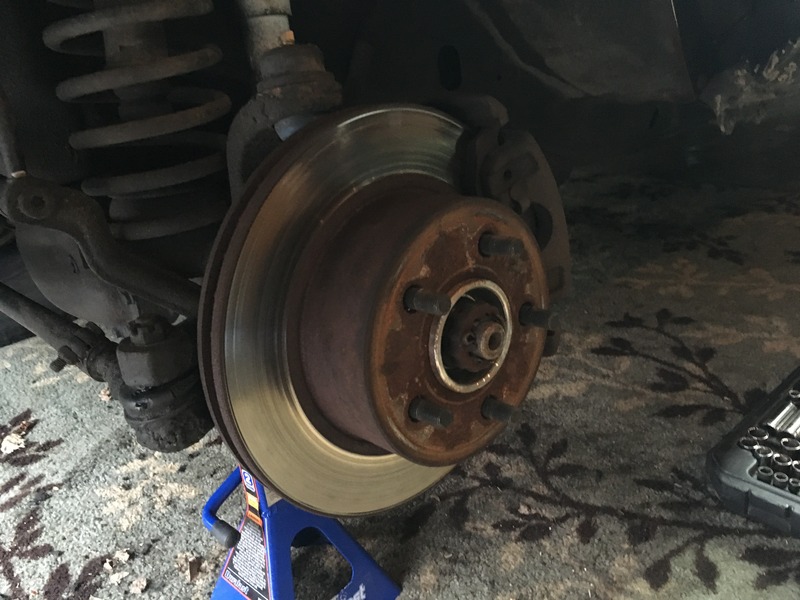
While doing my wheel bearings and such a few weeks ago I noticed the brakes were OK but could use some attention. Pads were less than 50% and the rotors had lots of scoring. Decided since this is now my daily to go ahead and do the brakes.
Old grimey stuff
New fresh fresh
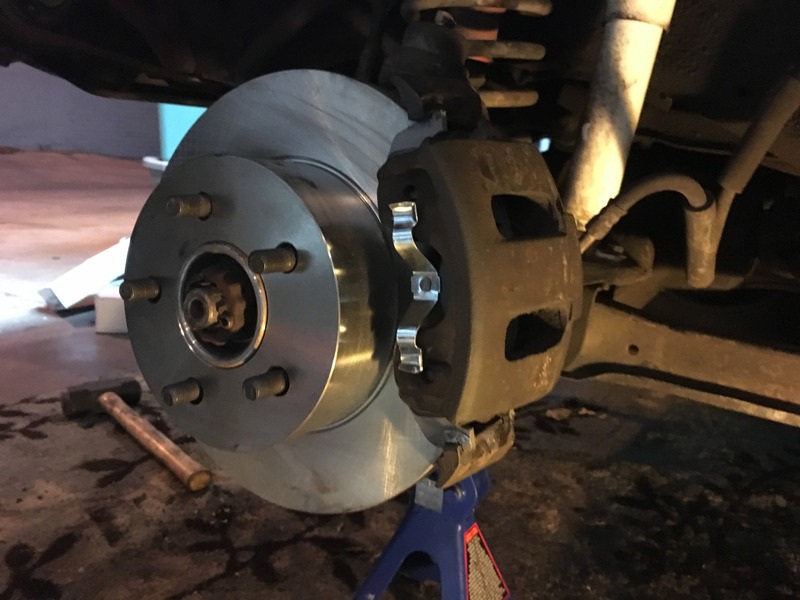
Sanded down the caliper and mounts where the pads meet, greased and lubed the slides and cleaned the boots (found one needs replaced, will revisit this weekend). Lubed everything and the brakes feel much much better.
Till next time!
really brings out the dents, lol.
Had both the whips out for the day to. They look awfully good together. Red, two doors and old.
While doing my wheel bearings and such a few weeks ago I noticed the brakes were OK but could use some attention. Pads were less than 50% and the rotors had lots of scoring. Decided since this is now my daily to go ahead and do the brakes.
Old grimey stuff
New fresh fresh
Sanded down the caliper and mounts where the pads meet, greased and lubed the slides and cleaned the boots (found one needs replaced, will revisit this weekend). Lubed everything and the brakes feel much much better.
Till next time!
Last edited by Nick_S; Apr 14, 2016 at 08:56 PM.