Jeep Cherokee 1997-2001: How to Replace Steering Column
Continue reading to learn how to remove and replace your rusty steering column in just a few easy steps.
This article applies to the Jeep Cherokee XJ (1997-2001).
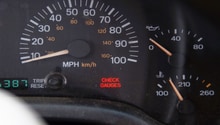
The steering column in your Jeep is an intricate and significant component. If you feel the steering clunk or get excessive movement over bumps, you'll likely find out that the column may be worn out. The cause could be several things, such as constant driving with a misaligned suspension or simply some consistent and excessive strain put on the steering. If there is something wrong with the steering column, it is often a good idea to replace the entire assembly, especially since the steering column is reasonably inexpensive.

Materials Needed
- Ratchet
- 8, 12, 13 and 15mm sockets
- Phillips screwdriver
Step 1 – Remove the lower dash and lights
- Using a Phillips screwdriver, remove the six screws between the upper and lower dash. Four screws are located next to the courtesy lights, and two screws are located behind the ashtray.
- After the screws have been removed, pull down and remove the lower dash panel.
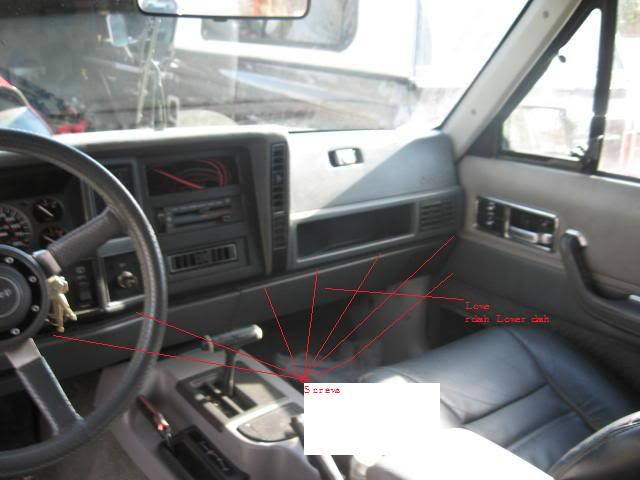
- Remove the two courtesy lights from the lower dash. The lights are located on each side of the lower dash.
- Remove the ashtray light by simply pulling it out from the blue holder.
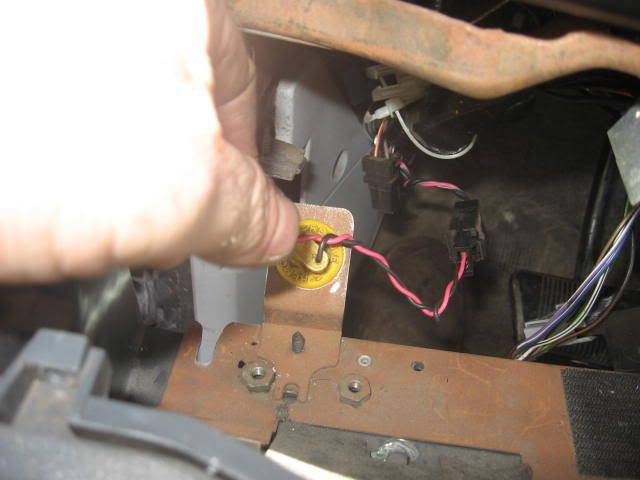
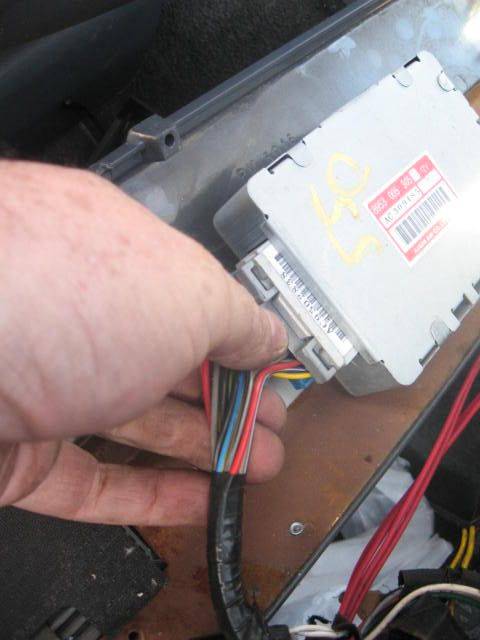
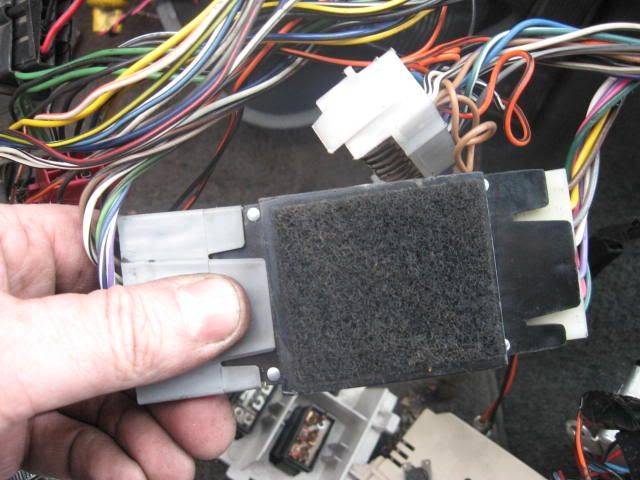
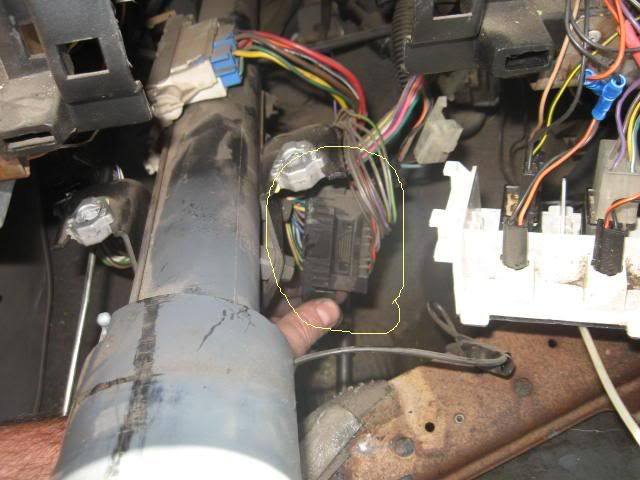
Step 2 – Remove the electrical connectors and modules
- Disconnect the electrical socket from the Transmission Control Unit (TCU) located on the right side of the lower dash. The TCU controls the transmission and is needed for the transmission to work.
- Remove the wiper intermittent control module, which is also located on the lower dash. The module controls the wipers as well as washers, and is fastened to the dash by Velcro.
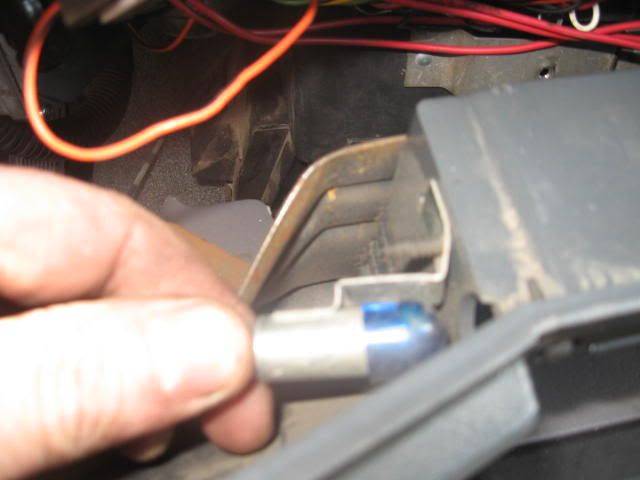
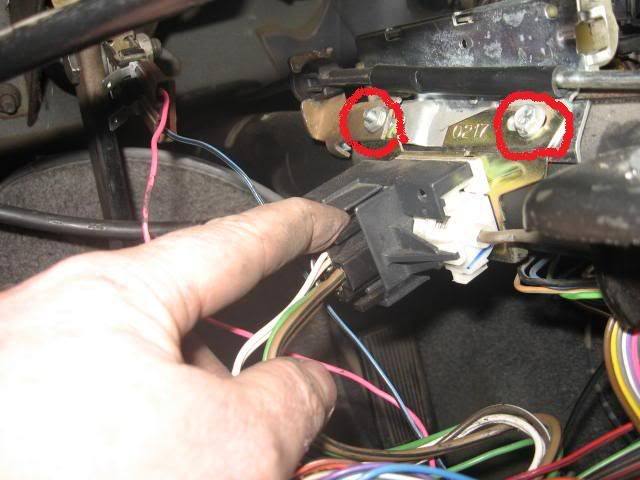
Step 3 – Detach the steering column from the body
- Using a ratchet and socket, remove the two 15mm nuts holding the steering column in place.

Pro Tip
You don't have to remove the four 13mm nuts on the steering column to remove it from the body.
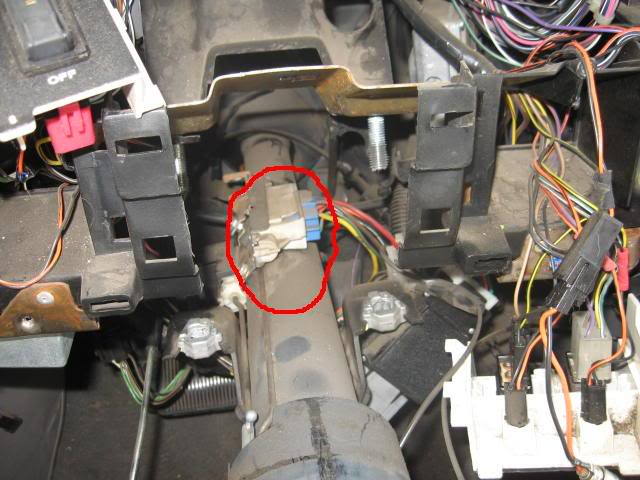
Step 4 – Remove the ignition switch and headlight cables
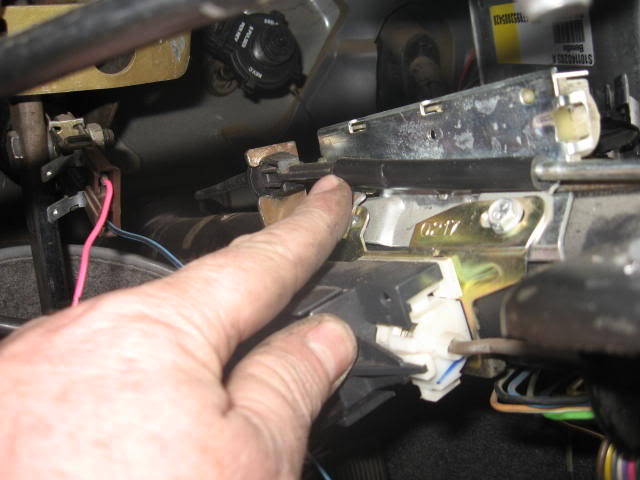
- Disconnect the ignition switch that is located halfway down the right side of the steering column. Unplug the wires by pushing the tabs on each side of the connector and pulling the connector free.
- Remove the two nuts holding the ignition switch in place.
Pro Tips
- Be very careful when removing the ignition switch. There is a rod connected to the tumbler in the column; if the rod falls off, you will have to disassemble the column to get it back on.
- The bracket for the ignition switch is grooved on one side, which makes it possible to adjust the switch if needed.
- Remove the locking cable from the steering column. It is connected to the lower column and goes to the upper column.
- Disconnect the wires from the headlight dimmer switch. This is the switch that changes the lights from low beams to high beams.
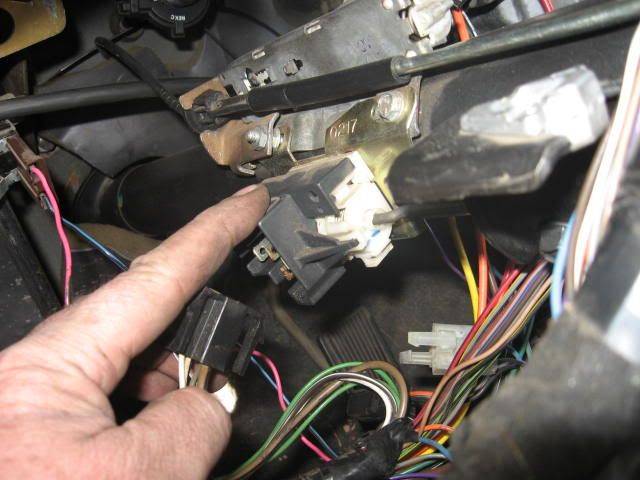
- Disconnect the turn signal and wiper harnesses on the right side of the ignition switch toward the front.
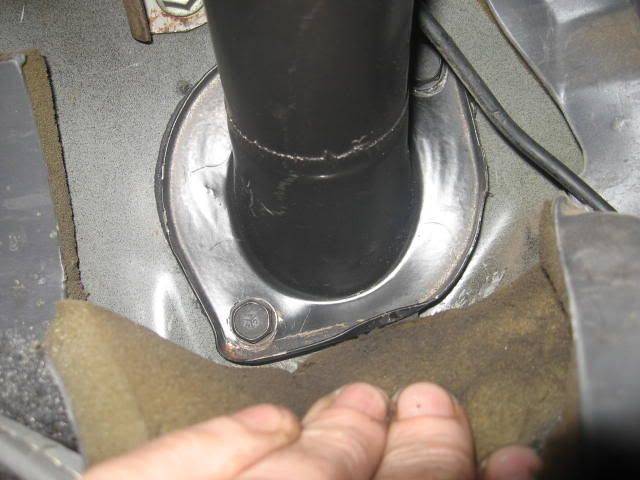
Step 5 – Remove flange bolts and disconnect the shaft
- Remove the two 13mm bolts from the flange that holds the steering column to the firewall.
- To get to the last bolt holding the steering column, the airbox has to be removed. Simply remove airbox cover as you would to replace the air filter.
- Then remove the two bolts and one 13mm nut located at the bottom of the box.
- Pull the airbox up and out of the engine bay.
- After the airbox has been removed, the lower steering shaft can be disconnected from the steering box by loosening a single bolt.
- Simply pull the steering box out and then set it aside.
Step 6 – Install the new steering column
Install in new steering column in reverse order to the steps above.
- Re-install the steering box.
- Connect the steering shaft and install the flange bolts.
- Reconnect the ignition switch and headlight cables.
- Attach and secure the steering column.
- Plug in the electrical connectors and modules.
- Re-install the lower dash panel and lights.
Related Discussions
- Steering Column Removal - CherokeeForum.com
- Steering Column Teardown and Repairs - CherokeeForum.com