Jeep Cherokee 1984-2001: How to Replace Ignition
The ignition switch serves as the driver's input to make the car's accessories and its engine start. Once the correctly sized key is inserted into the lock cylinder and rotated, this sends power to many different circuits including the starter, ignition, and fuel system.
This article applies to the Jeep Cherokee XJ (1984-2001).
The ignition switch serves as the vehicle's junction point for on/off operation of most electrical accessories. Common ignition switch positions include lock, accessory, on/run, and start/crank. When the ignition is turned to the start position, the starter motor is energized, spinning the flywheel and causing the motor to spin in order to begin combustion inside the cylinders. Turning the key back to the lock position should turn off all non-essential electrical circuits and lock the steering column.
Ignition switches can fail both electrically and mechanically. Springs inside of the ignition switch compress and contract with the movement of the key. These keep the switch electrical contacts in there proper position. Dirt can build up on these contacts, causing the ignition switch to work intermittently or not at all.

Materials Needed
- Socket set (8mm-17mm)
- 3/8" and 1/4" ratchets and extensions
- Flat head screwdriver (small and large)
- Torx screwdriver
- Tamper proof Torx socket (later model only)
- Ignition switch
The earlier model XJs (1984-1992) have the ignition switch mounted on the steering column about halfway down. The later model XJ's (1993-2001) have the ignition switch mounted close to the lock cylinder near the steering wheel.
Earlier Model XJ (1984-1992)
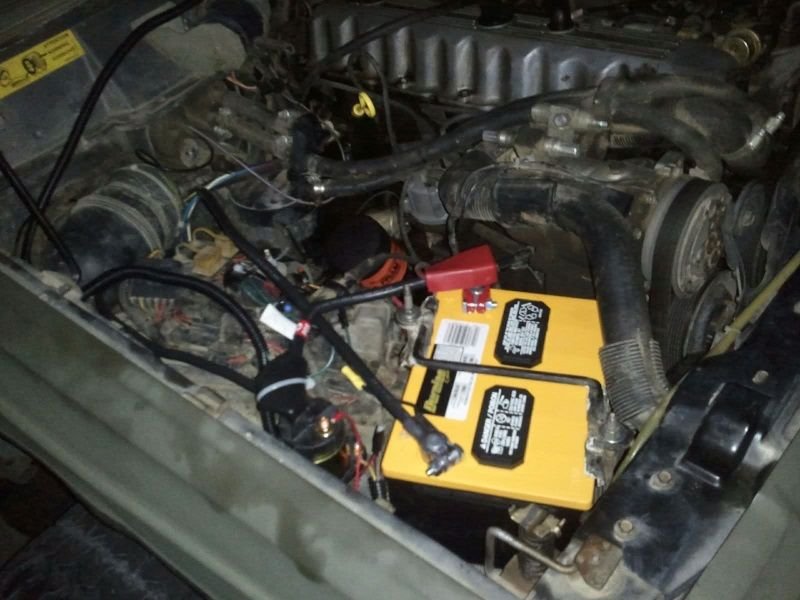
Step 1 – Disconnect the negative battery cable
Removing the negative (black) battery cable will ensure no accidental arcing will occur while working around wiring. It will also remove power from the airbag.
Step 2 – Remove the lower dash panel
Remove the screws holding the lower dash panel to the dashboard.

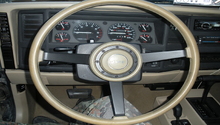
Step 3 – Lower the steering column
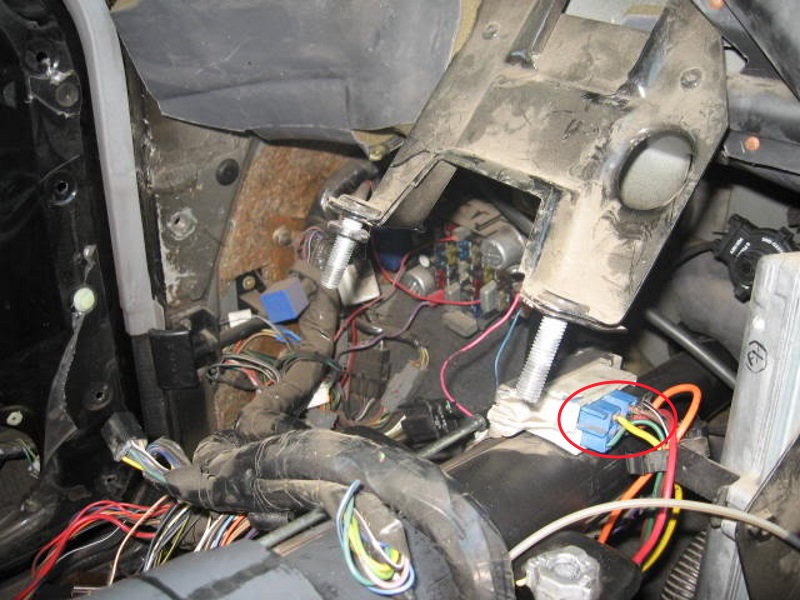
Remove the two nuts holding the steering column to the dashboard. There is one nut on each side.

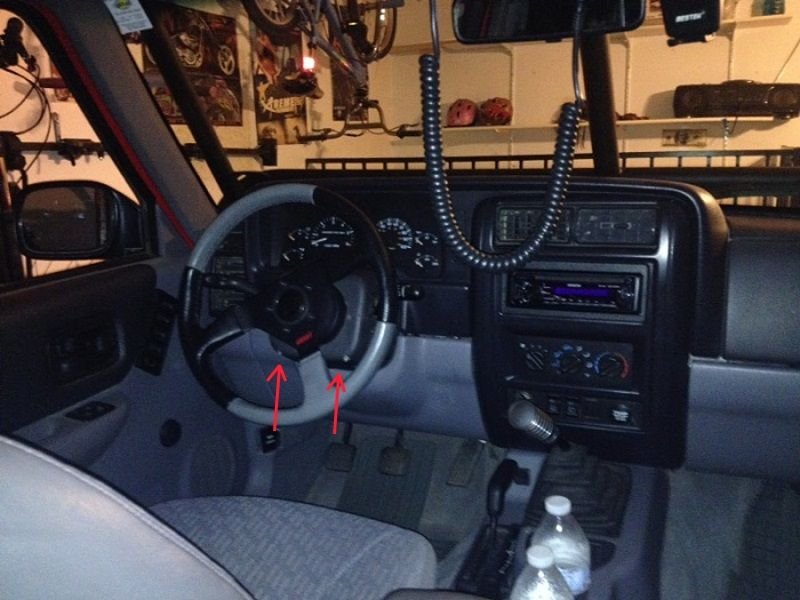
Figure 3. The steering column nuts. 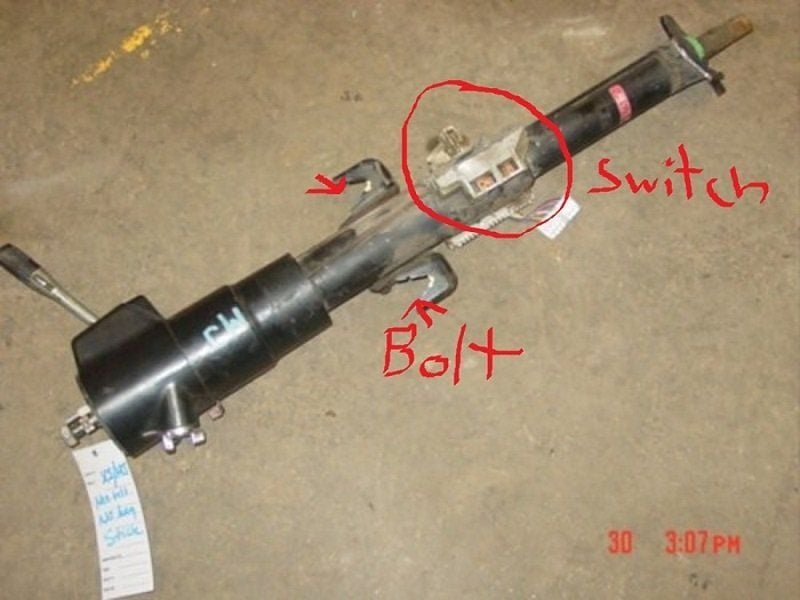
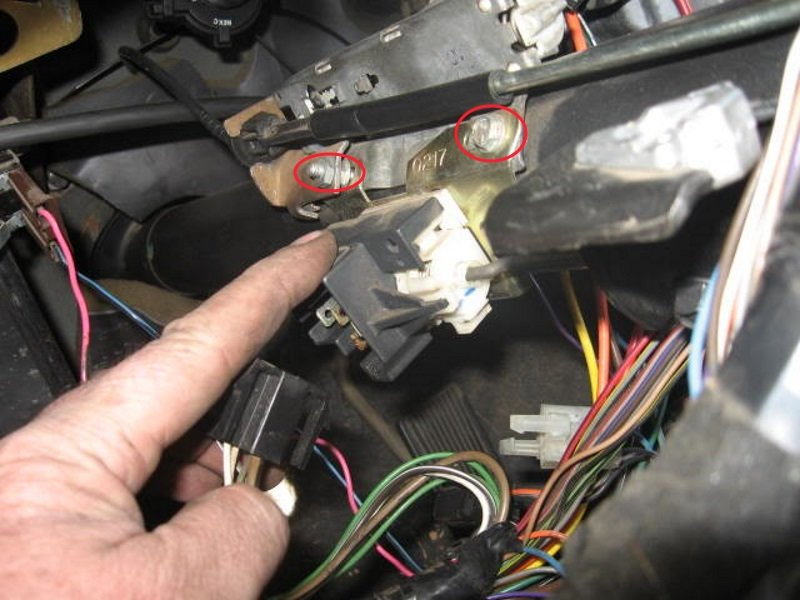
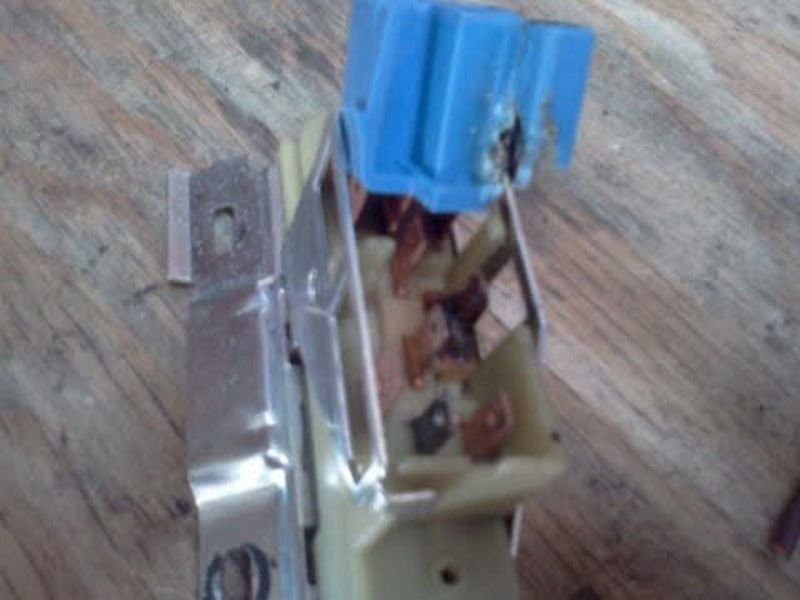
Figure 4. The ignition switch and column mounting nuts.
Step 4 – Replace the ignition switch
- Unplug the dimmer switch's electrical connector.

- Disconnect the ignition switch's electrical connectors.
- Remove the one nut as well as two bolts holding the ignition and dimmer switches to the steering column.
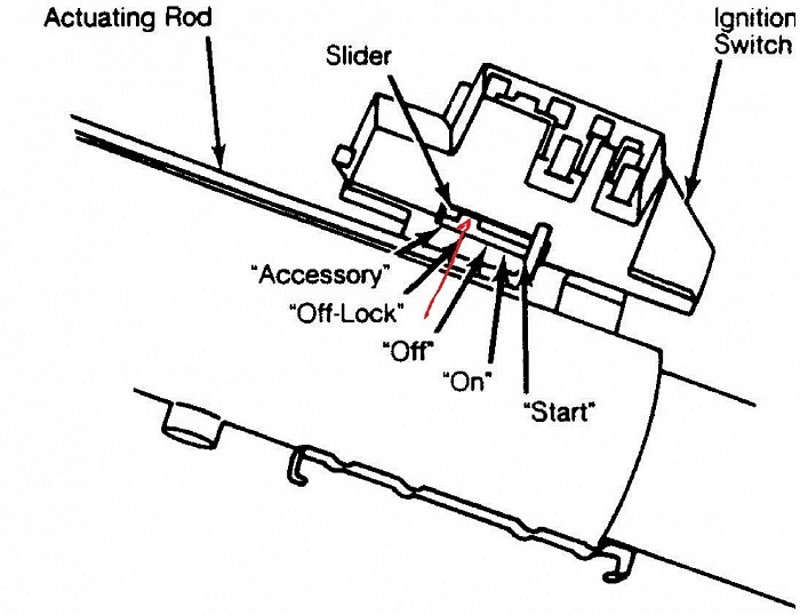
- Remove the actuating rod from the ignition switch. Move the ignition lock cylinder to the off/lock position. The actuating rod can then be pulled from the switch.
- Install the switch in the reverse order of removal. Check the electrical connectors for damage/burns. If damage is present, you will need to replace the connector as well.
Later Model XJ (1993-2001)
Step 1 – Disconnect battery and remove steering column
Remove the negative (black) battery cable. Also, remove the steering column by tilting the lever counterclockwise.
Step 2 – Remove the steering column's upper and lower trim panels
Using a Torx driver, remove the three screws located on the bottom of the lower panel.
Step 3 – Remove the ignition switch
First disconnect the illumination and chimes connector from the switch. It is located directly behind the lock cylinder. Bend up the flexible tab on the connector and pull down on the plug.
- Remove the three ignition switch's mounting bolts using a tamper proof Torx bit.
- Disconnect the main electrical connector from the ignition switch.
- Disengage the two locking tabs on each side of the connector and pull the connector away from the switch.
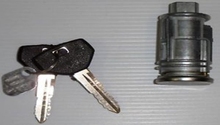
Step 4 – Install the lock cylinder into the new ignition switch
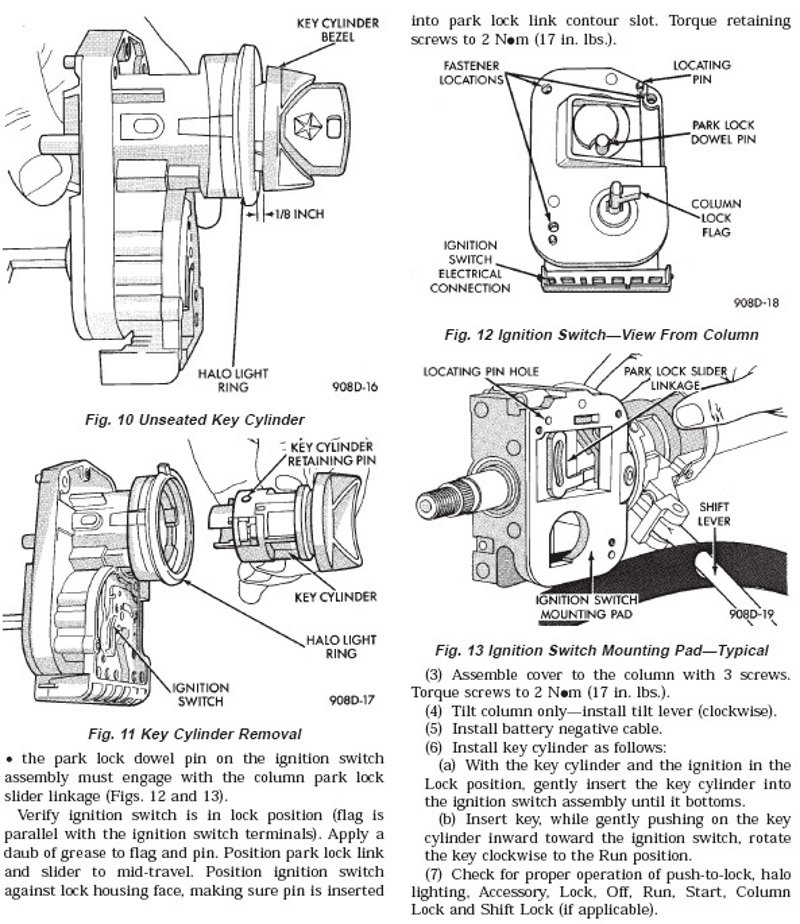
Using your key, turn the lock cylinder to the start position. Use a small screwdriver or punch to push the lock pin down. You should see the lock cylinder slightly withdraw from the ignition switch. Turn the lock cylinder back to the off position and pull the lock cylinder out of the ignition switch. The column lock flag must be at the three o'clock position.
Slide the lock cylinder into the new ignition switch. Align the lock pin on the lock cylinder to the lock pin housing on the ignition switch. Press inward on the key while rotating the switch to the start position. You will see the lock pin slide up and into the hole. Make sure the park lock dowel pin is in the six o'clock position. Refer to Figure 12 for component locations.
Step 5 - Complete the installation
Install the ignition switch to the steering column in the reverse order of removal. If the ignition switch is hard to mount onto the column, make sure the component alignments are correct.
Featured Video: Jeep Ignition Switch Replacement
Related Discussions
- Wipers, Turn Signals, I Got Nothing - CherokeeForum.com
- How to Replace Ignition Switch '94 XJ - CherokeeForum.com
- Steering Column Repair - CherokeeForum.com
- Replacement Steering Wheel - CherokeeForum.com