Jeep Cherokee 1997-2001: How to Replace Instrument Panel Bulbs
In this article we'll tackle swapping out dead bulbs in your instrument panel to keep your Jeep Cherokee's interior looking brand new!
This article applies to the Jeep Cherokee XJ (1997-2001).
Lights burn out. Unfortunately, like wiper blades and brake pads, light bulbs are wear and tear items you'll have to address at some point. Burnt out instrument panel bulbs are one of those items that will eventually need addressing. But don't fret, you can handle that yourself!

Materials Needed
- Plastic panel pry tool (can carefully use a flat head screwdriver)
- Screwdrivers
- Gloves for safety
Step 1 – Buy bulbs
Order the bulbs you think you will need to replace. You won't want your car to be out of commission while you wait for the bulbs to arrive, so plan accordingly. You'll see later in this article the two main types of bulbs you'll need to swap, which will help you determine what to order beforehand.
Step 2 – Gain access
The bulb sockets are located behind the gauge cluster, since it's rear illumination. So the first logical progression will be to remove the dash cluster to be able to work on it.
You'll begin by removing the center console trim. This just pries right off with a few body tabs. A good tip would be to put the car in 1st, so the shift lever is out of the way as you pull it away and off.
- Next up, remove the four screws (two on either side of the A/C controls, and two on either side of the A/C center vent).

Figure 1. Remove the center console and stereo head unit. 
Figure 2. Remove the rear screws.
- Don't lose those screws!
- You'll pry off the actual bezel to get the cluster out. Start from the bottom right corner.
- Here you'll remove the rubber collar around the steering column.

Figure 3. Remove the lower bezel. 
Figure 4. Remove the steering column protector.
Pro Tip
Whenever dealing with anything electrical, it's always a great idea to disconnect the car's main battery. This prevents you from accidentally grounding out and shorting fuses or melting wires.
Step 3 – Remove cluster screws
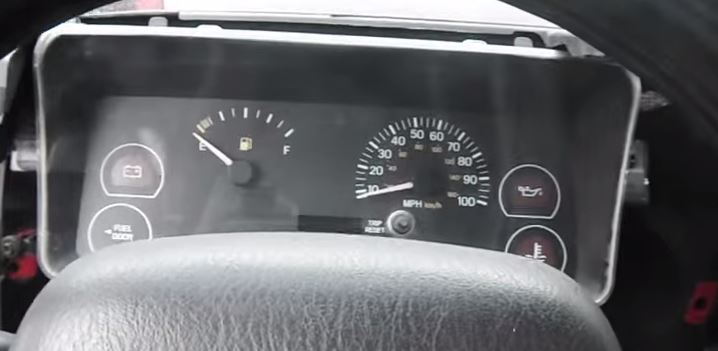
After all that work, you finally have access to our prize: the cluster. Just a few small steps and we'll have it out. Now go around the edge to locate and remove the four cluster screws.
Step 4 – Replace bulbs
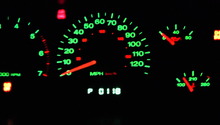
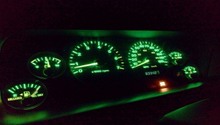
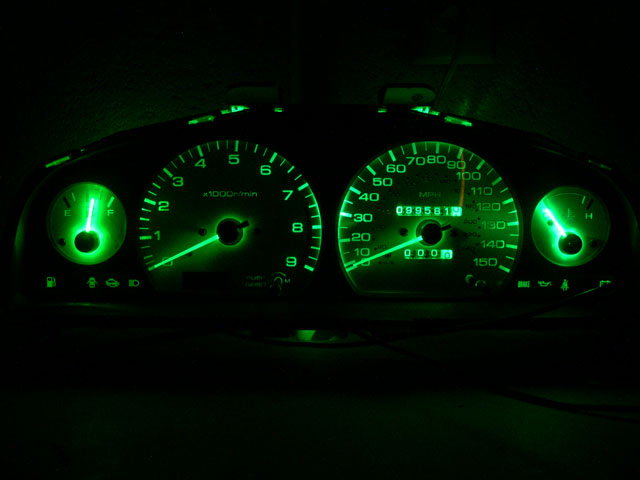
Now that you have your cluster in your hands, it's time to change out those bulbs. There are options for you though, and if you always wanted to have the dash illuminated with a different color, now would be the time to go ahead and swap out all the bulbs to a different color.
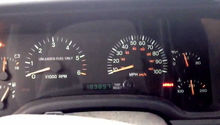
From the back you can see the five main illumination spots, and then the smaller sockets for the individual functionality.
Here are the bigger sockets. Depending on the year, some clusters have a few less main bulbs.
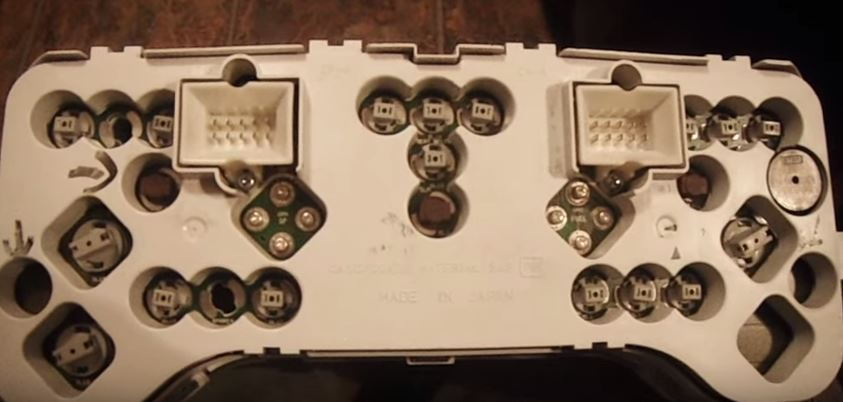
Here are the bigger ones, and the smaller individual ones.
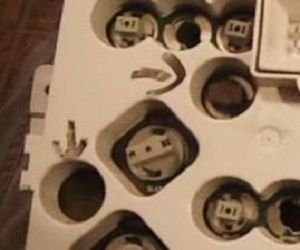
Figure 7. Larger bulb holes. 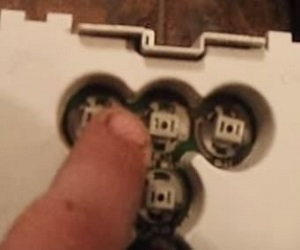
Figure 8. Smaller bulb clusters.
Step 5 – Reinstall
Sit back and enjoy the fruits of your labor. You can feel good about that fact you did it yourself, and your dash now looks how it did when it rolled out of the showroom.
All that remains is reassembly.
- Line the cluster back up and screw it in place.
- Reinstall the steering column protector and plastic bezel.
- Reattach the center console, stereo head unit, and all screws.
Featured Videos: How to Change Instrument Cluster Bulbs
Related Discussions and Video
- Instrument Panel Removal - Bulb Replacement - CherokeeForum.com
- Instrument Cluster Dead - CherokeeForum.com
- Replacing Instrument Cluster Bulbs - CherokeeForum.com
- Gauge Cluster Bulbs Help - CherokeeForum.com
- Gauge Cluster Bulbs - CherokeeForum.com
- How to Change Jeep Cherokee Dash Cluster - YouTube.com