Jeep Grand Cherokee 1993-1998: How to Replace Headlight Switch
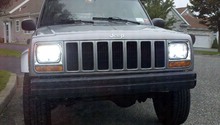
Are your headlights flickering or not working at all? Learn how to fix that by reading this guide.
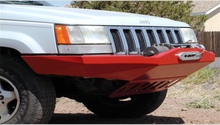
This article applies to the Jeep Grand Cherokee ZJ (1993-1998).
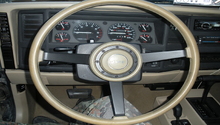
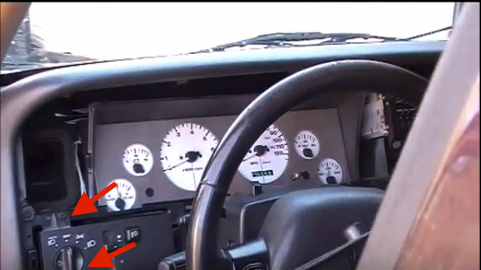
Your Jeep's headlight switch is mounted to the dash panel just to the left of the steering wheel, in between the steering column and the door panel. The headlight switch allows you to turn your headlights on, off, or set it in auto mode to avoid leaving your lights on by accident. This switch can become worn out and affect your headlights' performance due to wear and tear. And as time goes by, not only is having faulty headlights unsafe, but it's also illegal while driving at night. Follow this step-by-step guide to remove and replace the headlight switch in your Jeep Grand Cherokee.

Materials Needed
- Phillips screwdriver
- Trim removal tool (optional)
Step 1 – Remove the dashboard's plastic trim
The headlight switch is surrounded by a plastic trim (imitation wood in the "Limited" trim) that crosses over from the switch on the left side of the dash, over the steering column, and to the A/C and heater controls on the main dash.
- Grab one corner edge of this trim piece and gently start popping it out with your hands. Keep in mind this trim is held by clips that you must try to not break.
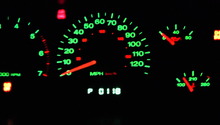
- Once the trim is removed, carefully remove the plastic bezel trim surrounding the gauge cluster. (Some Grand Cherokee model years may require a Phillips screwdriver for this step).
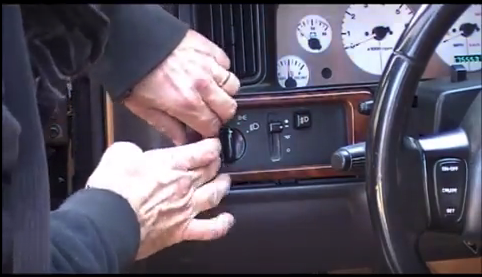
Figure 1. Gently make your way around the trim and remove it. 
Figure 2. Remove trim around the climate control panel last. 
Figure 3. Remove the gauge cluster bezel.
Step 2 – Remove the headlight switch
Once the plastic trim has been removed, you can remove the faulty headlight switch.
- Use a Phillips screwdriver to remove the two screws holding the headlight switch in place. Simply remove the one on top of the switch followed by the one below it.
- Pull the switch housing toward you, and unplug the wire connector behind it.
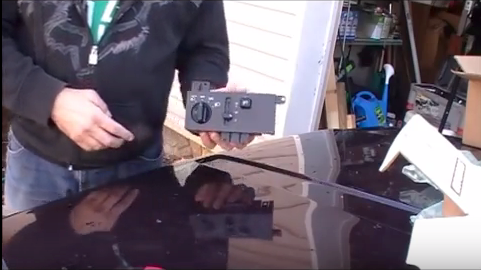
- The switch should be completely free at this point, so now you can remove and set it aside.
Step 3 – Install the new headlight switch
Installing the new headlight switch works in reverse order to the removal of the old one. Follow these steps to make sure nothing is left behind:
- Plug in the wire connector to the back of the new headlight switch unit.
- Tighten down the two Phillips screws above and below the headlight switch.
- Re-install the gauge bezel.
- Re-install the plastic trim on the dashboard.
- Finally, test the headlight switch.
Featured Video: How to Replace Headlight Switch
Related Discussion
- Jeep Headlight Switch Replacement - CherokeeForum.com