Jeep Grand Cherokee 1999-2004: How to Stop Coolant Leak
A coolant leak can look minor, but it can lead to an overheating engine in your Jeep Grand Cherokee. Learn how to stop the leak here.
This article applies to the Jeep Grand Cherokee WJ (1994-2004).
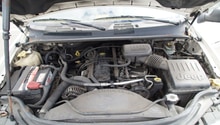
A coolant leak might look like a stain in the driveway, but in reality, it is your radiator working less and less effectively each day. The lower the coolant is in your Jeep Grand Cherokee, the less effective your radiator will work to cool your engine. As the coolant level gets too low, you will be faced with a massive overheating issue. There are products called stop leak that are designed to fill any holes in the radiator, as it hardens up when poured in there. However, many people forget to check if the leak is coming from a different component rather than the radiator itself. Read on to learn how to check and fix coolant leaks.

Materials Needed
- Flashlight
- Stop leak product
- Container
- Antifreeze 50/50 mix
- Rags
The first step will be to check which component is causing the leak. Your coolant leak could be coming from your hoses, radiator, heater core, or head gasket.
Step 1 – Determine the source of the leak
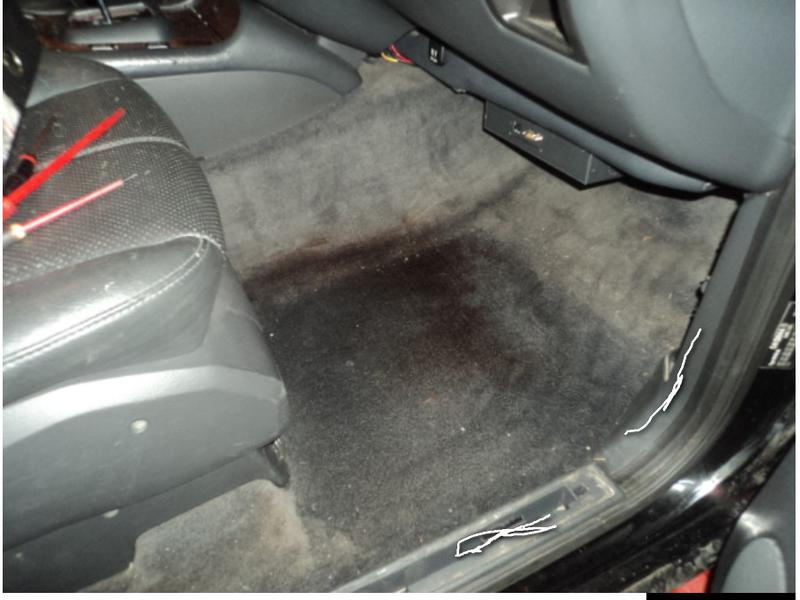
If the leak is inside your vehicle, on the passenger side's floor, then the leaking component is your heater core. In which case, take the Jeep to your auto shot to fix and avoid one of the hardest procedures you can do in your vehicle.
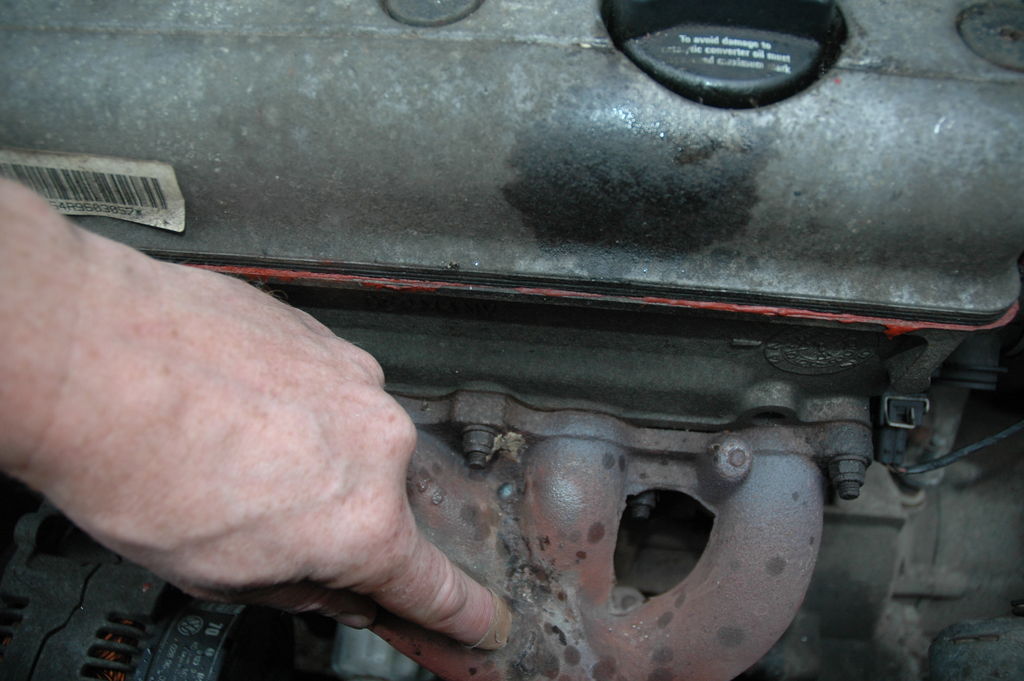
If you locate a coolant leak on the bottom of your exhaust manifold, then you probably have a blown head gasket. If you determine a blown head gasket is the issue, take your car to an auto shop to replace it for you.
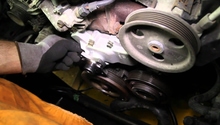
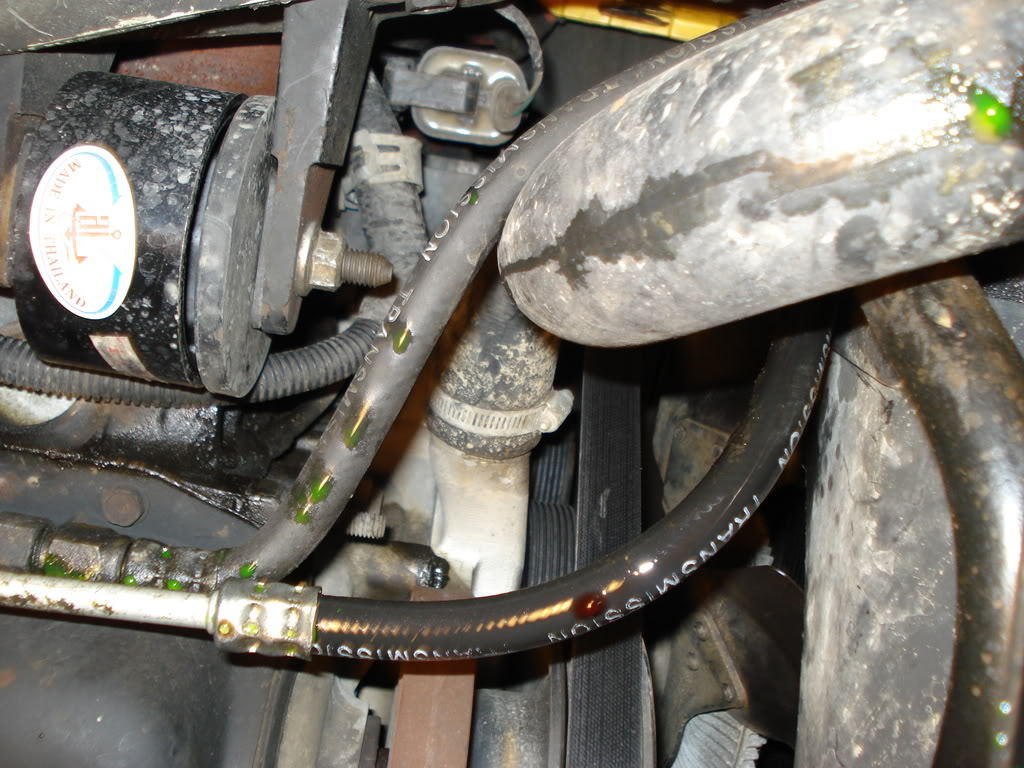
Use your flashlight to check your radiator hoses. Check the top hose, the bottom hose, and check for leaks on any of the hose connections. If you see a cracked or worn hose, replace it. You simply need to remove the clamps on each side of the hose and pull the hose out, then replace it with a new one. Keep a rag handy.
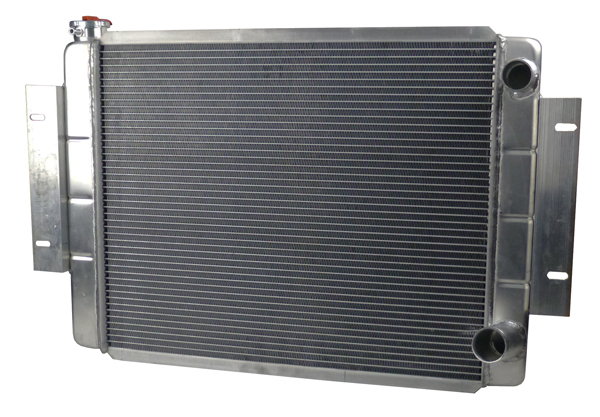
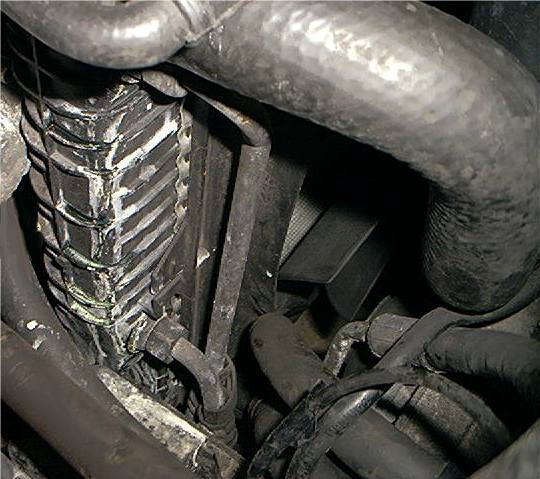
Finally, if you spot a leak on the radiator itself, then you have a leak coming from your radiator.
Step 2 – Use stop leak product
The stop leak products have micro fibers in them that get brought together by the hole, thus blocking the leak. It could sometimes work on head gasket and heater core leaks, but it's mostly known to work for the radiator itself.
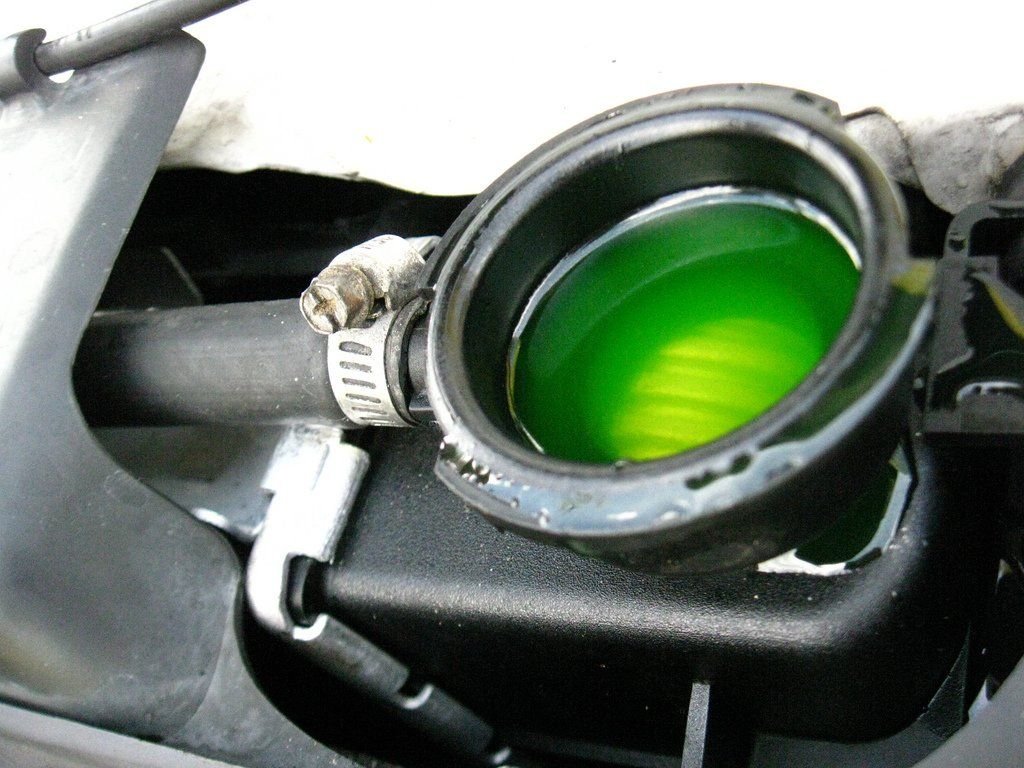
Pour the bottle of the stop leak product into your radiator cap (or as instructed on the bottle).
Top off the radiator with 50/50 antifreeze mix with distilled water. Start the car and let it run for 5 to 10 minutes. Then refill the coolant as needed. Let the car sit for a while, then check the coolant's level again. Refill as needed.
Related Discussions
- Leaking Coolant - CherokeeForum.com
- Small Coolant Leak - CherokeeForum.com
- Back Engine Coolant Leak - CherokeeForum.com