Jeep Grand Cherokee 1999-2004: How to Repair Flasher Relay
Your turn signals are a simple mechanism, but you should never drive without them. When your flashers stop flashing, the relay is the likely culprit.
This article applies to the Jeep Grand Cherokee WJ (1999-2004).
So, you’re driving down the road in your Jeep Grand Cherokee, turn on your left turn signal and nothing happens. What gives? It sounds like your flasher relay is bad. The good news is that replacing it is not too difficult. The hardest part is getting to it, and this article will guide you through the process, step by step.

Materials Needed
- Phillips head screwdriver
- Flat head screwdriver
- Ratchet
- 10mm socket
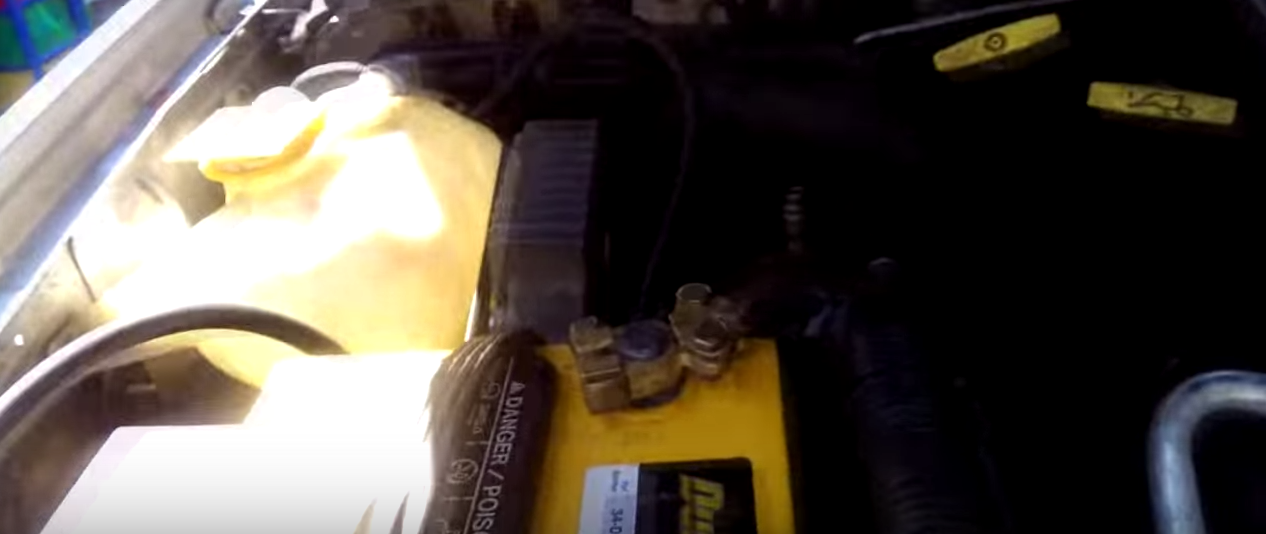
Step 1 – Disconnect the negative battery terminal
Before doing this, or any electrical work on your vehicle, you should always disconnect the battery.
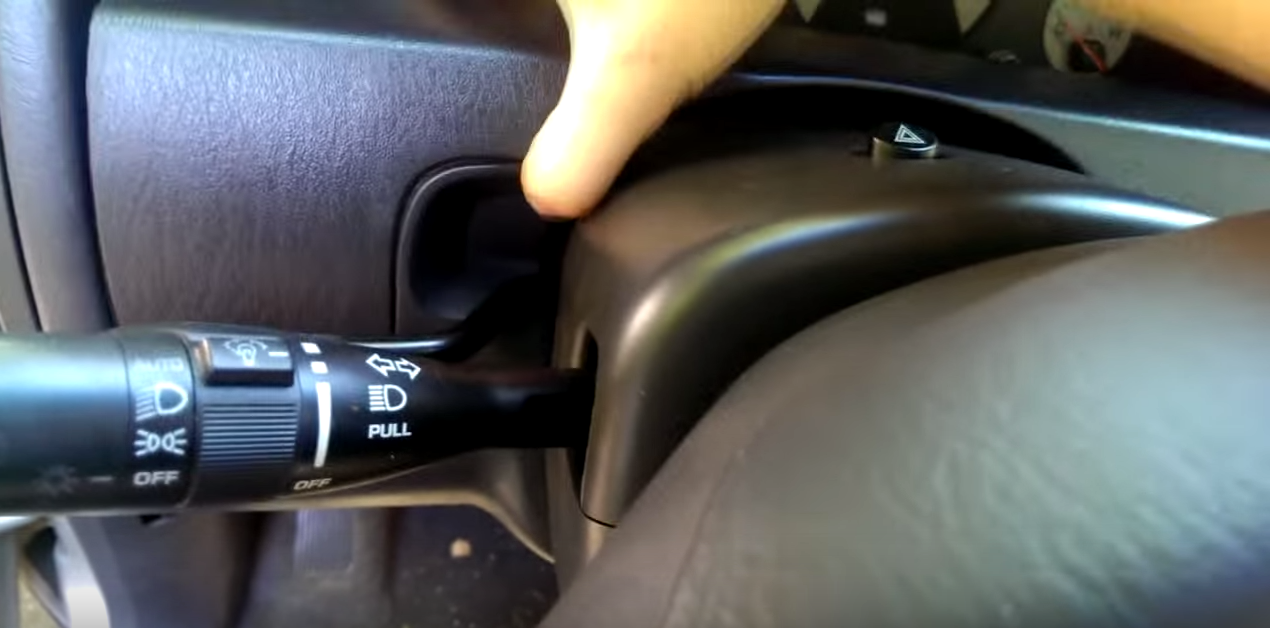
Step 2 – Remove the dash panels to get to the relay block
The relay is located to the left of the steering wheel, under the dashboard. You will need to remove two of the dashboard covers to get to it. The first one is right above the steering wheel, and you should be able to pop it off by just pulling up on it as shown in Figure 2.
The second cover is under the steering wheel, and you will need to remove the left side screw and the two 10mm bolts to remove it as shown in Figure 3. With all the fasteners removed, you can pull off the bottom cover to reveal the fuse and relay blocks.

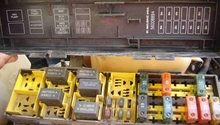
Step 3 – Remove the flasher relay
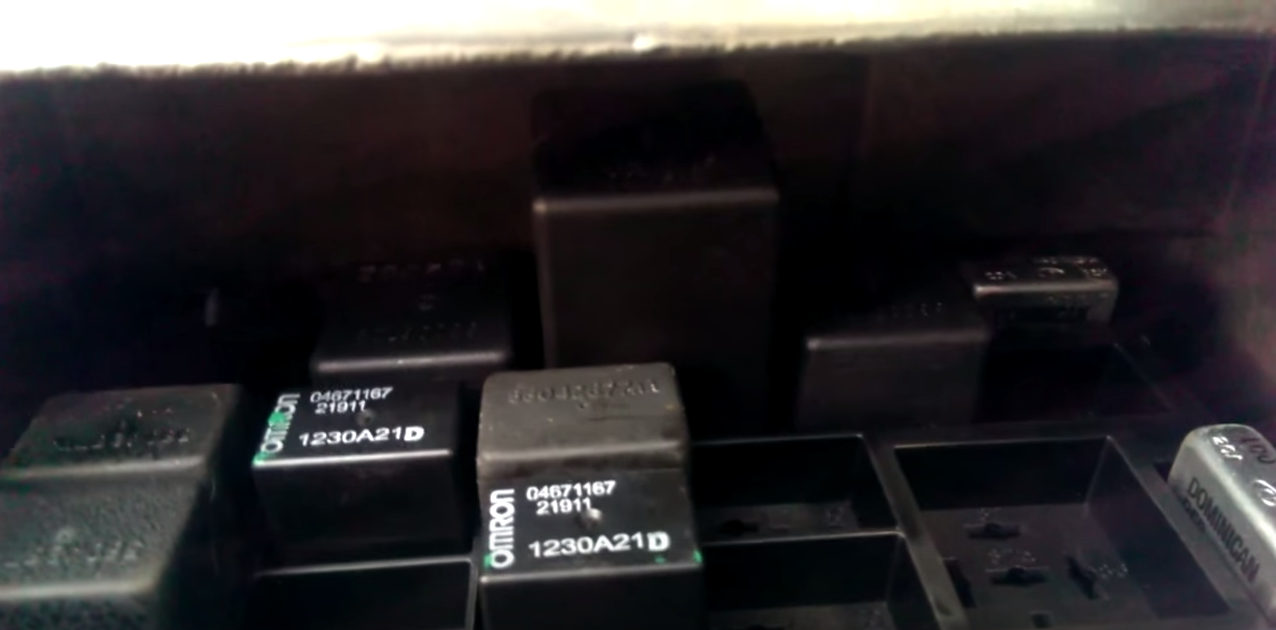
The relay is located at the very top of the relay block, and is partially hidden behind the upper section of the dashboard as shown in Figure 4.
Step 4 – Repair or replace the relay
Remove the plastic cover of the relay to reveal the circuit. In some cases you may be able to spot a break in the circuit that could be repaired with a drop of solder as shown in Figure 5.

The easier solution is to simply buy a new relay and plug it back into the block. It would be a good idea to reconnect the battery and test the flashers before putting all the covers back in place. That way you could re-seat the relay if it was not plugged in correctly without having to disassemble the dash again.
Step 5 – Replace dash panels and reconnect battery
Reinstall the dash panels, secure the screws and bolts, then you should be back in business.
Featured Video: How to Fix Broken Blinker and Hazard Lights
Related Discussions
- Blinkers and Emergency Flashers Not Working - CherokeeForum.com
- Turn Signals and Hazard Lights Won't Work - CherokeeForum.com
- Where's the Indicator Flasher Relay - CherokeeForum.com