Jeep Grand Cherokee 1999-2004: How to Install Stereo
There's no need to fear the stereo swap. With all of the aftermarket options available today, you're sure to find a great replacement for not a lot of money.
This article applies to the Jeep Grand Cherokee WJ (1999-2004).
You've put up with that dinosaur of a stereo for far too long now. It's time for a hot new upgrade, and there's no shortage of great aftermarket stereo options. Whether you want more modern CD or auxiliary inputs, or better sound quality, a stereo upgrade is the way to go in improving the quality of your daily drive. This article will guide you through a basic stereo swap for a Jeep Grand Cherokee, step-by-step.

Materials Needed
- Phillips screwdriver
- Pry bar
- Wire butt connectors
- Wire crimpers
Step 1 – Remove your old factory stereo
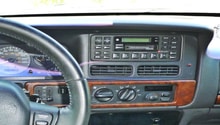
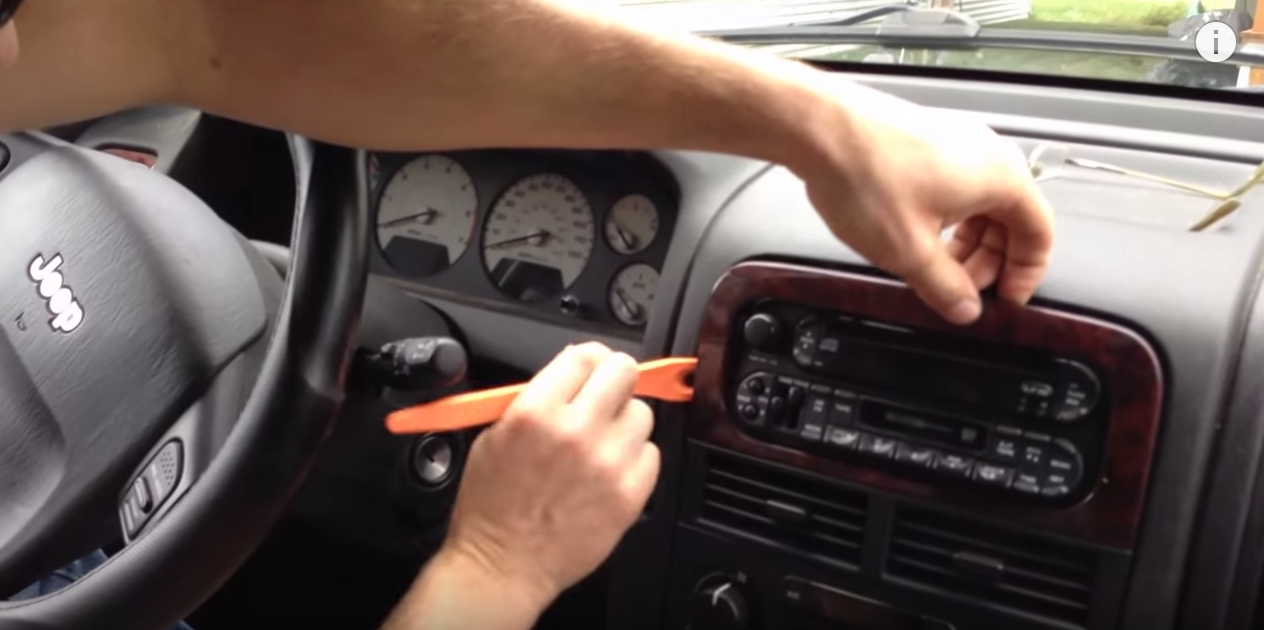
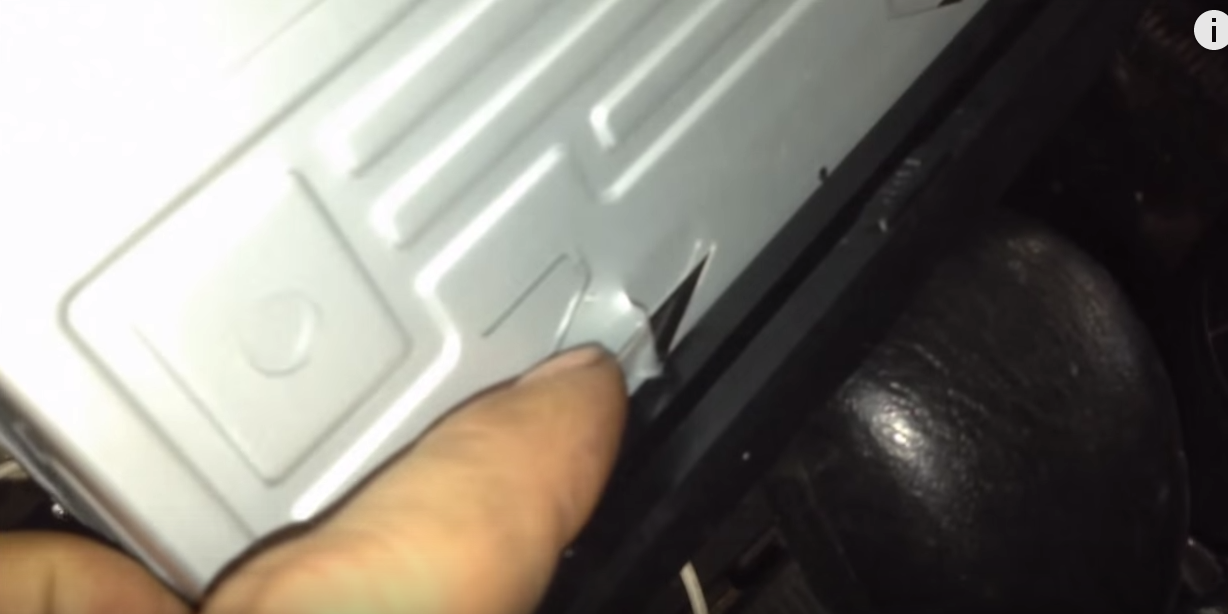
It's a good idea to disconnect the negative (black) battery terminal on your Jeep before beginning work on any electrical project. Once this is complete, remove the outer stereo trim by prying it off as shown in Figure 1.
With the stereo exposed, you can see the four mounting screws. Go ahead to remove all four screws and slide the radio out. Disconnect the antenna and the two connectors of the main wiring harness as shown in Figure 2.

Step 2 – Prepare the new stereo for installation
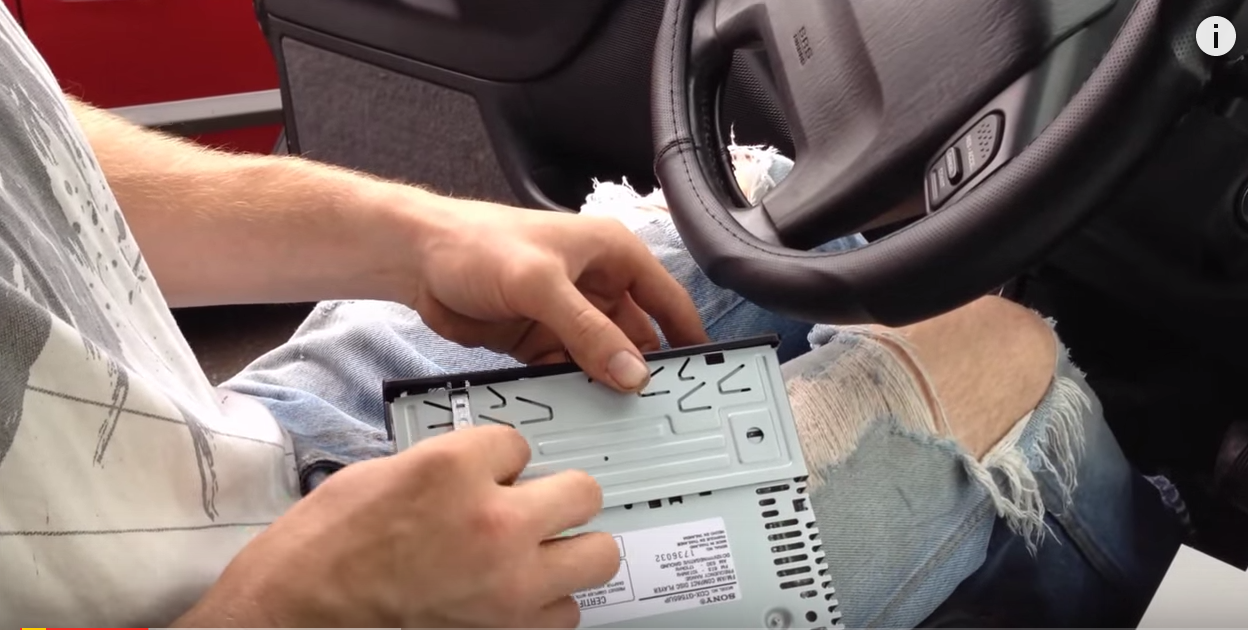
Every aftermarket stereo is different, so you will need to consult the manual as to the specific preparation steps needed to mount it with the existing trim. Some will match your factory trim exactly, and others will provide you with their own. For this particular installation, the front trim piece is removed by pushing down on the mounting tabs and popping it off as shown in Figure 3.
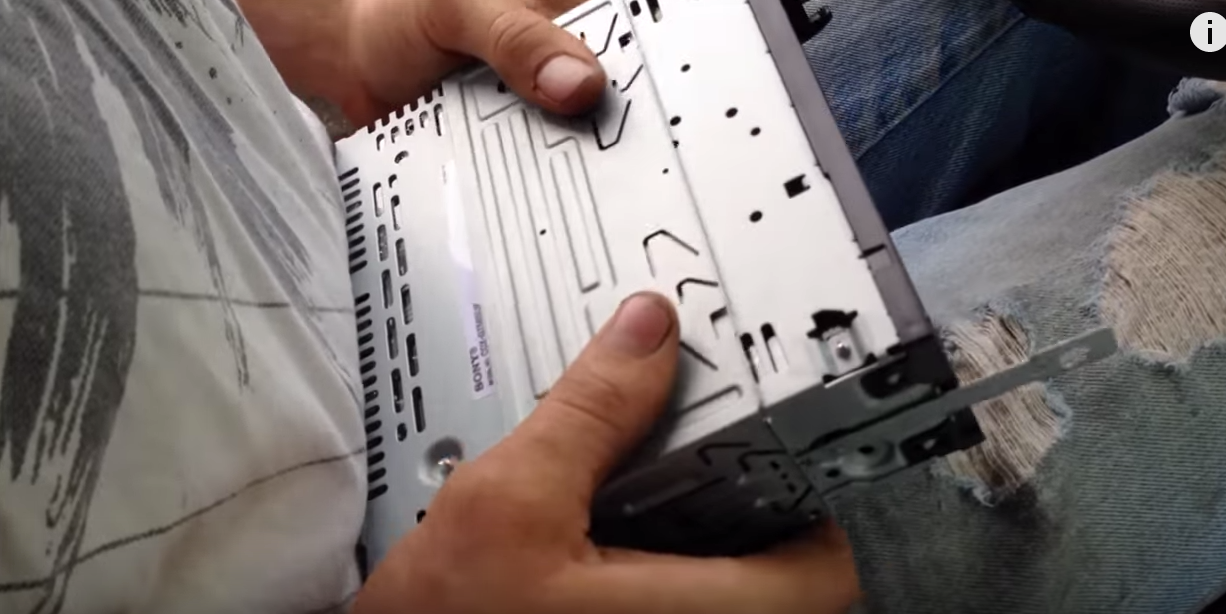
- Next, the metal sheath is removed by using the metal wedge tool provided with the stereo, as shown in Figure 4. With the sheath off, you can install the face plate on the front of the stereo by snapping it in place.
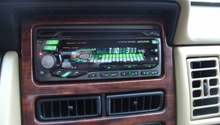
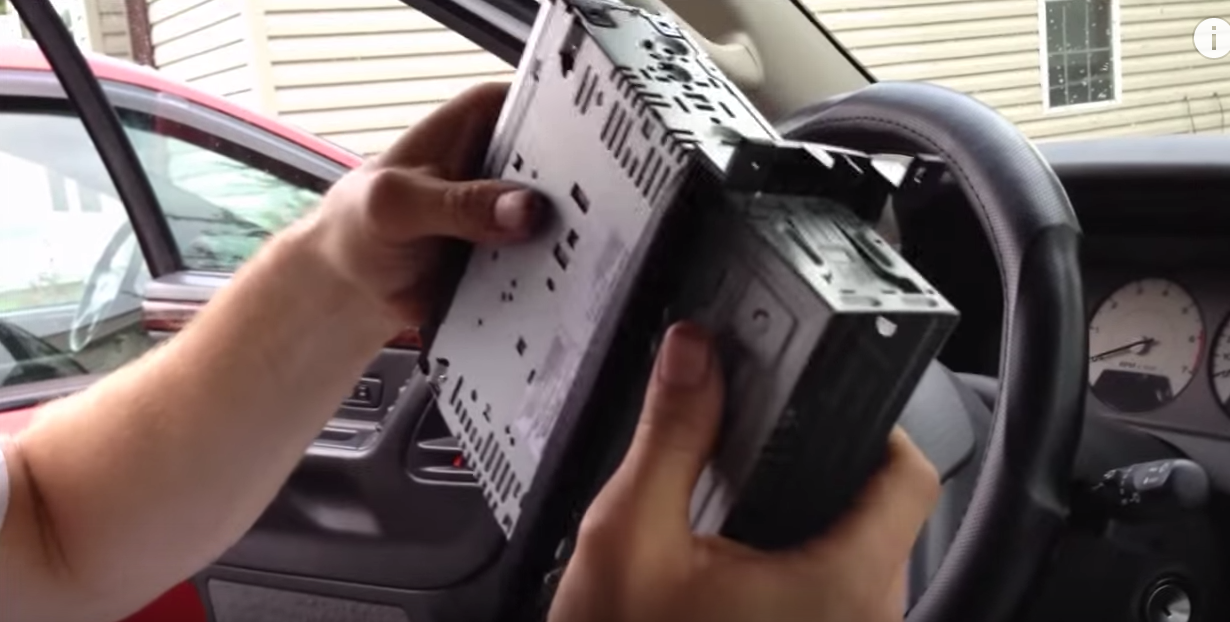
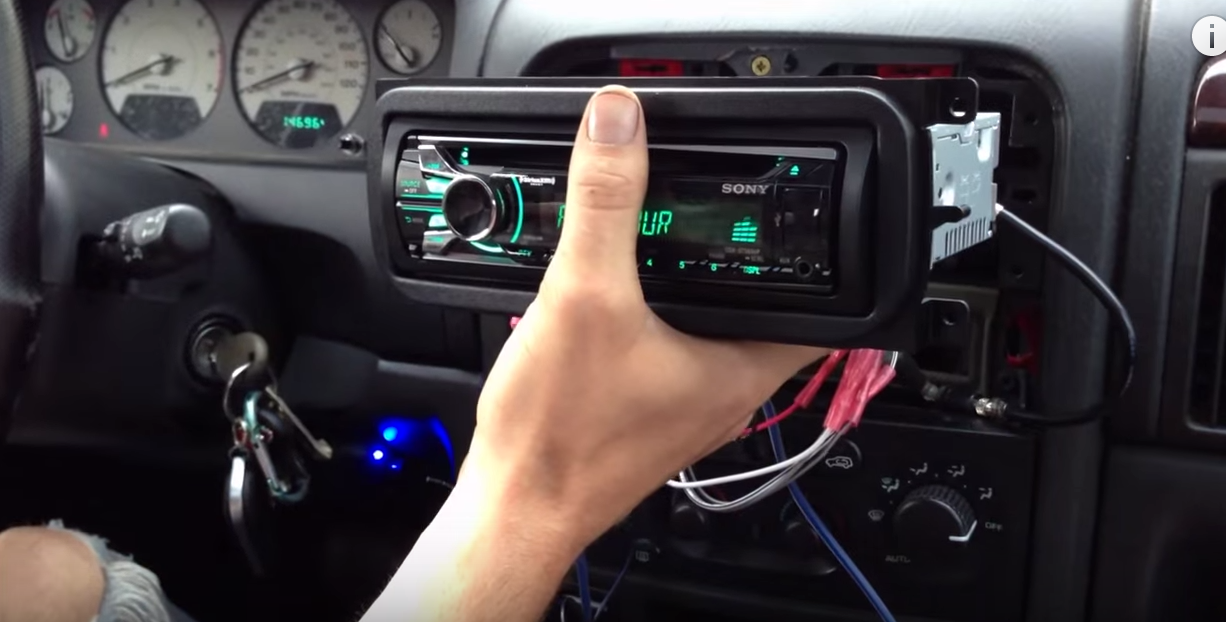
- Now slide the stereo into the mounting frame as shown in Figure 5 until it locks.
- Reattach the trim piece you removed earlier, and for this installation, the metal tabs behind the mounting frame were bent upward to keep the stereo from sliding (Figure 6).
Step 3 – Connect the wires
Ready for the fun part? Most replacement stereos will have one or more adapters to allow you to interface the new connections to the old ones. The antenna generally has an adapter like the one showing in Figure 7.

- The main wire harness is more of a challenge. You will need to match up the same color coded wires and connect them one-by-one using the wire fastener of your choice. Butt connectors seem to do the job well; you simply crimp both of the bare metal wires to the ends of the butt connector (Figure 8).

- Some of these connectors allow you to heat shrink the insulation and seal the edges. This is one of the most secure and reliable methods of securing the wires in your system. With the wires secured, you simply snap the connectors together as shown in Figure 9.

Step 4 – Test the stereo and secure it in place
Before finishing the installation, be sure to test all of the functions of your new stereo. Any malfunctions can usually be traced back to a mismatched wire connection. Make sure to consult your manual for any additional wires you may have missed the first time around.
Once everything is working properly, push the wires back into the dash, slide the stereo in and secure it with the four screws. Snap you stereo trim back in place and you'e done!
Featured Video: Jeep Grand Cherokee '99-'04 Stereo/Deck/Radio Install
Related Discussions
- Installing New Radio - CherokeeForum.com
- Aftermarket Stereo Install Questions - CherokeeForum.com
- Stereo Install Kit - CherokeeForum.com
- Cherokee Stereo - CherokeeForum.com