Jeep Grand Cherokee 1999-2004: Why Won't My Car Charge?
Your battery is doing only half the work for your electrical system. Let's dig into the reasons why it might not be getting recharged properly.
This article applies to the Jeep Grand Cherokee WJ (1999-2004).
You install a brand new battery and your Jeep Grand Cherokee fires right up. After a few minutes, you notice the lights starting to dim and realize that the battery is not being recharged. There could be several reasons why this is happening, and this article provides a series of steps to determine why your Jeep Grand Cherokee is not recharging properly.

Materials Required
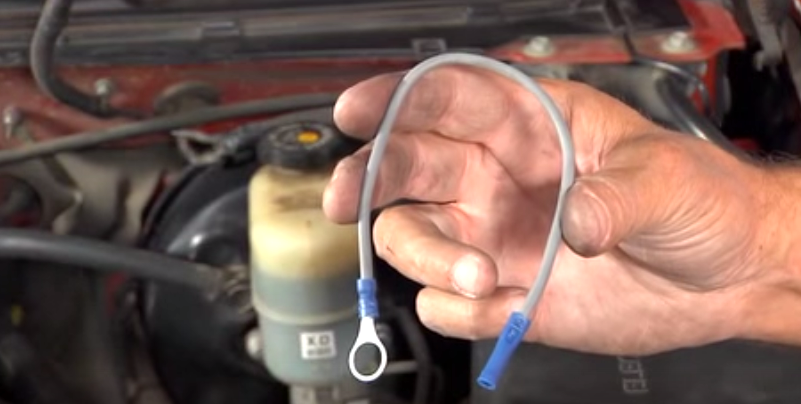
- Voltmeter
- Scotch-Brite pad (optional)
- Replacement fuses (optional)
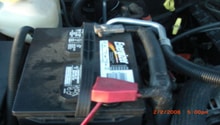
Step 1 – Inspect the battery and connectors
The battery may be brand new, but what about the connections? Make sure there is no corrosion, as well as verify that the clamps are nice and tight on the battery terminals. Give them a good cleaning to ensure their proper function.
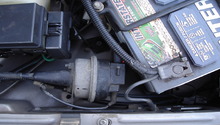
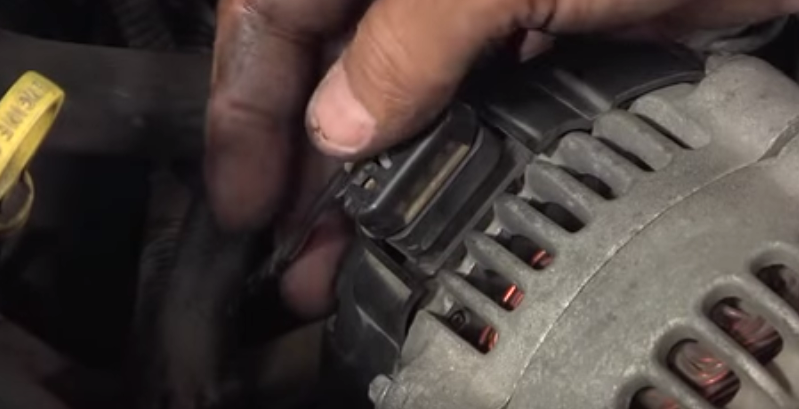
Also, be sure to check the electrical connectors to the alternator. A simple loose connection can keep the charging system from functioning.
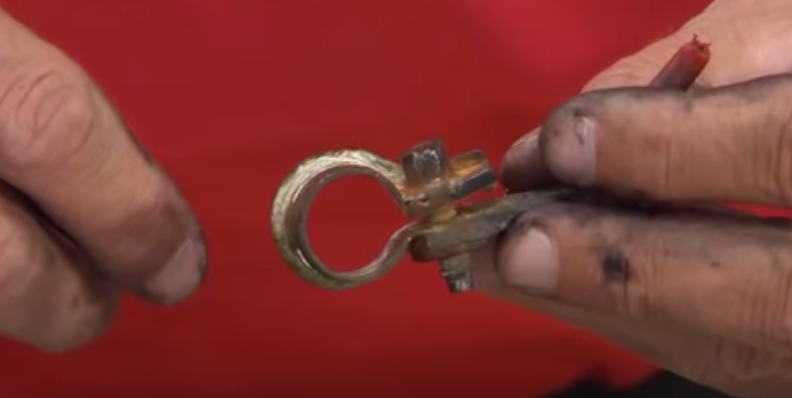
Step 2 – Check all fuses
There is no need to proceed any further before looking for the most obvious electrical culprits: the fuses. Check all the fuses for any that may have burned out, and don't forget to check any fuses embedded in wires known as fusible links, as shown in Figure 3.
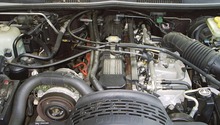
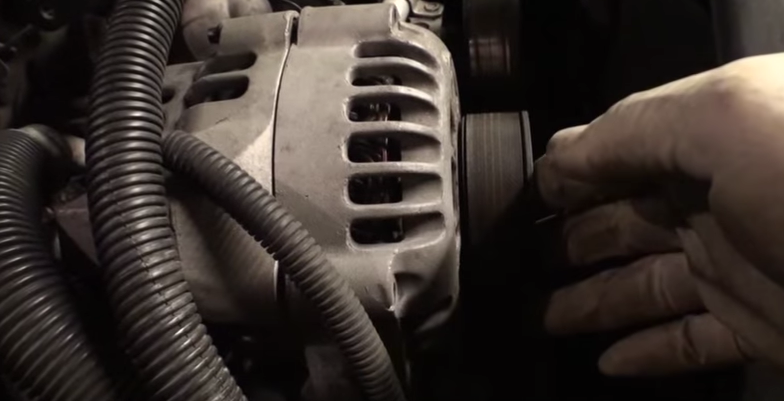
Step 3 – Check the alternator belt
Inspect the alternator belt closely. If it has cracks or glazing, it could be failing. Check the tension as well, and make sure there is no wobbling or excessive noise that could indicate a bad bearing.
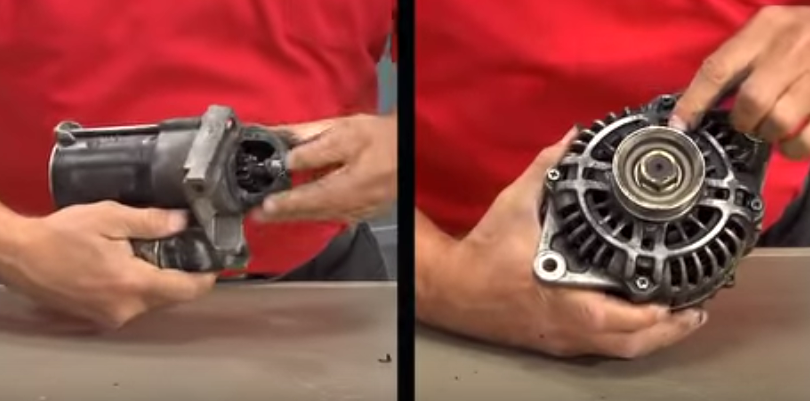
Step 4 – Inspect alternator for damage or contamination
Look closely at the alternator for signs of damage by coolant or engine oil. Leaks from other areas around the engine compartment can seep into the alternator and affect its performance.
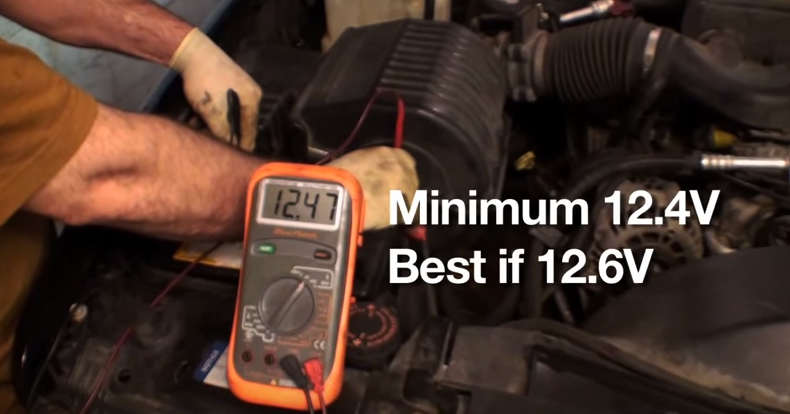
Step 5 – Verify the voltage levels
With the engine off, you should have a voltage reading of between 12.4 and 12.6 (Figure 6). Next, start the car with all accessories off and run it at about 1,500 RPM; the voltage reading should be somewhere between 13.3 and 14.7 volts. This would indicate a properly functioning charging system. If it exceeds 15.5 volts, it may indicate an overcharging condition, which is just as bad as undercharging.
If the value remains low (under 13v), then you do have an issue with the alternator output. It still could be a wiring or connector issue, so be certain to verify all those connections to and from the alternator before going through all the work of removing it.
As a final test, turn on all electrical devices in the vehicle, such as the A/C, wipers, headlights and the stereo, with the vehicle off. Check the battery voltage while you turn the vehicle on. The voltage should rise by at least half a volt, indicating the alternator is doing its job.

If it's not rising, another possibility is the voltage regulator. Since the voltage is regulated by the ECU, it's best to leave this troubleshooting to the professionals. Again, always double and triple check your wiring and connectors before proceeding swapping out the more expensive items like the alternator or ECU.
Featured Video: Diagnosing Alternator Problems
Related Discussions and Video
- How to Check Your Starting and Charging System - YouTube.com
- Grand Cherokee Won't Charge - CherokeeForum.com
- Battery Won't Hold Charge, Need Help - CherokeeForum.com
- Battery Won't Charge - CherokeeForum.com