Jeep Grand Cherokee 1993-2004: Why is My Battery Draining?
The battery charge level must be maintained during electrical system operation. Voltage removed from the battery is restored by the alternator on a proper charging system.
This article applies to the Jeep Grand Cherokee ZJ/WJ (1993-2004).
The battery contains an electrolyte that chemically reacts with the elements found in your battery, creating voltage. This reaction must take place constantly, as electrons are removed from the battery and used throughout the electrical system. The alternator generates the electricity that the battery uses to recharge from magnetism. As the drive belt rotates the alternator pulley, magnets circle a coil of copper wire and generating a magnetic field. This field's voltage output must be controlled to properly continue to battery's chemical reactions.

Materials Needed
- Multimeter
- Hydrometer or refractometer
- Battery terminal brush
- Anti-corrosion spray
- Gloves
- Safety glasses
- Brake cleaner
- 10mm wrench
Step 1 – Test battery's condition
If your battery was drained previously (past 50%) or been exposed to extreme temperature changes and vibrations, it may not be capable of holding a charge.
Check and adjust the battery's electrolyte fluid level by opening the top or side vent covers. Charge the battery if distilled water is added. Test the specific gravity of each of the cells using a hydrometer.
You can also test the battery with a refractometer. Place a drop or two of electrolyte onto the specimen window. While looking into the eyepiece under a bright light, look at the area where the dark and light sections meet on the battery scale. This is the battery's specific gravity.
Set your multimeter to DC volts and connect each probe to each battery terminal. Use these values to indicate your batteries charge level:
- 12.6 or greater = 100%
- 12.4 to 12.6 = 75% to 100%
- 12.2 to 12.4 = 50% to 75%
- 12.0 to 12.2 = 25% to 50%
- 11.7 to 12.0 = > 0% to 25%
Another option is a conductance tester. Most auto parts stores carry these testers and may even test your battery for free. Ask for the printout once the test is completed. The conductance tester sends low frequency signals into the cells to test the battery's ability to conduct current. By measuring this ability, the cold cranking amp level can be found.
Step 2 – Inspect battery terminals and cables
Remove the battery's cables from the terminals to clean them with a terminal brush and anti-corrosive spray. Inspect the cables for fraying and broken insulation. This may be the location of a short and/or reduced current flow capability.

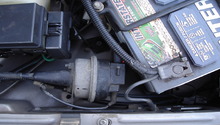
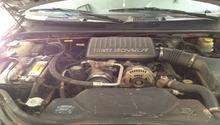
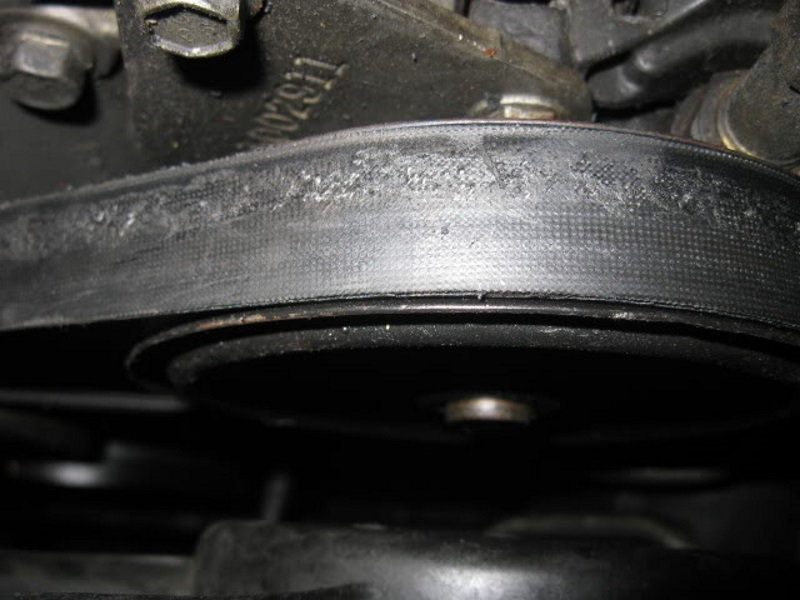
Step 3 – Inspect alternator belt and wiring
Locate the alternator and lightly wiggle the electrical connections with your hand. Make sure all electrical connectors are snapped together securely, and the wiring bolted to the alternator is tight. Clean any areas on the alternator with a suitable cleaner (such as brake cleaner). Measure the alternator belts tension and inspect it for cracks, as well as missing ribs. The belt should not have more than a 1/2" of slack.
Step 4 – Test alternator's charge level
Start the engine and turn on all the vehicle's electrical loads. These include the headlights, A/C, and rear window defogger. Connect each test probe to the battery's terminals. Accelerate the engine to 1,500 RPM. A properly charging alternator should maintain a level of 13.8 volts to 14.5 volts.
Step 5 – Test charging circuits voltage drop
Set your multimeter to measure voltage. Select the min/max feature if yours has one included. Connect the red probe of the meter to the output terminal of the alternator and the black probe to battery's positive. Start the engine and turn on all your electrical accessories. Read the maximum voltage drop for the output circuit. It should be within 0.5 volts.
Now, move your test leads to measure the ground circuits voltage drop. Place the black probe on the alternator case and the red probe on battery's negative. If the reading is excessive (greater than 0.5 volts), bring the test leads closer together until the area of the circuit is isolated.
If the readings are within specification and the charging level is still too low, the alternator may have a faulty voltage regulator, high resistance in the rotor, worn brushes, and/or open/shorted diodes. Replace the alternator once the battery condition is confirmed to be healthy.
Step 6 – Test for a parasitic draw
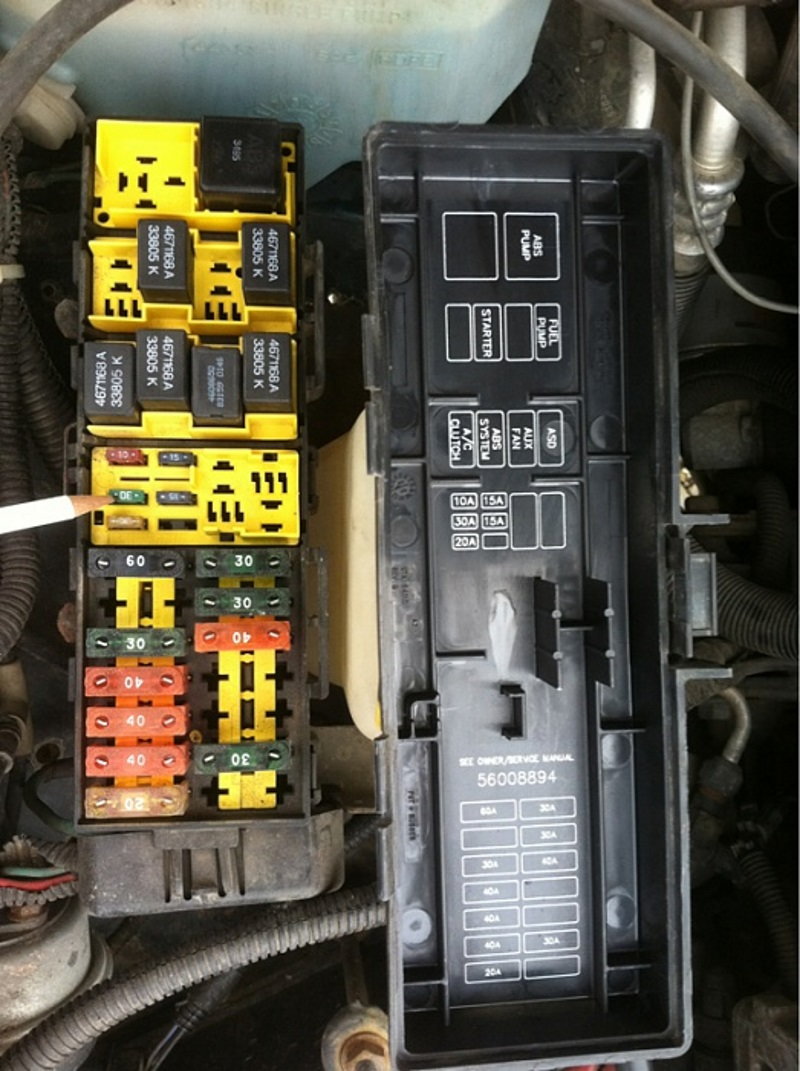
After the ignition has been turned for 10 minutes, disconnect the negative battery cable. Connect your meter in line with the cable as well as battery once the meter has been set to the amps scale and the test leads moved. If the reading on your screen is greater than 0.035-0.030 amps, there is an excessive amount of current being drawn. Disconnect the circuit fuses one at a time to determine which circuit has the draw.
Related Discussions
- Fixed My Battery Drain - CherokeeForum.com
- Eats Battery Charge Overnight - CherokeeForum.com
- Kill Switch to Stop Battery Drain - CherokeeForum.com