Jeep Grand Cherokee 1993-1998: How to Replace Upper and Lower Control Arms
The control arms in your Jeep Grand Cherokee are what keep you in control behind the wheel. Here's how to replace them to ensure maximum control.
This article applies to the Jeep Grand Cherokee ZJ (1993-1998).
It's not very often that you have to change out control arms on your suspension. It is possible that, due to the capabilities of the Jeep Grand Cherokee, you could damage one while off-roading. Most of the time it's the bushings that wear out with old age. Either way, in order to change out the arm or the bushing, you will need to remove the arm from the vehicle. Lucky for you, these Grand Cherokees were designed with a very basic and simple suspension setup for the 2WD and 4WD models. Unlike most new vehicles that are on the road today, the control arms on the Grand Cherokees are tasked with very little. Essentially, their only job is to keep the axle in line and traveling the way it is supposed to travel.
The front and rear axle on the Jeep Grand Cherokee both have two upper and two lower control arms, or in some cases they are just called suspension arms. Each one has a bolt that attaches it to the axle and then one that attaches it to the underbody of the vehicle. As you can imagine, it's very simple to remove them. You essentially just remove the bolts, and the arm can be removed. The hardest part is getting the arm back in and keeping the axle aligned. We will go over the steps below.
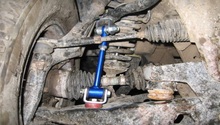
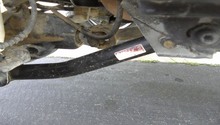
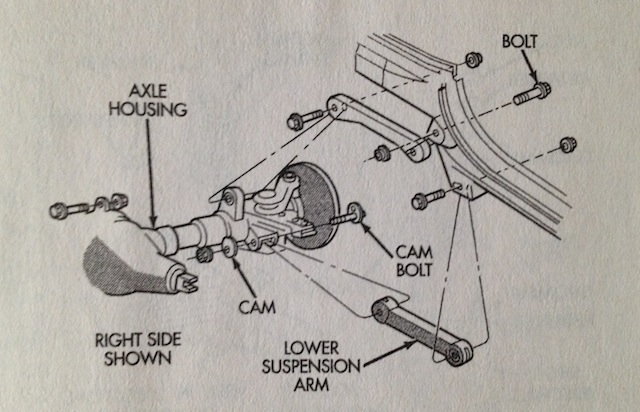
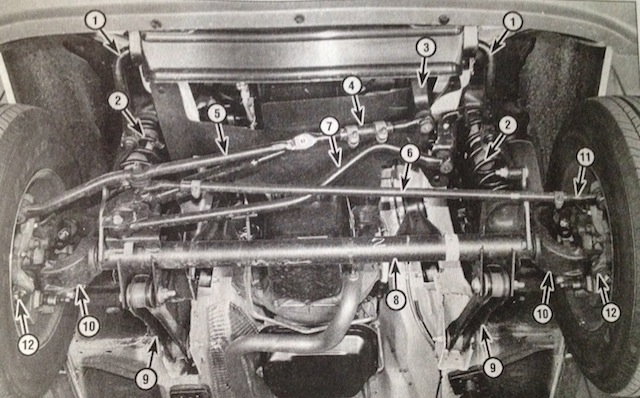
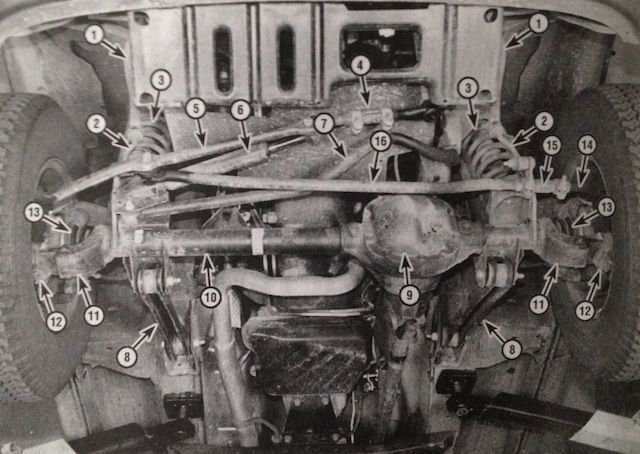
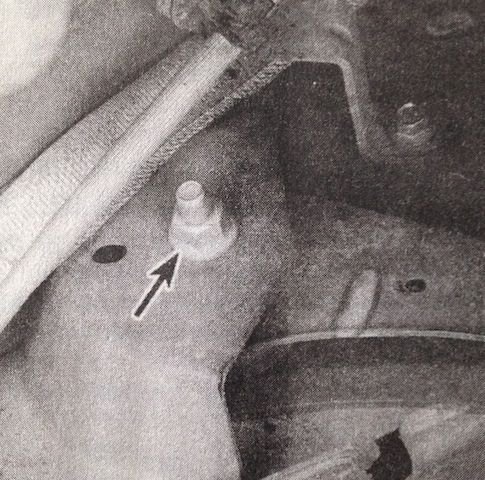
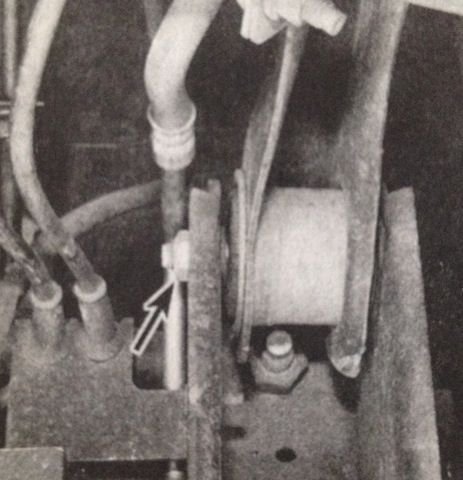
Here are some pictures and diagrams to make it easier to see how it all lays out:
- Front Suspension
- 2-Wheel Drive
- 4-Wheel Drive
- Rear Suspension

Figure 4. Diagram of rear suspension control arms. 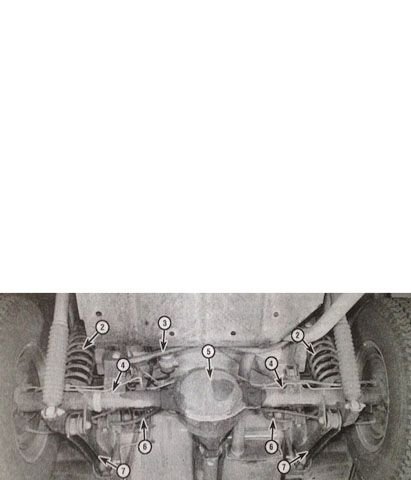
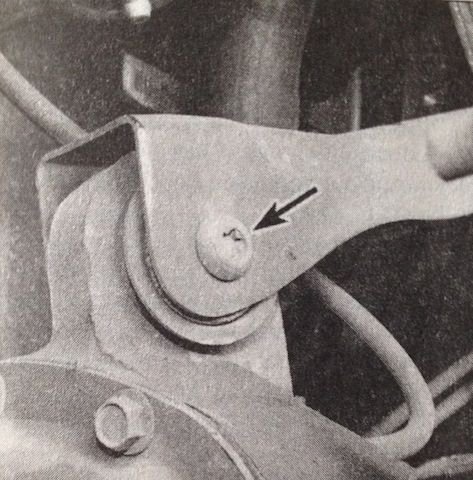
Figure 5. The lower control arms are #7, but again the upper arms are not visible.

DIY Cost Breakdown
- Upper Control Arm: $40-$46
- Lower Control Arm: $50-$85
Materials Needed
- Millimeter wrench sizes 12mm-18mm
- Ratchet
- Torx sockets T30-T45
- Jack and jack stands
Before removing any suspension components, it is best to keep in mind that you should only remove and install one arm at a time. This will keep the axle housing from shifting out of position and making the job a lot more difficult than it has to be.
The best way to go about removing the arms is to do the front and rear separately, so that it how this how-to will be written out.
Front
Step 1 – Support the front of the vehicle on jack stands
Raise the front of the vehicle and support it securely on jack stands. You will want to place the jack stands under the subframe. Then, take your jack and place it under the axle tube on the side where you will be removing the arm.
Step 2 – Remove upper arm
- Remove the nut and bolt securing the upper suspension arm to the axle housing.
- Remove the nut and bolt connecting the upper suspension arm to the frame bracket. You can access the bolt through a hole in the frame.
- Remove the arm
- Installation is the reverse of removal, but before you tighten down the fasteners, you need to place jack stands under the axle tubes. This will prevent the bushings in the arms from distorting.
Step 3 – Remove lower arm
The lower arm is a bit trickier because some of the lower arms might have adjuster cams. If they do, you will need to mark where they are placed, so that you can put them back in the correct position when you install the arm back in its place.

- Remove the lower suspension arm nut, the cam (if equipped), and bolt from the bracket on the axle housing.
- Remove the nut and bolt from the frame rail bracket.
- Remove the lower control arm.
- Installation is the reverse of removal. Make sure that if you had the adjuster cams that you put them back in the place you marked.
Rear
Step 4 – Support the rear of the vehicle on jack stands
Raise the rear of the vehicle and support it securely on jack stands placed under the subframe rails, and not under the axle housing. Then, just like with the front, take your jack and place it under the side of the axle tube that you will be removing the arm on.
Step 5 – Remove upper arm
- Remove the nut and bolt securing the upper control arm to the axle housing.
- Remove the nut and bolt securing the upper arm to the frame rail bracket.

- Remove the arm from the vehicle. The Installation is the reverse of removal. Again, make sure to place jack stands under the axle tube before tightening the fasteners to avoid distorting the bushings.
Step 6 – Remove lower arm
- Remove the nut and bolt connecting the lower suspension arm to the axle bracket.

- Remove the nut and bolt connecting the lower suspension arm to the frame rail bracket.

- Remove the lower suspension from the vehicle.
- Installation is the reverse of removal, and (just like with the other arms) be sure to place jack stands under the axle tube before tightening the fasteners to eliminate distortion on the bushings.
Related Discussions
- Front Lower Control Arm Swap - CherokeeForum.com
- Rear Upper Control Arm - CherokeeForum.com