Jeep Grand Cherokee 1993-1998: How to Install Winch
Learn how to install a winch plate to effectively cover your recovery missions.
This article applies to the Jeep Grand Cherokee ZJ (1993-1998).
Jeeps are rugged vehicles meant to be used in off-road situations where the terrain is unfamiliar and unforgiving. Normal sedans and other vehicles besides trucks or other 4x4's Sport Utility Vehicles aren't always the luckiest when meandering through such areas. Often, travelers could get stranded in a ditch or hill and don't have the capability to pull their cars out on their own, or even under the vehicle's own power. Thankfully, some volunteer fire fighter services have Jeeps and trucks who have winches installed on them. A winch is a device affixed to the front or rear bumper of the vehicle, which has a heavy duty coil and wire that binds. With a tow hook end, it can be connected to the other vehicle and the winch can wind the coil and wire, retracting the vehicle from the ditch or hill where they have gotten stuck.

Materials Needed
- Dremel
- Sawzall
- Grinder
- Flat tip and star tip screwdrivers
- Pliers
- Socket wrench
- Painter's tape
- Measuring tape
- Safety goggles
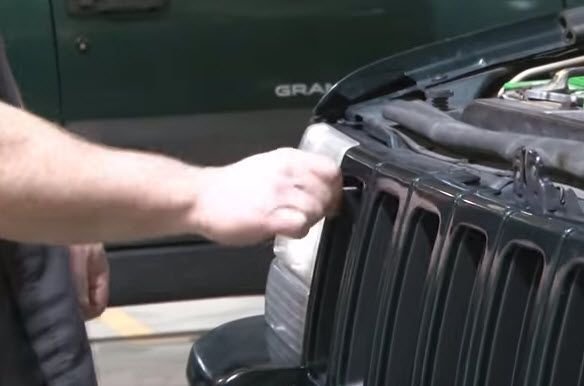
Step 1 – Remove grill insert
Before you can access the mounting points of the winch, the grill will need to be removed.
- Open the hood.
- Use the screwdriver to remove the screws holding in the grill insert.
Step 2 – Pull off bumper
There are push pins and push rivets holding the bumper in. They will need to be removed.
- Using pliers, the push pins can be pulled out from the bumper.
- Using the flat tip screwdriver, the push rivets can be removed from fender wells and bottom of front bumper.
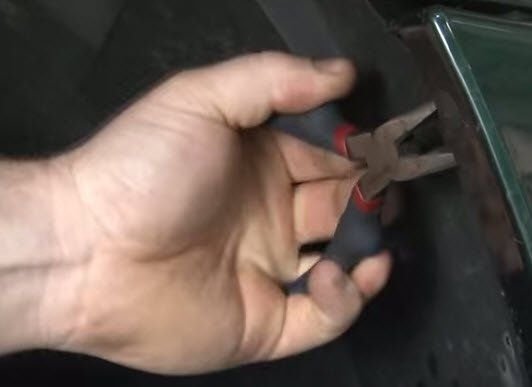
Figure 2. Remove the bumper push pins. 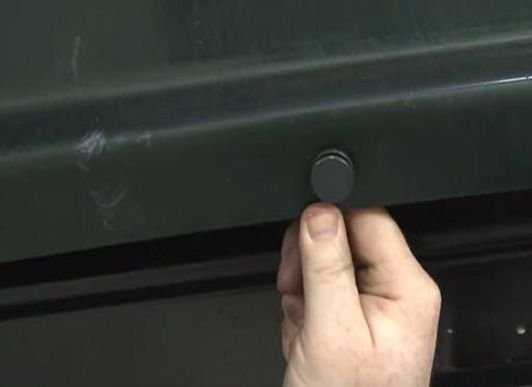
Figure 3. Remove rivets.
Pro Tip
You can usually push the rivets from behind using your finger.
Step 3 – Perform cuts for winch mounting brackets
Safety first! Make sure to wear safety goggles. In order to mount the bracket properly, you will need to cut the unibody.
- Place the winch mounting bracket against the body to use as a template.
- Mark your cuts.
- Cut carefully using a Sawzall.
- Use a grinder and/or Dremel to clean up the cuts.
- Repeat on the other side.
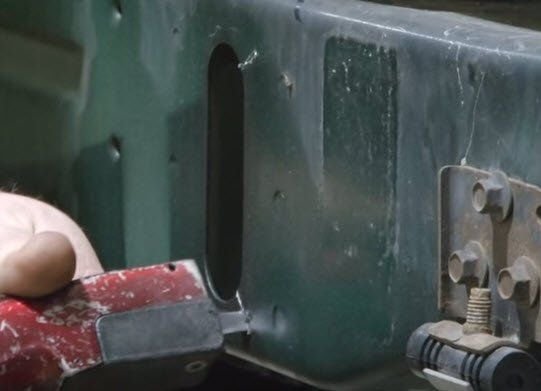
Figure 4. Open up the hole for winch mounting brackets. 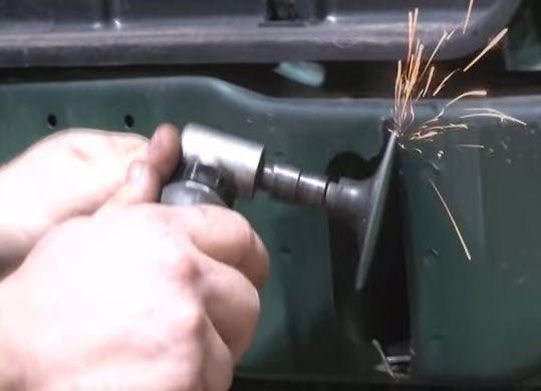
Figure 5. Clean up those cuts, so you don't get cut.
Pro Tip
You may need to clean up or widen the cuts more as you continue.
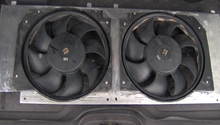
Step 4 – Remove radiator shroud brackets
To accept brackets from the kit later, these bolts need to be removed.
- Using a socket wrench, remove the radiator shroud brackets on both sides.
Pro Tip
You can lightly screw the bolts back into the shroud so you don't lose them for later.
Step 5 – Modify bumper
The bumper will need to be modified from the outside to accept the unit and brackets.
- Use masking or Painter's tape to mark off where you want to cut.
- Measure twice, cut once.

Figure 7. Making the initial cut. 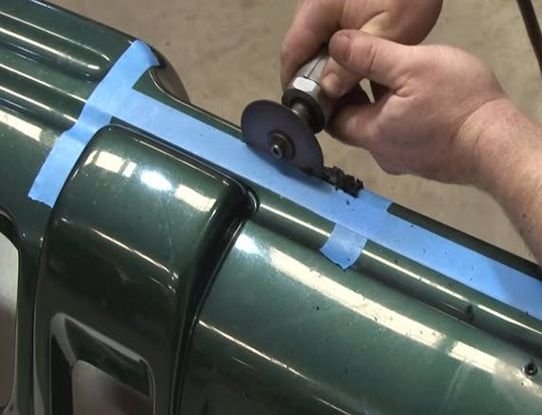
Figure 8. Fine trimming.
Pro Tip
Use the dimensions of the winch plate as a guide. The cuts you make are where the plate will sit.
Step 6 – Install brackets
Now that all the necessary cuts have been made, the winch brackets can be installed.
- Line up the bracket to the holes cut in the unibody.
- Insert the rear bracket from behind.
- Secure using the bolts from the radiator shroud removed previously.
- Tighten using socket or impact wrench.
- Repeat on opposite side.
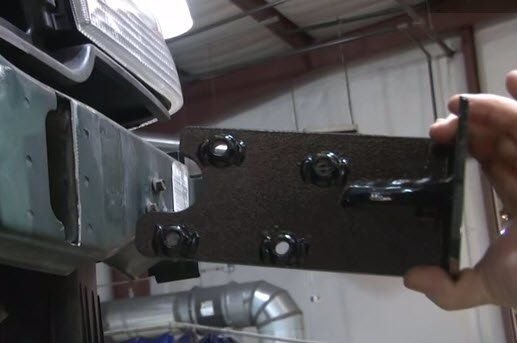
Figure 9. Line up your bracket. 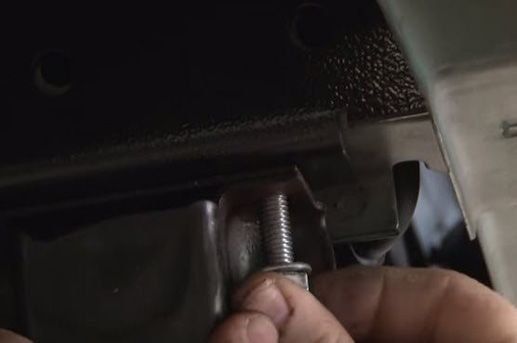
Figure 10. Screw in mounting hardware.
Step 7 – Install winch plate
Now that the brackets are secured into place, the winch plate and accessories can be installed.
- Secure winch plate to mounting brackets using provided bolts with socket or impact wrench.
- Install accessories using provided bolts using socket or impact wrench.
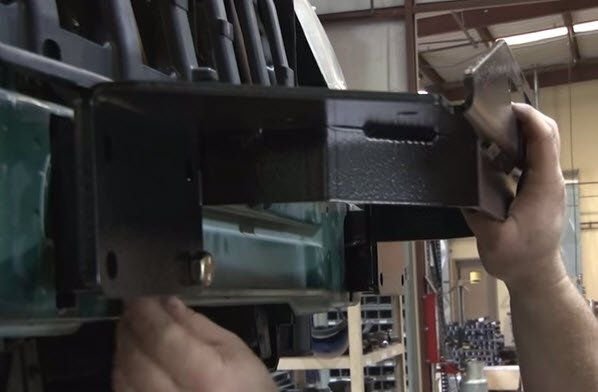
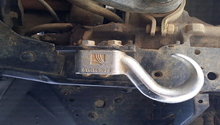
Figure 11. Winch plate installed. 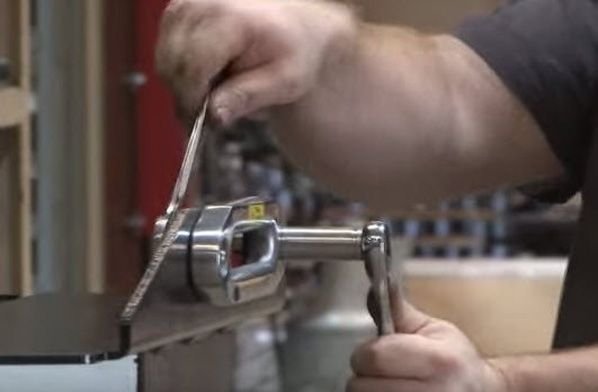
Figure 12. Bracket installed. 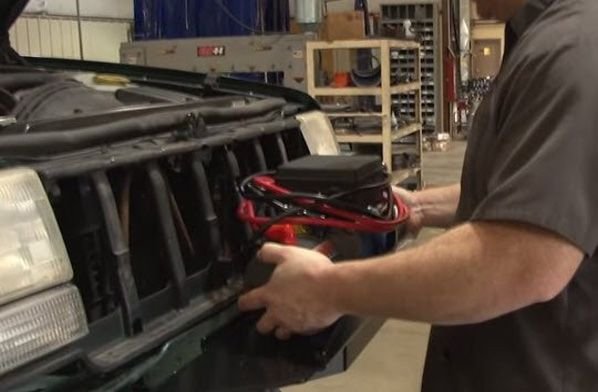
Figure 13. Winch installed.
Step 8 – Reinstall bumper and grill
Now that the unit is secured to the unibody and brackets, the bumper and grill can go back on.
- Line the bumper up to the front of the unibody and secure with push pins and plastic rivets.
- Line the grill up to the front and screw it back in.
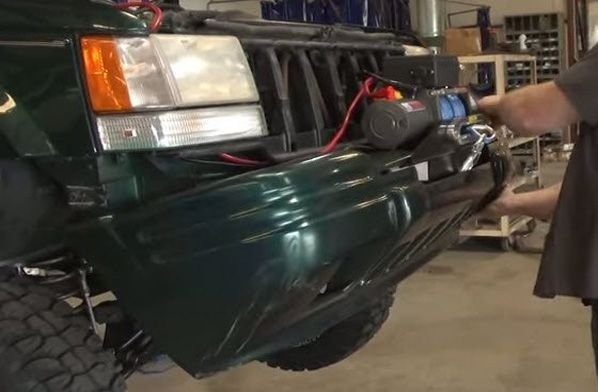
Figure 14. Reinstall front bumper. 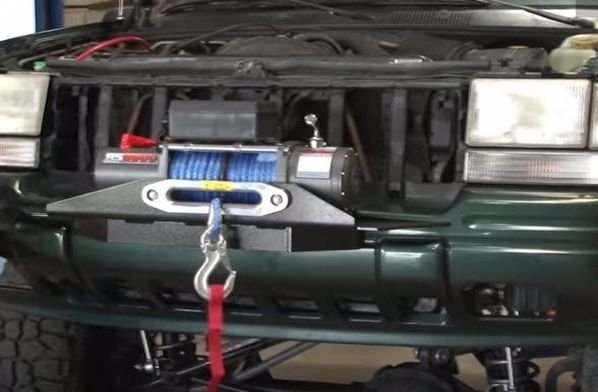
Figure 15. The final product.
Featured Video: Jeep ZJ Winch Install
Related Discussion and Site
- Winch Mounting Plate Discussion - CherokeeForum.com
- Rough Country Winch Mounting Plate - RoughCountry.com