Jeep Cherokee 1997-2001: How to Replace Center Console
The sun beats down on it, you spill food and drinks on it, you miss the seat belt latch and hit it... Yes, I'm talking about your Jeep's center console! Luckily, with a little elbow grease and some know-how, you can easily get a new one.
This article applies to the Jeep Cherokee XJ (1997-2001).
A center console is one of the most used parts in your SUV. It generally houses your emergency brake lever, holds drinks and loose change, as well as all of your other various personal items. It's great to keep it clean, but over time and with the constant wear and tear, there's a good chance that even dusting and a nice coat of protectant will not bring it back to showroom quality. Read on to replace the center console in your Jeep Cherokee.

Materials Needed
- Flat head and Phillips screwdriver
- Trim removal tool
- Ratchet and socket set
- Plastic trim cleaner and protectant
- Shop rags
Step 1 – Find the correct replacement
Before taking apart your daily driven vehicle, you should source your new center console. Prices are around $100 for a used but in great condition center console. If you opt for a new, aftermarket console, prices will vary depending on where you purchase it.
Pro Tip
Pay close attention to the pictures posted online of replacement center consoles. Also, ask the seller questions before making the purchase.
Step 2 – Clean the new center console
You'll never have better access when cleaning up your new center console than when it's out of the car.
- Get in all the grooves and sides of the console with your favorite cleaner. A rag and warm water work great to get built up grime off.
- Then, put a nice coating of your favorite protectant.
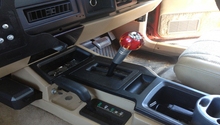
Step 3 – Remove the gear shifter and trim panels
- Start off by prying off the gear shifter ring.
- Once the ring is popped off, remove the spring-loaded button and the clip holding it. Make sure not to loose any of the pieces.
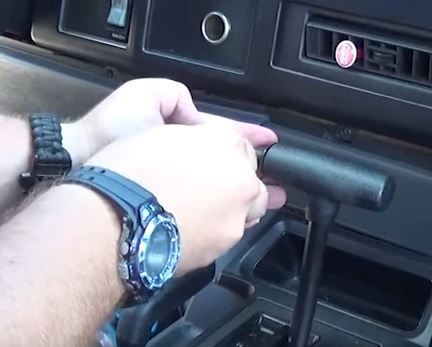
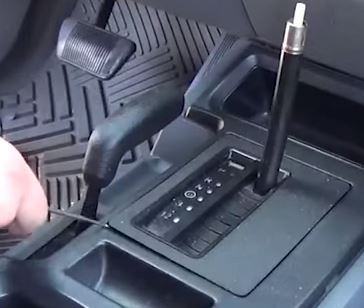
- With both hands, hit upward on the shift lever to pop it off.
- Then remove the shifter spring. Make sure not to loose this piece as well.
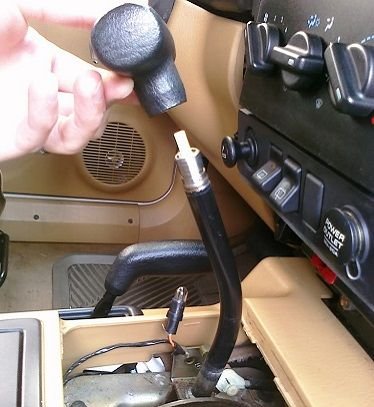
Figure 3. Pull up on the shift lever. 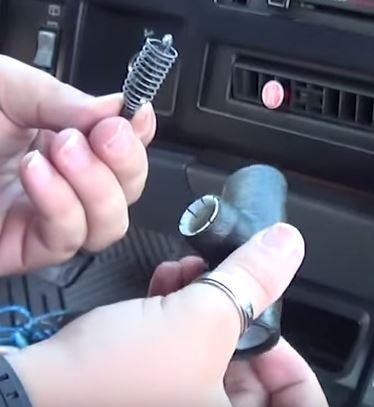
Figure 4. Shifter spring removed.
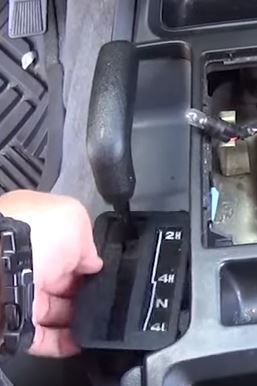
- Using a trim removal tool, pry up the shifter trim panels.
- Lastly, pull off the trim piece surrounding the 4WD gear selector.
Step 4 – Unscrew the center console
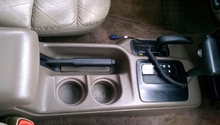
- Remove the six Phillips screws from the center console to detach it from the vehicle.
- Then remove the two screws behind the cup holders.
- Remove the two screws above the emergency brake.

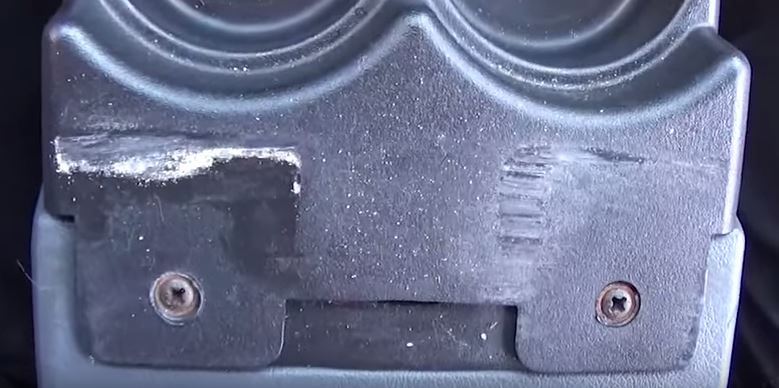
- Remove the two hidden screws in the shifter area (left screw in Figure 9 already removed).

Step 5 – Replace the center console
- Put the gear selector in 1st and lift the emergency brake. This will allow you to raise the center console up.
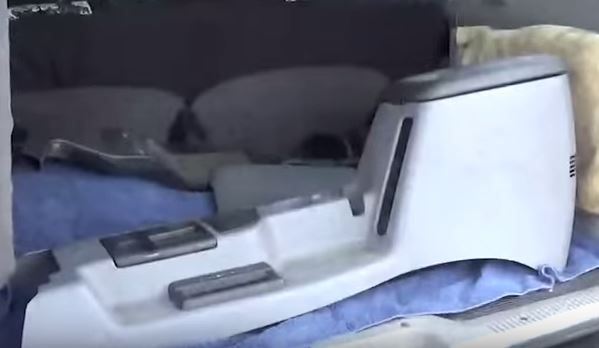
- Now, simply pull up on the center console and remove it.
- To install the new center console, reverse the process of removal. Start by dropping the new center console over the gear shifters.
- Then, screw and secure the center console to the cabin.
- Re-install the gear shifter and trim panels.
Pro Tip
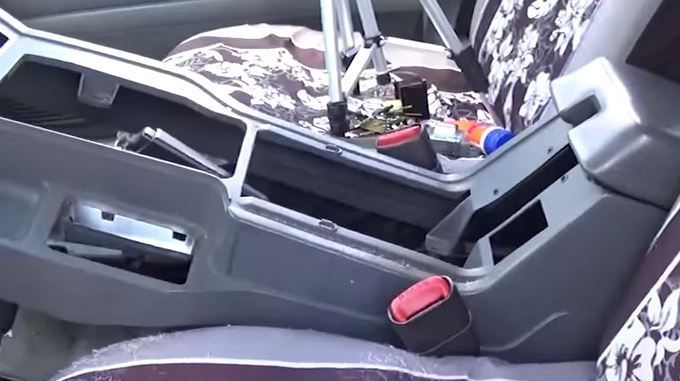
If you have any resistance getting the center console out, don't force it! Check and double check that it's not snagged on something and that any wire harnesses aren't in the way. Some consoles may have a 12v charging port or/and an emergency brake light sensor plug.
Related Discussion
- Center Console Removal Wobble Fix - CherokeeForum.com