Jeep Cherokee 1984-1996: How to Replace/Repair the Shifter Boot
Has the shifter boot in your Jeep Cherokee seen better days? Replace that old, worn out and ugly boot with a new one, or simply repair it to get your Jeep's interior looking good again.
This article applies to the Jeep Cherokee XJ (1984-1996).
While we often think of our Jeeps as only having one shifter boot, there are actually three in the Cherokee—one on the inside that hugs the shifter, one on the transmission shift boot, and one on the inner boot that keeps out the elements. Not only does a damaged shifter boot look bad, but it can also let noise and fumes from the outside enter the cabin. While replacement transmission shift boots and inner boots can sometimes be hard to find, later model Cherokee boots can be used by simply drilling new holes to fit the existing boots. Keep reading and we'll guide you through the process.

Materials Needed
- Phillips screwdriver
- Flat head screwdriver
- Hammer and punch
- Bench vice
- Grease
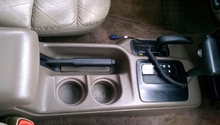
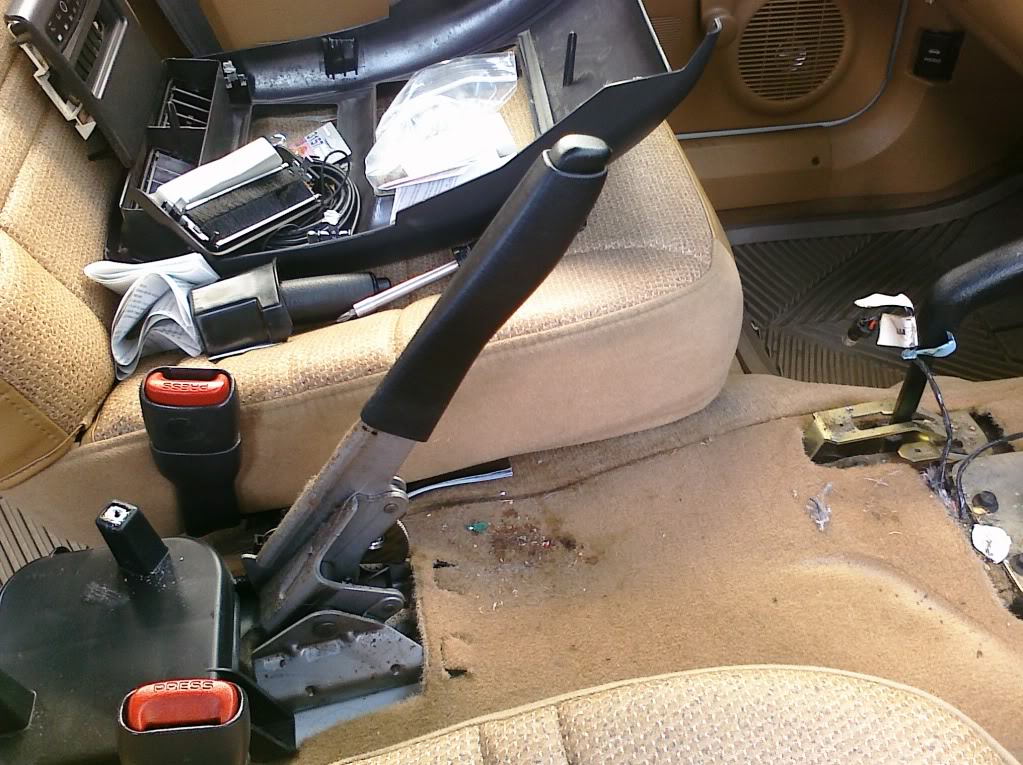
Step 1 – Remove the center console
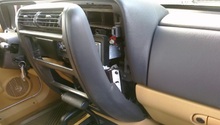
- Use a flat head screwdriver to detach the outer shifter boot, and then pry the rectangular plastic trim piece from the center console.
- Remove the black piece of the center console by removing the two Phillips screws located underneath the armrest.
- Then remove the two Phillips screws inside the shifter opening.
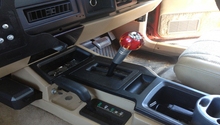
- Pull the transfer case shift cover back and remove the screw underneath it.
- Remove the center console by removing the two screws inside the compartment, two screws beneath the emergency brake, and one screw next to the the transfer case shift lever.
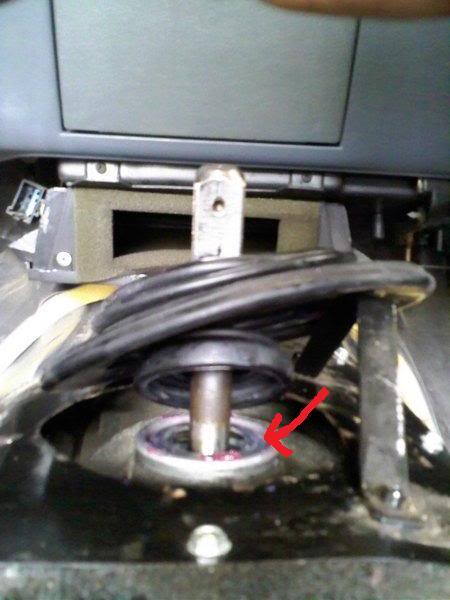
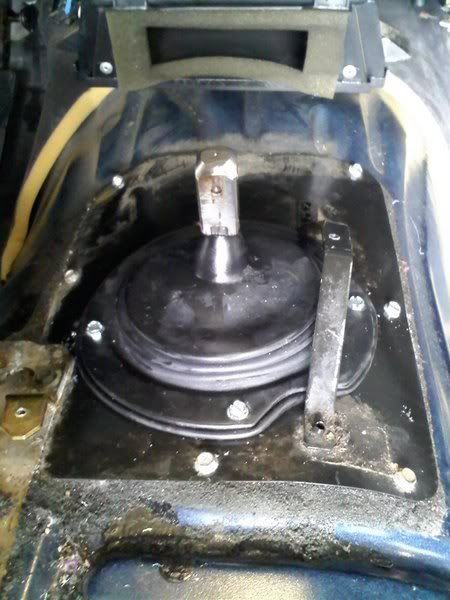
Step 2 – Remove the shifter
- Remove the inner shift boot by removing the four screws holding it in place.
- The transmission shift boot is held in place by three screws.
- Remove the retaining ring by pushing down from the top and twisting it counterclockwise.
- Then remove the shift lever assembly and oil seal.
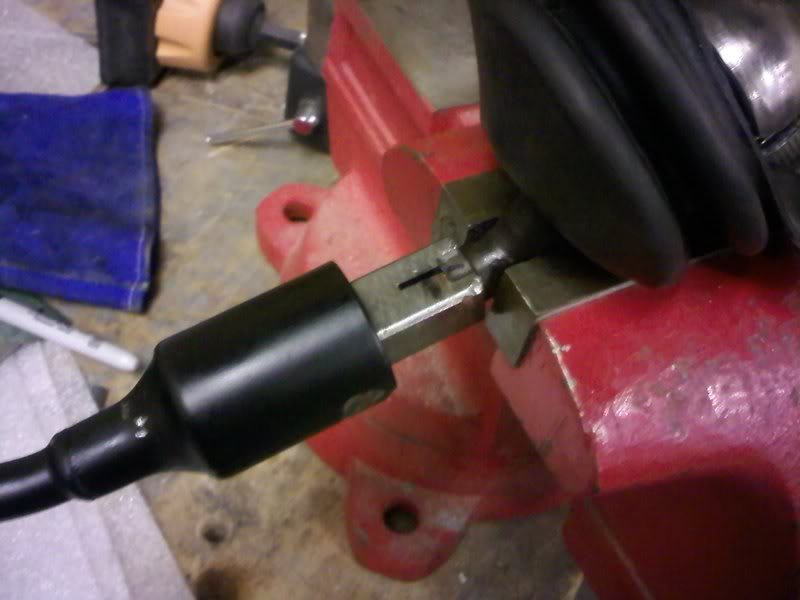
Step 3 – Remove shifter boot from the shifter
- Place the lower shift lever in a vice, and separate it from the upper shifter by hitting the outside edge with a punch and hammer.
- Remove the inner shift boot, transmission boot, retainer ring, spring, and bushing from the lower shift lever.
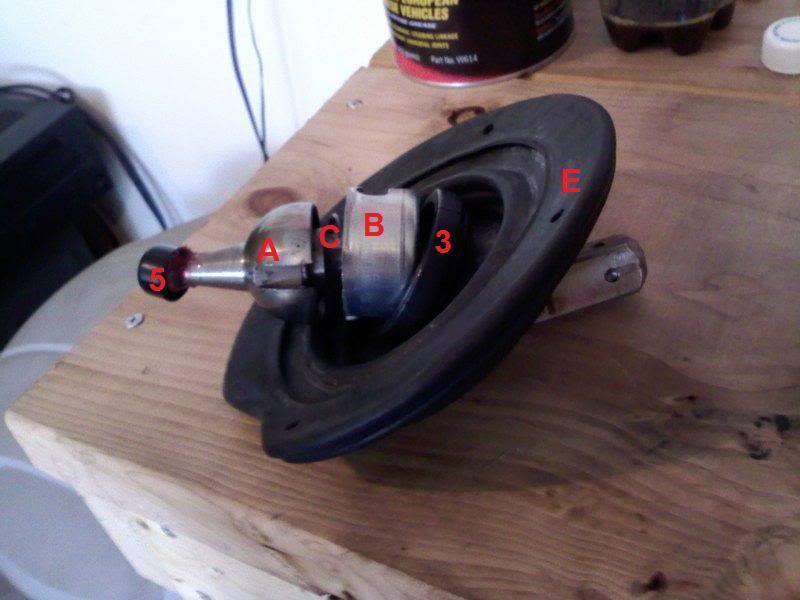
Step 4 – Install the new shifter boots
- Clean around the housing, lower shift lever, retainer ring, and spring.
- Coat the end of the lower shift lever with grease.
- Install the new bushing by setting it on a flat surface and pushing down on the lever.
- Install the spring and retainer ring on the lower shift lever.
- Coat the square end of the shift lever with grease.
- Slide the transmission boot in place followed by the inner shift boot. Take care not to damage either part.
Step 5 – Re-install the shifter
- Coat the housing with some grease and insert the oil seal.
- Re-install the lower shift assembly, making sure that the bushing is inside the shift forks.
- Push the retainer back in place and turn it clockwise.
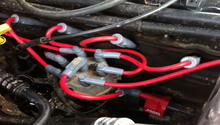
- Attach the transmission boot to the transmission.
- Align the new inner shift boot, and if necessary, drill four new holes and secure it with four screws.
- Press the upper shift lever back onto the lower shift lever and use a hammer to tap it back in.
- Re-install the center console and replace the screws, followed by the outer shifter boot and trim pieces.
Related Discussion
- Shifter Boot Repair and Rebuild - CherokeeForum.com