Jeep Cherokee 1984-1996: How to Replace Brake Master Cylinder
A bad master cylinder can change the feel of your brake pedal and affect the efficiency of your brakes. Learn how to replace it here on your Jeep Cherokee.
This article applies to the Jeep Cherokee XJ (1984-1996).
A bad master cylinder could change the feel of your brake pedal entirely. For starters, your brake pedal will feel spongy. This means you will have a lot of pedal room before the Jeep Cherokee starts braking, and when it does, it won't stop as fast as it usually does. Since the master cylinder is a hydraulic system, it can easily introduce air into the braking system, thus affecting the brake performance. It is critical that you don't drive the car when you feel a change in braking. Here's how to replace the master cylinder and save some money.
Materials Needed
- A ratchet/socket set
- A set of box wrenches
- A turkey baster
- Rags
Step 1 – Open hood
Open the hood. Once you're under there, you'll need to take off the cover of the old master cylinder.
Pro Tip
If you are looking to change out the old fluid, now would be a great time. However, you will need to access the brake calipers to perform a brake flush.
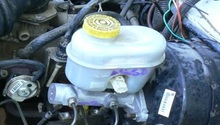
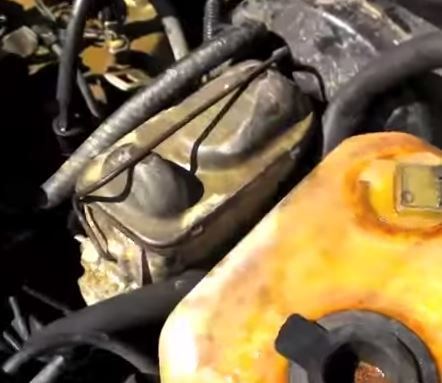
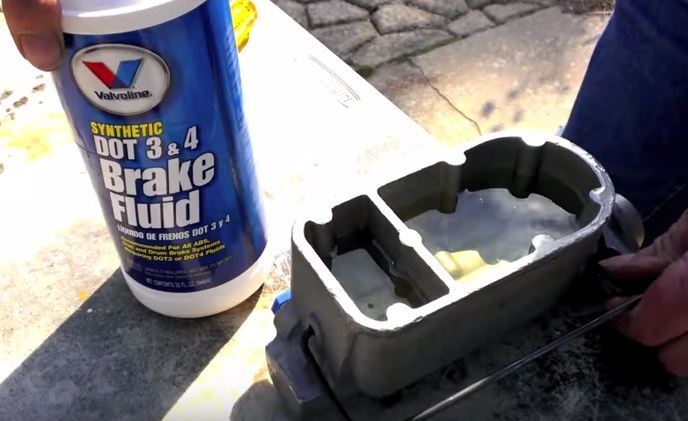
Step 2 – Drain old master cylinder
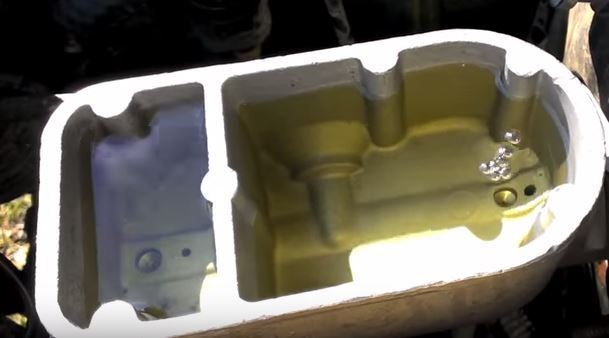
Use the turkey baster to suction out all the fluid from the master cylinder. Be cautious not to spill brake fluid on your car's paint as it is corrosive.
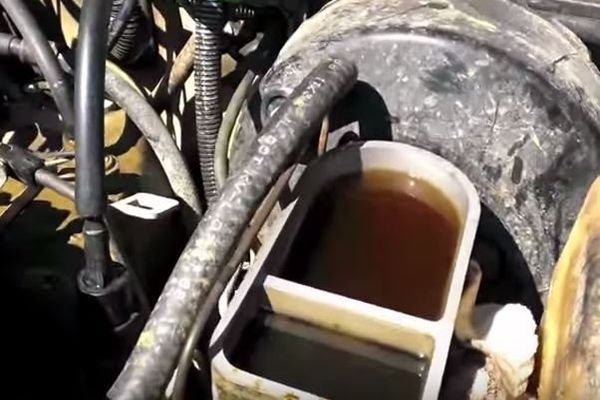
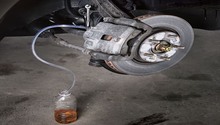
Figure 2. Use a suction device to remove the fluid. (Do not siphon it by mouth!) 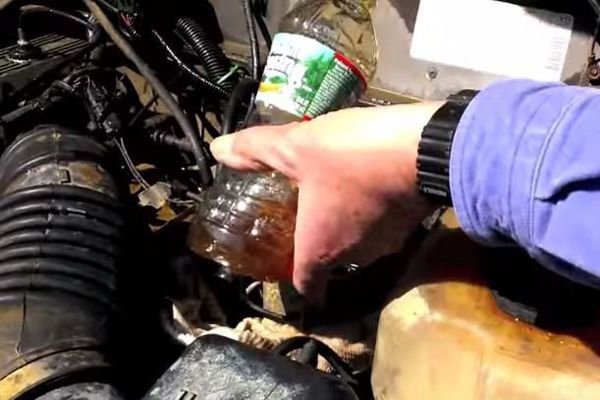 Figure 3. Using a bottle to catch all the fluid is the usual method for this task.
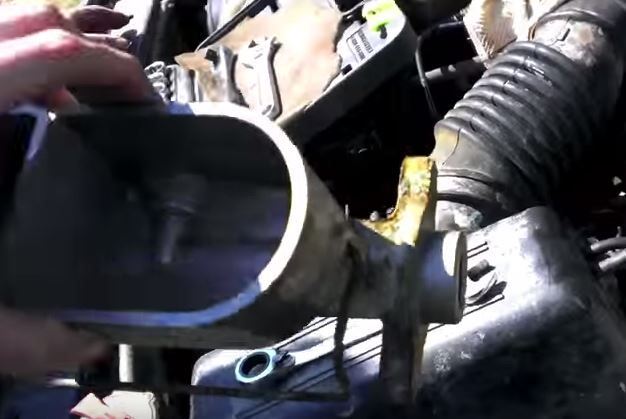
Step 3 – Unbolt master cylinder
Unbolt the two bolts that hold the master cylinder to the brake booster. In addition, go ahead and put a rag under it and unbolt the brake line bolt running to it on the side.
Step 4 – Install new master cylinder
Installation is the reverse of removal. Install the new master cylinder and bolt the two bolts holding it to the brake booster.
Step 5 – Tighten brake lines
Take great care not to spill the fluid. Tighten up the brake line nuts with your box wrench first, this will be easier since it'll be loose and you can wiggle it around to position correctly before bolting it permanently to the brake booster assembly.
Now that it's back on the car, bleed it traditionally and you are done!
Related Discussions
- Replacing Brake Master Cylinder - CherokeeForum.com
- Replacing Master Cylinder - CherokeeForum.com
- Brake Master Cylinder - CherokeeForum.com
- Brake Booster Vacuum Leak - CherokeeForum.com