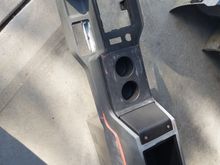
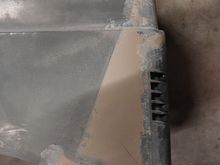
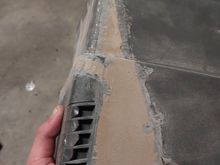
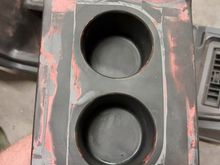
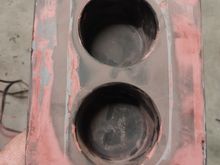
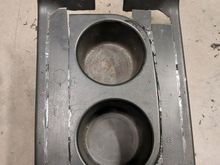
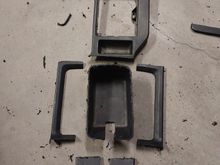
Here I have the spare bezel laid ontop of my center console. I bought another OEM cupholder from Ebay. It had broken tabs so I didnt feel bad.
Im sure someone is going to woder why all of the cuholders I could have grafted in, why the OEM XJ on? Well, I already had one so I was able to measure it up to see if it could fit. Once I was confident I could make it work, contemplated if it was the best choice. I looked on ebay for "OEM (every manufacturer) cupholder" and couldnt find one that I like