
Notch Customs XMax Flares


Thread Starter
Newbie
Joined: Nov 2017
Posts: 25
Likes: 0
Year: 2001
Model: Cherokee(XJ)
So I�m gonna get the notch customs XMax flares. But I�ve heard that they are a pain to install. Does anyone have a write up, video, pictures, etc. that they could point me to. I�ve seen the instructions on their website but was looking for more of someone�s personal opinion. A few guys I talked to said that had a shop do it. One guy just told me it was hard. So looking for a bit more than that. Thank you in advance!!!
Member
Joined: May 2016
Posts: 122
Likes: 7
From: Enid America
Year: 1989
Model: Comanche (MJ)
Engine: 5.7L LS1
Just be ready for lots of cutting and welding (I'm assuming you have experience welding thin sheet metal... If not thats another discussion). Take your time, trim the flares a little at a time until they fit perfect. After you get everything fit as best you can, then use bondo and fill the rest. The end product will look better the more time you put into the install.
Some pointers for the best fit:
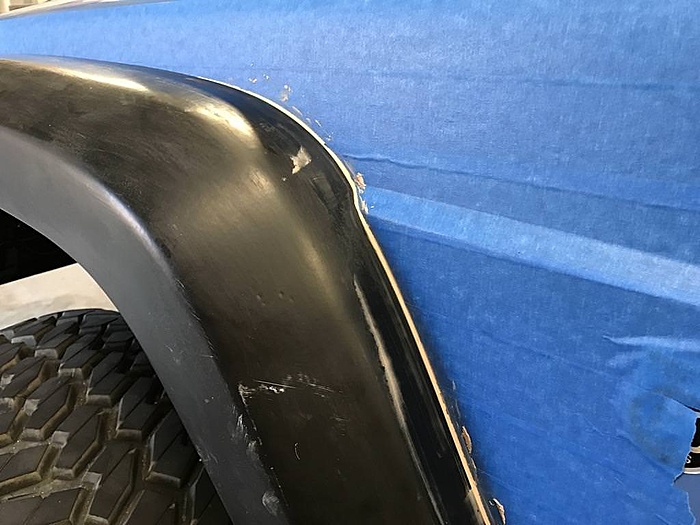
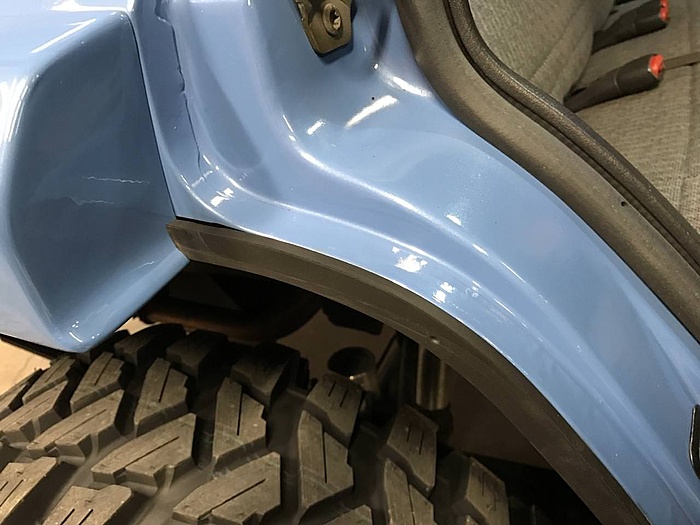
This step actually comes after the rest below but I though I'd put it first for some reason. After everything is fit exactly how you want it (and body work complete) install the flares over the taped surface and bondo the edge. I found it was easiest to cut a 3M bondo applicator in half and use the sharp 90* edge of where I cut to get bondo into the gap and leave a sharp edge.
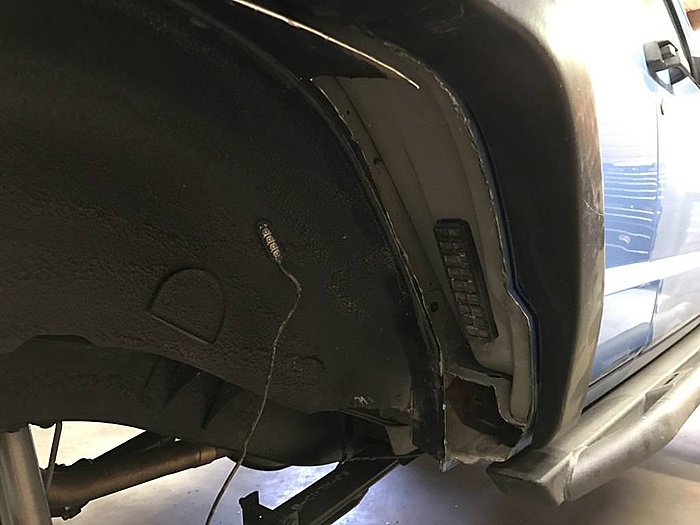
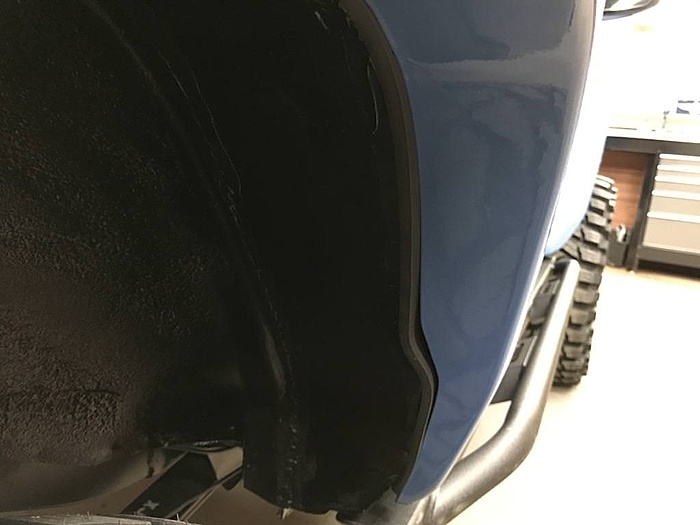
I ended up just cutting everything out of the wells except for a lip at the inner pinch seam to weld against. I also left a section across the top that was just welded to the outer sheet metal.

A better picture of what I cut out:
New metal welded in:
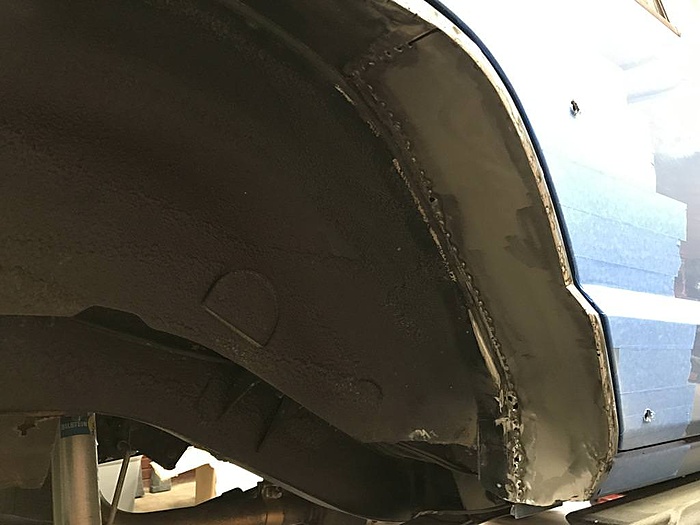
After the welding was complete, I used 3M seam sealer on the inside and outside of the welds:
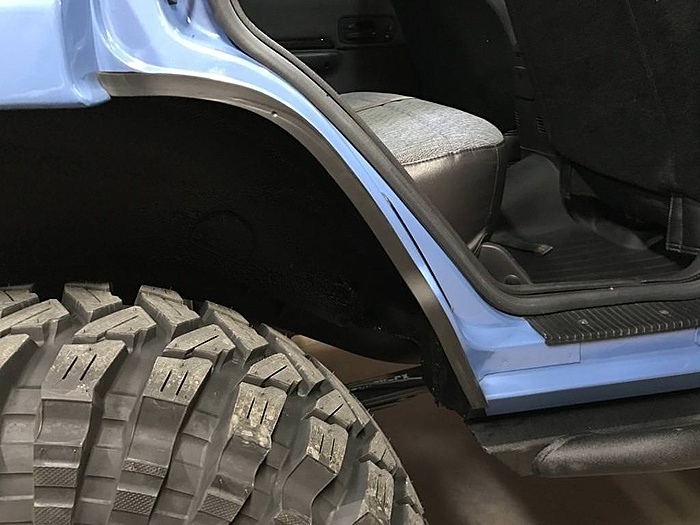
Along the rear doors I purposely left 1/2" instead of trimming exactly with the instructions. I did this so I could add a weather seal:

The weather seal (1/2" x 1/4" thick):
In the front you're unable to reuse the factory splash shields so I made my own out of aluminum. I first cut a template out of paper:
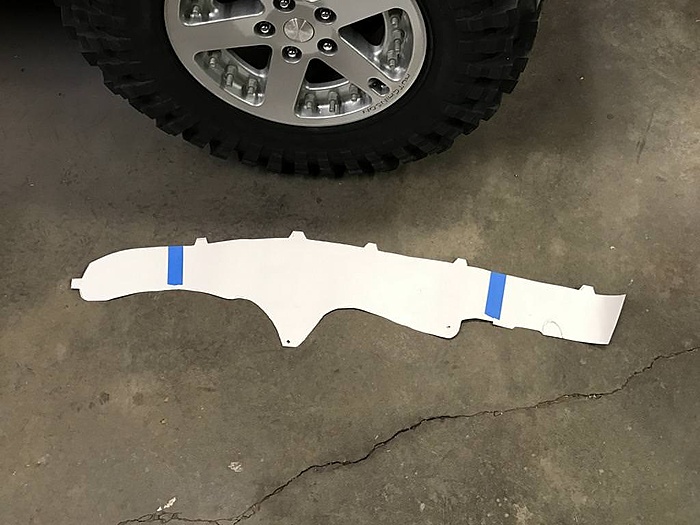
Then transferred to aluminum:
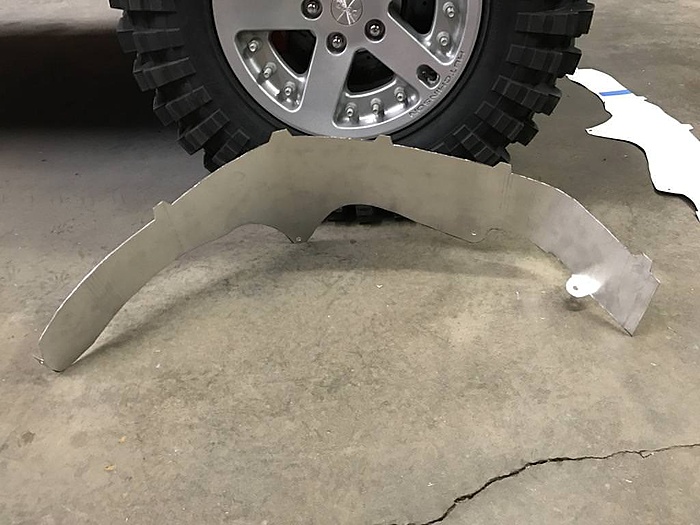
Installed:
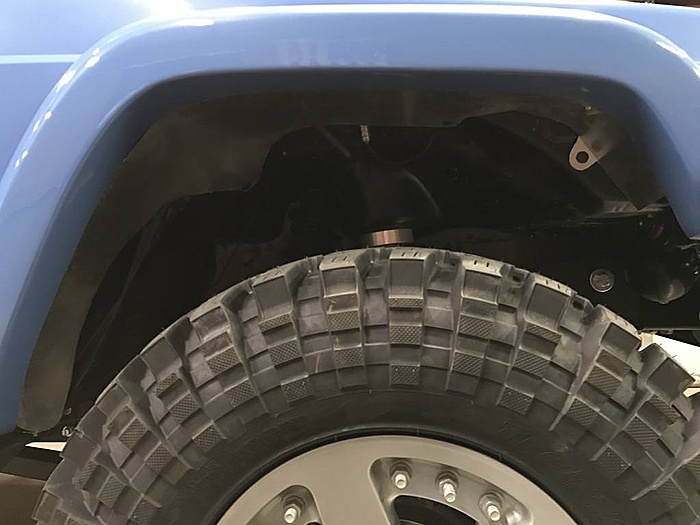
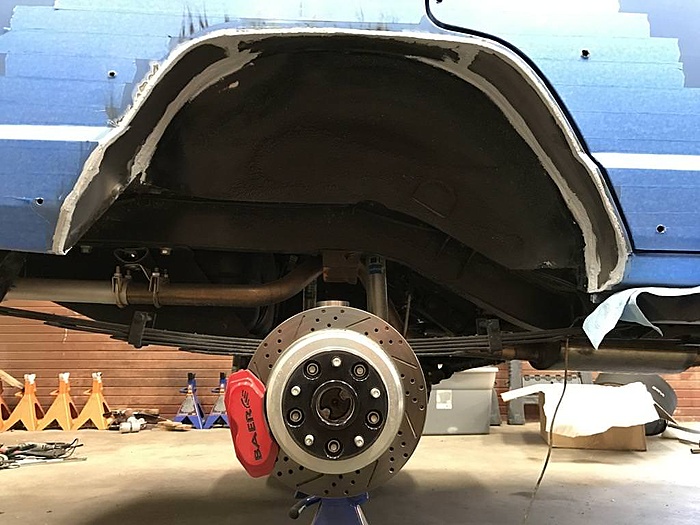
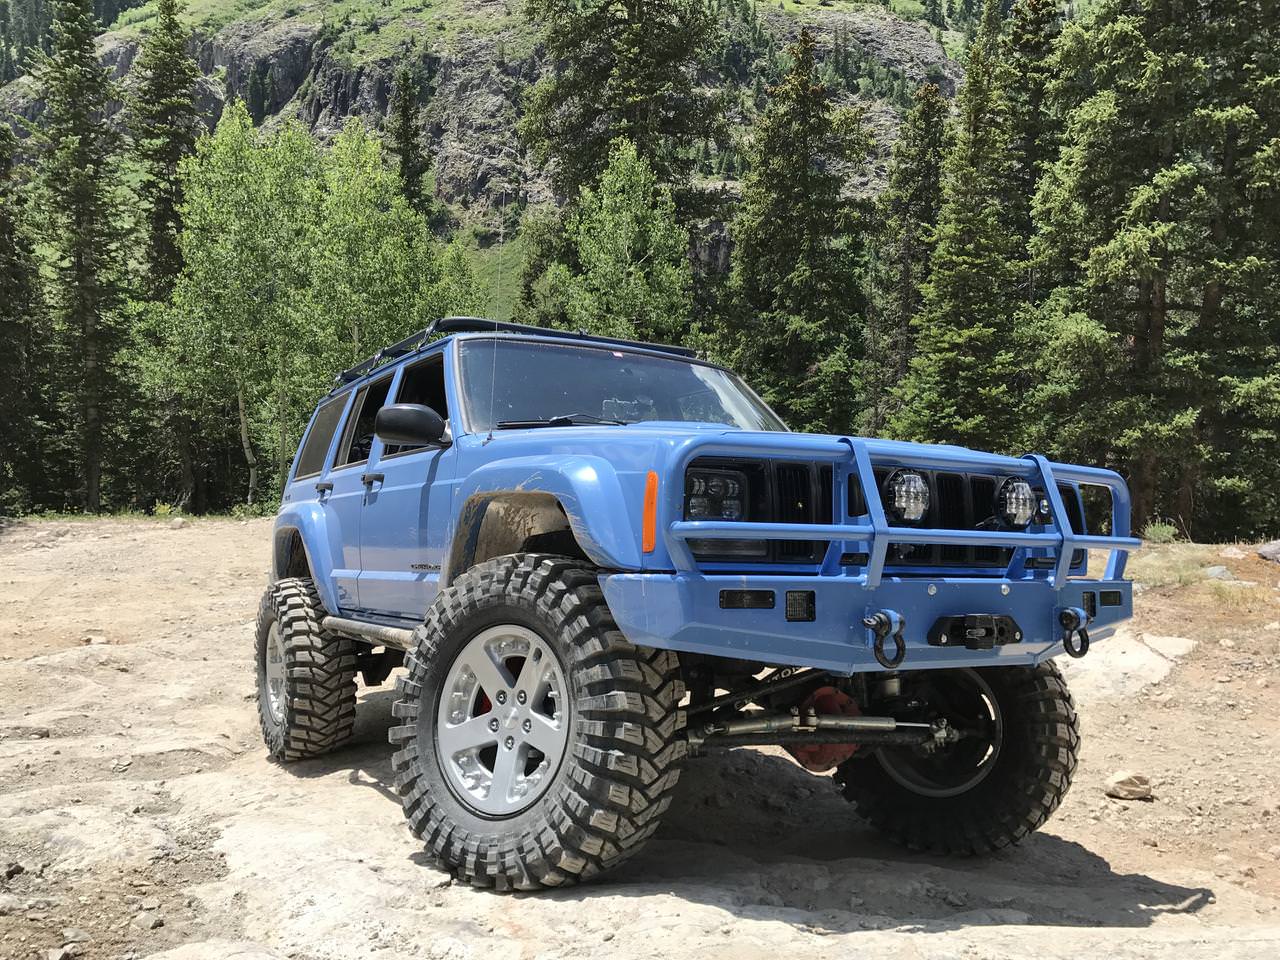
They are a lot of work, but worth it!
35's stuff easily:
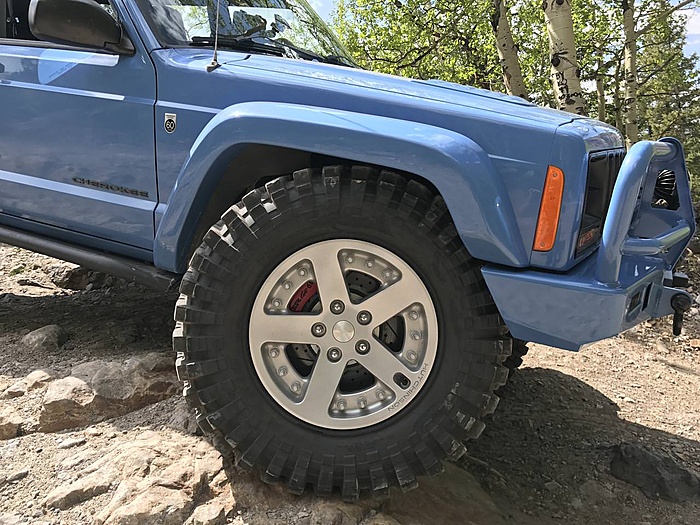
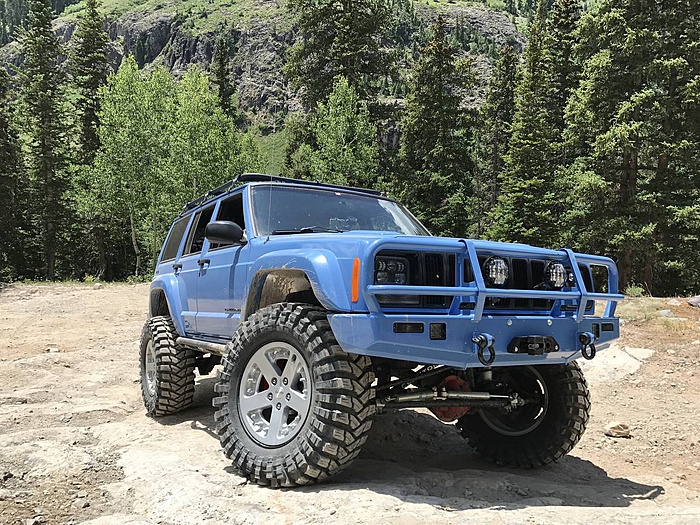
And most of all they look great:
Some pointers for the best fit:
This step actually comes after the rest below but I though I'd put it first for some reason. After everything is fit exactly how you want it (and body work complete) install the flares over the taped surface and bondo the edge. I found it was easiest to cut a 3M bondo applicator in half and use the sharp 90* edge of where I cut to get bondo into the gap and leave a sharp edge.

I ended up just cutting everything out of the wells except for a lip at the inner pinch seam to weld against. I also left a section across the top that was just welded to the outer sheet metal.
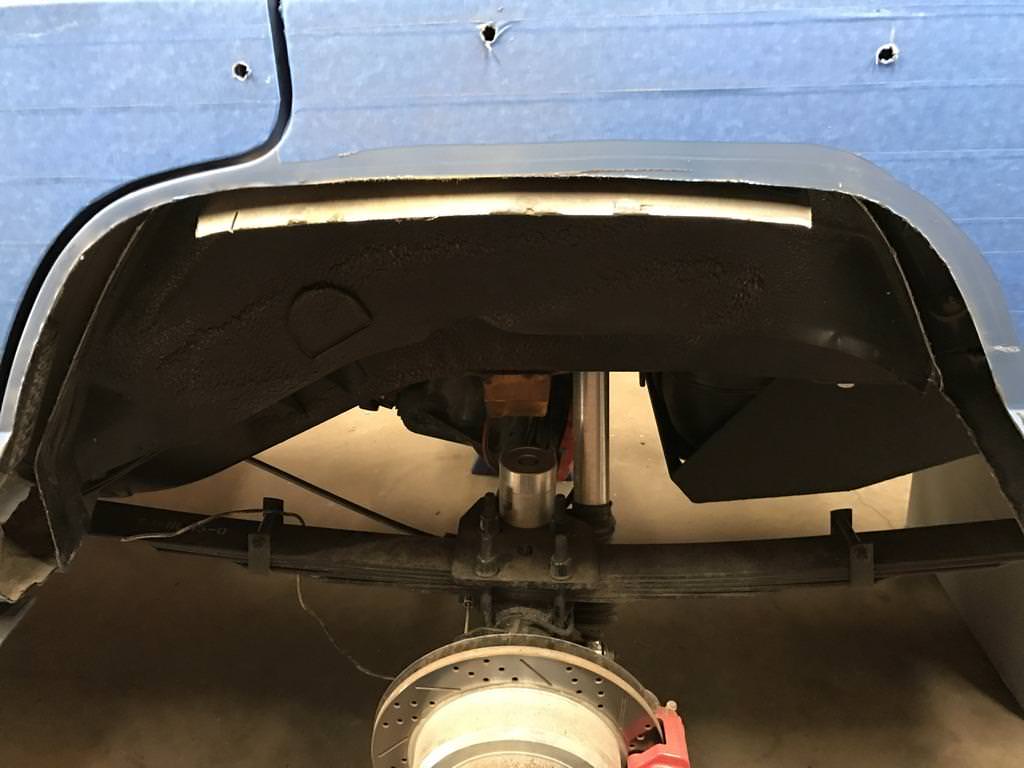
A better picture of what I cut out:

New metal welded in:

After the welding was complete, I used 3M seam sealer on the inside and outside of the welds:

Along the rear doors I purposely left 1/2" instead of trimming exactly with the instructions. I did this so I could add a weather seal:

The weather seal (1/2" x 1/4" thick):


In the front you're unable to reuse the factory splash shields so I made my own out of aluminum. I first cut a template out of paper:

Then transferred to aluminum:

Installed:

They are a lot of work, but worth it!
35's stuff easily:

And most of all they look great:


Thread
Thread Starter
Forum
Replies
Last Post
JeepXJExpo
Accessories
2
Mar 22, 2017 01:58 PM
Jesus M
Modified XJ Cherokee Tech
28
May 11, 2015 11:44 PM
Currently Active Users Viewing This Thread: 1 (0 members and 1 guests)